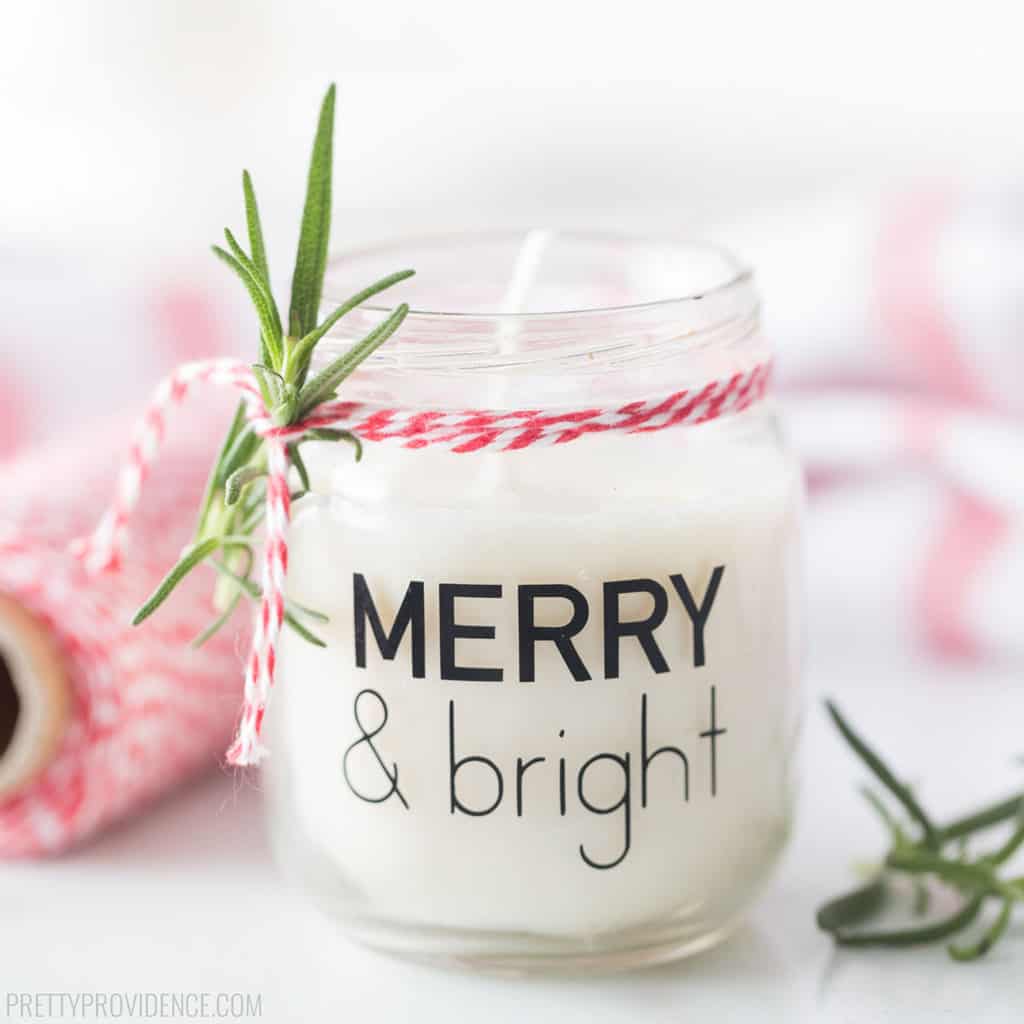
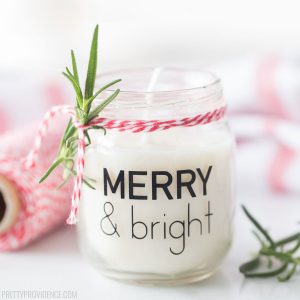
These DIY Candles made from soy wax and essential oils were easy to make and are perfect for Christmas neighbor gifts! They are fun to customize with vinyl labels and your favorite scents.
*This post contains affiliate links.
Hello everyone! I made these DIY candles recently and this was my first time trying this kind of craft. It was honestly so much easier than I thought it would be and I'm thrilled with how these candles turned out! They are going to be my Christmas neighbor gifts for this year and I think everyone is going to love them.
The candles are made from soy wax and I used small baby food jars that I had on hand. We are always looking for cool baby food jar crafts to do and I realized they would be perfect for DIY Christmas gifts. They are scented with peppermint essential oils and then I just added some Cricut vinyl labels, a sprig of green and red baker's twine to make them festive! Check out this big list of Christmas neighbor gifts like our fun "The Snuggle is Real" Blanket gift tags, or for even more ideas visit our Christmas page.
How to Make DIY Candles
Soy Wax Candles
I decided to make soy wax candles because it is all-natural and seemed like a simple and straightforward thing to work with. It melted easily in the microwave in a glass Pyrex measuring cup. Alternatively, you can use a double-boiler if you have one!
Scents for DIY Candles
You can use either scented oils made specifically for candle making or soap making, or you an use essential oils. I used the latter because I had some in my cupboard already and I wanted to keep the cost low! The peppermint essential oil smells so good!
DIY Candle Labels
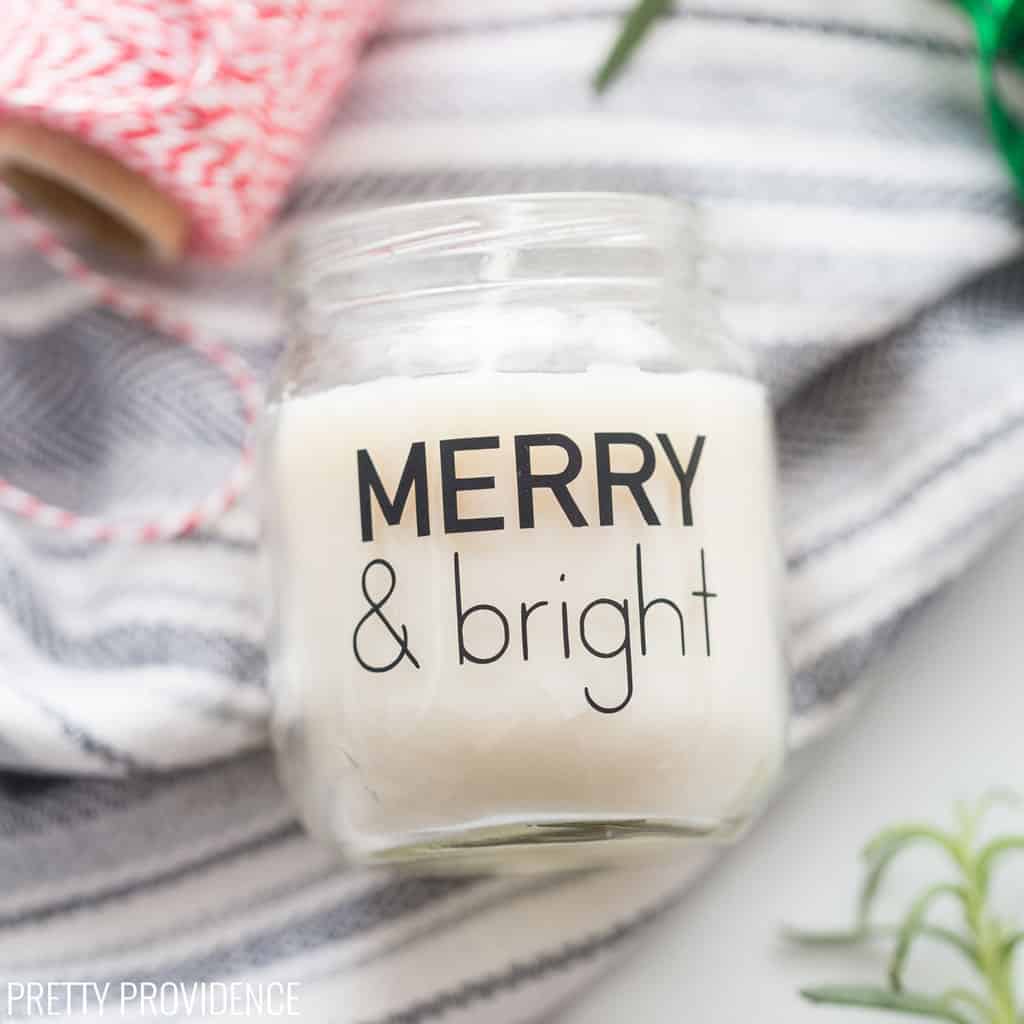
To decorate the candles I used my Cricut machine and some permanent vinyl to make the simple black labels that say 'Merry & Bright.' If you want to use this design too, you can find it here in Cricut Design Space. The same method was used for personalizing an item when I made this DIY 'Carbs' bread box.
Materials:
- Cricut machine
- Standard Grip Mat
- Permanent Vinyl
- Transfer Tape
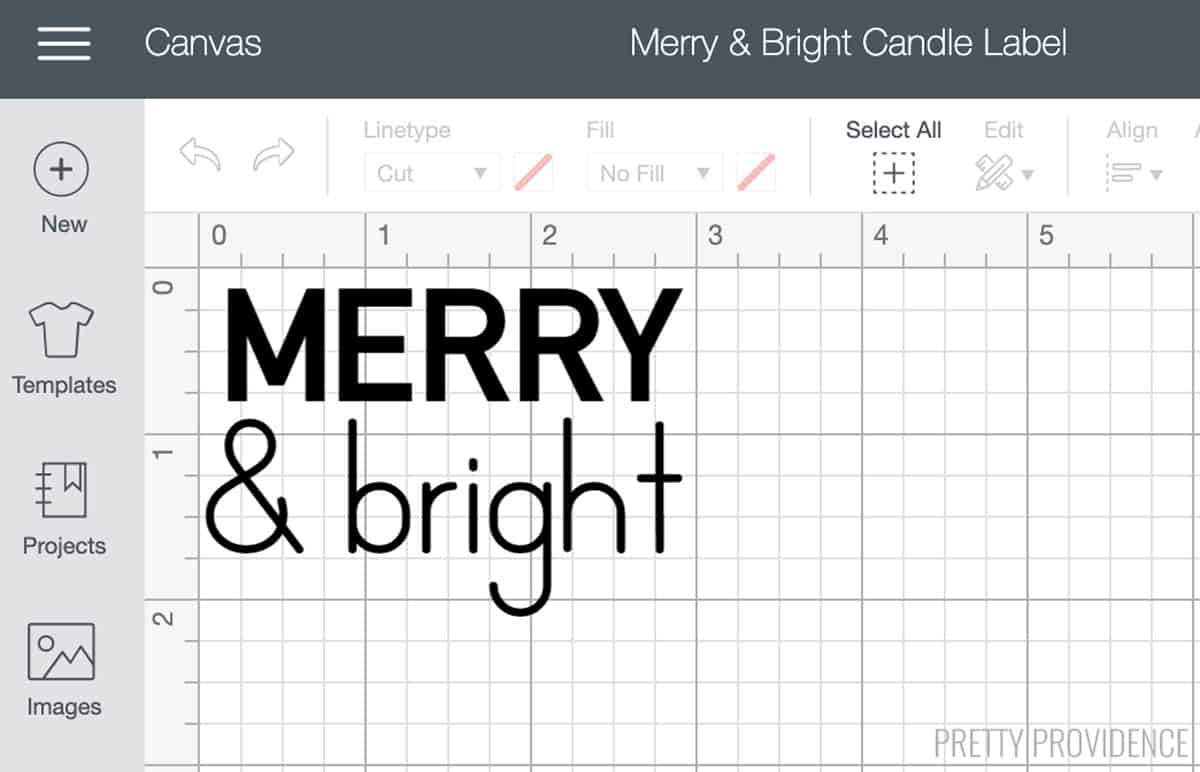
Load the design into your design space canvas and size it to fit your jar. Then, click 'Make it.'
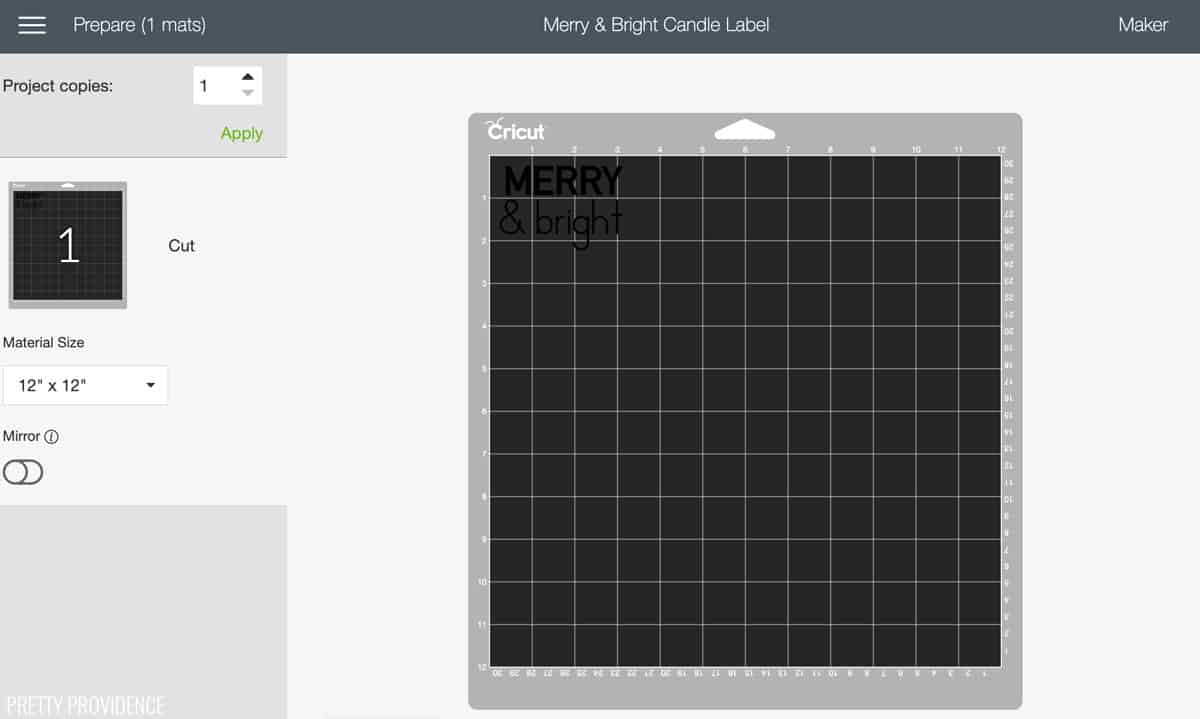
On the next screen you will make sure that your material size is correct and choose materials on your machine before clicking 'go.'
Cut the vinyl and then weed the design. (This photo below shows what you will be doing but is not the merry & bright design.)
![]()
Use Cricut transfer tape to apply the labels to your glass jars. We have a post all about Cricut transfer tape if you have never used it before.
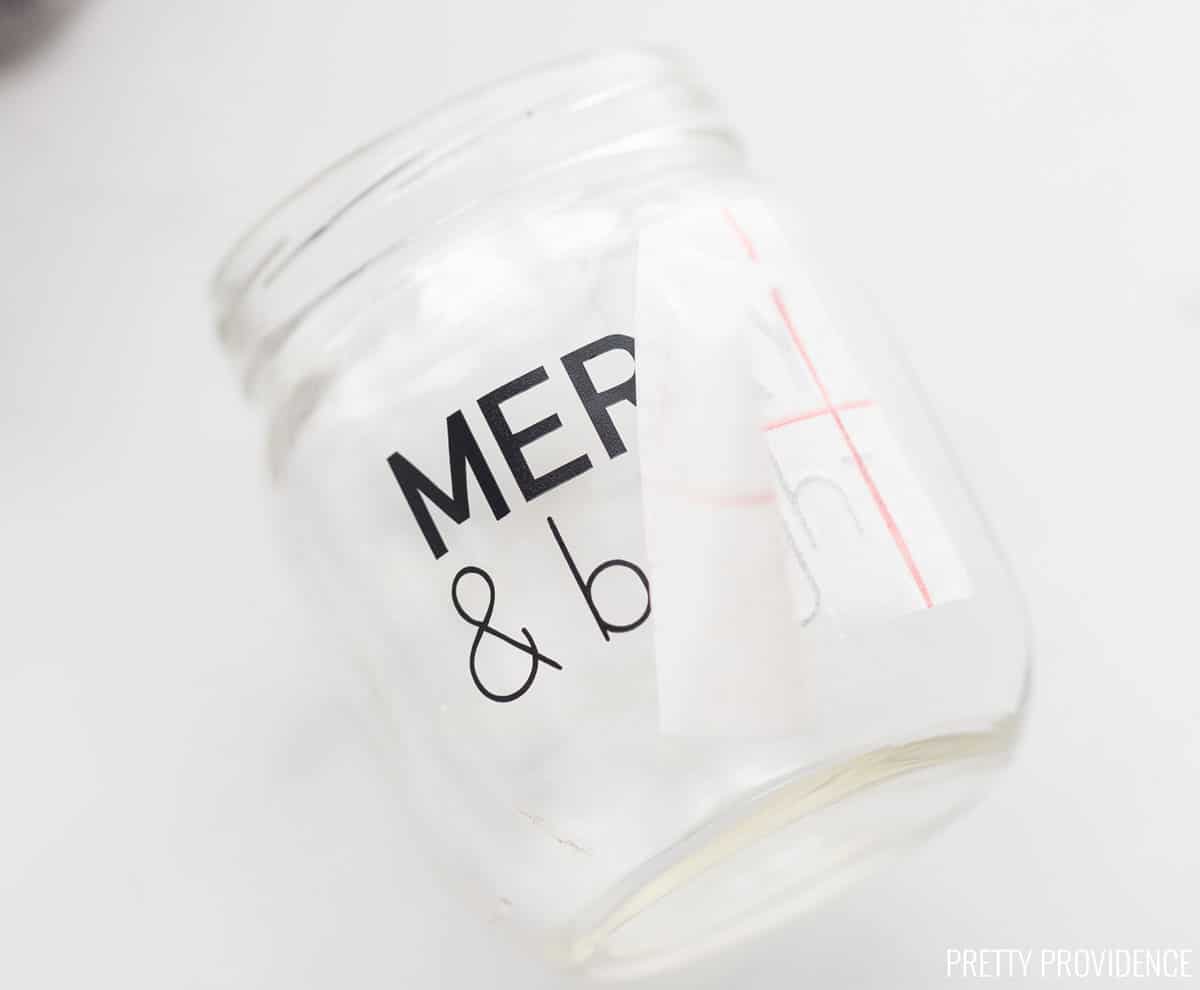
Press the design down and rub it to adhere the design to your glass before removing the transfer tape. This is called burnishing.
Candle Tutorial
- Clean glass jars thoroughly and dry them.
- Hot glue the wick and wick tabs in the center on bottom of each jar.
- Use popsicle sticks or hair clips to hold wicks up and keep them centered.
- Melt wax flakes in a pyrex glass measuring cup in the microwave.
- Use candy thermometer or meat thermometer to track temperature. You will microwave the wax in small increments, stirring often, until melted. It is ready to use when thermometer reads 180-185 degrees F.
- Add fragrance oil or essential oil and stir.
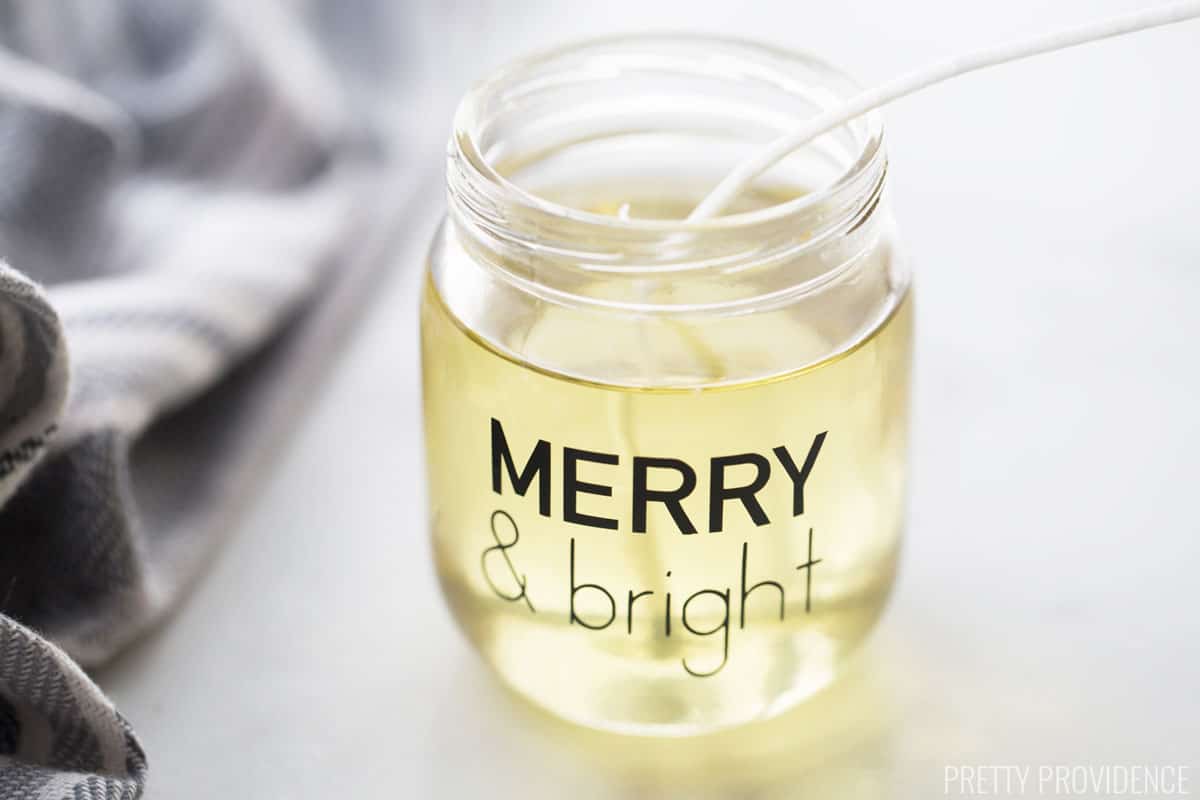
- Pour the wax into the jars and let it cool to around 150 degrees. Leave some space at the top so it won't spill over when it's melted again.
- Keep the wicks straight using hair clips or popsicle sticks until wax is cooled completely.
Pro Tips:
- Run a hair dryer for a few seconds to warm up the glass jars just before pouring wax into them. This will help the wax bond with the glass instead of making holes along the sides.
- Add sprigs of greenery and baker's twine or ribbon to decorate the jar for Christmas gifts!
Ta da!
If you make these DIY candles let us know with a comment and positive review! We would also love to see them! Tag us on instagram @prettyprovidenceblog.
DIY Candles
Video
Equipment
- Hot Glue Gun
- Pyrex Glass Measuring Cup
- Popsicle Sticks (optional)
- Hair clips (optional)
Materials
- 3 lbs. Natural Soy Wax
- 20 Candle Wicks
- 3 oz Scented Oil peppermint, vanilla, or candy cane scent
- 20 Small Glass Jars
Instructions
Prep before making DIY Candles
- Clean glass jars thoroughly and dry them.
- Hot glue the wick and wick tabs in the center on bottom of each jar.
- Use popsicle sticks or hair clips to hold wicks up and keep them centered.
Melt and Pour Wax
- Melt wax flakes in a pyrex glass measuring cup in the microwave.
- Use candy thermometer or meat thermometer to track temperature while gently stirring flakes in between microwaving until melted. It is ready to use when thermometer reads 180-185 degrees F.
- Add fragrance oil or essential oil and stir.
- Run a hair dryer for a few seconds to warm up the glass jars just before pouring wax into them. This will help the wax bond with the glass instead of making holes along the sides.
- Pour the wax into the jars and let it cool to around 150 degrees. Leave some space at the top so it won't spill over when it's melted again.
- Keep the wicks straight using hair clips or popsicle sticks until wax is cooled completely.
- Once the candle is cooled, cut the wick to ¼ inch tall.
Pro Tips
- Let the candle cool undisturbed for 24 hours before burning.
- If cracks or any other imperfections do appear over the top, run a hair dryer over the top on low. It'll melt the top layer and settle beautifully with a slightly frosty appearance.


Lynnete
Loved it, so much.