How to Make Labels with Cricut Smart Label Writable Vinyl
Making labels is fun and easy with the Cricut Joy and Smart Label Writable Vinyl!
Makes 10 labels
Cost $10
Equipment
- Cricut Joy
Supplies
- Smart Label Writable Vinyl
- Smart Vinyl Gold (optional)
- Cricut Joy fine point pens 0.4
- Cricut card stock optional
Other Materials:
- Clear organizing bins and small containers to label
Instructions
- Design labels in Cricut Design Space. If you search for Cricut Joy labels you will find some cute designs. I chose one and customized it for my needs.
- Plug your Cricut Joy in and make sure that in your design space canvas you have selected the Joy as your machine.
- In Design Space go to images. Pick a label design, then put it into your canvas. (This label design is #M280AC2E7)
- Use the contour tool to remove the word 'manual' from the label. Write your own words in and instead of 'cut' select "writing" up in the top menu.
- Highlight each word and its corresponding label outline. Select 'attach.' Then make sure to select the type of pen you are using. Fine point 0.4mm is the size compatible with the Cricut Joy. Hit 'Make it!'
- Follow the prompts to select the size of your mat and which materials you are using. Make sure to choose 'Smart Label Writable Vinyl.'
- (Not pictured) Size the labels in your canvas to fit on whatever containers you are labeling.
- Keep following prompts in design space. Load writable vinyl into the Joy and insert a pen into the tool part first.
- Push 'go.'
- When writing is done, switch the pen out and put in the fine point blade. Let the machine cut each label.
- Optional - cut an outline for the label with another color. I chose gold removable Smart Vinyl.
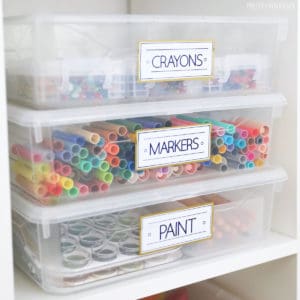
- Put labels on your art supply organizer bins and containers.
Notes
Glitter and gel pens are not recommended for use with Cricut Smart Label Writable Vinyl.