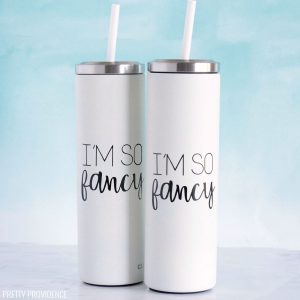
Vinyl Tumbler Decal
How to make a tumbler decal with Cricut vinyl! Follow this easy step-by-step tutorial for a personalized yeti tumbler.
Makes 1 vinyl decal
Cost $5
Equipment
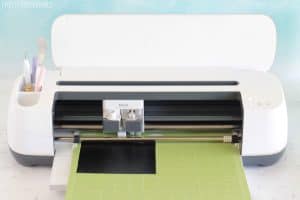
- Cricut Machine
- Standard Grip Mat (green)
- Scissors
- Weeding Tool
Supplies
- 1 Stainless Steel Tumbler with Straw
- Cricut Permanent Vinyl
- Cricut Transfer Tape
Instructions
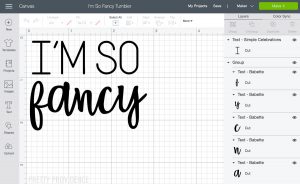
- Open design in Cricut Design Space and size it to fit your cup. Make sure your design is 'attached. 'Weld' if you are using cursive letters. Click 'make it.'
- Select 'vinyl' from the materials list if you are using a Cricut Maker. If using an Explore machine choose 'vinyl' using the dial on the machine. Check to make sure that the fine point blade is loaded in your machine. Choose 'continue.'

- Cut a piece of vinyl to the size needed for your decal, leaving a centimeter extra on the sides. Put the vinyl onto your green mat. Follow the prompts in Design Space to cut the vinyl.
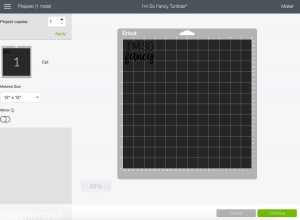
- Cut vinyl.
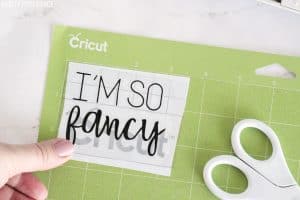
- Weed extra vinyl from around the words and inside the letters using a weeding tool.

- Cut a piece of transfer tape and press it down onto the vinyl design. Burnish the transfer tape. (Burnishing: Rub back and forth over the tape with your thumb or the back of a weeding tool until it is good and stuck.)Slowly pick up the transfer tape and if any of the letters aren't coming up with it, put the tape back down and burnish again.
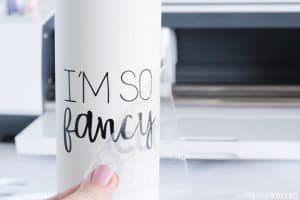
- Place the design with transfer tape onto the tumbler and burnish with your thumb.

- Pull transfer tape off of the design slowly, diagonally from one corner.
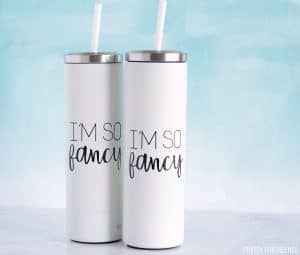
- Done! Now you have a cute, personalized tumbler decal!
Video
Notes
- Permanent vinyl is the best kind of vinyl to use for tumbler cups.
- Cricut Permanent vinyl will last really well.
- You can put this vinyl through the dishwasher but stainless steel tumblers hold up better if you hand-wash them.