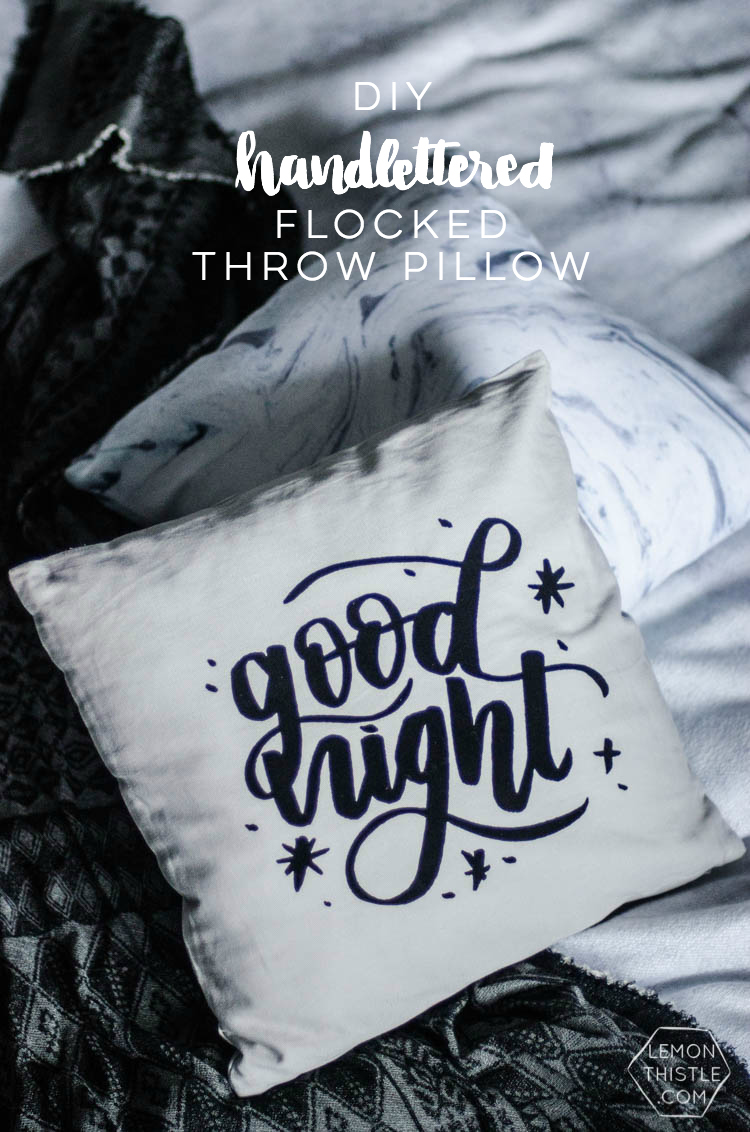
Hello Pretty Providence readers! It's been a while, but I am SO excited to be back over here today sharing a quick DIY with you all! My name is Colleen, I'm the DIY and lettering blogger over at Lemon Thistle. One of my favourite ways to make projects unique and totally rad, is to combine both lettering and DIY. This Good Night hand lettered pillow is a perfect example of that! And would you believe... it's super simple to make with my free template!
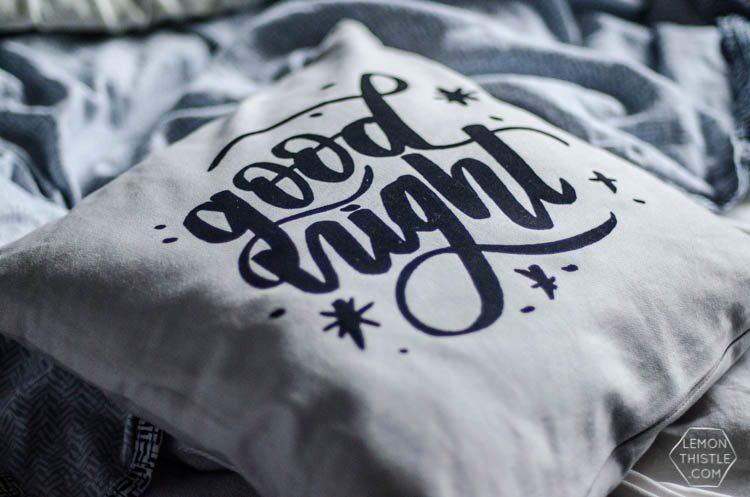
The only room in my house that doesn't have a healthy dose of hand lettering is my bedroom. I thought it was about time to change that and thought the perfect phrase for a pillow was... Good Night! Because, I am always ready for sleep (any other mamas with me?!). I lettered this design using my brush pen (my favourite way to letter!) and digitized it into a cut file for you. So all you need to do is download the file, and load it into your cutting machine with iron on vinyl!
Here's what you'll need to make your own:
- Throw pillow with removable cover
- Iron on vinyl (I used flocked)
- Iron
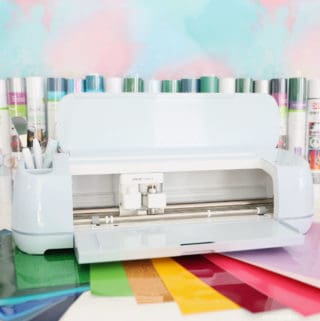
- Cutting machine (I used my Cricut Explore, but a Silhouette or even a steady hand with a craft knife would work as well)
- Design (get mine right here)
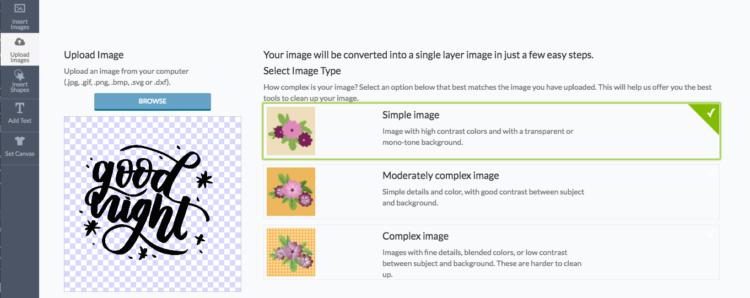
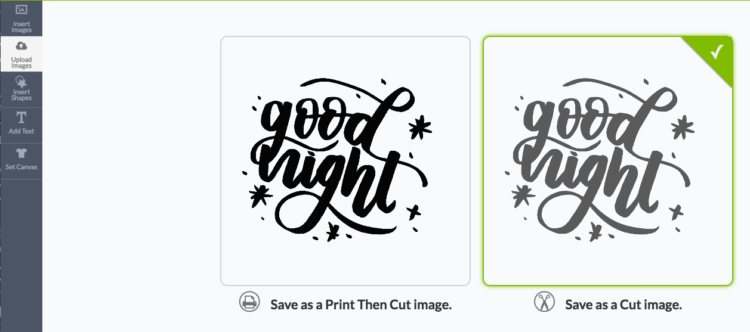
You can follow this tutorial with any design you choose. You could make one with some hand lettered looking fonts in a design program, or even make your own by digitizing your lettering (something I cover in my lettering e-course!)... OR you could take the easy way and grab my design right here. Upload whichever design you choose (can you hear mine singing, 'pick me, pick me!') into your cutting machine software- I'll give screen caps of this in Design Space which is Cricut's software. Choose 'upload image', 'simple image', 'cut only', then 'insert'. Then you can size it to fit your pillow cover and hit go! Remember to set your machine to cut REVERSE for iron on designs!
I chose to use flocked vinyl- that stuff is my favourite! It's that fuzzy stuff that you might remember from retro t-shirts. It feels completely legit and doesn't look at all DIY. Which is one of the best kinds of DIYs, don't you think? Make sure to lay it shiny side DOWN on your cutting mat. And might I suggest a strong grip mat for this stuff? It really likes to roll up.
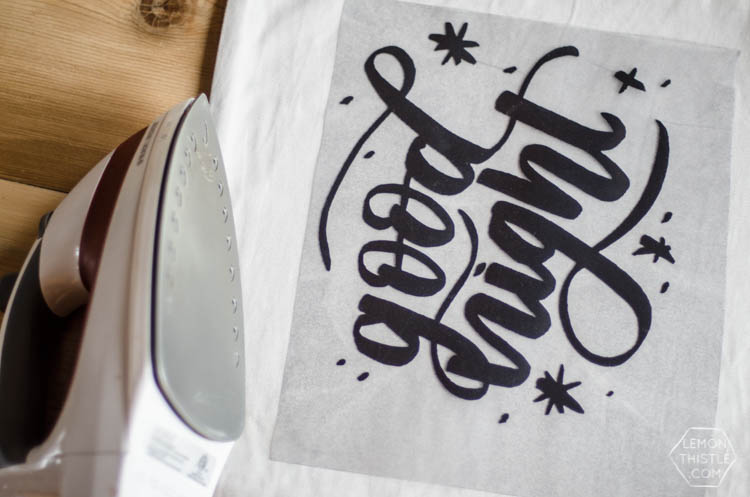
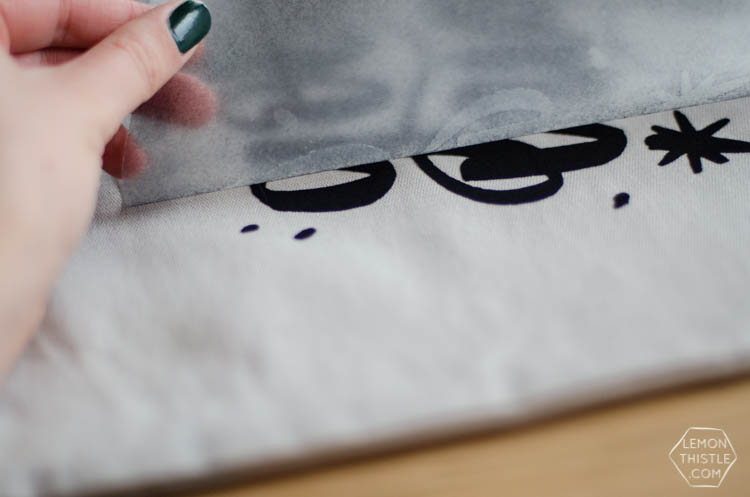
When it's all cut, weed it out and iron it on! To make the flocked vinyl work the BEST it can, wipe clean the pillow cover with a damp cloth and give it a quick iron first. Peel back the backing after the vinyl is cool to the touch. TA-DA!
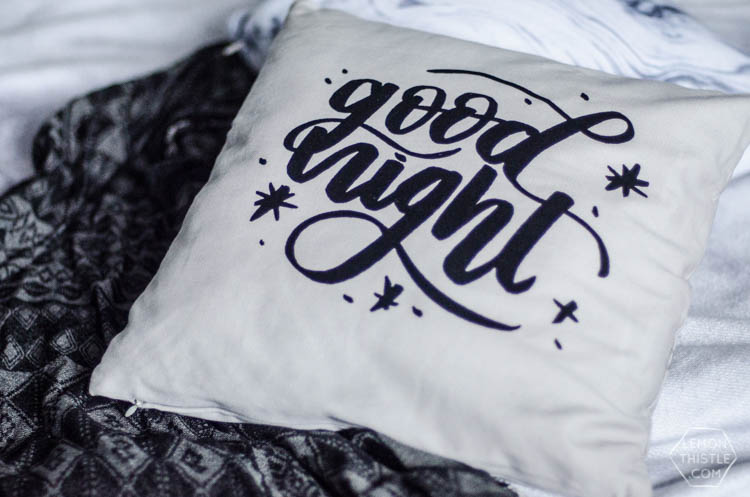
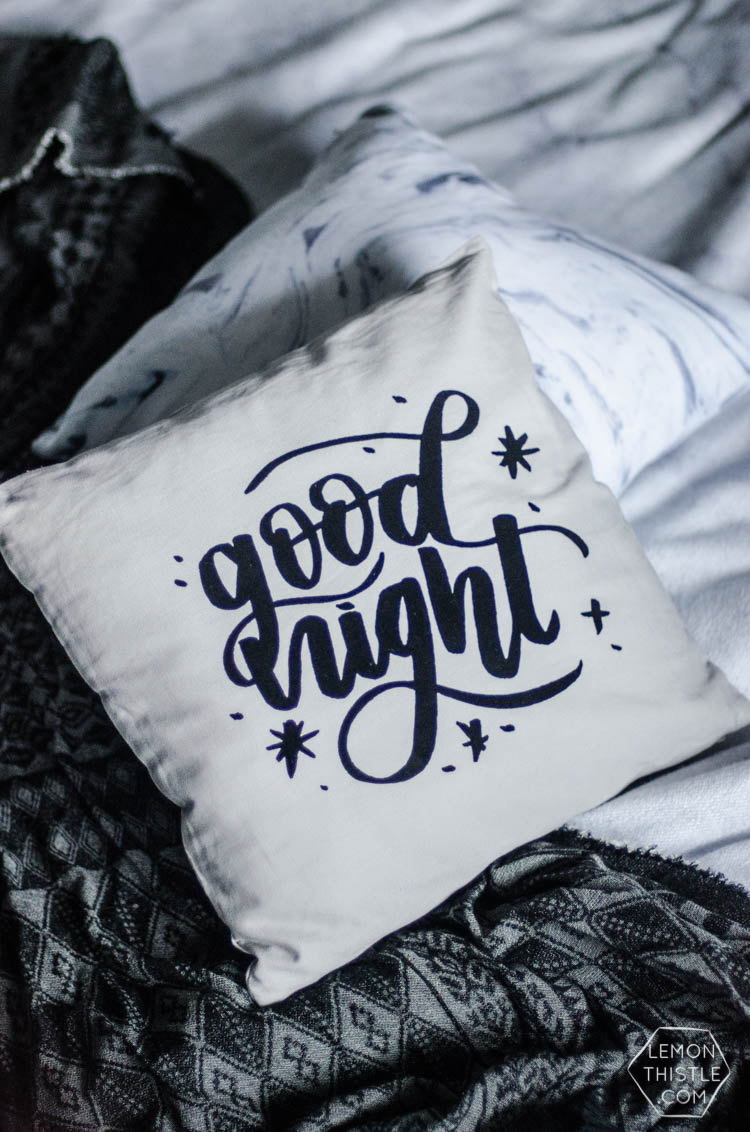
Goodness, me! I'm really more in love with this guy than I expected to be. If it's possible... it makes me want to jump into my bed even more than I already did ;)
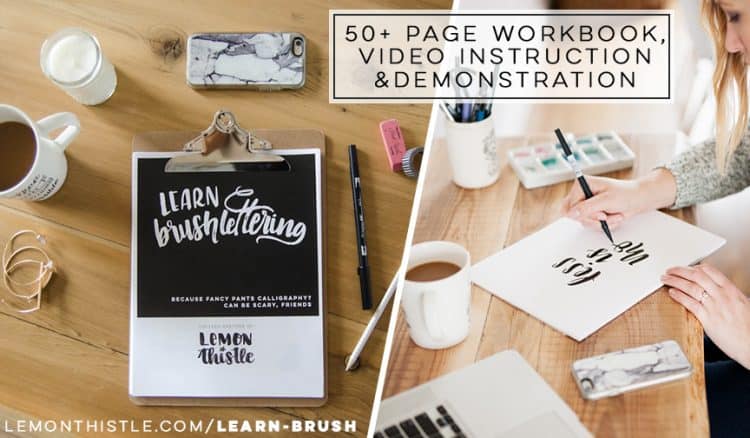
Thank you SO much for having me today to share this DIY! This is one of MANY hand lettered DIY's I've created since falling in love with brush lettering. If you love the look of hand lettering AND you love DIY... I'd love to have you join me in my learn brush lettering e-course! We'll be learning brush lettering, of course but I've also been working on some rad bonus tutorials that will make your lettering best friends with your DIYs. From teaching how to quickly digitize lettering to do projects like this to lettering on surfaces (like leather, glass, fabric, and wood), to faux calligraphy when a brush isn't an option... it's going to be SO good! You can check out all the information on the e-course RIGHT HERE.


Dillon
It's a pity you don't have a donate button! I'd most certainly donate
to this excellent blog! I suppose for now i'll settle for book-marking and adding your RSS feed to my Google account.
I look forward to fresh updates and will share this site with my Facebook group.
Talk soon!
colleen pastoor
Thank you so much for having me to share this! I can't wait for thursday :)
Jessica @ Pretty Providence
We can't wait either! Eek! You are so talented!