
St. Patrick's Day Shirt
If you are looking for a cute St. Patrick's Day outfit for you or your kids, make this girls St. Patrick's Day shirt and DIY shamrock hair clip!
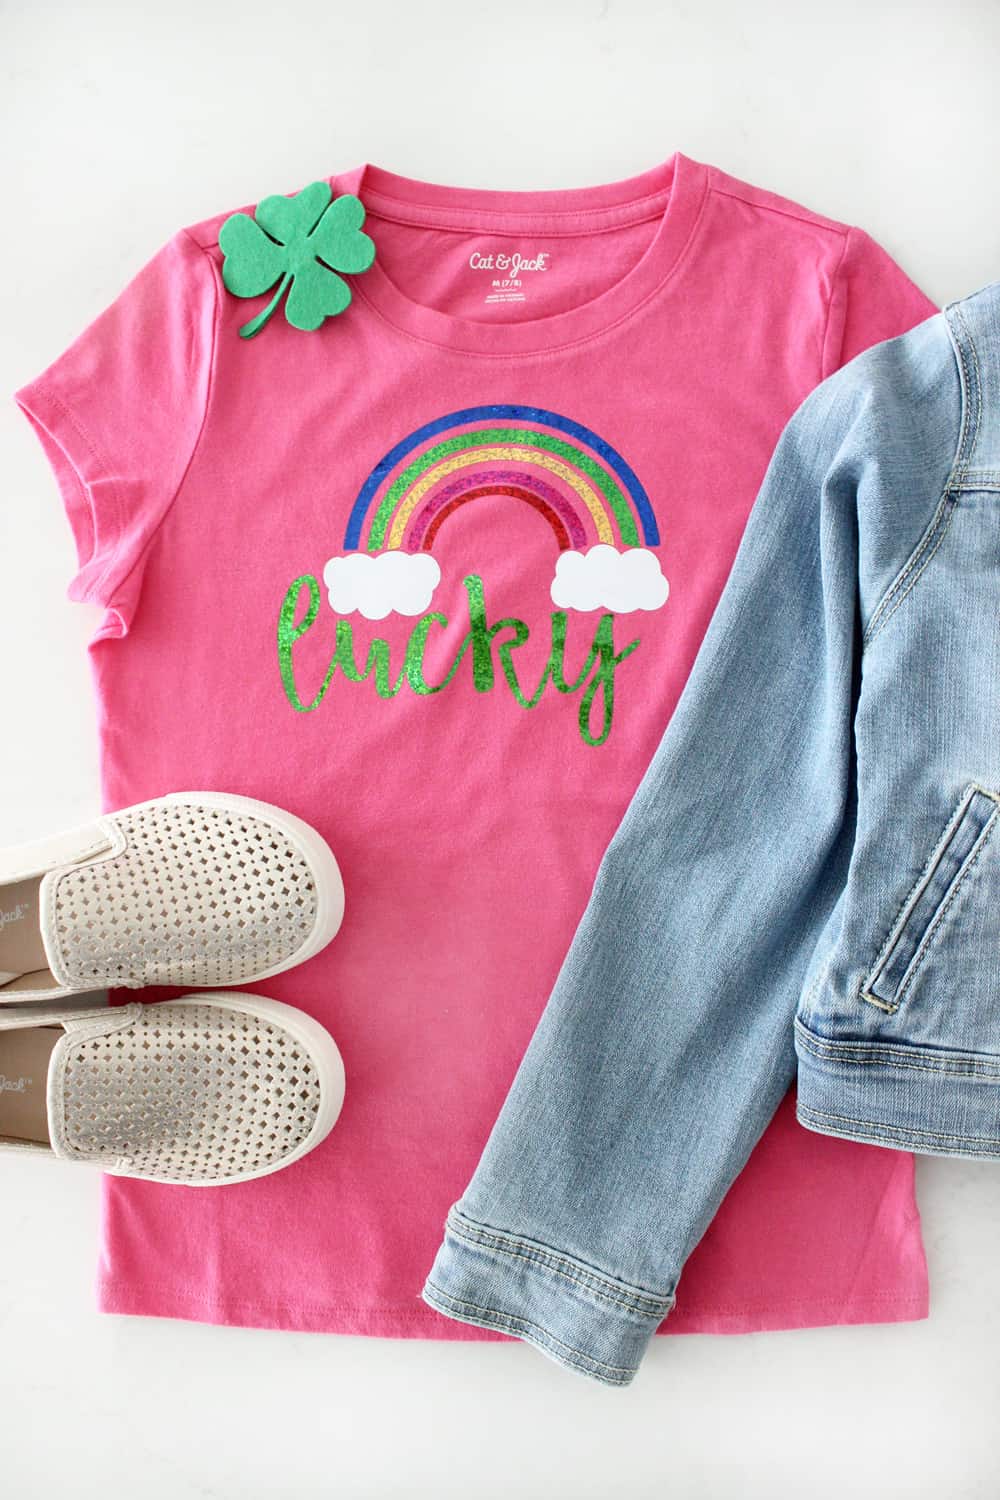
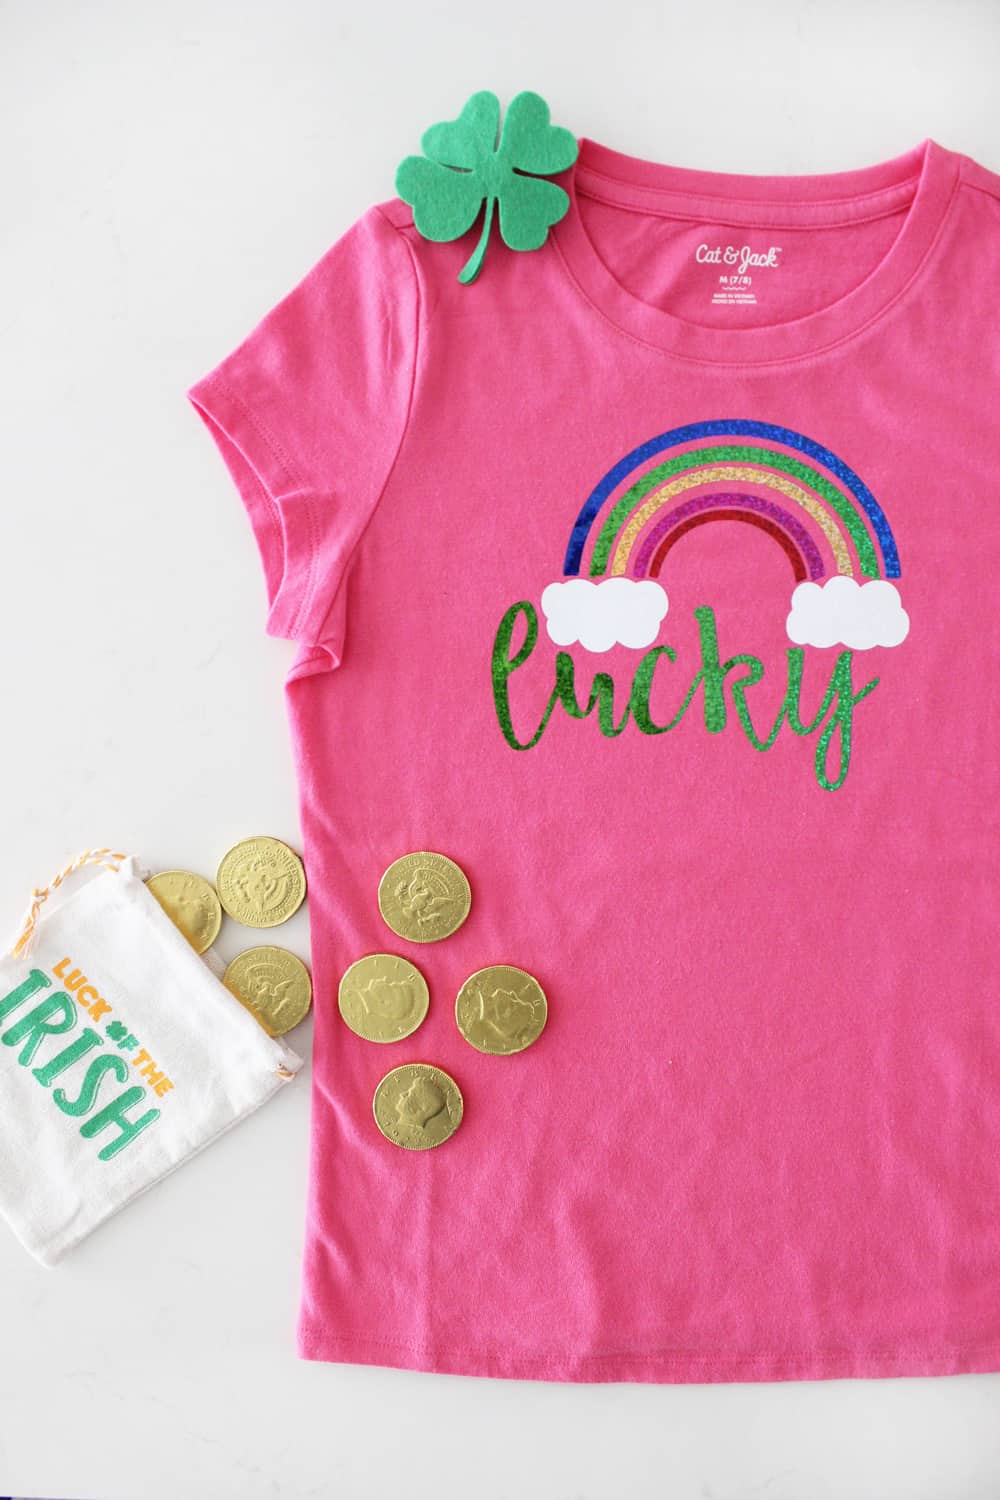
Hey friends!! I am so excited to share today's post. We don't do much to celebrate St. Patrick's Day around here, besides wear green, haha. I realized the other day when I was folding laundry that my daughter had literally NOTHING green to wear. Like, not one thing! Haha.
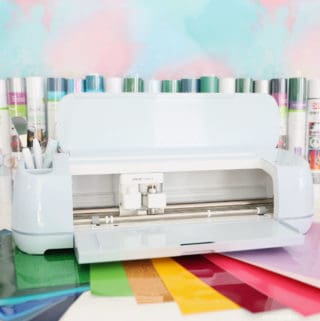
Thank goodness for my Cricut Maker and my tendency to stock up on cheap T-Shirts when they go on sale! I went into my stash and whipped up this cute St. Patrick's Day shirt and coordinating shamrock hair clip and I am so excited about them! Plus I feel like it's generic enough that she could wear it all summer if she wanted to- unlike lots of the St. Patrick's Day shirts you would buy in the store!
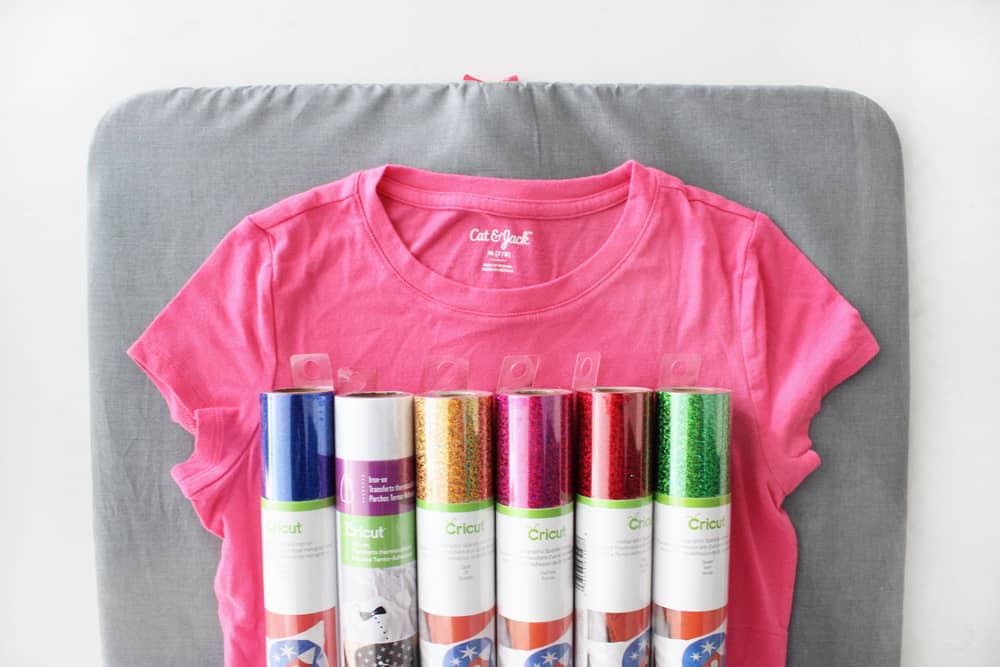
St. Patrick's Day Shirt Supplies:
- Plain shirt you like
- White glitter iron on
- Holographic sparkle iron on in red, yellow, pink, blue and green
- Cricut Maker
The most time consuming part of this project is having to cut six different cuts because of the clouds and the different colors in the rainbow. Honestly though, the cuts are so small that it went by super quick and easy! It's also fun to have so much leftover of each color. I cut the clouds in white glitter iron-on and the rainbow stripes in the various holographic sparkle iron on!
Open Your Design
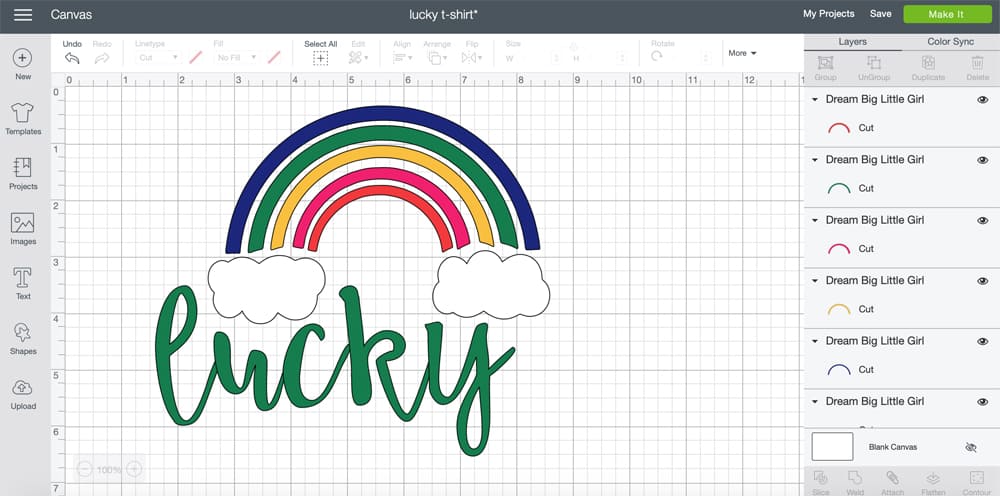
Because I wanted to use the holographic sparkle iron on I specifically designed this file so that the vinyl didn't overlap! You can find my file right here if you want to use it for your shirt! If you are making a shirt for a baby, an older child or an adult (my daughter is 6) then make sure to hit customize and adjust the size as needed before moving on to the next step.
Set Material to Iron-On
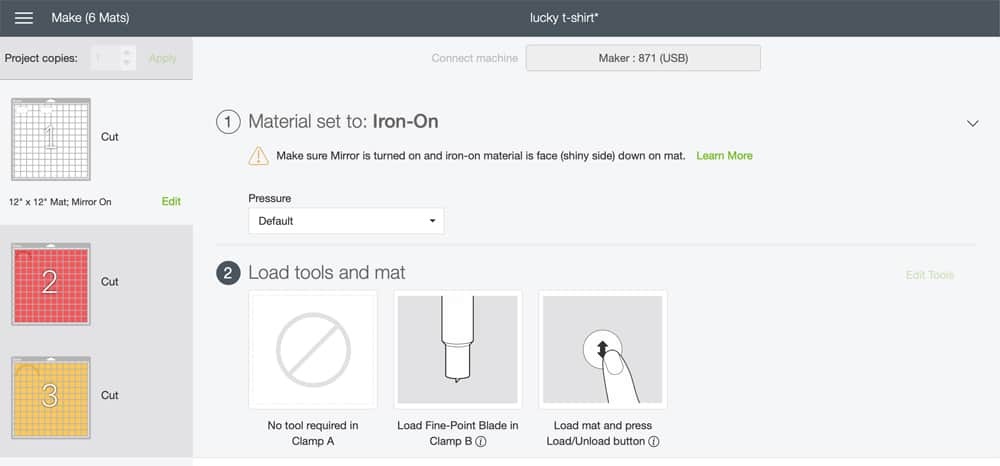
This can be one of the trickiest steps because you have to go in to edit EVERY CUT and make sure the mirror button is on (it will turn green when it is). The first time I did an iron on project with multiple layers I forgot to do this for one of them because I assumed it would carry over for all of them but it doesn't!
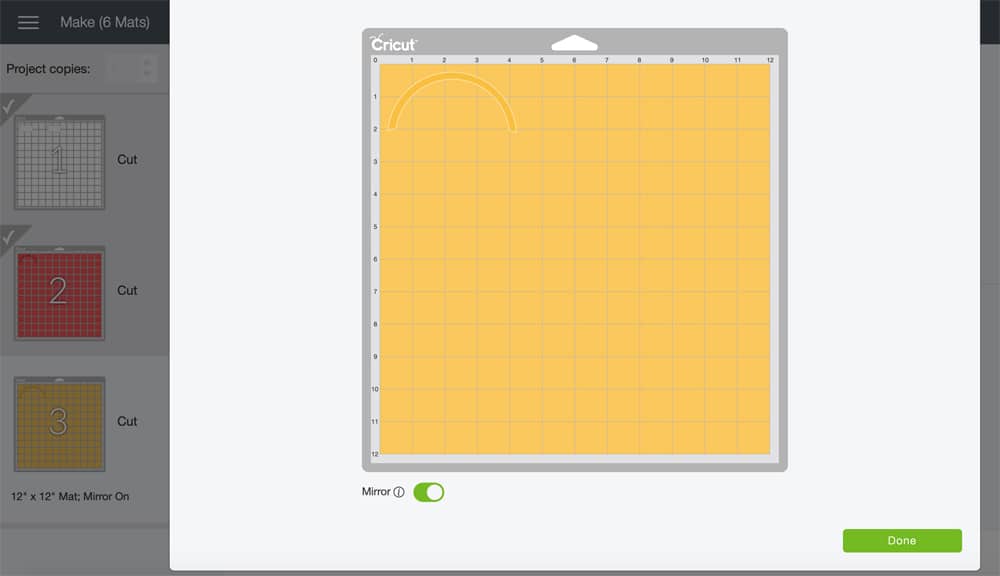
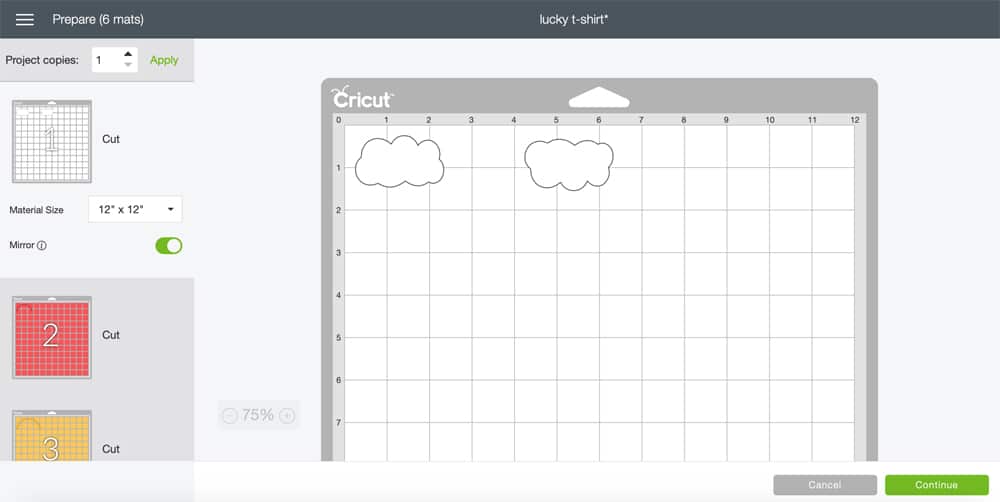
After you have set your first layer to mirror on, click continue to make your first cut! While the first layer is cutting I got the second layer prepped and ready on my mat so I could move right on to the next cut without wasting time in between.
Weed Your Design
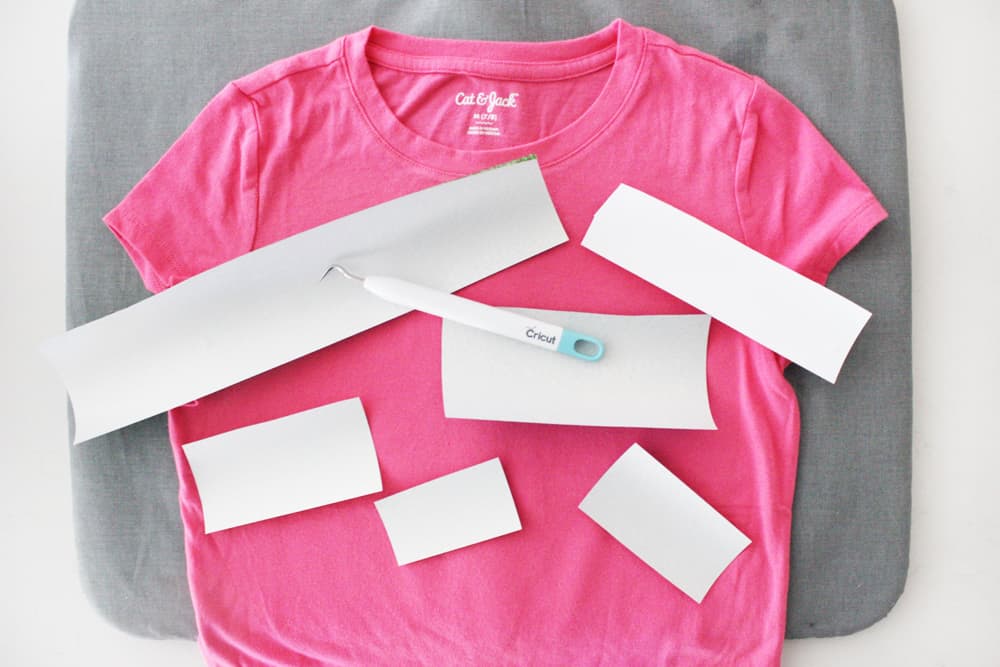
After you have all six layers cut it is time to weed your design! I love this weeding tool set.
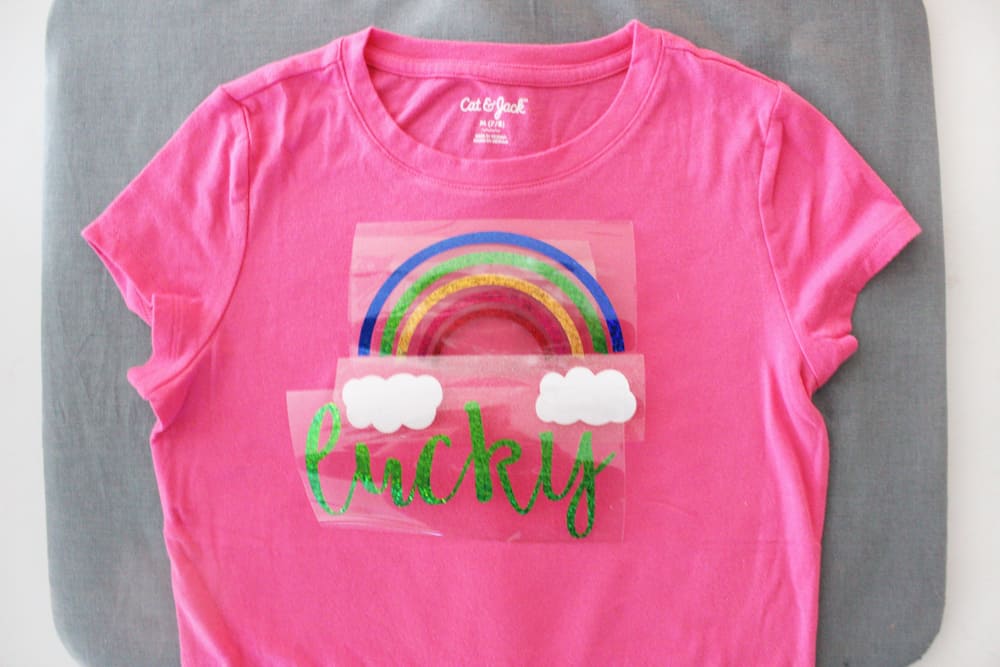
Once all your layers are weeded lay them out on your shirt to get an idea of where you want your design to lay.
EasyPress Your Design
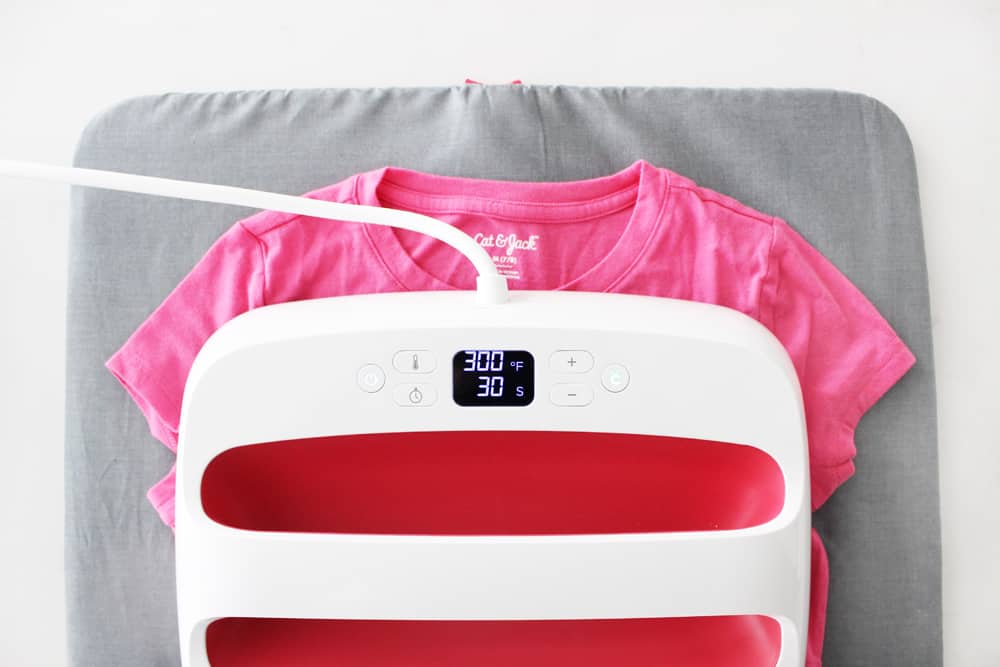
Now you are ready to iron on your design! Preheat your shirt for 5-10 seconds before ironing on your first cut. I started with the clouds, and then smallest rainbow piece to the biggest, and added the word lucky last!
For this project I kept my EasyPress temperature at 330 degrees, and did each layer for 30 seconds! Make sure you are only ironing on one layer at a time and distributing heat evenly.
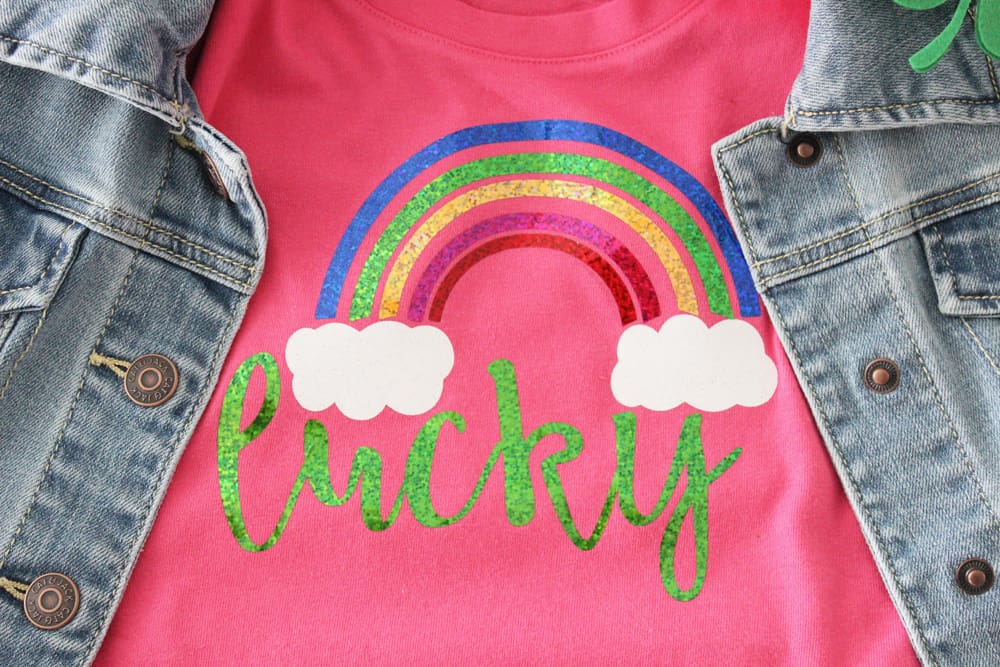
Didn't it turn out so fun? Now who is ready to make our shamrock hair clip?!
Shamrock Hair Clip DIY
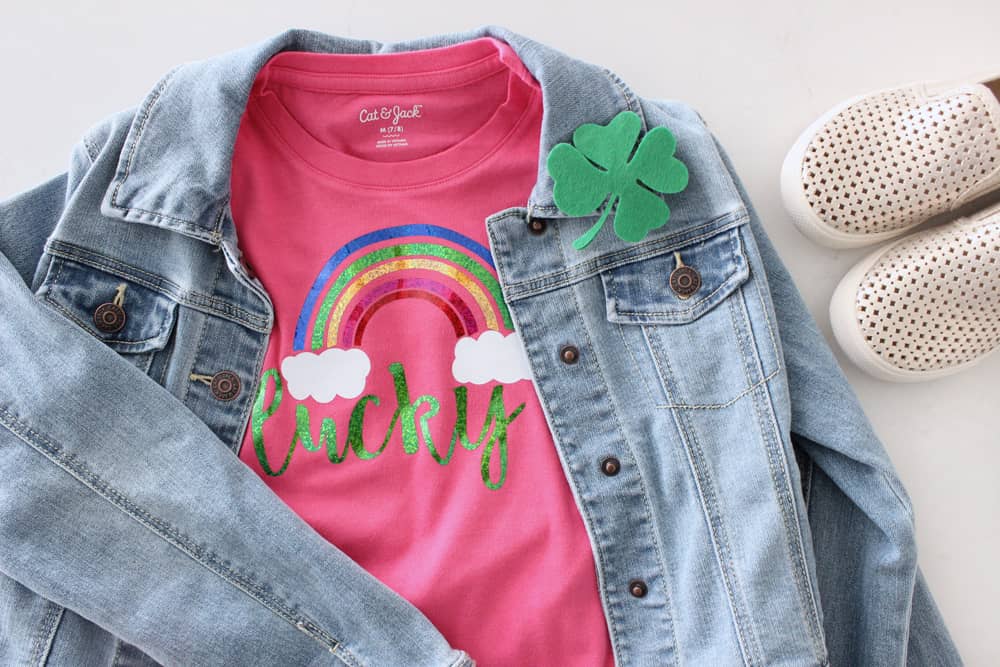
St. Patrick's Day Hair Clip
Supplies
How to Make a Felt Hair Clip
First step to making your own shamrock hair clip is to open this file in design space!
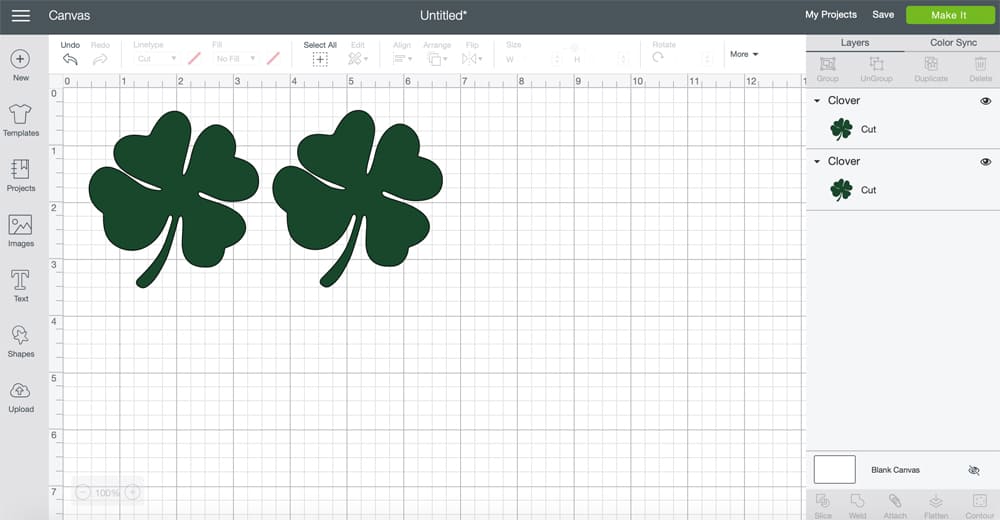
Click "make it" and make sure your material is set to felt. You are also going to want to load your rotary blade in your maker at this point.
If you haven't used your rotary blade to cut felt yet, you are in for a treat. It literally cut like a dream and it was SO fast! I honestly can't wait to make a bunch more hair accessories soon.
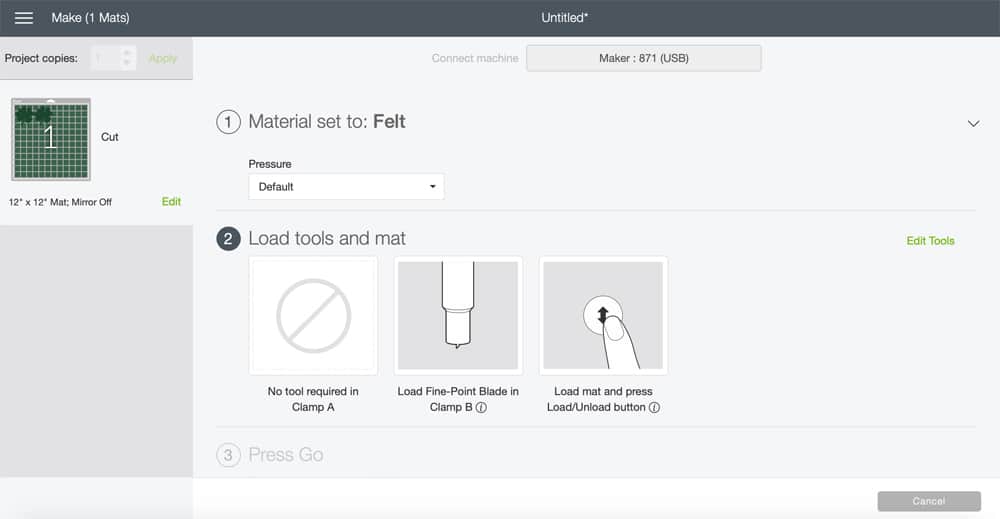
Once you've selected rotary blade instead of a fine-point blade it is time to load your mat onto your Cricut maker and cut your design.
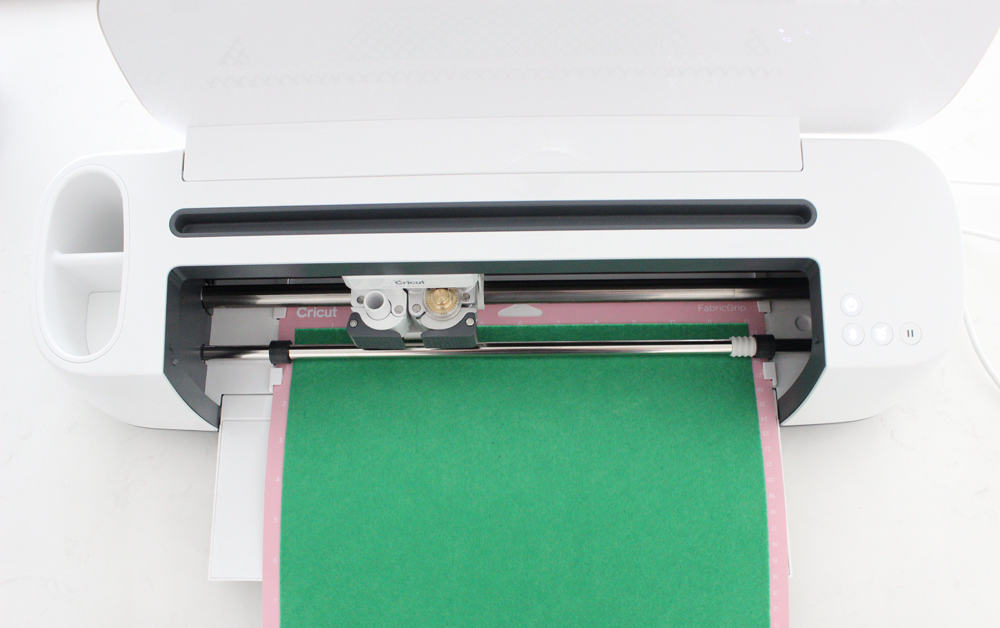
Weed Your Design
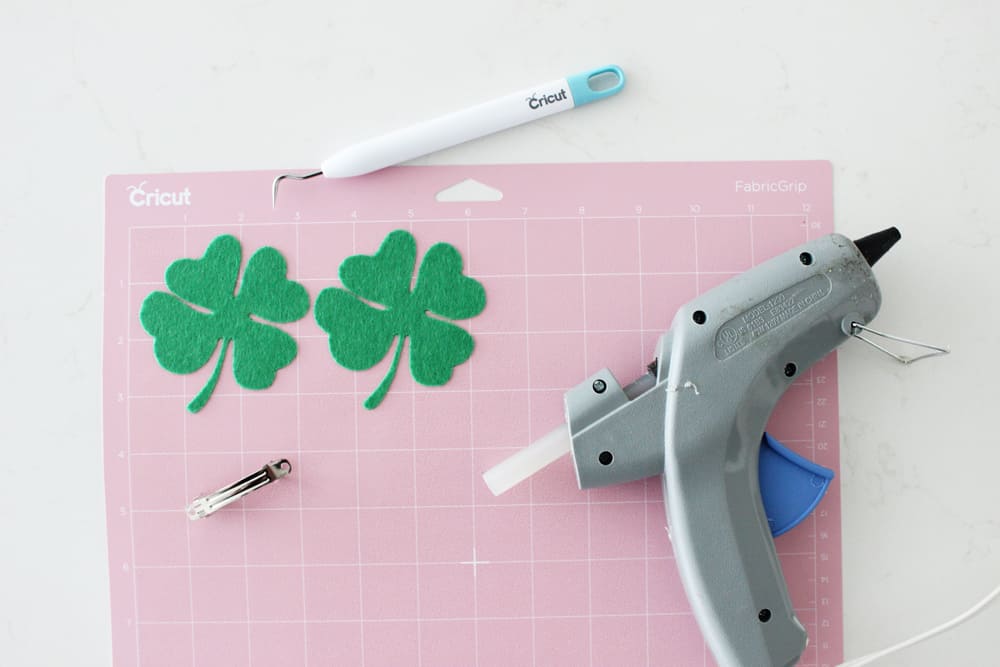
At this point, weed away your excess felt, and get your materials ready! All you need is a hot glue gun, and a hair clip of any kind!
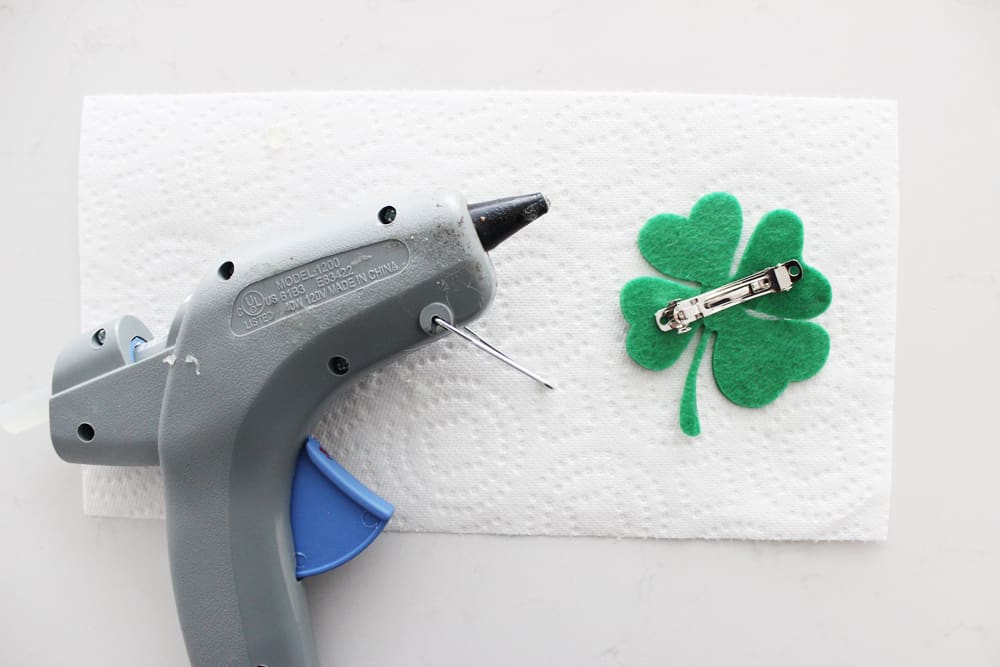
Next, hot glue your two shamrocks together (so that it is a little more durable and won't let light shine through) and then glue your shamrock onto your hair clip! Easy as pie!
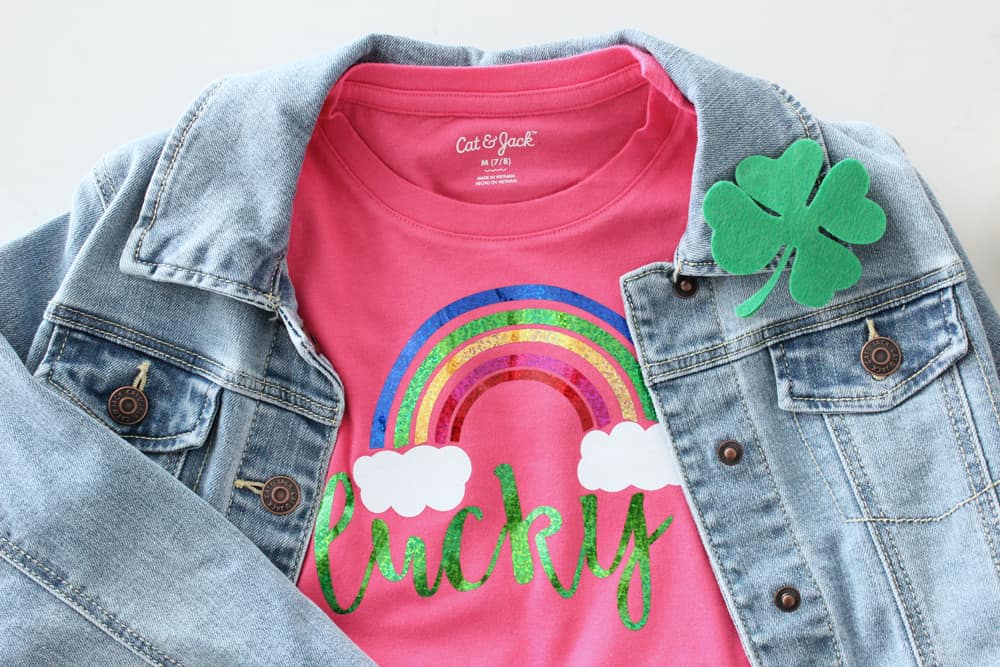
Pair it with a jean jacket and some cute gold shoes and your little one is ready to rock St. Patrick's Day!
Happy making friends!
xo,

I love the little shamrock!! Such a cute idea to add a touch of green.
This design is so cute and I love it on the pink shirt!