DIY Pantry Organization
You will love this pantry makeover full of pantry organization ideas, pantry storage ideas, and tips for beautification!
I can honestly say I have been dreaming about writing this post for a long time! When we moved into this house, the large walk in pantry was one of my very favorite features. Over time though, it began to be a catch all for anything we needed stored. Pantry organization was non-existent and it drove me more and more crazy as the years went on!
Tackling a project this big takes time, money, and hard work- but now that it's done I wish I would have done it years ago! Isn't that always how it goes? First things first, you ready for some before and after photos?
Best Pantry Organization System: Before and after photos
When you first walk into our pantry, this is what you used to see...
Here is what you see now...
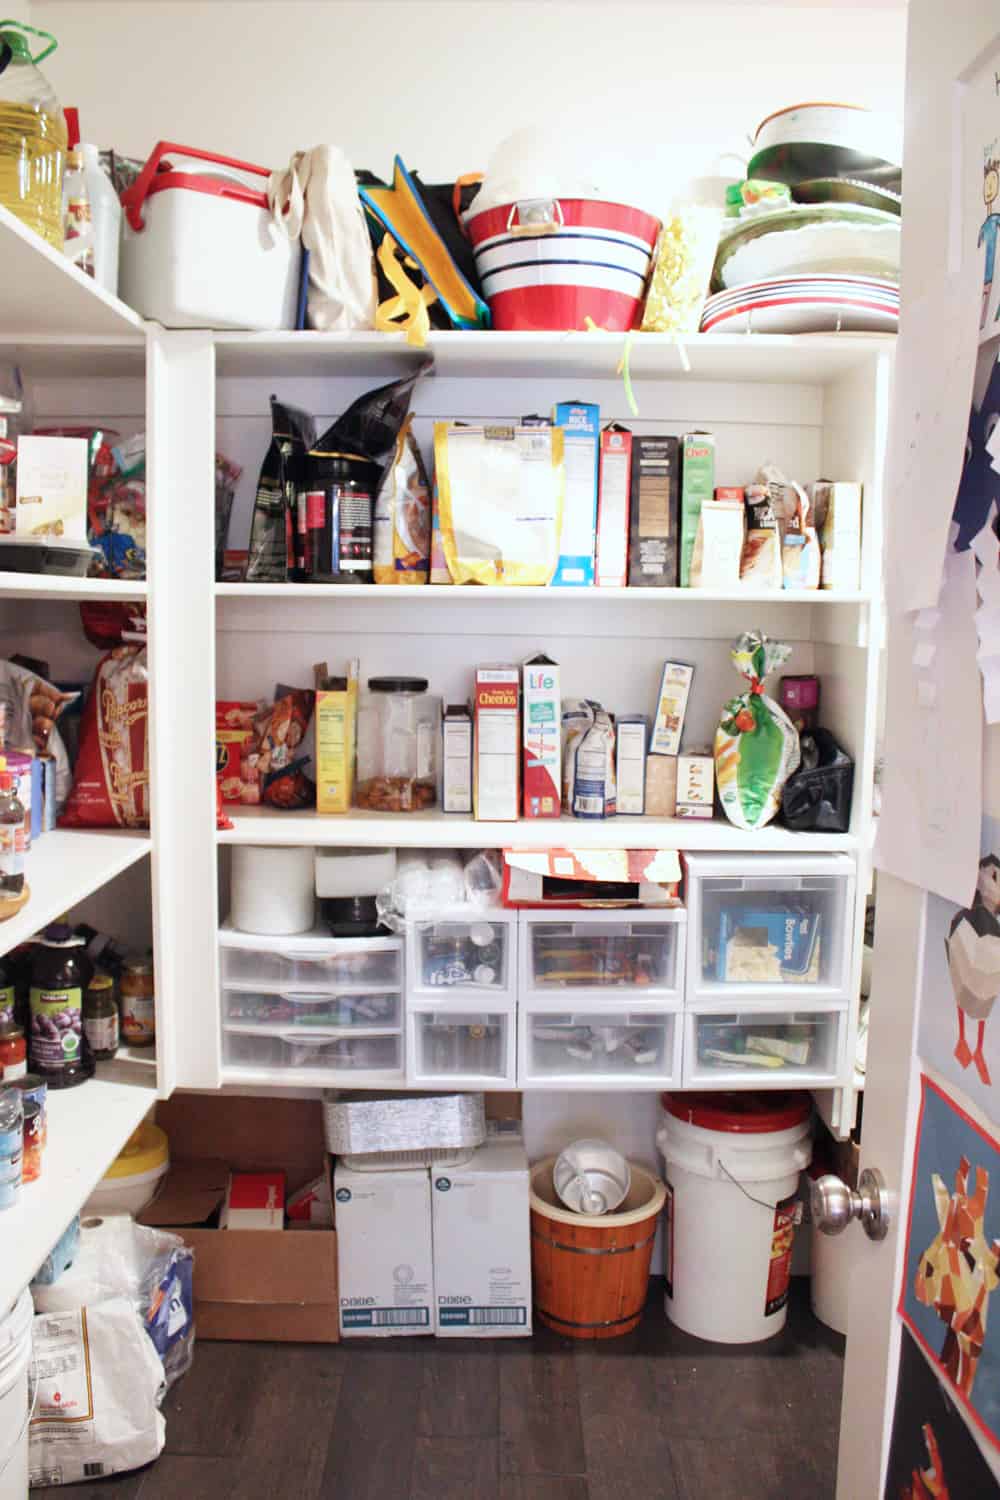
When you turned the corner to the rest of the pantry here is what you used to see...
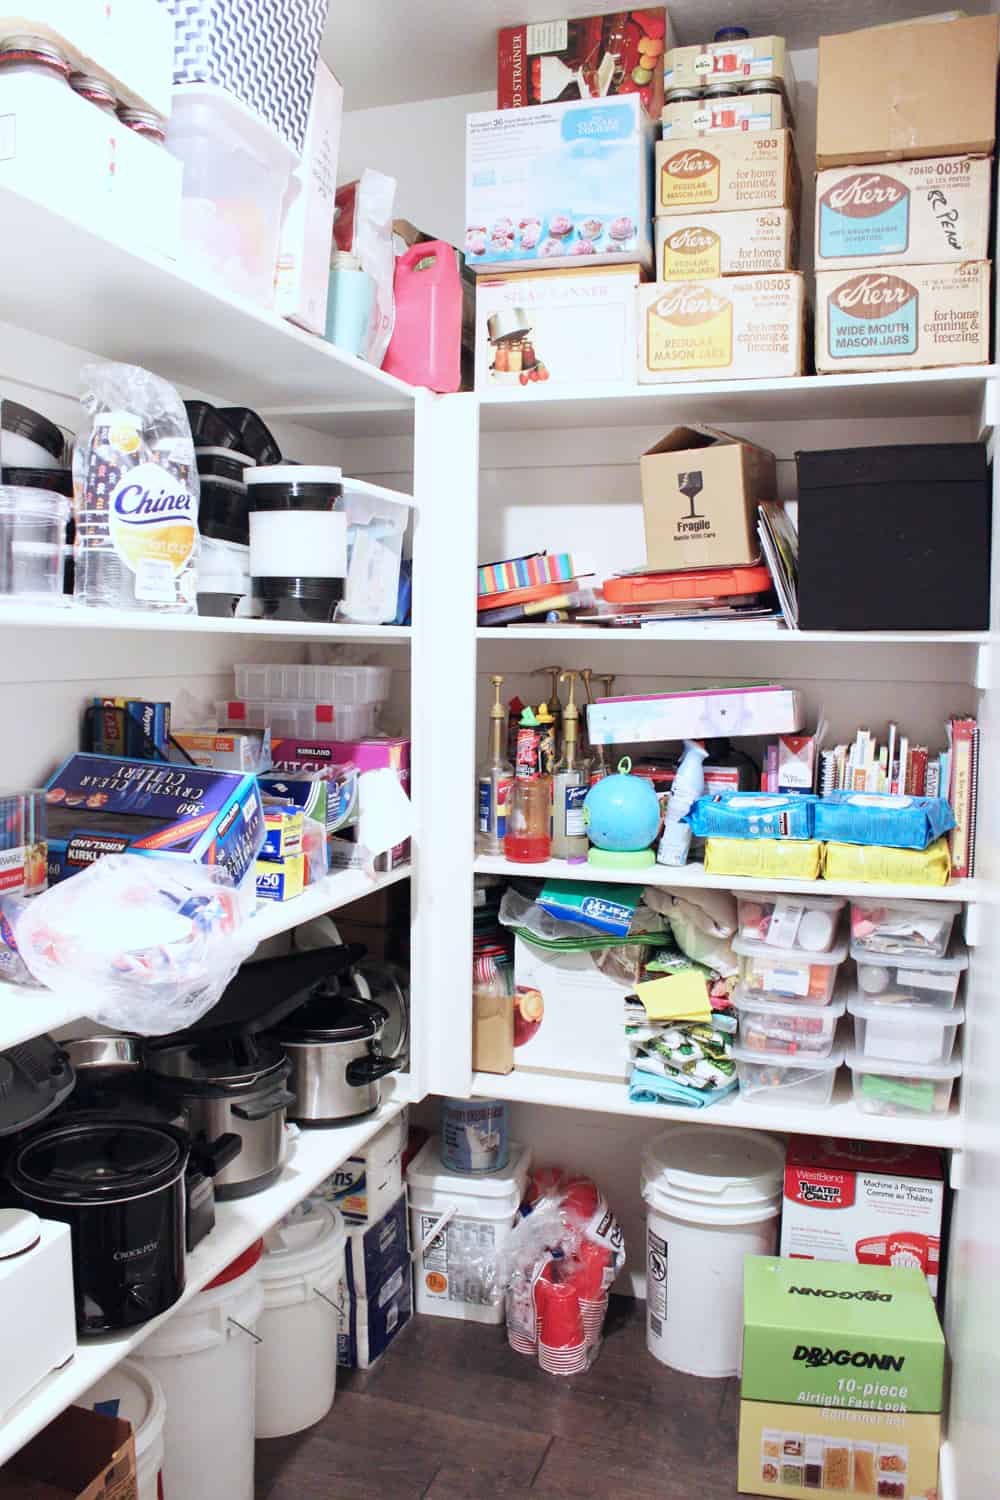
You can see how it was kind of a catch all- haha!
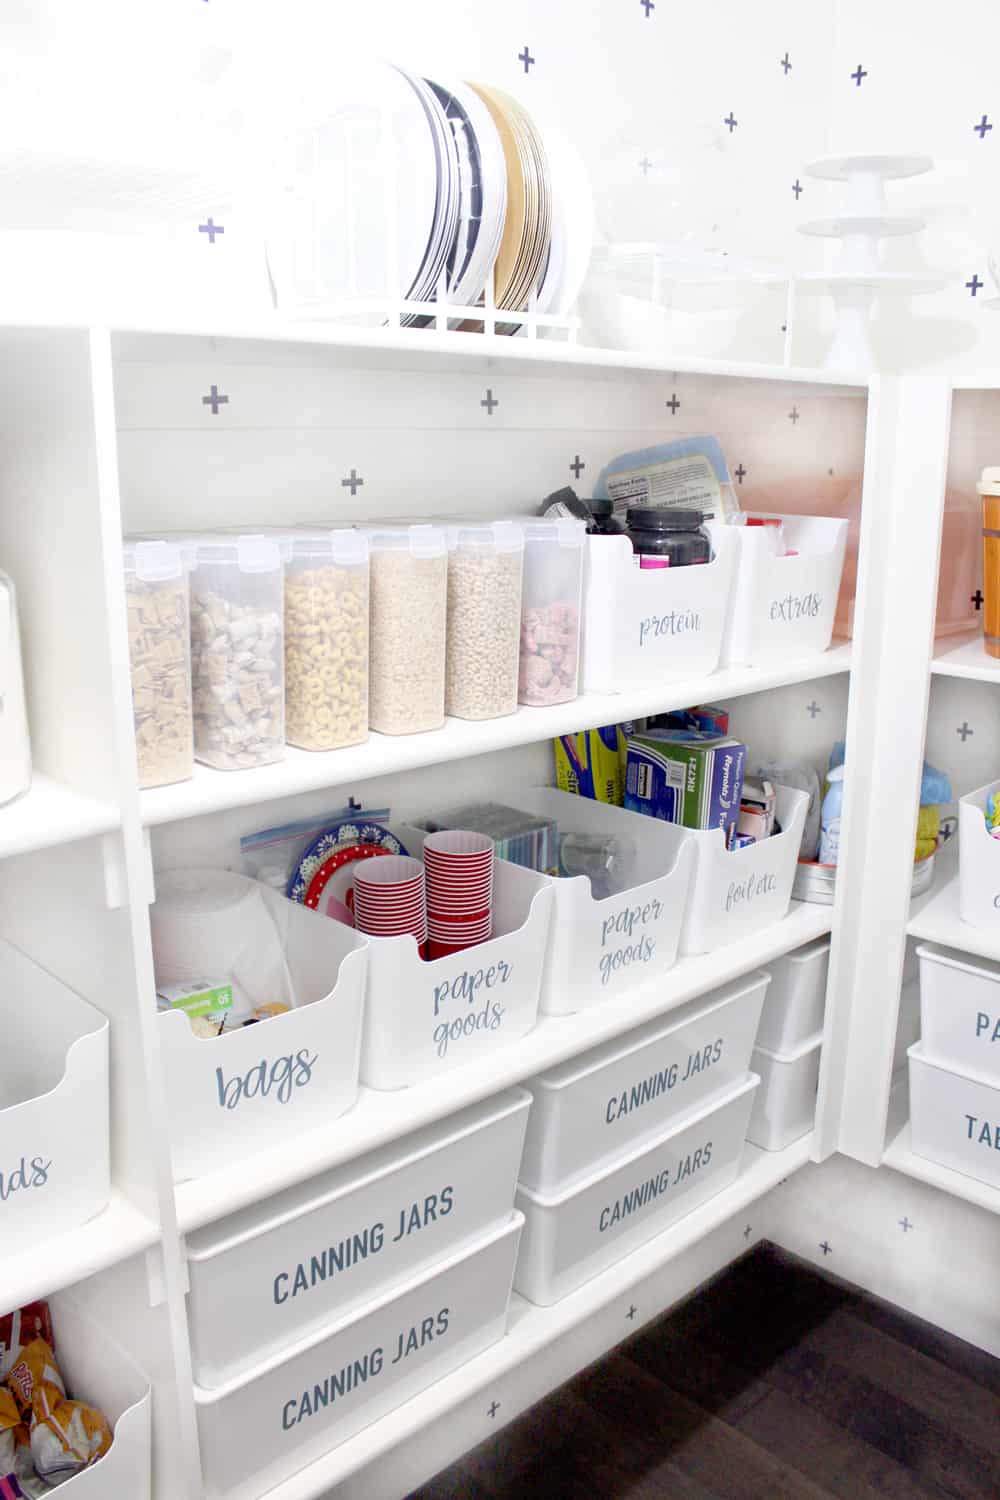
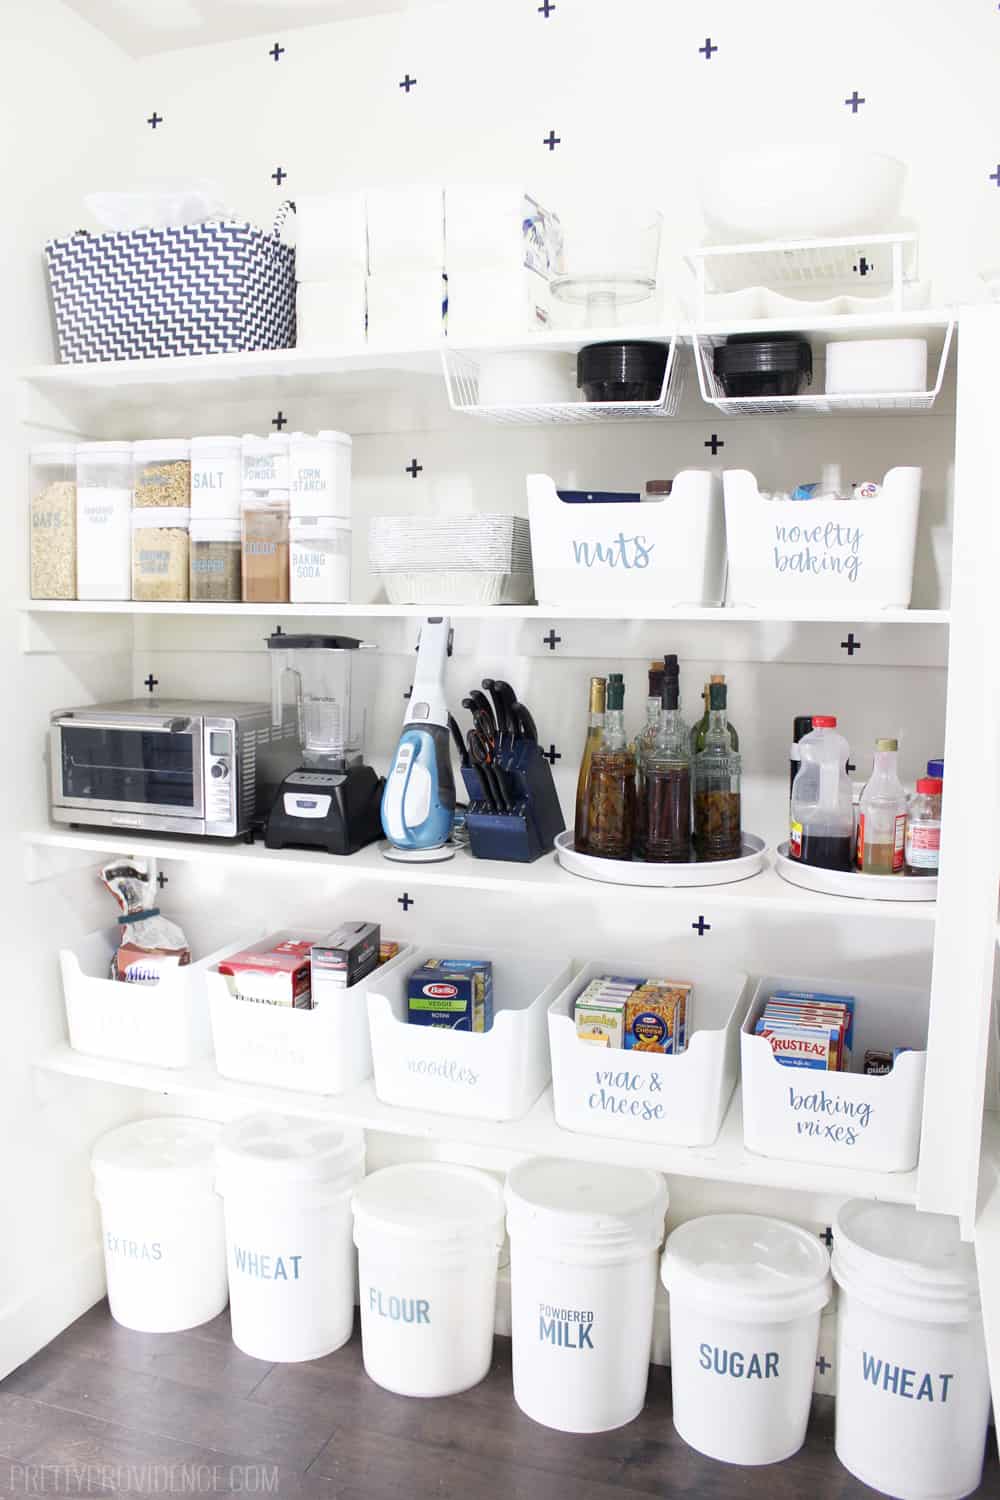
Here is what you see now...
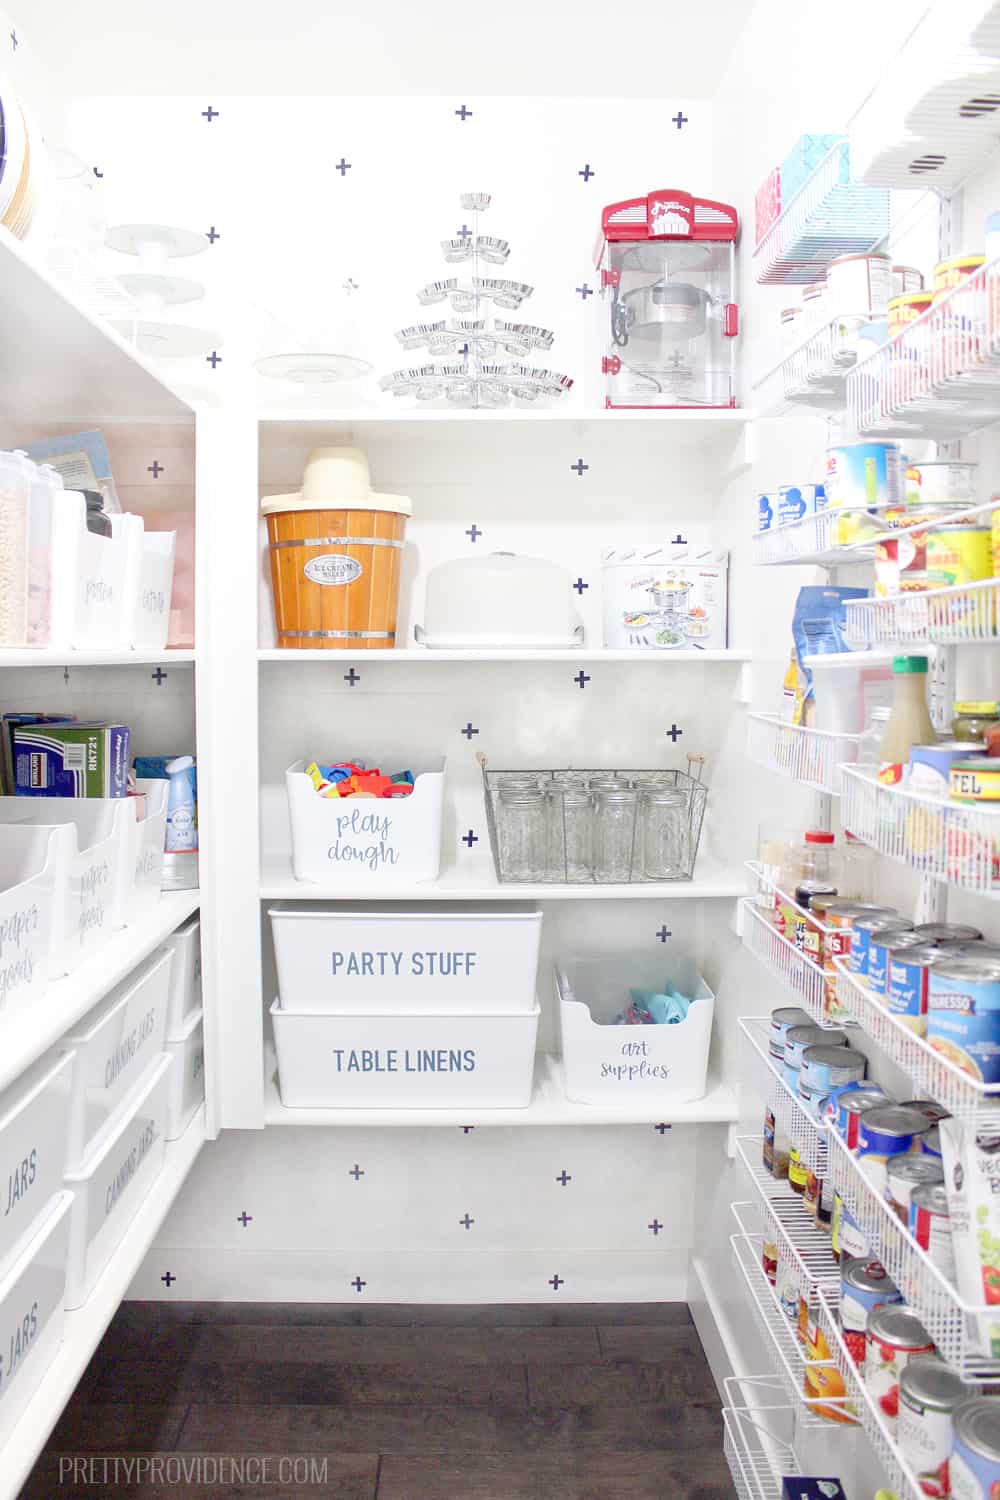
Can you believe it's even the same space? I can't! Every time I walk in there I can't help but smile. Even if you don't want to spend the time and money to beautify your pantry, you can still make a massive change using what you have!
Here are my go-to pantry organization tips, a step-by-step breakdown for how I organized my pantry from the very beginning!
*This post contains affiliate links.
Pantry Organization Bins and Staging: How to
Here is a little video to show you exactly how I organized my pantry!
Now here are all the written instructions on each step in order!
Step One: Clear Everything Out
I think this might be the hardest step for me! I hate clutter and it makes me insane when my house is a mess. Well, when I was doing my pantry makeover my kitchen and family room were a straight up disaster for a week straight (if you follow us on instagram, you KNOW from stories).
That being said, there is something so motivating and encouraging about a fresh blank space!
Step Two: Wipe Everything Down
You will be appalled at how much dirt and grime is buried in a place where you store food (at least I was)! I am sort of a clean freak but man, it's amazing how quickly dust can accumulate. Not to mention how many sticky spots you find when you live with four little people under seven years old! Scrubbing and sanitization for the win!
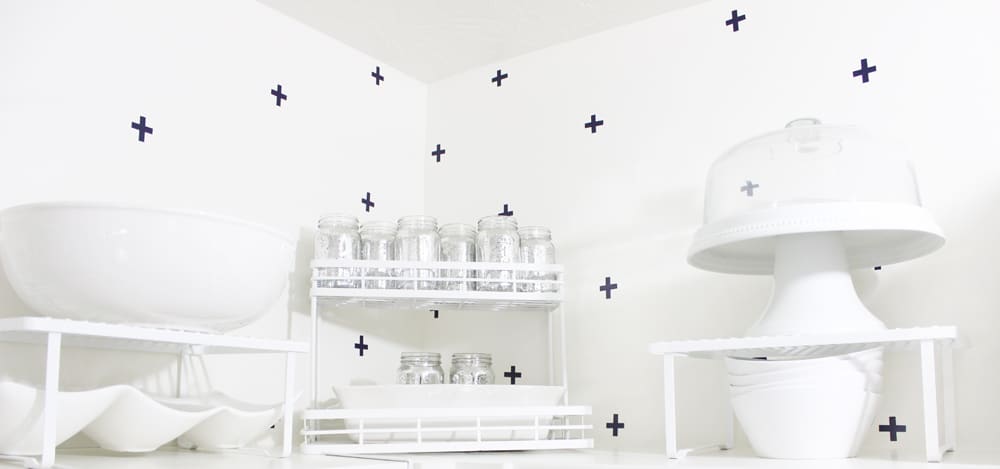
Step Three: Beautify Your Walls and Shelves
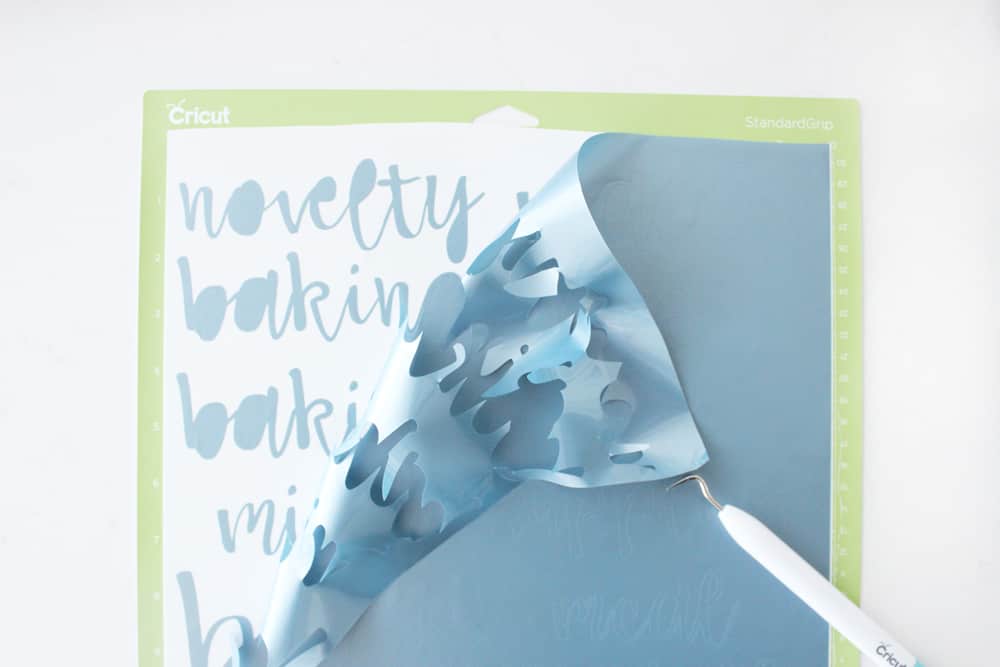
When I say beautify I am thinking of painting (or touch up painting), wallpapering, shelf liners, hole patching etc. Basically anything you need to do to prepare your walls and shelves before adding things back in! For this post I decided to make my own vinyl DIY wallpaper using my Cricut and I'm in love with how it turned out!
How to Make and Apply Your Own Vinyl Wallpaper:
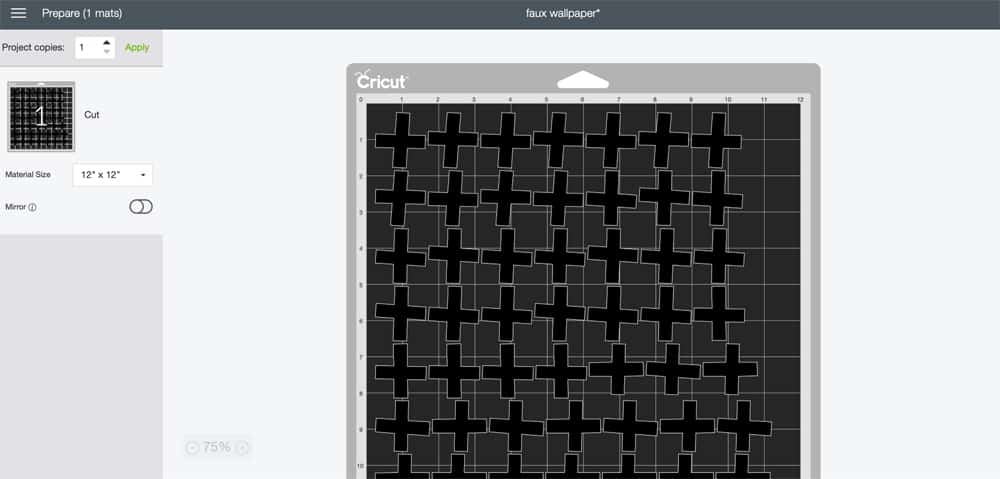
I highly recommend making your own vinyl wallpaper! It is super affordable, easy to make and apply, makes a big statement, and can be changed out easily! It doesn't really get better than that. For a step by step tutorial on how to make your own vinyl wallpaper.
For my pantry I decided to go with a messy plus sign pattern. I liked that it was crooked because then there was less pressure to apply them exactly straight! If you want to use my design space file you can find it here.
Step Four: Organize your Pantry
Now the fun begins! It can be a real art to find pantry storage bins and baskets to fit your exact needs! Not to mention all the other odd items you need to find a place for. I scoured the internet for weeks, reading reviews and dimensions, then I visited every store front around me that might have anything home organization before I decided on what I wanted to use in my pantry.
Here are all the details.
Pantry Organization: Ikea and other storage ideas
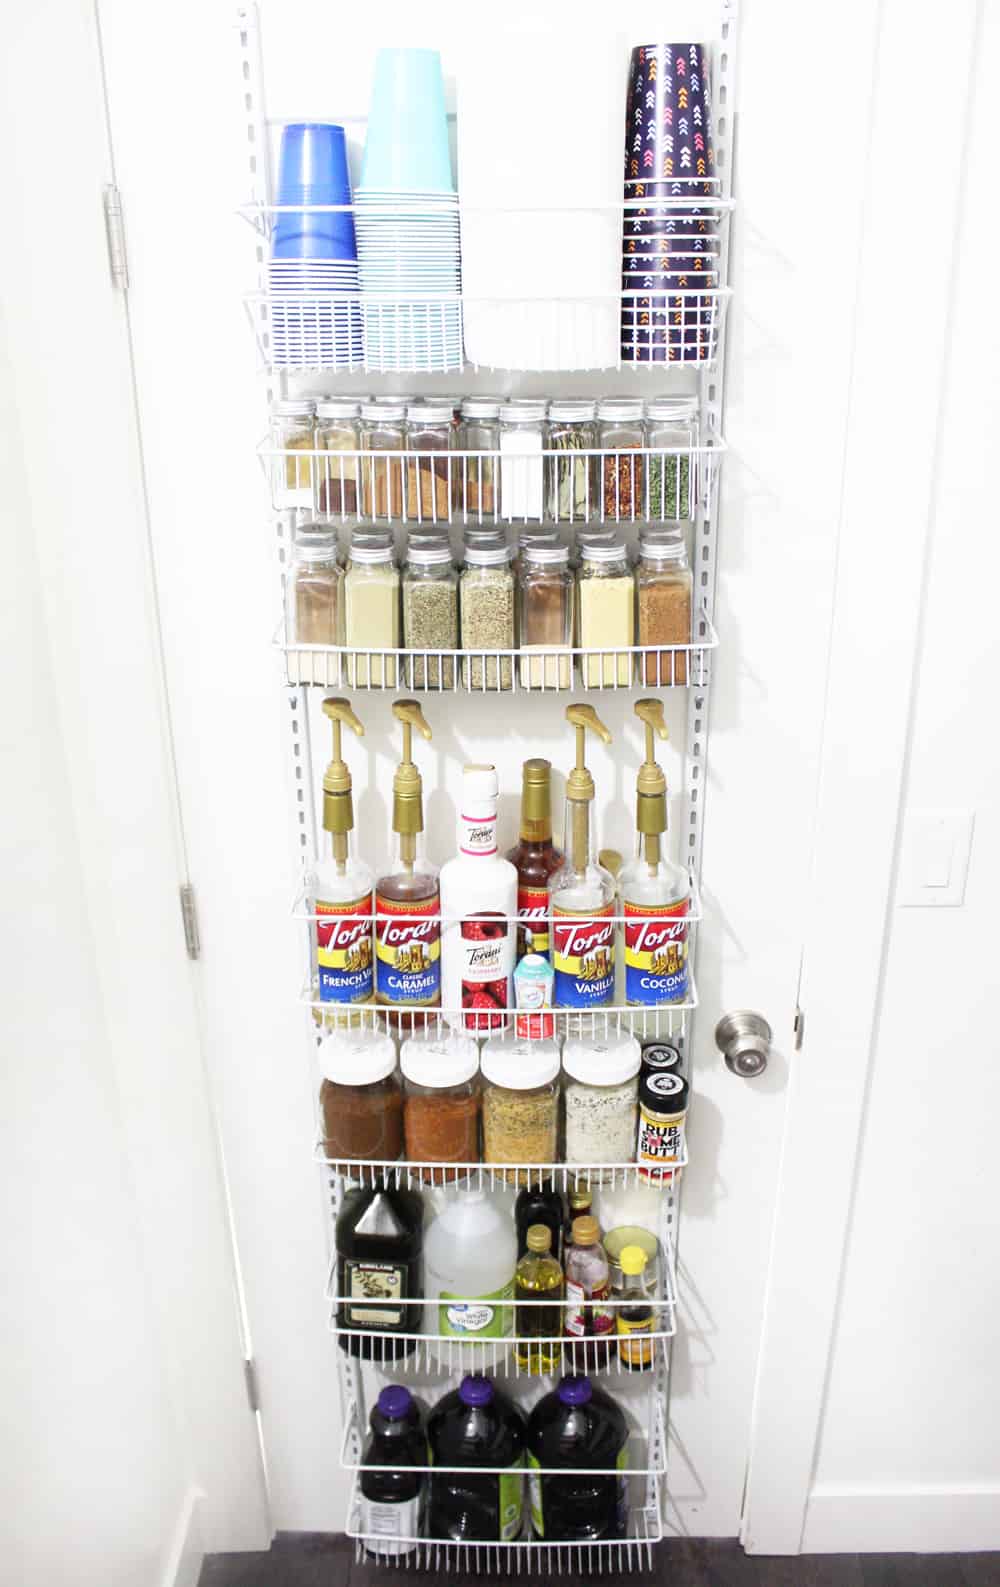
Wall Hanging Can Storage in Pantry
The first thing I bought for my pantry was this over-the-door or wall hanging storage rack. I had had my eye on one of the elfa storage systems at the container store, but they are so expensive and I really wanted to have money for lots of bins. When I found this copycat I could not believe the $32 price tag, and when I saw over 2,000 five star reviews it was a done deal. I actually bought three of them!
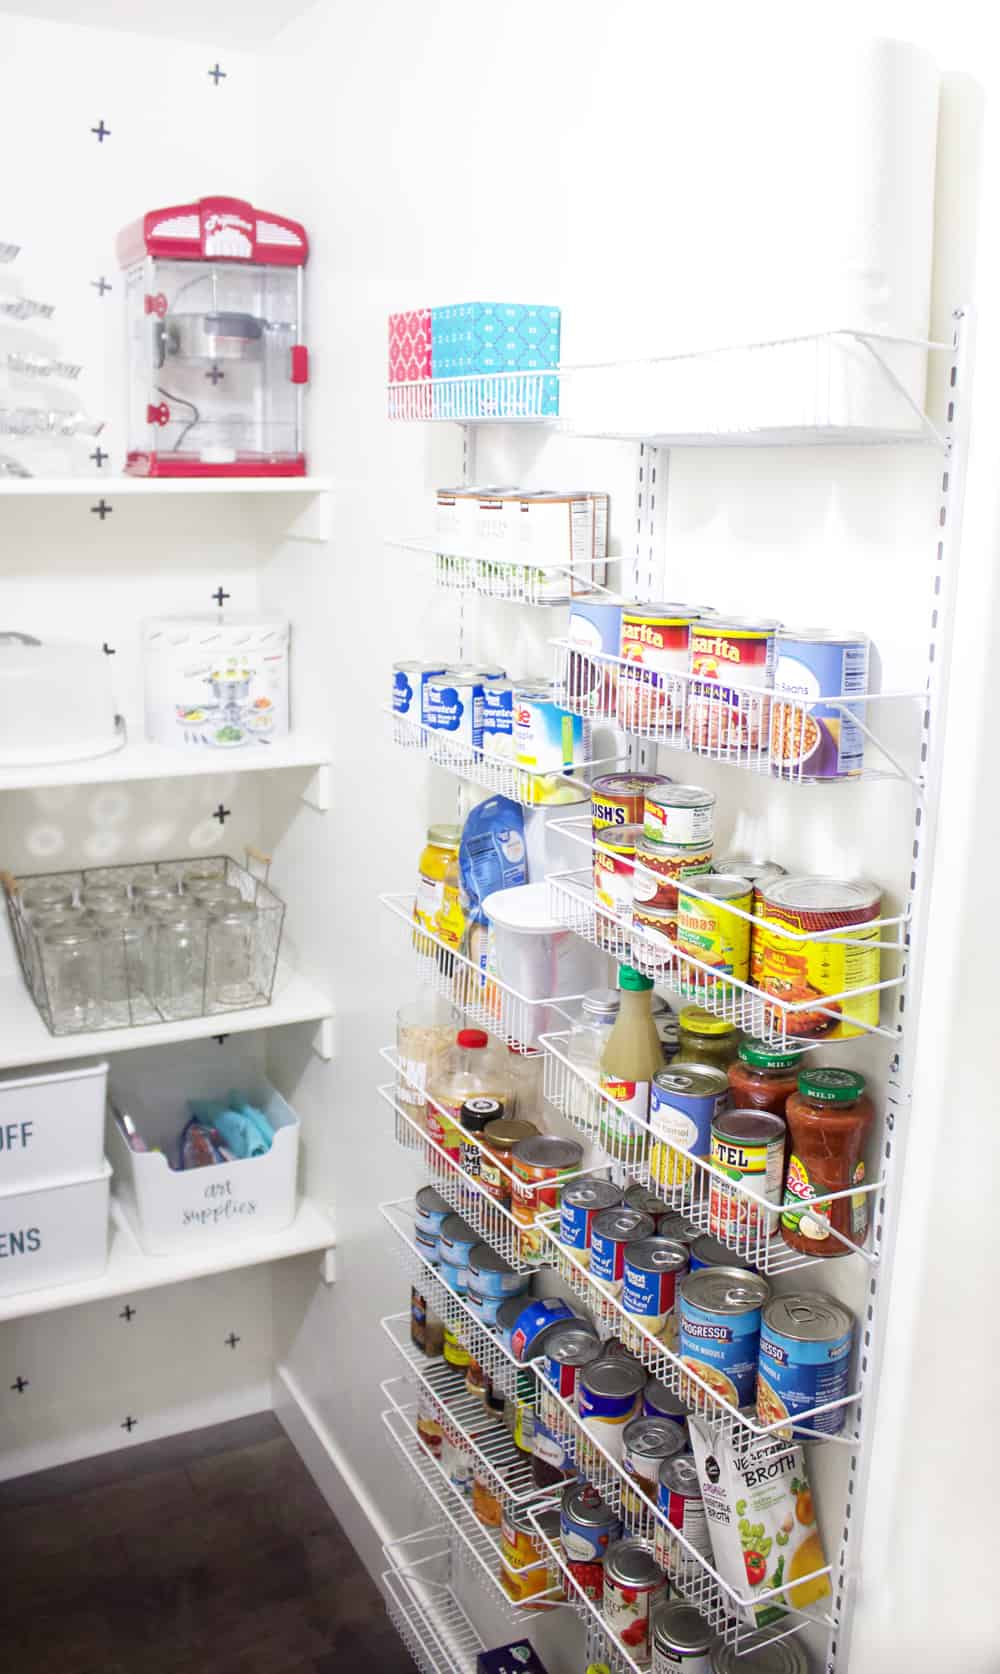
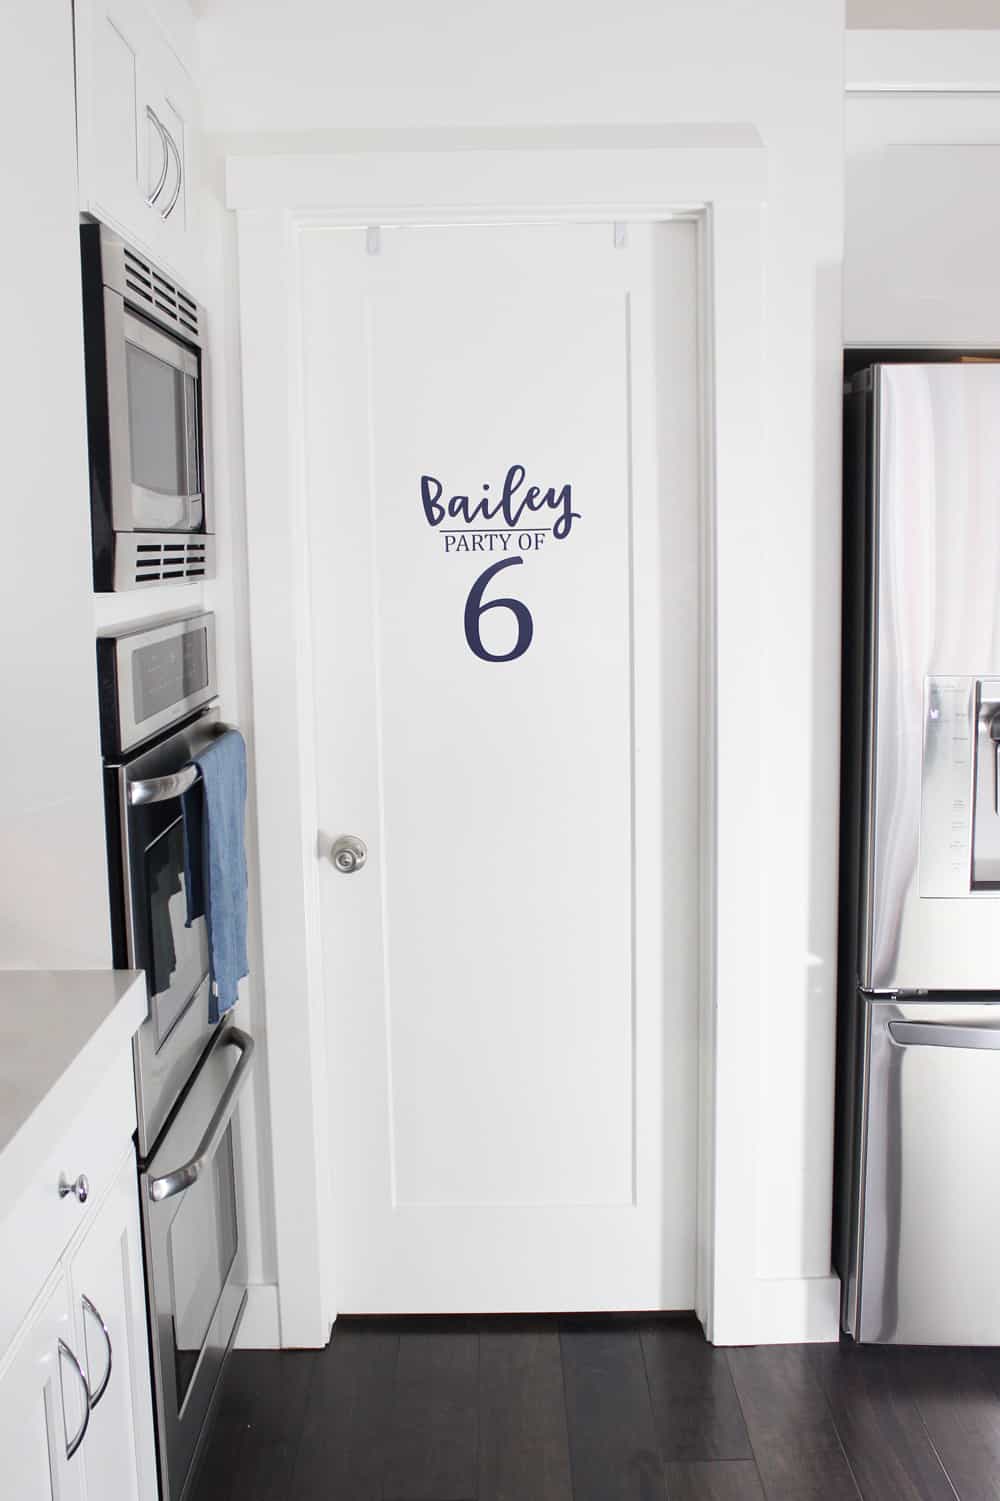
The other two are hanging on the blank wall, and they are perfect to store cans, dressings, tissues, paper towel rolls-- really anything! Just make sure that if you are planning on using them for heavy storage (like cans) you need to drill into studs, and I always try to put the lightest items at the top and the heaviest on bottom!
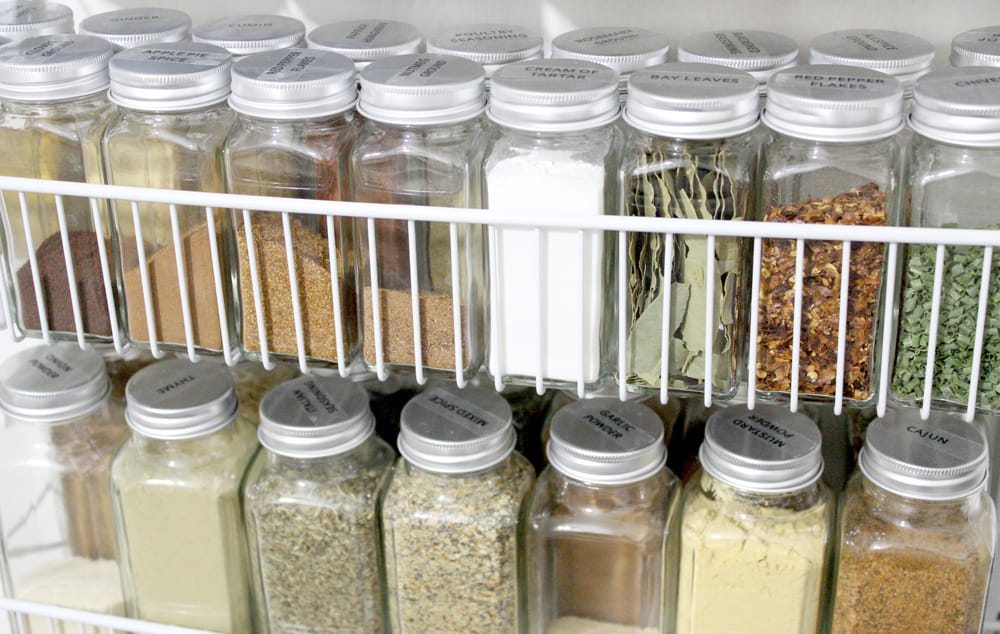
Spice Storage
Before, I had two cupboards stuffed to the brim of random spice jars and I could never find anything! Spices should be easily accessible and I knew that's what I wanted in my new pantry. I also wanted clear jars, both for looks and functionality so that I could easily see what was inside to narrow down my search.
I bought these 8 oz. jars and these 4 oz. jars and they have been perfect! They came with a few different types of labels and I used the clear ones on the jar lids so I can easily scan to see what i'm looking for while the front view stays aesthetically pleasing.
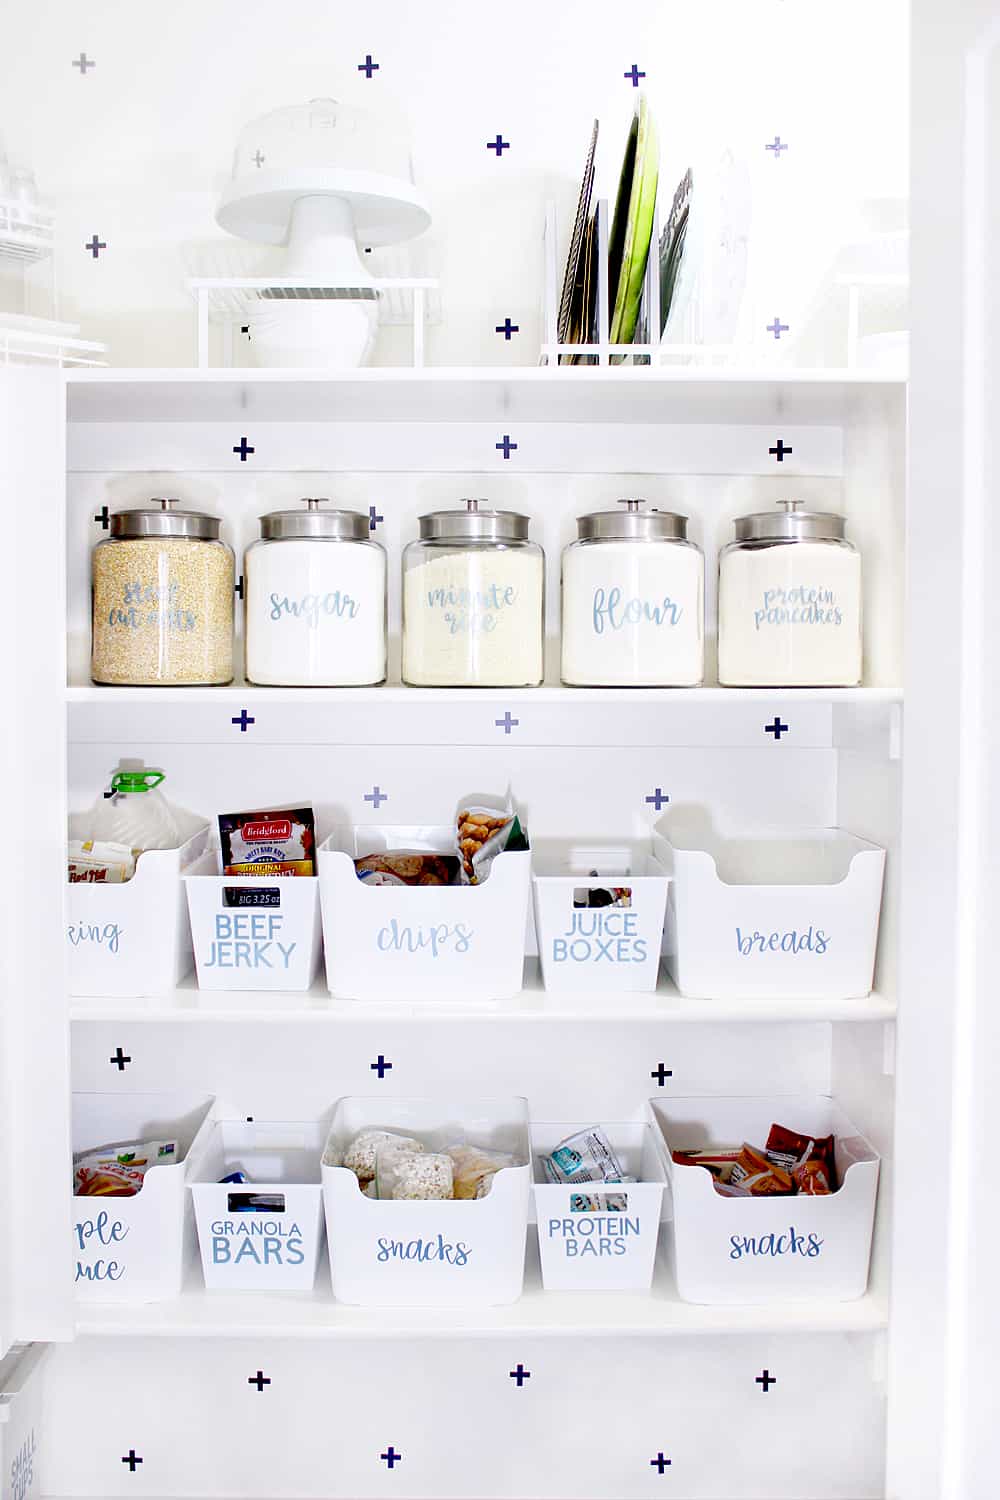
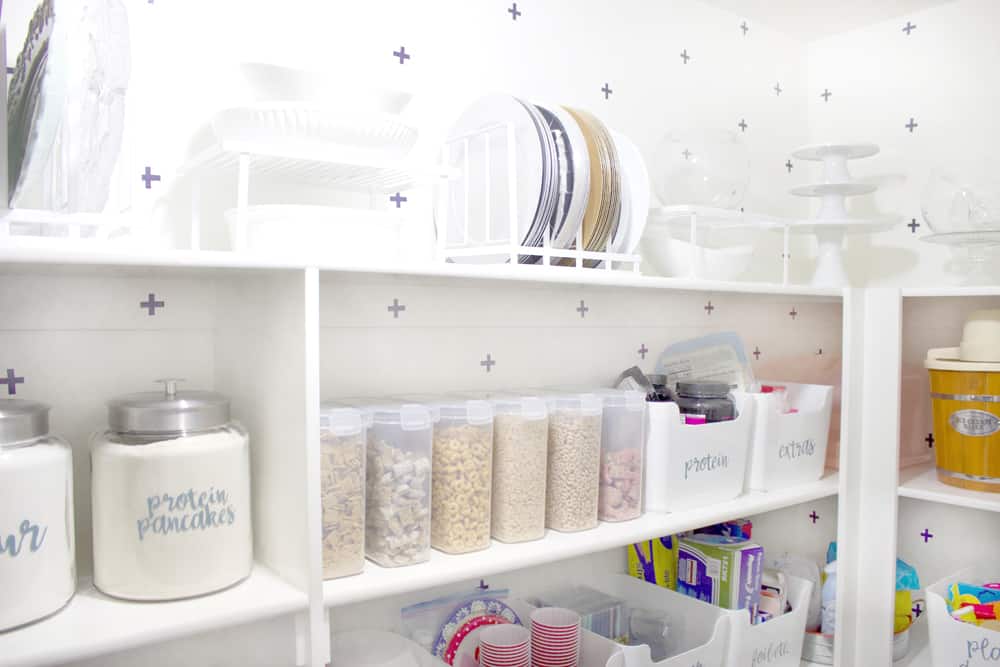
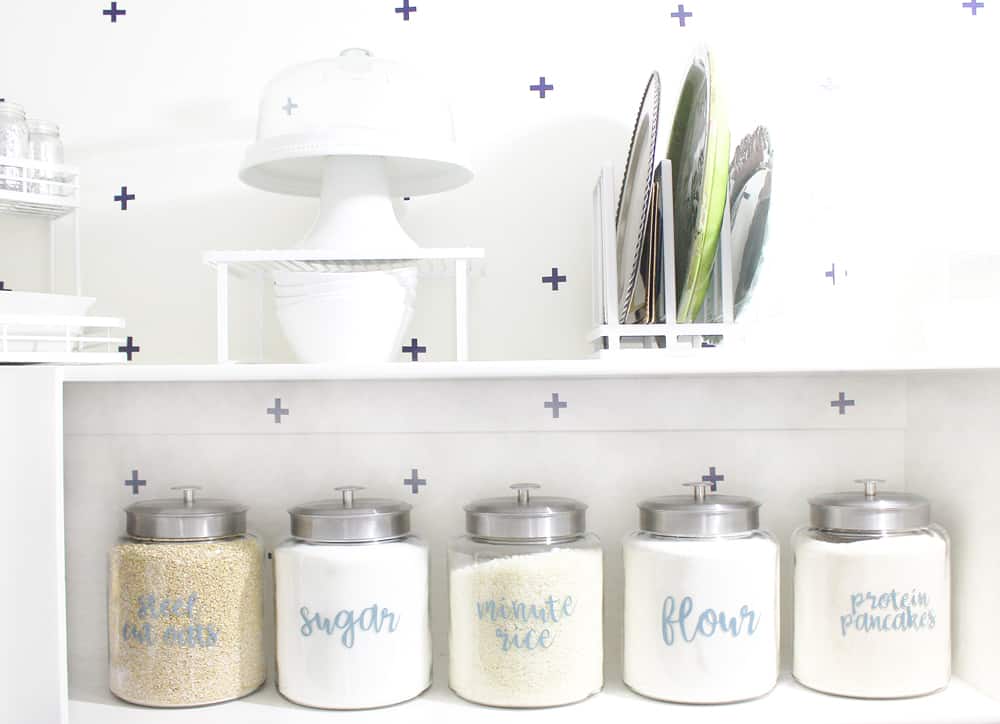
Large Airtight Glass Jars
I knew I wanted a row of large glass jars to be a focal point upon entering the pantry. I was really excited to find these 2 gallon jars for such a good deal! We put the five things we used the most in them, so they are super functional as well as pretty!
Lazy Susans
I wanted a lazy susan in our pantry for peanut butter, syrup and other things like that we frequently use. After getting organized, though, I ended up using three! I used two of this kind and one of this and I love them both!
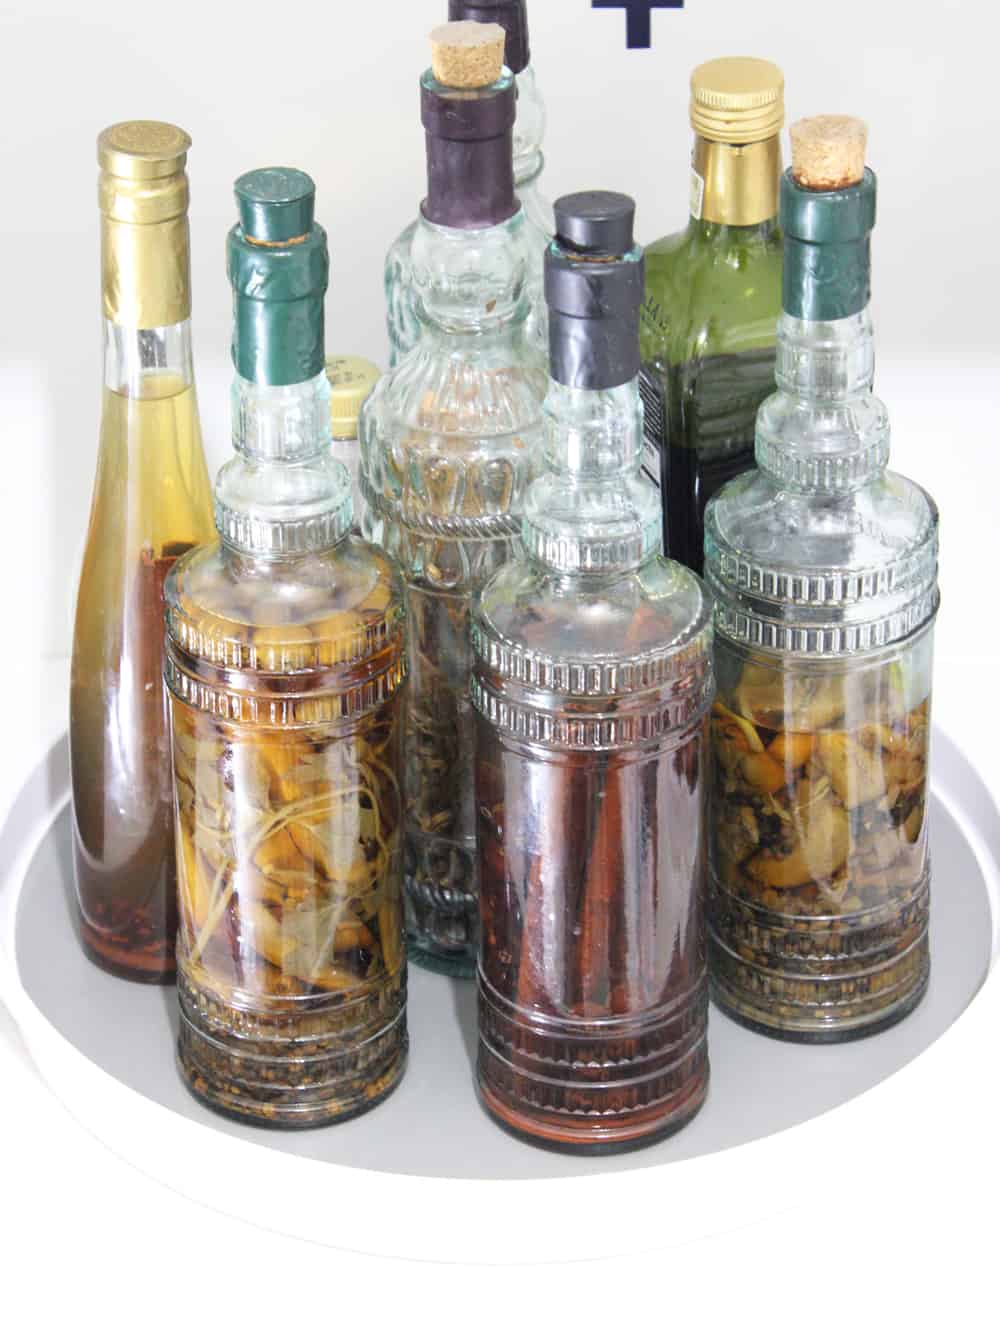
Aside from the most used condiments one, I used one for my oils and vinegars and the last one for drink mixes!
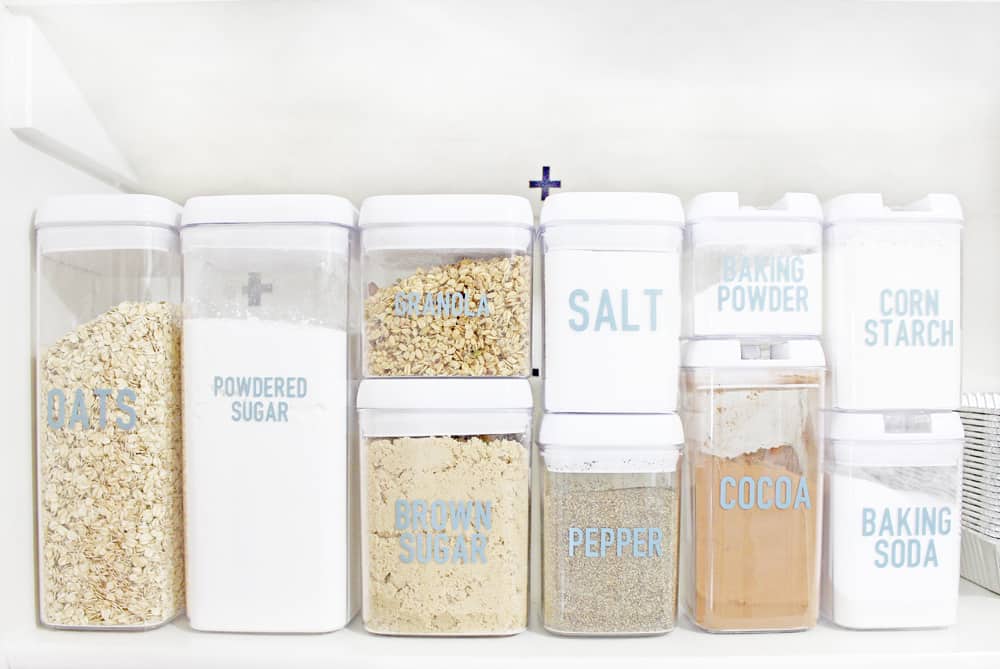
Airtight Food Storage Containers
Airtight food storage containers are a must! I got this set and I have loved how they stack on top of each other so well! Super easy to open, and can fit a full sized measuring cup no problem even in the smallest container!
Under Shelf Hanging Baskets
I got a couple of these under-shelf hanging baskets for our meal prep containers and I love them! They are a great way to use otherwise wasted space!
Airtight Cereal Storage
I was totally shocked at how expensive cereal containers were! I went for a less expensive brand and was worried about how they would hold up but they have been awesome so far. Plus, they were three for $21! I bought two sets.
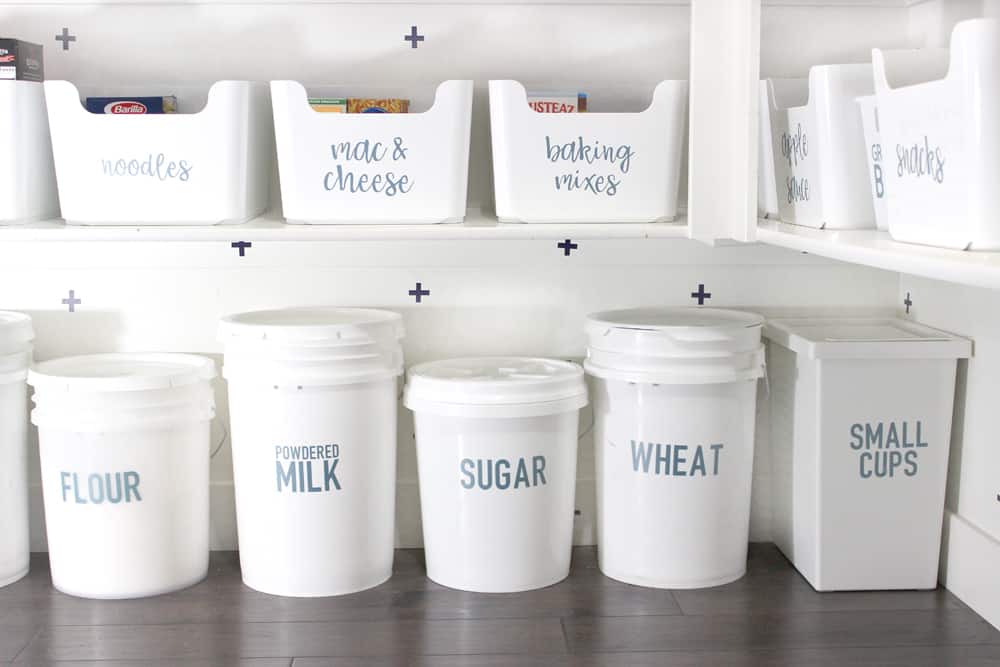
Five Gallon Buckets
I used five gallon buckets for my food storage stuff and they fit perfectly on the floor of my pantry! If you are serious about food storage these gamma seal lids are amazing for your five gallon buckets and make them so much easier to get in and out of safely!
Ikea Pluggis 4 Gallon Bins
These Ikea Pluggis bins were definitely the star of the show in my pantry! They were also my biggest expense, but I think they were so worth it! They were the perfect size and shape for my shelves, and I love that they are open so it is easy to grab what you need from inside.
Ikea Kuggis Box with Lid
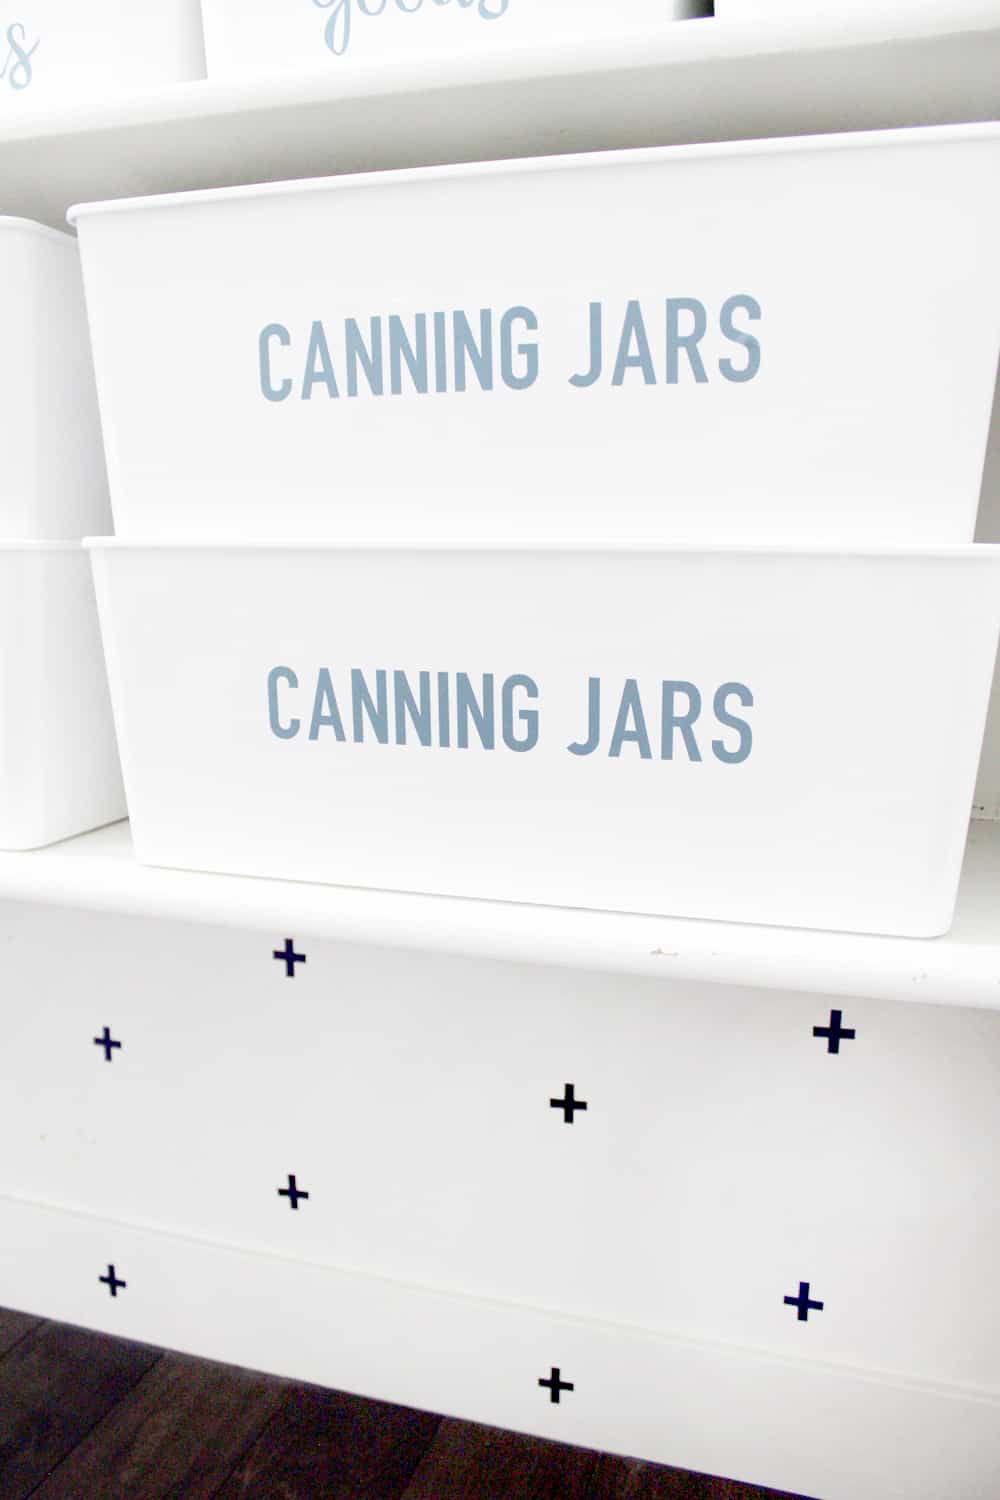
You might have noticed in the messy before picture that there were about a million boxes holding canning jars stacked precariously on the top shelf! I knew I needed to rectify this but couldn't find mason jar storage anywhere!
I ended up using these Kuggis Boxes with lids from IKEA! Because I rarely get into my canning stuff I wanted it safely tucked away where my toddler wouldn't cause havoc with the glass bottles! They stack nicely on top of each other as well.
Wire Shelves and Dish Organizers
I used Target's new Made by Design cabinet organizers to display my nice dishes and platters on the top shelf of my pantry. I love that now I can actually see and remember what I have, and the pretty dishes double as eye candy.
Okay, now we are on to the final (and maybe most important step!
Step Five: Label Everything!
DIY Pantry Organization vinyl labels
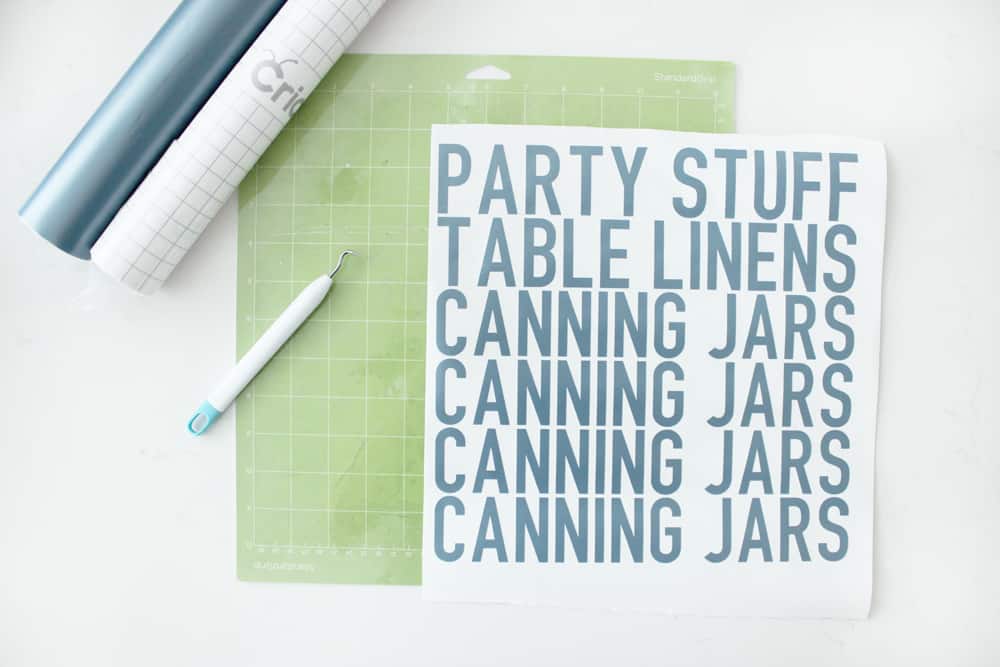
I made all my labels with Cricut Maker and basic removable vinyl in this pretty Ocean Blue color. I honestly love this color so much! It is the perfect contrast to the navy vinyl I used for the wallpaper! Removable vinyl is perfect for organizing projects, because it can be removed easily and leaves no residue.
Materials:
Tools:
Instructions:
- First, decide what labels you need. Everyone has different needs. You can use my canvases in Design Space to get started and customize it. Simply remove the words you don't need, and add those that you do.
Here are the designs I made:
Small Airtight Containers | Large Gallon Jars | 5 Gallon Buckets | Long Bins with Lids | Regular Medium Open Bins
- Measure the area on your bins and size your words or phrases appropriately.
- I used one of my favorite bold fonts, DIN Condensed, to make the labels for the 5 gallon bins, the long bins with lids and the small airtight containers. For the large glass jars and the medium sized open bins I used my favorite cursive Cricut font, Babette. When using the font Babette you may have to adjust your space between letters to make the font look more scripty. Check out this Cricut Fonts guide for more font suggestions and tips!
- When you add a new word, make sure to select the word, then 'attach.' so that the word will stay together when you go to cut your vinyl.
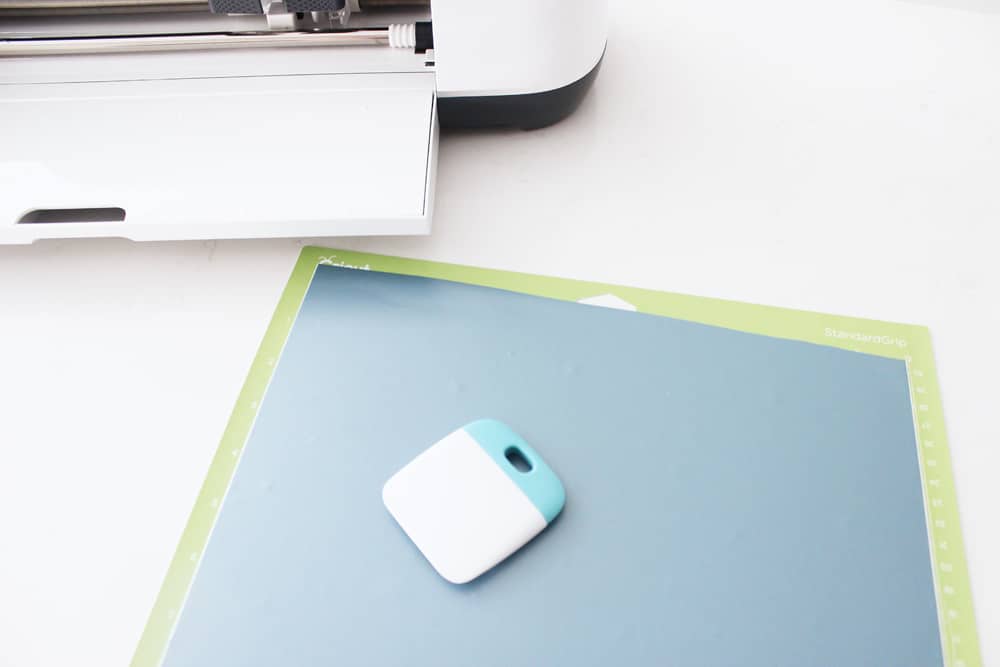
- After you have all the labels designed, put your material on your mat and load it.
- Follow the prompts in Design Space to cut the vinyl.
After your labels are cut, you will weed. This removable vinyl is really easy to weed, so even with a lot of words it doesn't take too long, just be careful to go slow so you don't accidentally pull up letters and have to re-cut words because of it!
Next, you will need Cricut transfer tape to apply the labels to your plastic bins. Transfer tape allows you to keep words or images together while you move them from their original vinyl sheet, onto the plastic bin. If you are confused about how to use transfer tape check out our full tutorial on how to use Cricut transfer tape.

Then all you have left is to apply the vinyl to all your pantry bins buckets and jars!
I know it can be time consuming, but the labels really took my pantry to the next level. Without them it wouldn't have felt nearly as organized because you couldn't immediately tell what was in each bin and bucket!
Okay for convenience I'm going to list all the products I used below so you can easily find what you are looking for!
Quick links for the products I used for my Pantry Organization System
- Cricut Maker
- Removable Vinyl for Labels
- Cricut Tool Set
- Wall/Door Hanging Storage Rack
- Large Spice Jars
- Small Spice Jars
- 2 Gallon Glass Storage Jars with Lids
- 10 Piece Air Tight Storage Containers
- Lazy Susan Turntable
- Airtight Cereal Containers
- Under Shelf Wire Basket
- 5 Gallon Buckets
- Gamma Seal Lids for 5 Gallon Buckets
- Ikea Pluggis Bins
- Target Wire Shelves
Well there you have it friends! Thanks for visiting my pantry with me today-- and good luck with all your pantry organization projects!
xo,


Could you tell me what the small bins you used for the granola bars, protein bars, beef jerky are? Where they are from?
Thank you
Thank you so much! We’re building a house now and the pantry has been on of my mind a lot. I want to make sure and use every inch, make it not so cluttered but organized. This has helped out so much, I know have a better idea of how and what items I need to help. Thanks again, Crystal
So many great tips. LOVE the clutter free look :)
Thank you so much!
this is a dream for my ocd. its beautiful! im putting this to good use asap! thanks for the suggestions!
Haha yay! I'm so glad you love it!
This makes my OCD heart happy!! Love everything about it!! Love the labels! Looks great!
Thanks so much Kristyn!
Pantry goals!!! Fabulous organization skills!!
You are so sweet! Thank you so much!
I love how clean this looks! This is a great way to organize everything.
Thank you so much!