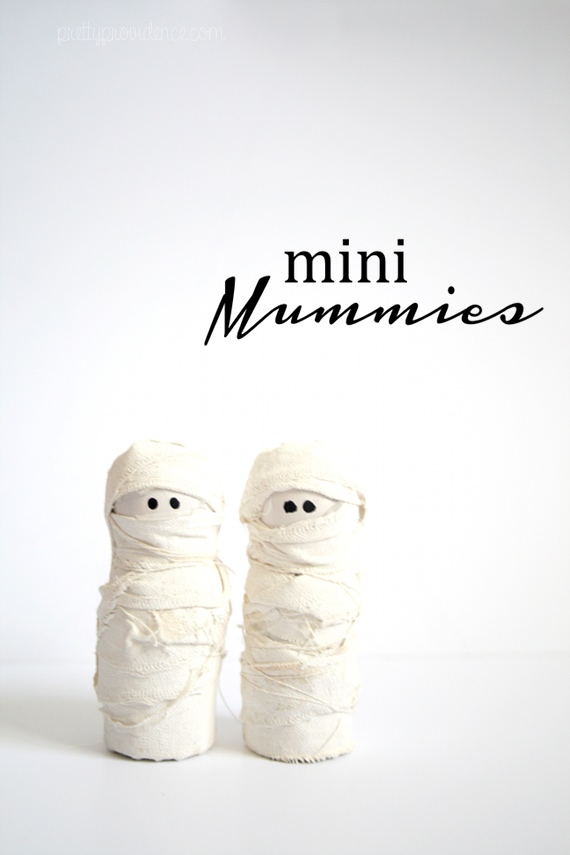
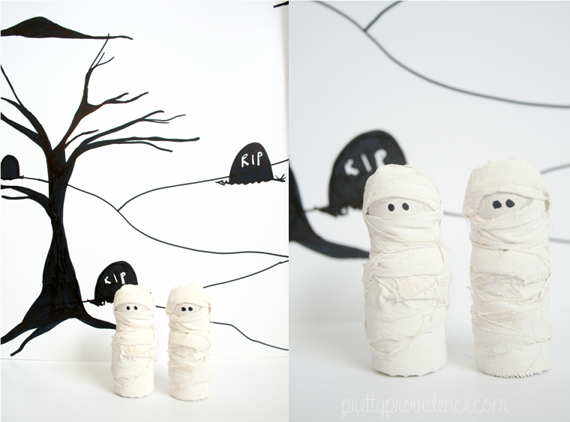
DIY Mini Mummies Halloween Decoration
We are so excited to introduce you guys to Kelly, The NO Drama Mama, and the first of our contributors to meet you! This lady is so talented. Make sure you hop over and check out her site! You'll thank us later!
Decorating for fall has to be one of my favorite things ever! The colors and smells are wonderful. But along with fall decor, you have to have a little fun for each of the holidays that come along. First up is Halloween so that means spiderwebs, Jack-o-lanterns, witches hats, etc. Here's a cute, miniature, set of spooks that you can add to your collection!
What You'll Need:
Wooden Peg People
White Paint
Muslin Fabric
Glue
Sharpie or Black Paint

My little peg people had some previous color, I used to make wedding cake toppers, so I gave them a good coat of white to make them neutral again. If yours are already plain, you don't need to do this step.

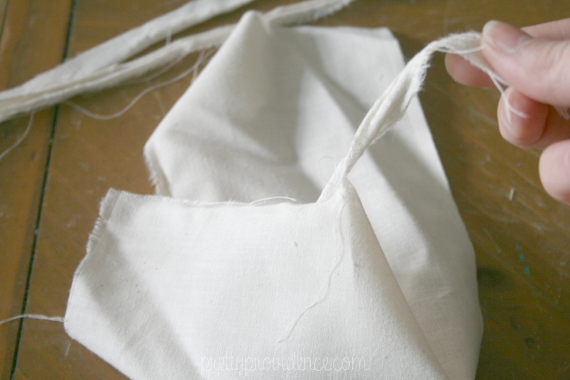
Cut thin strips out of the muslin. I like muslin because you can make a small snip and then rip the fabric the rest of the way. I suggest using that method for your strips because it makes a lot of stringy pieces. Perfect for mummies!
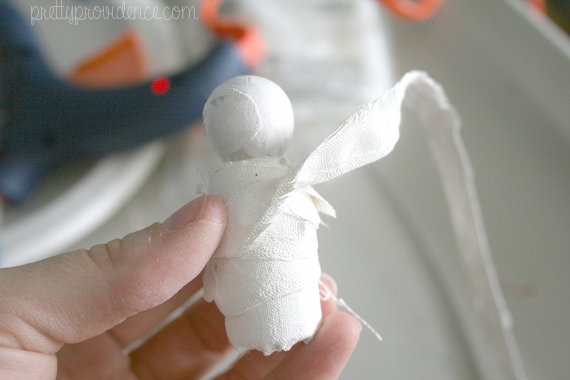
Paint the strips with white paint and allow to FULLY dry. This stiffens the fabric and the threads.

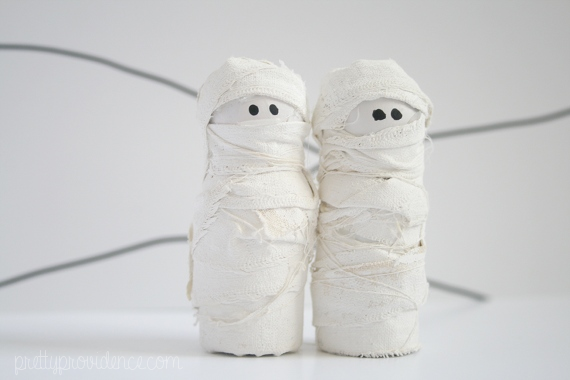
Start wrapping and gluing the strips to your peg person until they are covered. Leave a little window for eyes.
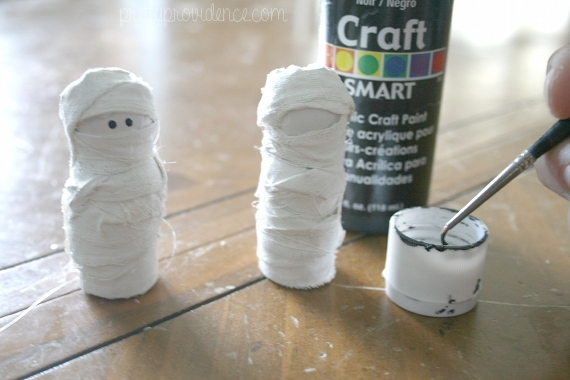
Using a sharpie or black paint, give them some eyes.
These little spookies are great for decor, Halloween cake toppers, or they could even be the perfect spooky addition to a tiny toy town.


These are so so darling!! Pinned! :)
These are so cute!
So Adorable! Too cute to be scary but thats why I like them
These are THE cutest!! I will be trying this DIY! :-)
I know right?!! We LOVE them!
So cute!
Those are so cool. They look easy too. Thanks!
Thanks Brandee! I'm loving how they turned out and I think the hardest part is waiting for everything to dry! LOL