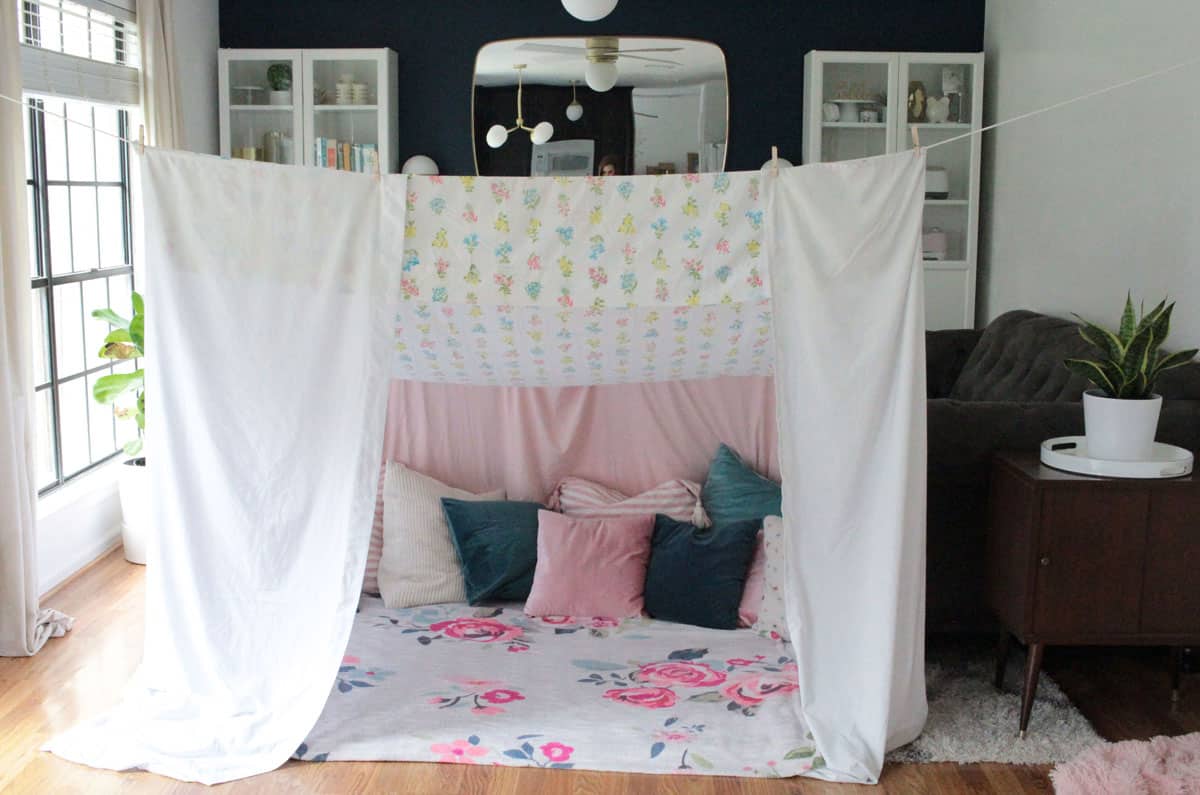
How To Build The Best Blanket Fort
How to build a blanket fort using simple items from around your house - including a video: how to make a fort 3 different ways. Grab some blankets and sheets, clothes pins, etc. and use these tips, tricks and fort ideas to make the best fort ever!
Something you very likely don't know about me is that my husband and I build forts all the time. We have been doing this since we were dating, and used to designate every Friday night for blanket fort building. He even proposed to me in a blanket fort that he built on the roof of a building on the 4th of July! That was back in 2009.
After having kids, we took a break from our Fort Friday tradition because forts are not the safest thing for babies or toddlers. We did have a few backyard movie nights with our famous homemade blackberry ice cream during that phase. Now, our girls are old enough to safely play in a fort so we've been building them again and it's been so fun!
Building a fort is a great pastime for rainy days, school breaks or just for weekends! If you're looking for even more ideas for things to do, check out our family fun page.
Blanket Fort Expertise
Over the years, we have really figured out some tricks. Today we're going share them all so that you can build a blanket fort you're proud of! With these tips, you can make a fort that is bigger, better and more functional.
How to Build A Fort
We made a video to show three different kinds of forts you can make. Watch the video for some visual inspiration, then make sure to read the rest of our tips below!
Fort Ideas Video
Items to Use:
Remember, no two forts are alike and how you build it will depend on what you have around. Here's a list of ideas for things you can use to build your fort.
- Blankets
- Sheets
- Couch Cushions
- Dining Room Chairs
- Tall table
*This post contains affiliate links.
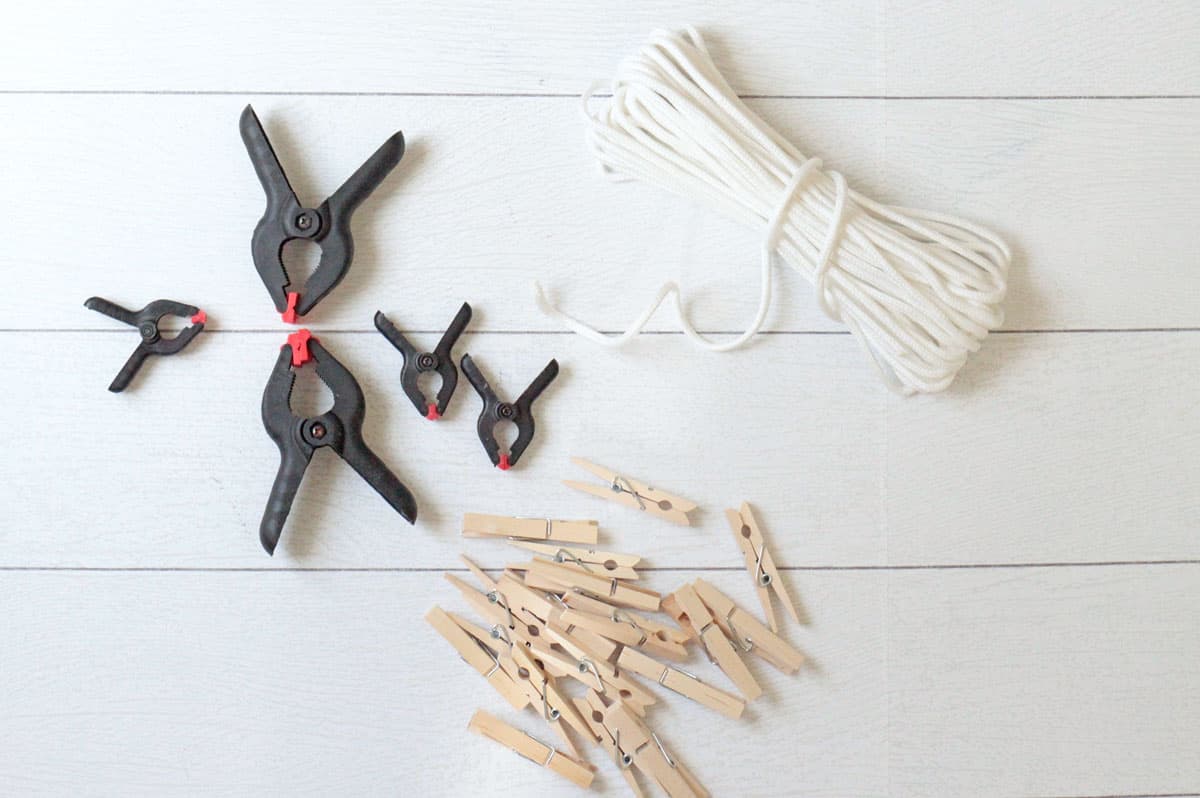
Fasteners:
- Clothes pins
- Clamps
- Clothes line
- Books (to hold blankets and sheets in place)
- Chip clips
- Rubber Bands
- Duct Tape
Enhance Your Fort
- Pillows
- Lights
- Breakfast Tray
- Air Mattress
- Sleeping Bags
Here is our loose tutorial for how to build a blanket fort:
- Re-arrange furniture so you have enough floor space for a fort.
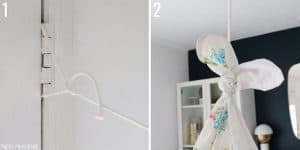
- Be creative with your materials. Use what you've got around the house. Bring out the coat rack, use clamps, clothes pins, duct tape, etc.
- Use lightweight sheets for the top. The reasons for this are two-fold:
- The heavier the blankets are, the hotter the fort will get.
- Heavy blankets are more likely to weigh everything down. You do NOT want your awesome fort to cave in. It should be able to last at least through the weekend, right?
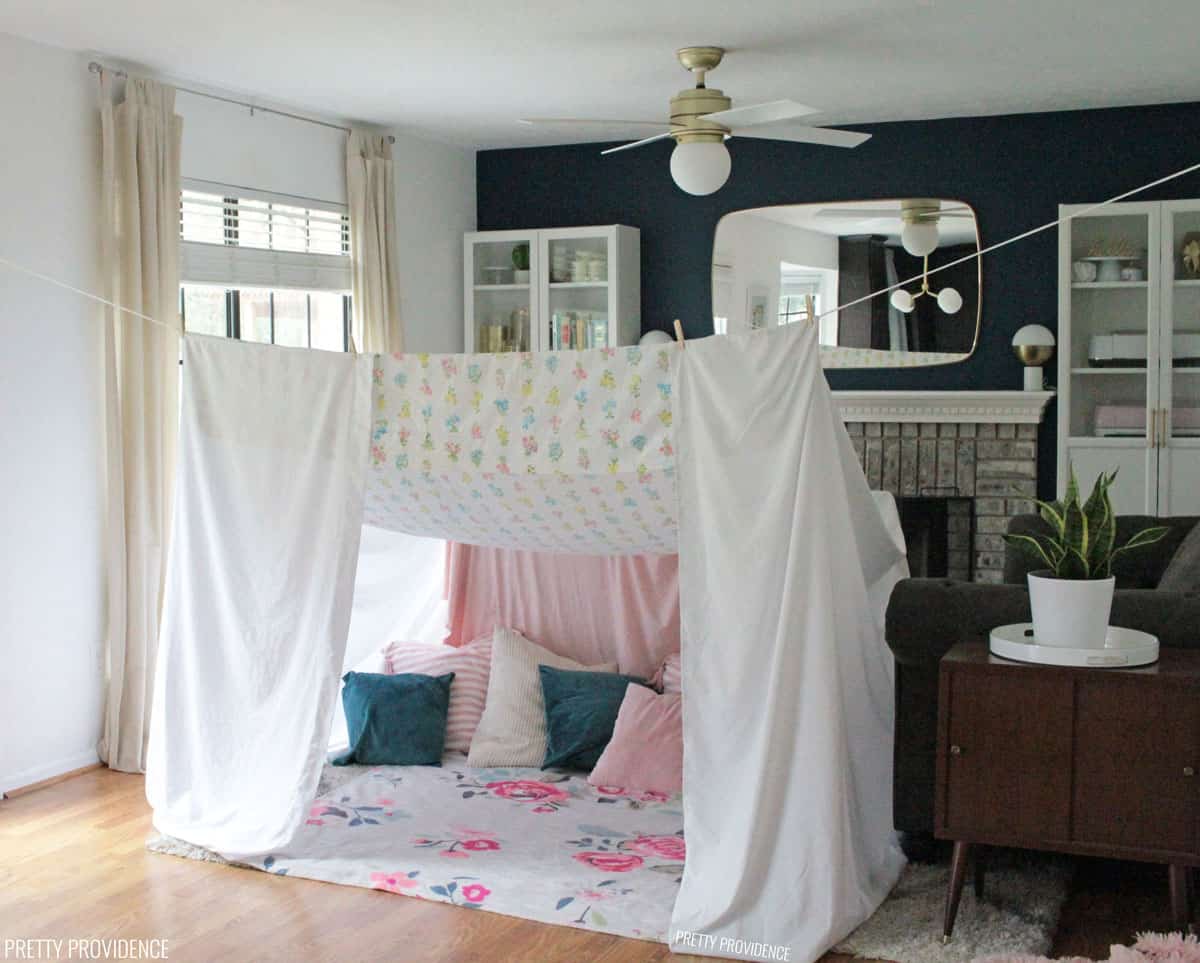
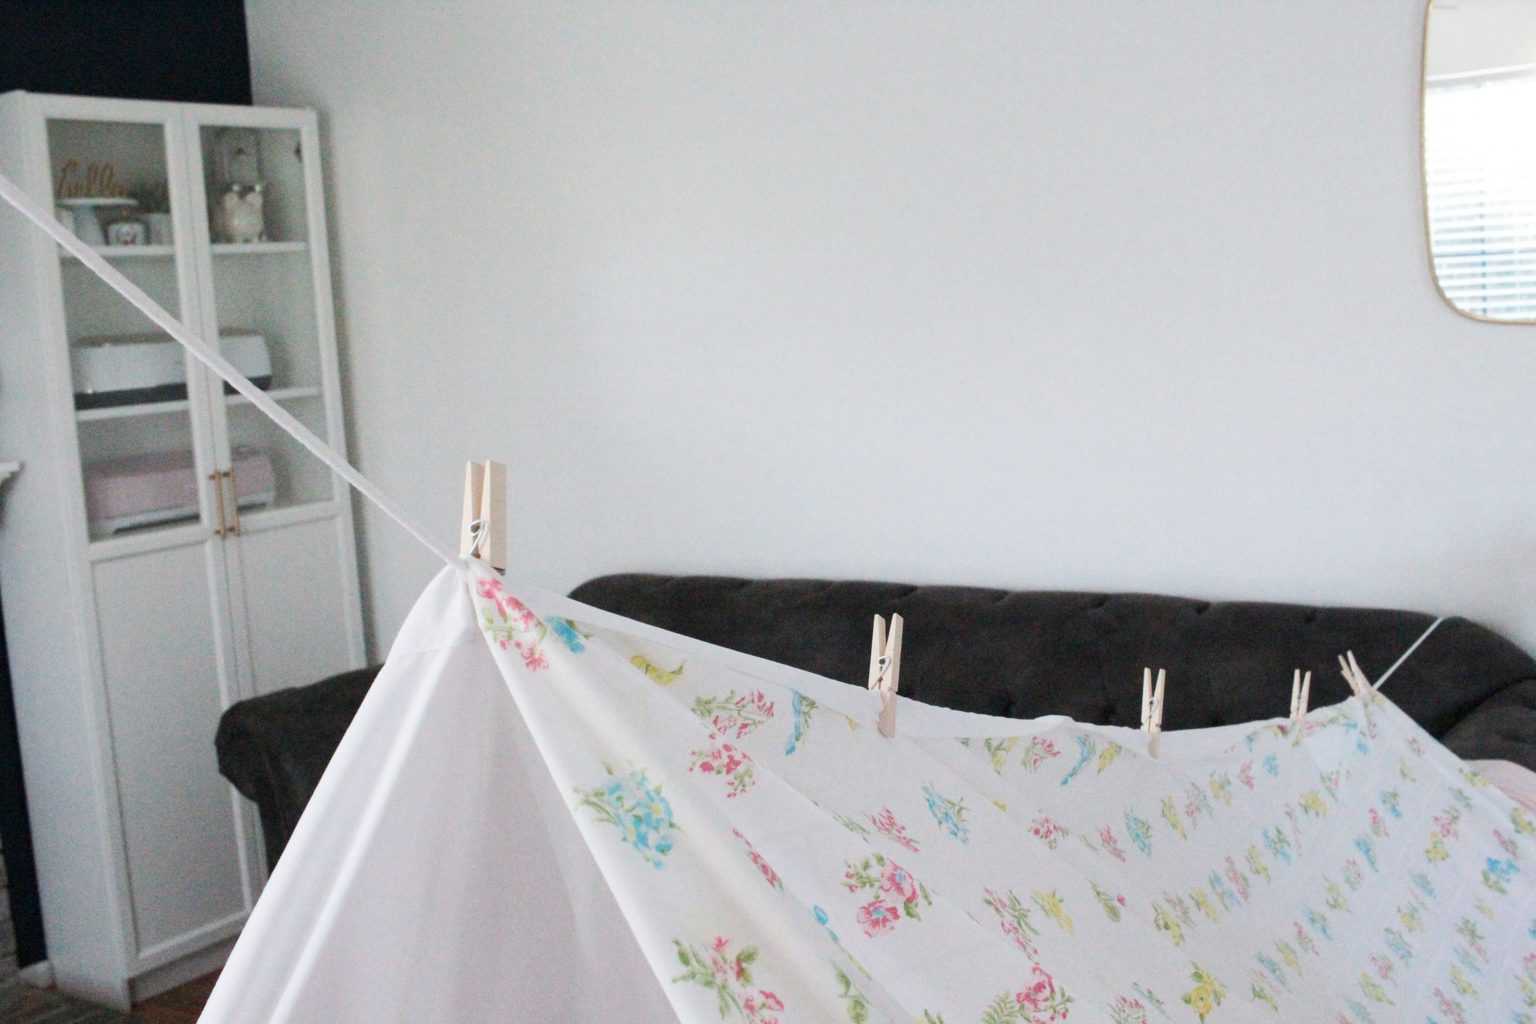
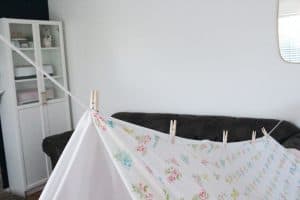
- String up a clothes line across the room. Tie it to curtain rods or door hinges, anything as long as it's sturdy.
- Use clothes pins to hold sheets together.
- Pillows or books can be used as weights to hold fort walls in place.
- Use chairs and sides of sofas to drape blankets over.
- Clamps, chip clips or rubber bands are good for keeping sheets and blankets in place.
- This is a great activity for everyone in your family unless you have crawling babies or toddlers in the house. Don't build one until they get older - babies who crawl or can pull theirselves up could get hurt.
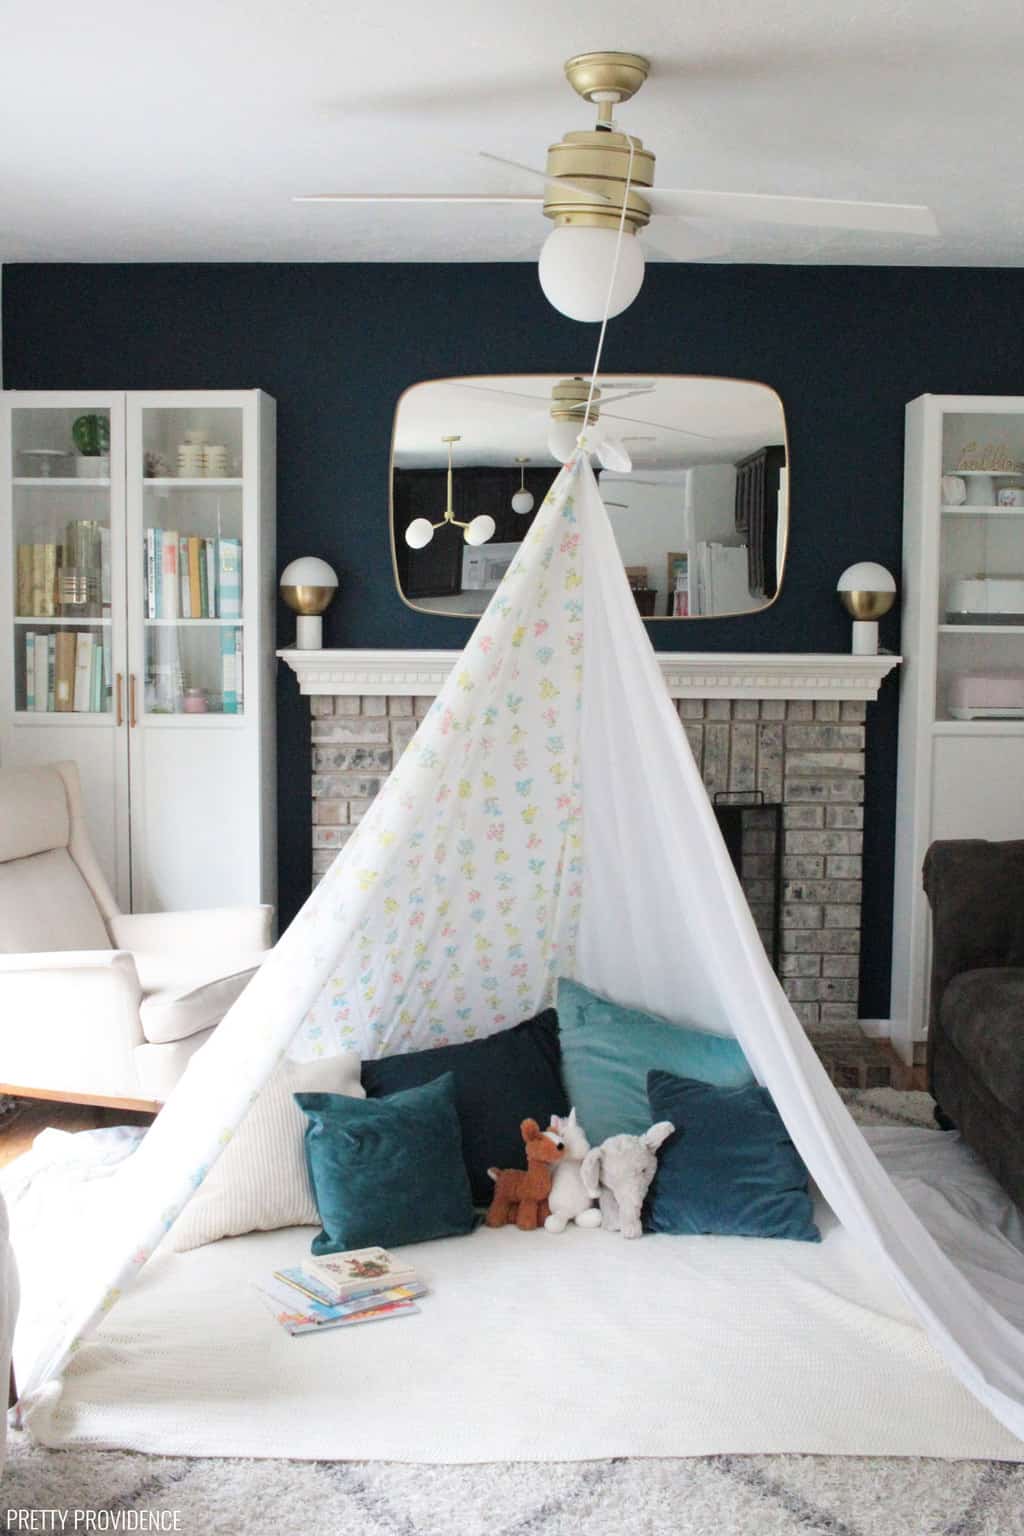
- Another note - we tied clothes line to our light fixture, knowing that our light fixture is secure and sturdy.
- If you're not an adult, do not do this at home without asking permission.
More Blanket Fort Ideas
- Make it comfy. I like to use the aforementioned heavy blankets on the floor of the fort. The more you use, the more like a mattress your floor becomes. I like to use two or three heavy quilts on the bottom and then create a sort of nest with lots of pillows.
- Face the TV and grab a movie. This is just personal preference, but it's really fun to have a movie night inside your fort. You can either build your fort right up and around the TV or just create an opening in the general direction of it.
- Equip your fort with snacks. I recommend these Indoor S'mores Bars - perfect for your little blanket fort campout, or go with Aunt Val's Caramel Popcorn which is also one of our favorite treats of all time.
- If you aren't sure what to do once you have built your fort, what about a Harry Potter movie marathon, read a great book, or play some board games!
If you have fun making a fort we'd love for you to leave a positive comment and rating, they mean so much to us!
More Favorites from Pretty Providence
How to Build a Blanket Fort
Video
Equipment
- Household items
Materials
- Blankets
- Sheets
- Couch Cushions
- Chairs
Fasteners
- Clothes pins
- Clamps
- Clothes line
- Chip clips
- Rubber Bands
- Duct Tape
Extras
- Pillows
- Lights
- Bed Tray
- Air Mattress
- Sleeping Bags
Instructions
- Be creative with your materials. Use what you've got around the house. Bring out the coat rack, use clamps, clothes pins, duct tape, etc. Use lightweight sheets and blankets. Re-arrange furniture so you have enough floor space for a fort. Lay heavy blankets on the floor.

- String up a clothes line across the room. Tie it to curtain rods or door hinges, anything as long as it's sturdy. Use clothes pins to hold sheets together. Pillows or books can be used as weights to hold fort walls in place. Use chairs and sides of sofas to drape blankets over.

- Clamps, chip clips or rubber bands are good for keeping sheets and blankets in place on the back of chairs, couch cushions, etc. Face the TV and grab a movie. This is just personal preference, but it's really fun to have a movie night inside your fort.

Notes
- If you're not an adult, do not do this at home without asking permission.
- This is a great activity for everyone in your family unless you have crawling babies or toddlers in the house. Don't build one until they get older - babies who crawl or can pull theirselves up could get hurt.
- Another note - we tied clothes line to our light fixture, knowing that our light fixture is secure and sturdy.
And if you make a fort using these tips, make sure to tag us on Instagram with your beautiful, cozy creations!

This post was originally published in 2016 and has been updated with new photos, video and more detailed information.


It wa fun and it kinda worked!
Love this idea my daughter will adore this! Thank you for sharing this idea.
You are so welcome!
Great ideas! Going to try with my granddaughter!
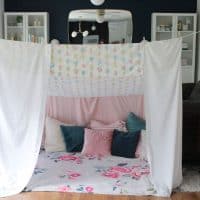
Since I found this blog via Pinterest I'm hoping that you wouldn't mind if I use your first adorable photo in the blog for a post I'm making for Facebook and Instagram. I would also put a link to the blog article in the text of the post. It's just a silly meme about not wanting to be an adult anymore, so I'm retiring to my blanket fort... I'm an author, trying to build my social media. I only have about 800 followers so far, but I'm sure you'll get some clicks from the links!
Would it be okay if I used your photo? If not, no worries!!!
Sure, Roni, you can use the photo as long as you put the link with it. I would also like to see an overlay on the photo itself with credit like this: photo credit: prettyprovidence.com @prettyprovidenceblog thanks for asking!
hey so this movie night fort was great i watched a movie on netflix with snacks and popcorn!
Love this!<3
Very fun and informative. Thank you! ????
I'm so glad! Thanks Brandy!