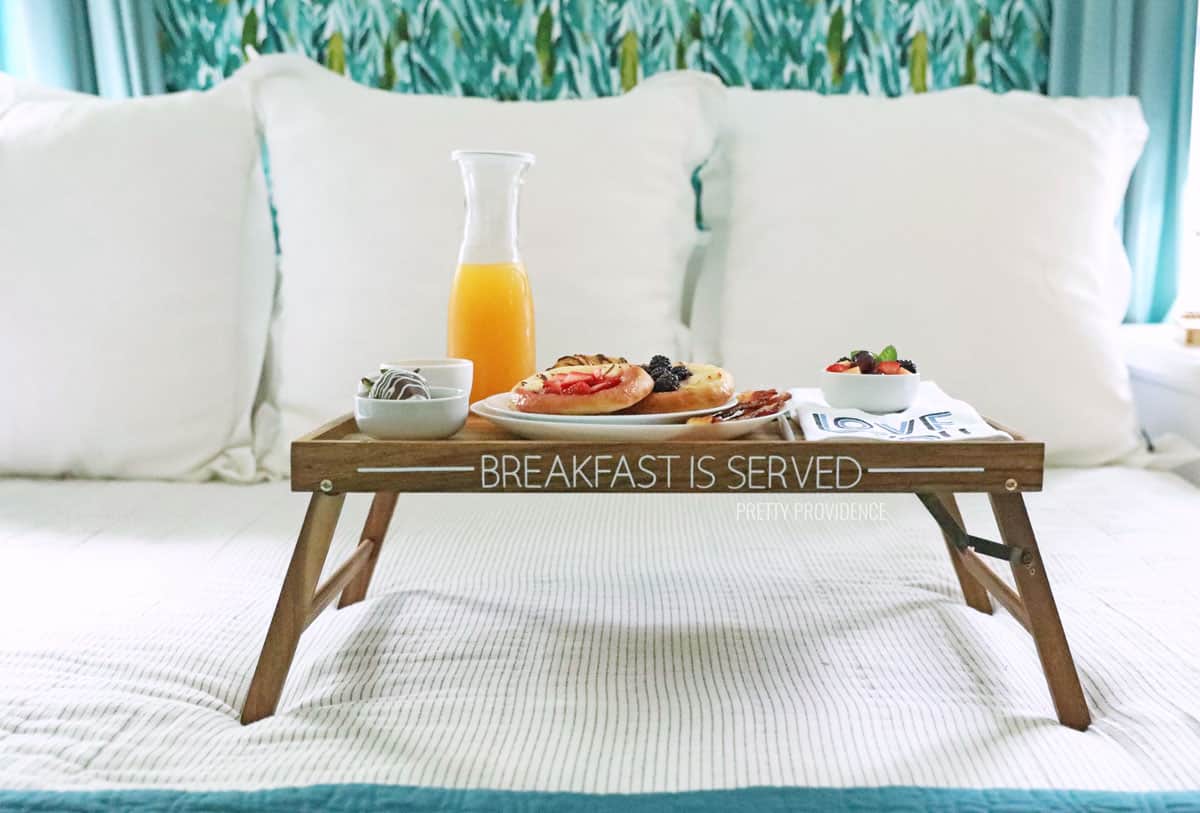
DIY Breakfast In Bed Tray and Kit
This DIY breakfast kit, with a customized Breakfast in Bed table tray, carrying case and napkins will make special occasions a snap!
I don't know about you guys, but we have had very few opportunities for date nights this past year! My husband and I have come up with some at-home date ideas that we think are keepers, though. One thing we love to do sometimes is set aside some weekend time and have breakfast in bed!
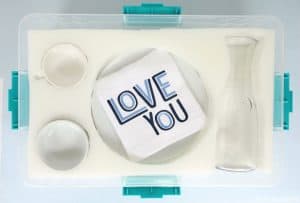
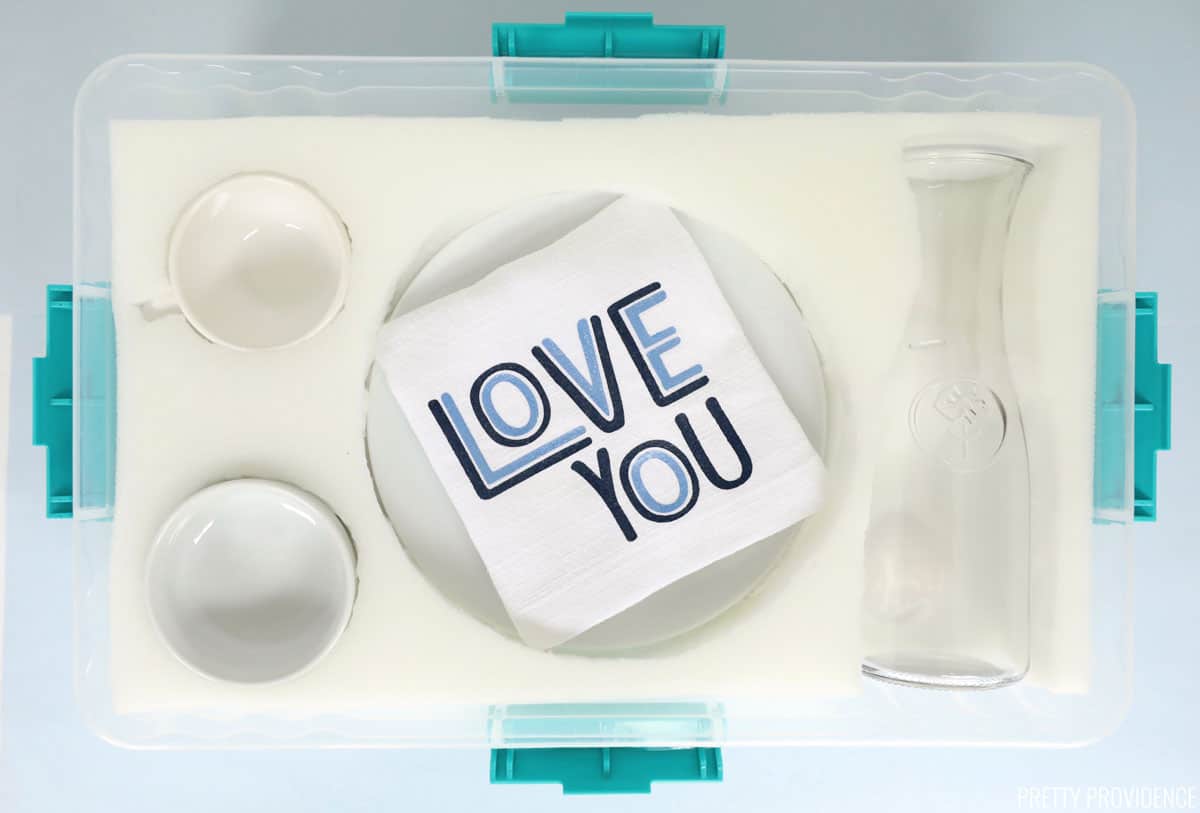
I decided that it would be fun to have a 'Breakfast in Bed Kit.' I made a DIY carrying case to keep dishes all together in one spot, and with padding, so they won't get broken in storage. Of course, I wanted to personalize things and add some flare with my Cricut!
I used my Cricut Joy to add vinyl to the breakfast-in-bed tray and used iron-on to create special napkins that we can use for different occasions.
We also do breakfast in bed for birthdays, Mother's Day, and Father's Day, along with those 'just because' breakfast dates thrown in for good measure.
Speaking of breakfast in bed - we recommend these Overnight Waffles, The World's BEST Breakfast Casserole, or this Easy Homemade Strawberry Danish. You should check out our breakfast page for even more amazing recipes!
What's in the Breakfast in Bed Kit:
First, I'm going to share the tutorial for the breakfast in bed tray, and at the bottom of this page you can find the tutorial for making the sweet carrying case. Then head over here for the tutorial for the fun custom napkins that complete this kit!
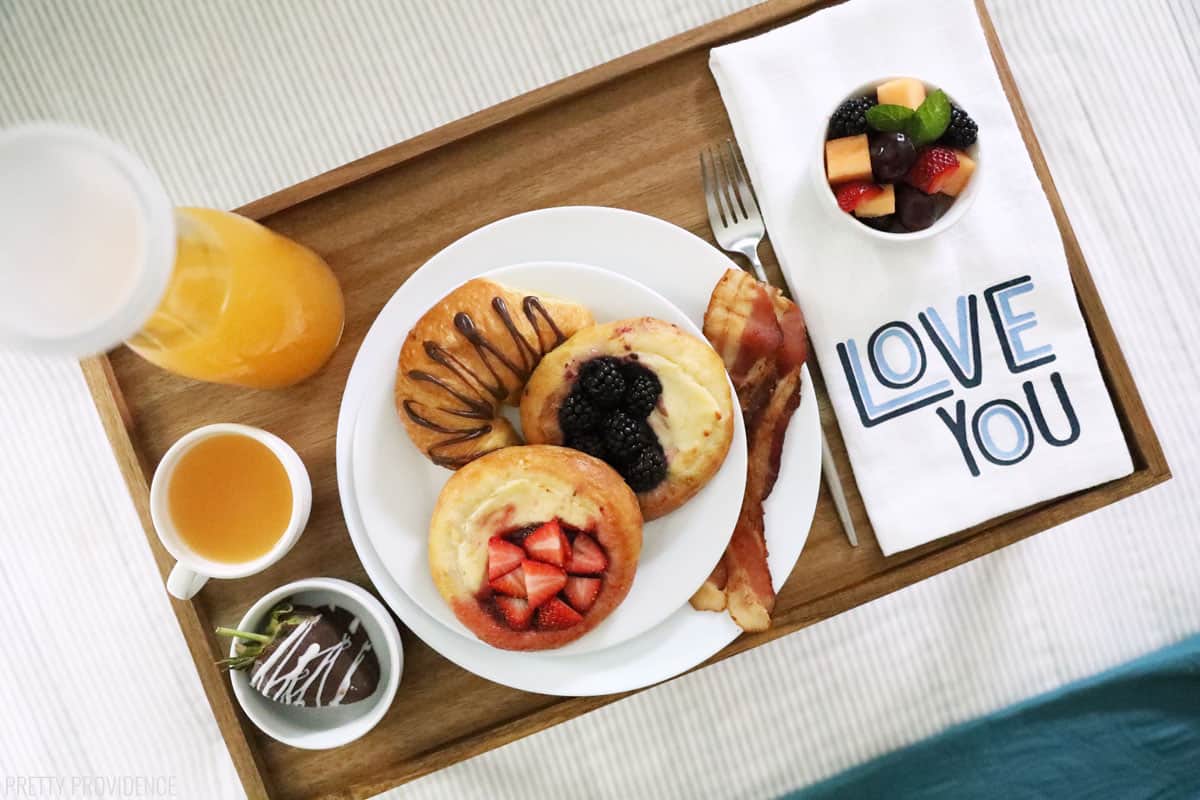
Breakfast in Bed Tray
I got this bed tray with legs for under $20 and love it.
Cricut Materials:
- Cricut Joy (Explore Air 2 or Maker will also work)
- Joy mat
- Everyday Iron-On
- Smart Vinyl
- Transfer Tape
- Weeding Tool
- EasyPress Mini
How to Add a Vinyl Decal:
Create your design in Cricut Design Space and measure your tray. Decide how big to make your vinyl decal.
Follow prompts in Design Space to cut the vinyl.
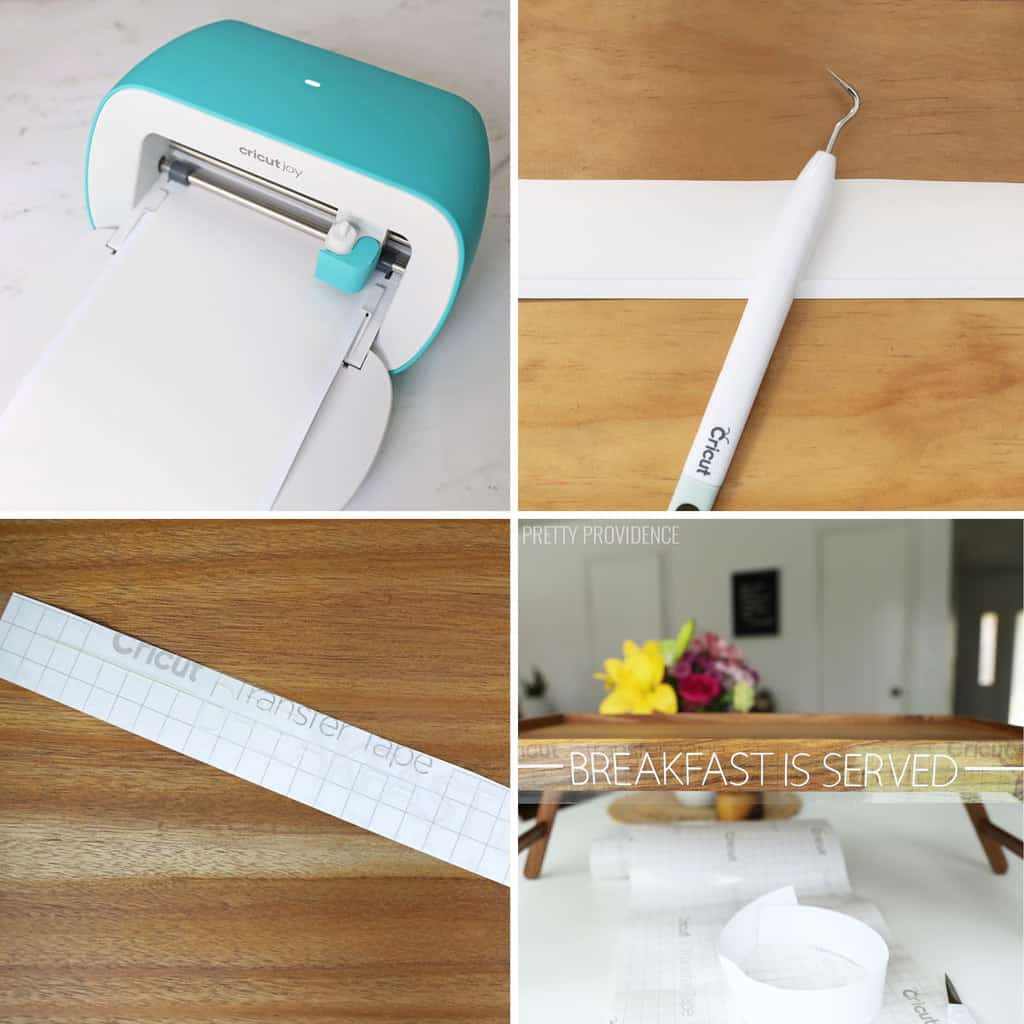
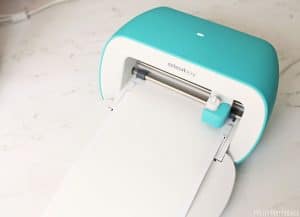
- Top left: Load smart vinyl into Cricut Joy and cut.
- Top right: Weed the extra vinyl from sides and inside of letters.
- Bottom left: Press transfer tape onto vinyl and rub until the vinyl sticks well. Peel white backing away from the transfer tape and make sure that the letters stick to the tape.
- Bottom right: Press transfer tape and vinyl onto the tray and rub it on.
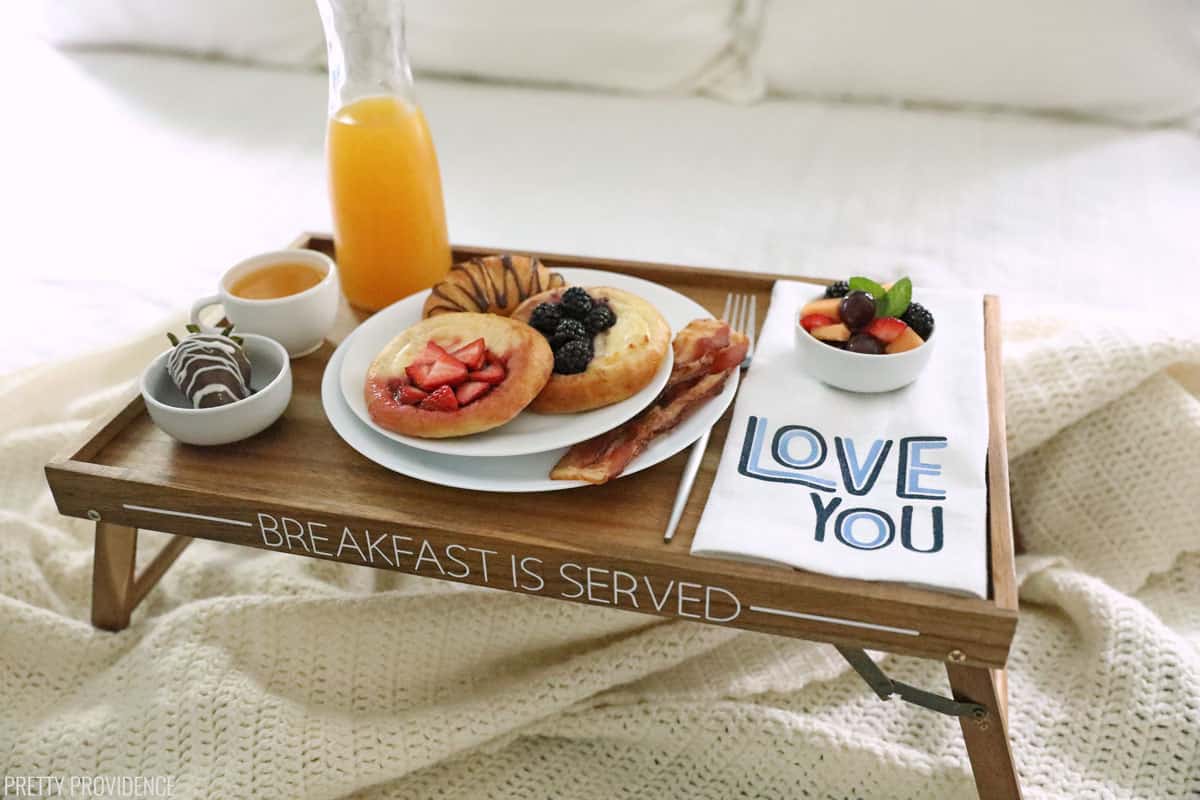
Ta-da! Isn't it so cute?

Personalized Breakfast in Bed Tray
Equipment
- Cricut Joy, Air 2, or Maker
- Weeding Tool
Materials
- Breakfast Tray
- Smart Vinyl
- Transfer Tape
Instructions
- Create or upload a design into Cricut Design Space. Measure the breakfast tray and decide how big you want the vinyl design to be.

- Size the design accordingly in Design Space, and click 'Make it.' Load Smart Vinyl into Joy. Follow the prompts in Design Space to cut the design.

- Weed excess vinyl from the design.

- Use transfer tape to apply vinyl to breakfast in bed tray.

- Enjoy your breakfast in bed tray!


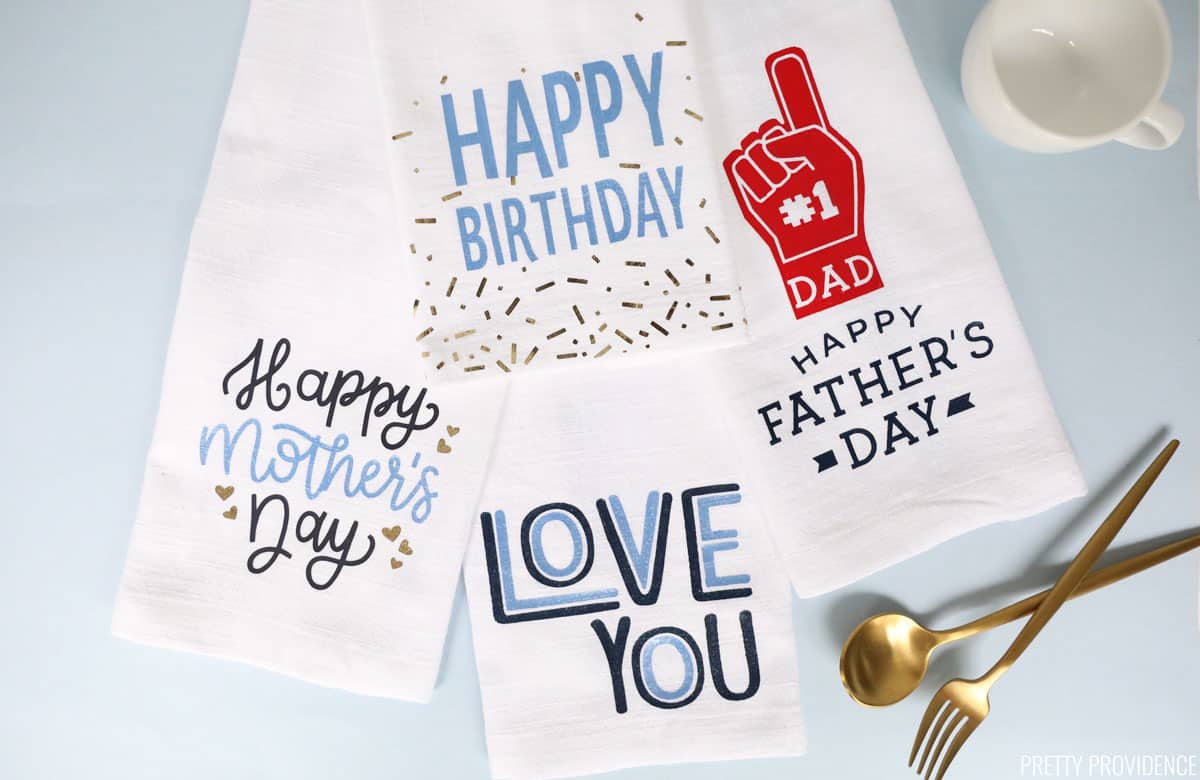 We have a full, detailed tutorial for these custom napkins here.
DIY Carrying Case
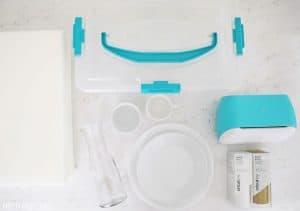
Materials:
- Cupcake Carrier
- Foam Pads
- Breakfast dishes
- TrueControl Knife
- Measuring Tape
- Pen
Instructions:
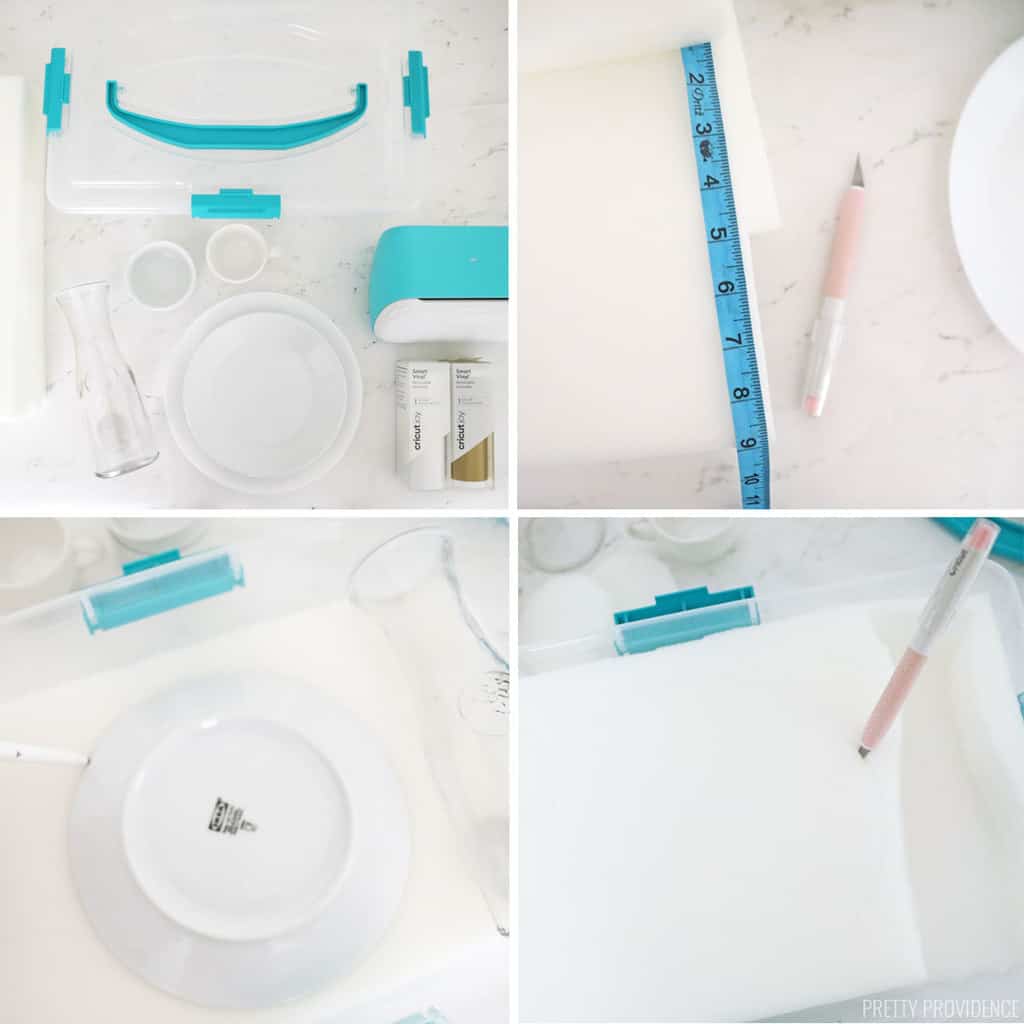
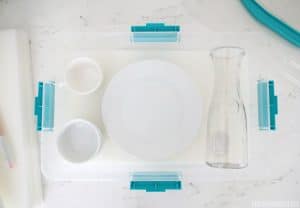
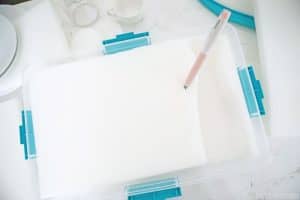
- Top left: Gather supplies, including dishes
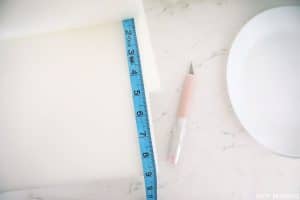
- Top right: Measure foam pads and mark them to where they will fit inside the carrying case.
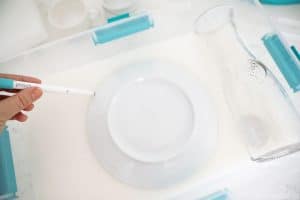
- Bottom left: Trace the shape of dishes onto the foam pads.
- Bottom right: Use a craft knife to cut shapes of dishes out of the foam.
Below are the full, printable instructions:
Breakfast in Bed Kit + Carrying Case
Equipment
- Craft knife
- Pen
- Measuring Tape
Materials
- 1 Cupcake carrier like this one
- 3 Foam pads
Instructions
- Gather the dishes you typically would use to serve breakfast-in-bed.

- Measure the cupcake carrier and then measure the foam pads. Mark the foam pads where you will cut the foam to fit inside the carrier.
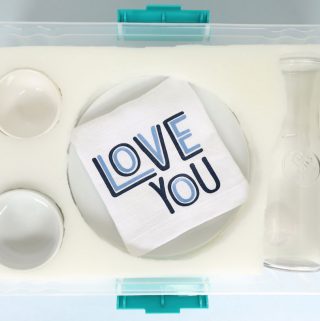
- Place foam inside cupcake carrier. Put dishes on top of the foam and arrange them so that they will fit comfortably in the carrier, with at least an inch of space in between each dish.
- Trace lines onto the foam around the largest border of each dish. Do this on all three layers of foam.
- Use a sharp craft knife or xacto knife to cut dish shapes out of the foam.
- Put dishes into their spots and enjoy your breakfast-in-bed kit!