Crepe Toppings Breakfast Charcuterie Board
Impress your guests with a Crepe Toppings Breakfast Bar. Crepes are a delicious make-ahead breakfast and the perfect brunch menu idea for weekends and holidays!
You can stop looking, you've found the best breakfast ever! Crepes are truly our family favorite and I make them all the time. My crepe recipe is fool-proof and everyone is happy when they're on the breakfast menu. We always like to have a lot of crepe toppings ideas available when we have guests so there is something for everyone.
Crepe Toppings Bar
To make this breakfast perfectly, use The Best Crepe Recipe Ever.
If you have guests, I suggest you double or triple the batch, depending on how many people you'll be serving. I try to plan for 3 crepes per person.
Make-Ahead Breakfast
Crepes are a great make-ahead breakfast because they save well. Wrap a stack of crepes in plastic or in an air-tight container and refrigerate overnight. They need to be covered so they don't dry out.
Another great make-ahead breakfast (if you want more options) is to make the World's Best Breakfast Casserole. For more breakfast ideas head over to our breakfast page!
How to reheat crepes:
Microwave: Cover crepes with a damp paper towel. Microwave a few at a time for 30 seconds.
Oven: Heat oven to 250 degrees F. Put crepes on a baking sheet, it's fine if they are overlapped with each other or in small stacks. Cover with foil and warm for 10 to 15 minutes.
Skillet: Place a non-stick skillet on your stove on medium heat, spray with cooking spray. Reheat one crepe at a time, heating on each side for 30-60 seconds.
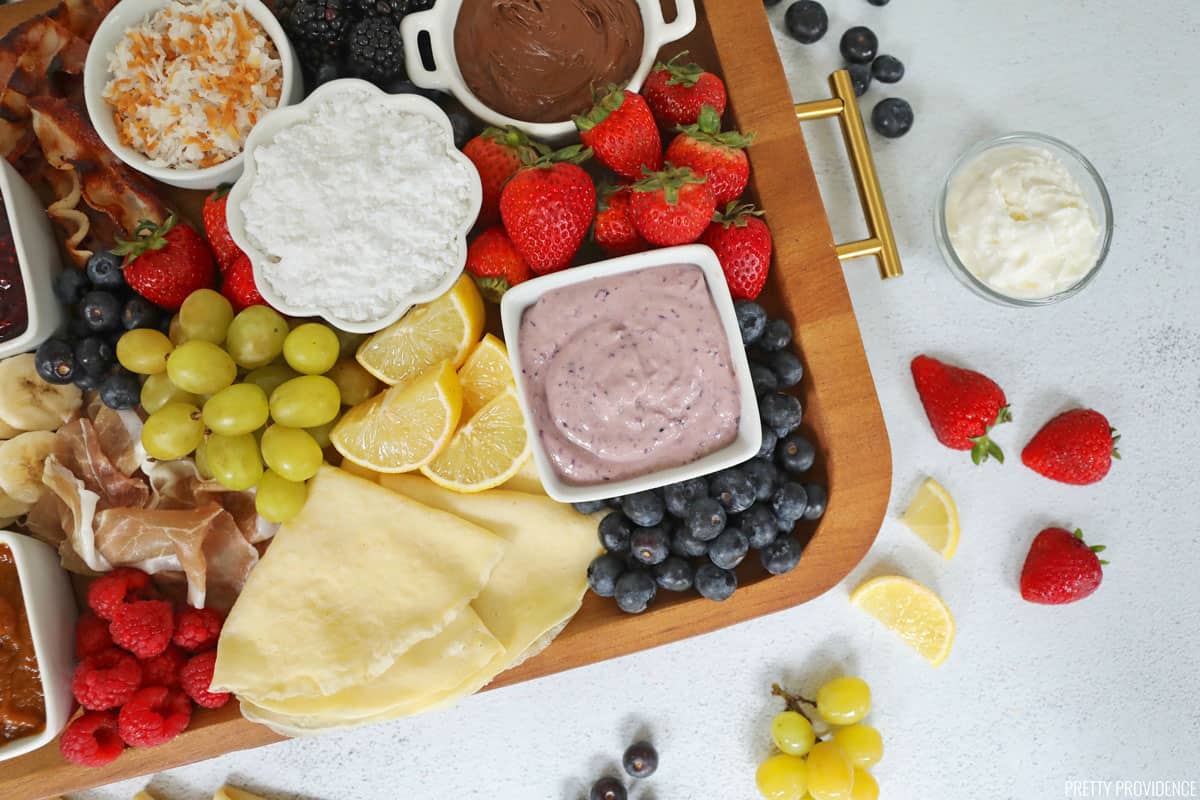
Breakfast Charcuterie Board
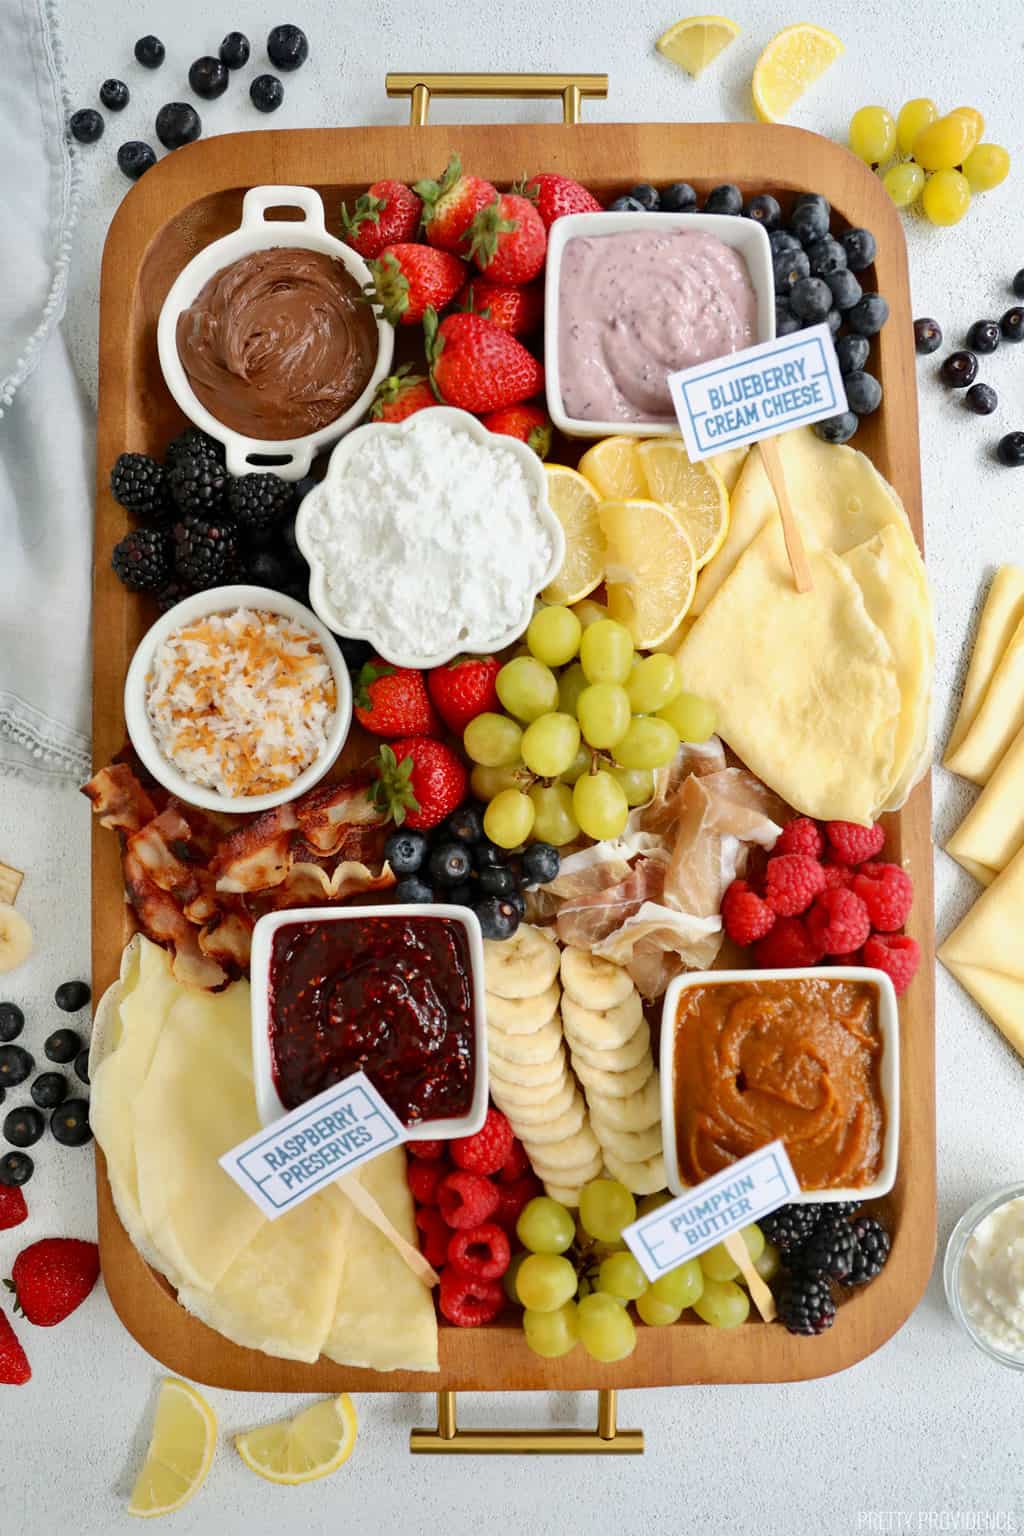
 Whenever we have crepes, we get out so many different toppings and containers of things, I realized it would be the perfect time to get out the charcuterie board!
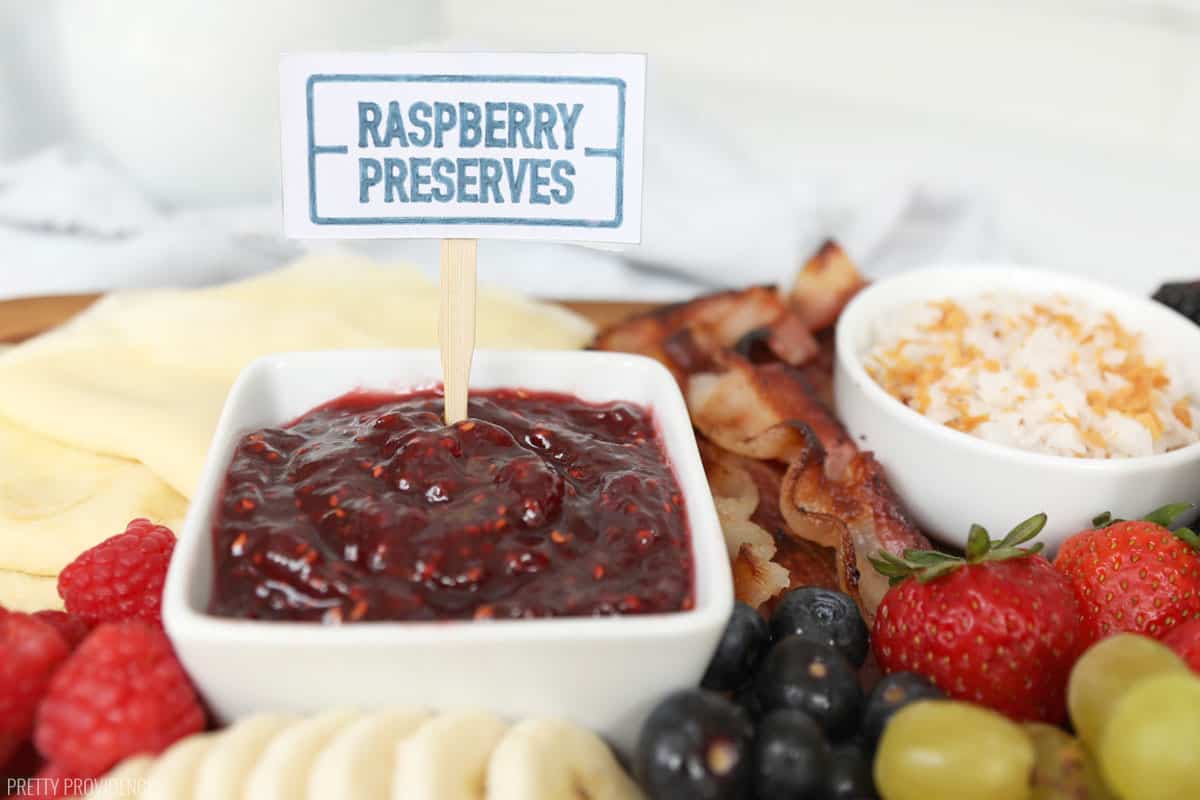
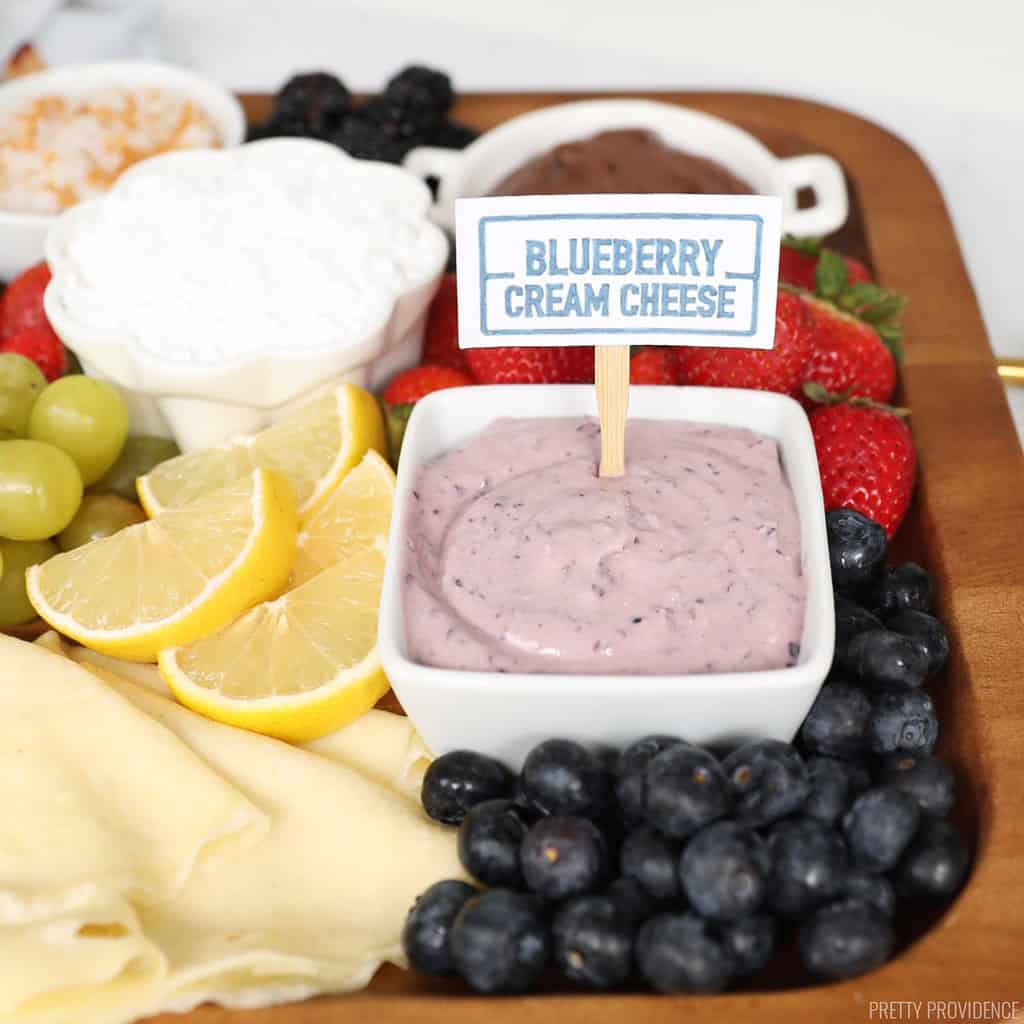
This way I could arrange the toppings to where everyone can reach them and label the spreads with cardstock labels!
Crepe Toppings
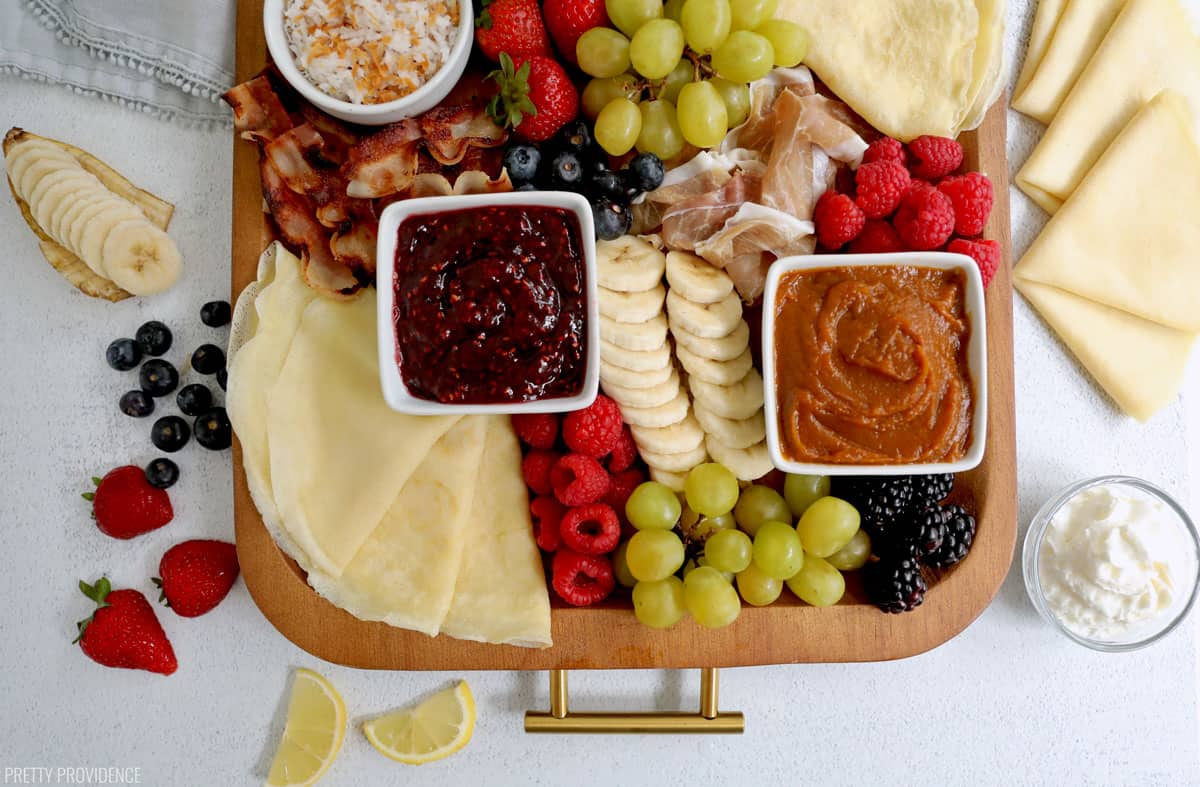
With sweet toppings, it's easy to mix and match. Here are some of our favorite crepe toppings:
- Strawberries
- Blueberries
- Raspberries
- Peaches
- Banana Slices
- Powdered Sugar
- Raspberry Preserves
- Pumpkin Butter
- Nutella
- Whipped Cream
- Blueberry Cream Cheese
- Shredded Coconut
Savory Crepe Bar Ideas
When we're going big, we'll serve savory crepe toppings as well! If you want to do that, try these:
- Scrambled Eggs with bacon or breakfast sausage crumbles, avocado, and hot sauce
- Prosciutto, ricotta, roasted red pepper spread, and arugula
- Ham, cheese, scrambled eggs, and green onion
If you make this crepe toppings breakfast charcuterie board or use any of our brunch food ideas, we'd love to hear about it with a comment and positive review! They mean a lot!

Crepe Toppings
Ingredients
- 30 Crepes (made ahead of time)
Crepe Toppings
- Strawberries
- Blueberries
- Raspberries
- Peaches
- Banana Slices
- Powdered Sugar
- Nutella
- Pumpkin Butter
- Raspberry Preserves
- Whipped Cream
- Blueberry Cream Cheese
- Shredded Coconut
Savory Crepe Toppings
- Scrambled Eggs
- Bacon
- Sausage crumbles
- Avocado
- Hot sauce
- Prosciutto
- Ricotta
- Roasted red pepper spread
- Arugula
- Ham
- Cheese
- Scrambled eggs
- Green onion
Instructions
Crepe Toppings Bar
- Wash and thoroughly dry all fruit. Slice the strawberries, peaches, and bananas.
- Put each topping in its own small bowl.
- Fruits that tend to get juicy (like strawberries and peaches) should be in bowls so they don't leak onto other toppings.
- Arrange toppings that are dry enough on a large charcuterie board.
- Make sure each topping has something to serve with such as a spoon, tongs or a small butter knife.
How to reheat crepes in the microwave:
- Cover crepes with a damp paper towel. Microwave a few at a time for 30 seconds.
How to reheat crepes in the oven:
- Heat oven to 250 degrees F. Put crepes on a baking sheet, it's fine if they are overlapped with each other or in small stacks. Cover with foil and warm for 10 to 15 minutes.
How to reheat crepes in a skillet:
- Place a non-stick skillet on your stove on medium heat, spray with cooking spray. Reheat one crepe at a time, heating on each side for 30-60 seconds.
Nutrition


That is so much fun! Thank you so much for sharing this!
Thanks!! We loved it!
This is the cutest idea! The little labels make the spread even more fun! Thanks for sharing.
Thanks! I'm totally going to do it this way from now on!
I LOVE crepes and charcuterie boards, so naturally, I absolutely love this! Such a fun way to present and eat crepes.
It's a match made in heaven!