This is a Sponsored post written by me on behalf of FrogTape. All opinions are 100% mine.
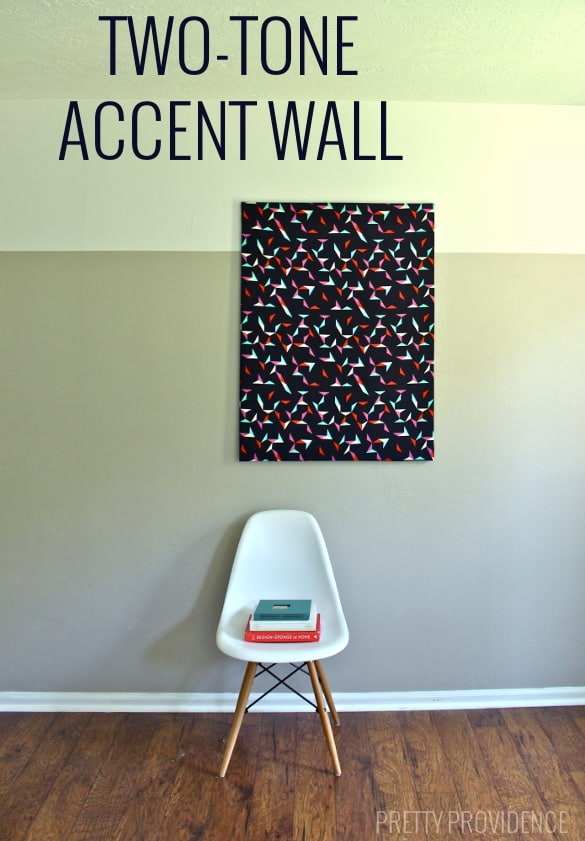
I have been indecisive about what to do with my bedroom for months now. The time has come for me to stop procrastinating and make my bedroom a nice place to hang out, not just sleep. I really like white walls right now but I knew if I left them all that way it might just be a little too boring. Inspired by this gorgeous room Emily Henderson did, I decided to try the two-tone wall! I am really happy with how it turned out. It's just the touch of modern I was hoping for.
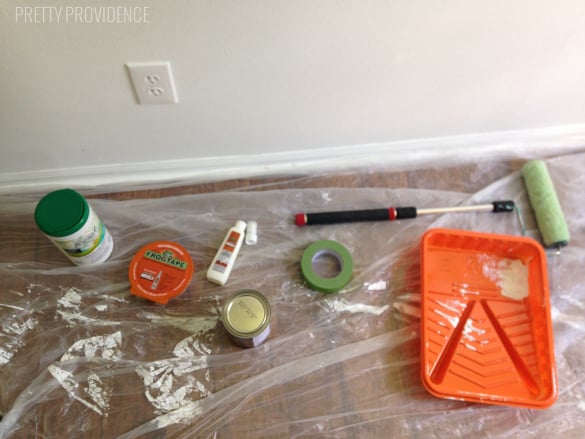
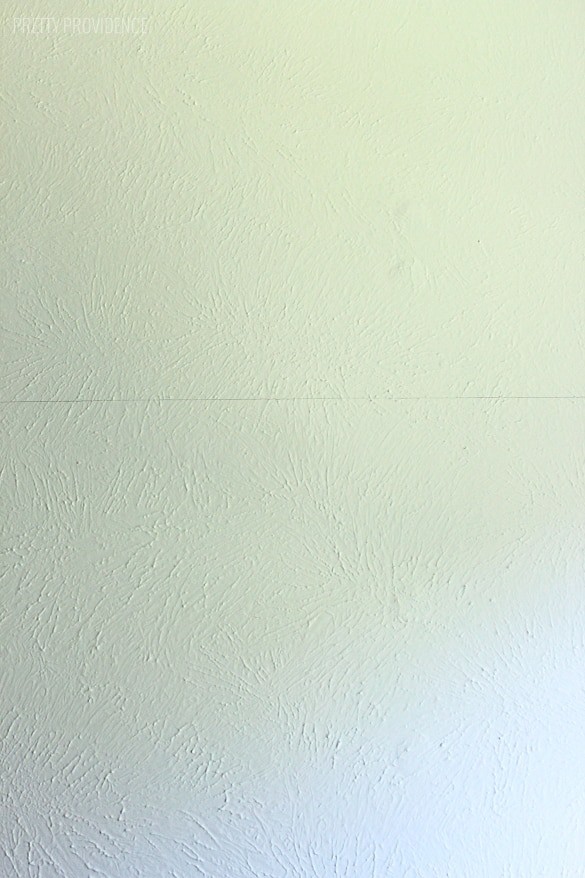
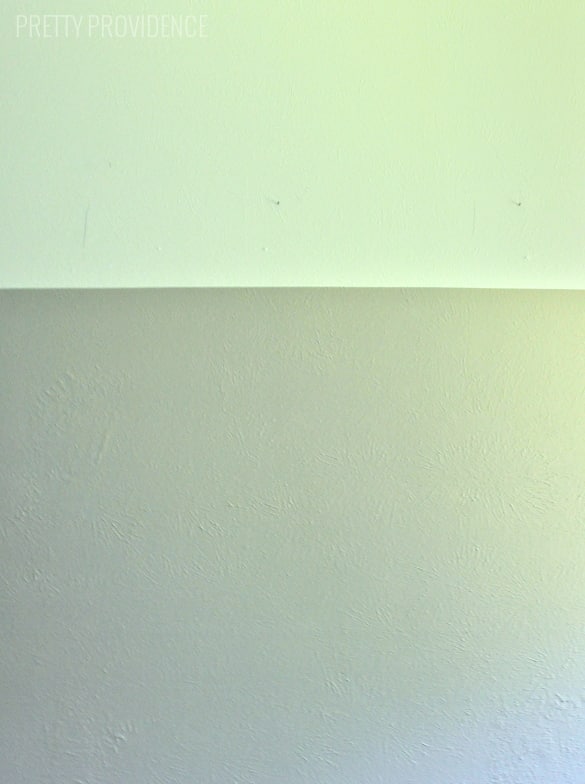
Doing this kind of accent wall was a little more involved than just taping the corners off and painting away. I wanted to make sure my line was straight. If it wasn't that would just be embarrassing. Also, I've mentioned this before but my house is blessed with textured walls. Not just some, but ALL of my walls are textured. Can we talk about why people in the 80's actually paid someone to add plaster to perfectly smooth walls so they wouldn't be smooth? What the heck! Someday I'll have mine smoothed out again... but for now I am going to make the best of my textured ones and make them pretty anyway. This does make painting a straight line extra tricky but luckily Textured Surface by FrogTape® is made specifically for walls like mine so I've made that my best friend since moving into my house. Here's my full how-to:
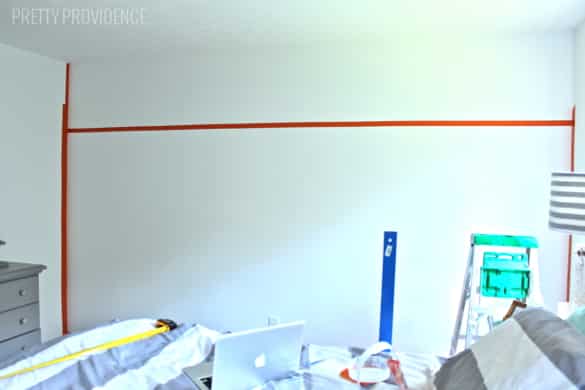
Next, you tape. This is so important to do right! Especially when you're doing a two-tone wall. I taped directly above the pencil line (so that I would paint over it) across the moulding at the bottom, and along the edges of the adjoining walls.
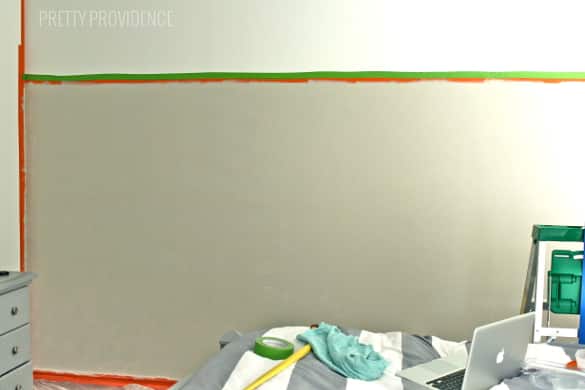
Here is what it looked like right after taping. The pic is weird, I know. A thunderstorm hit and it go so dark, this is my feeble attempt to save the photo.
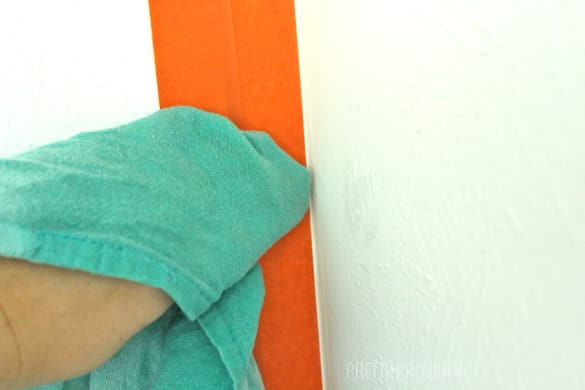
To give you a super accurate line, FrogTape® is treated with PaintBlock® Technology, a super absorbent polymer that reacts with the water in latex paint and instantly gels to form a micro-barrier that seals the edges of the tape, which helps prevent paint bleed! To activate it you run a damp cloth along the edge of the tape before you start painting.
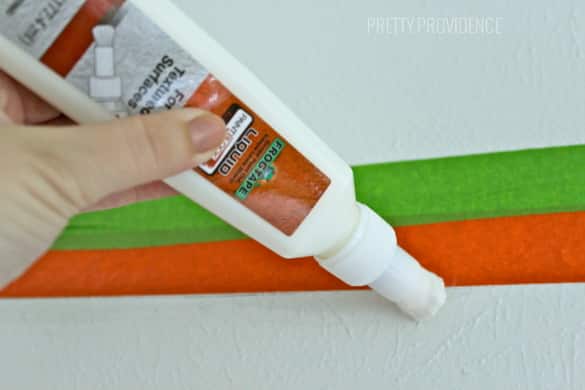
Then, if your walls are textured too (I'm sorry!) and you're using the Textured Surface kit, you use the glue to seal the tape to the wall - like so.
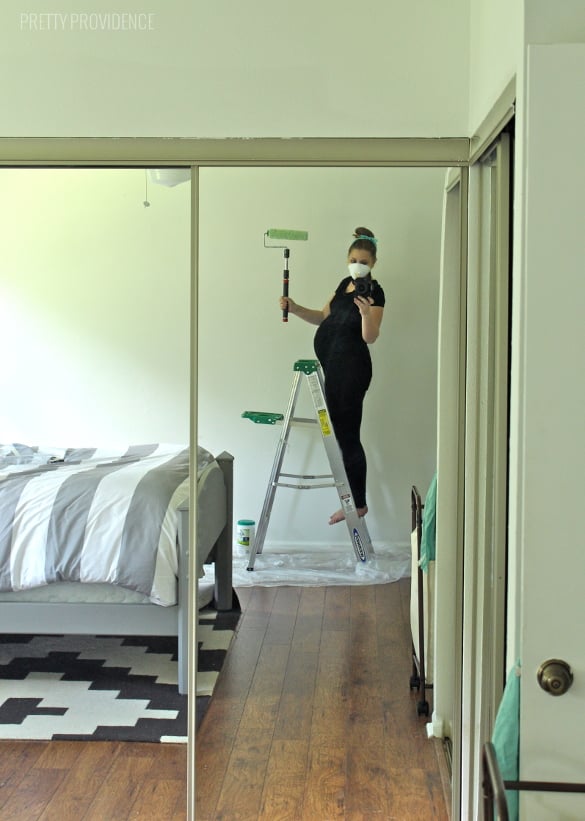
Pregnant painting selfie.
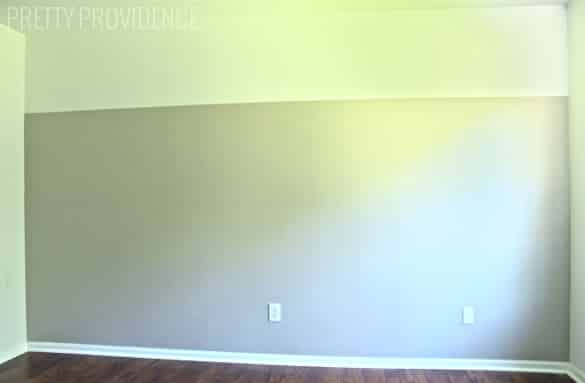
After all that crucial taping and sealing, you are finally ready to paint! This is the easy part. Here's what my wall looked like after the first coat. The paint color is Collonade Gray by Sherwin Williams.
Annnd here's what she looked like after drying and taking the tape off! My lines were sharp and I only had to do a tiny bit of touching up.
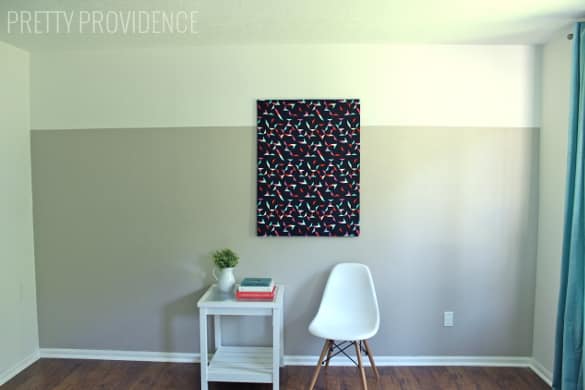
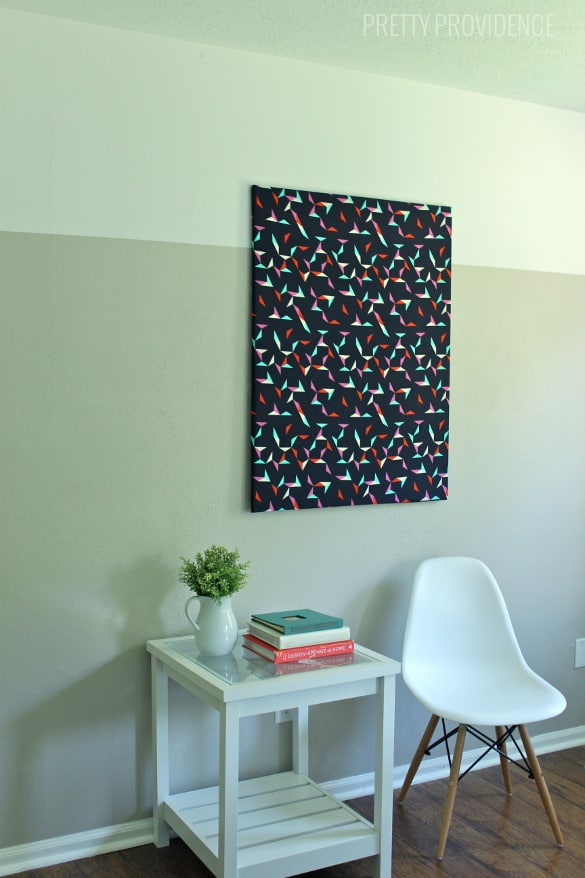
After painting I went out looking for some inspiration as to how to decorate the rest of the room. I ended up at a cute little quilting store that carried the most amazing line of fabric I've ever found. More info will be posted later about this fabric and the rest of the room! But I quickly covered a canvas with 1 yard of the fabric and voila, I hung it up on the wall.
I'm loving it! This room came together in about two days. It's crazy how something as simple as painting a wall can make a room feel so fresh. Ya know?
Have you ever painted a two-tone wall? Or do you have textured walls like mine? Let's chat about it!
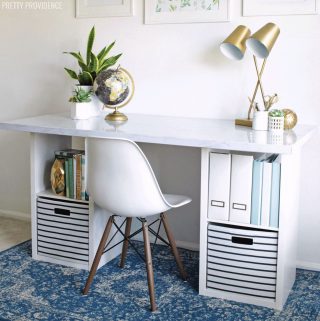
P.S. You might also like this accent wall I did, or this DIY Desk for Under $60!



Colleen Pastoor
Aren't you just the cutest! We painted my kids whole room two tone and I LOVE it. We went a bit bolder though- navy ;)
Laura Welch
I love the subtle impact of this two tone wall. It's perfect!