I'd like to thank Moen® for sponsoring this post, allowing me to show you guys how easy it is to install a new kitchen faucet!
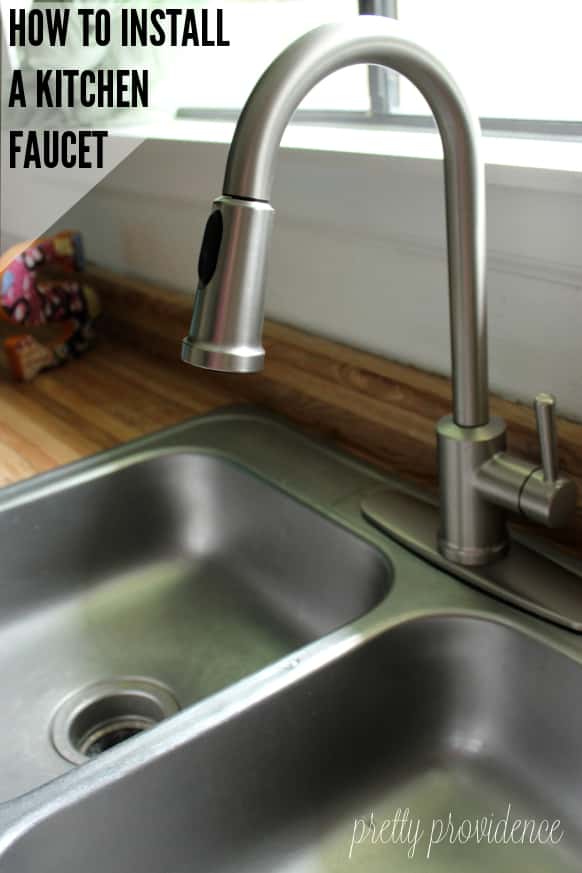
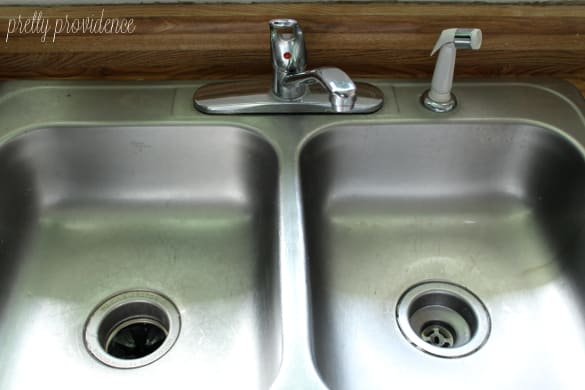
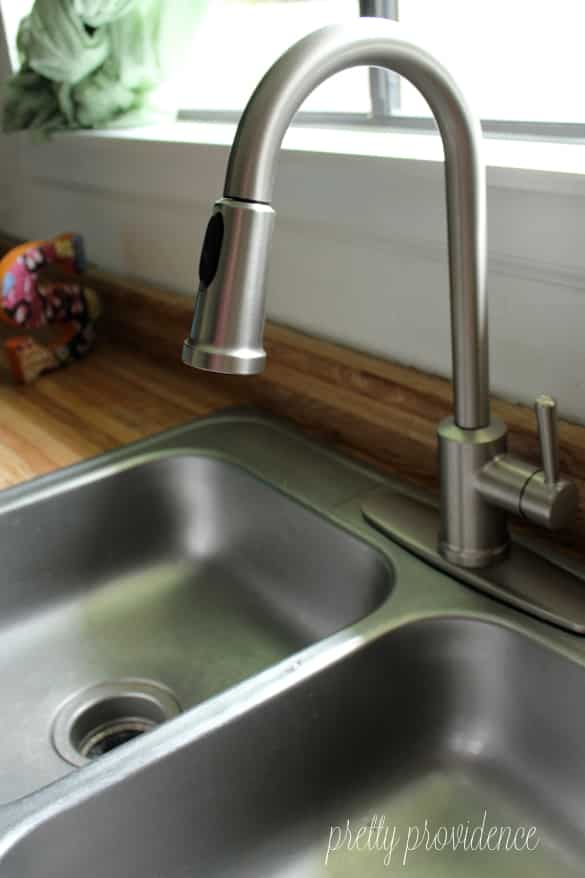
You guys I am in the middle of a kitchen renovation. I will likely be in the middle of it for a year, maybe more, but I'm so happy to say that we've installed our new cabinets (I posted about them here) and the next step was a new faucet! I was surprised at how easy it was to install this. My husband came home on his lunch break to do it, and it took a total of 45 minutes, and that's with me stopping him every five seconds so I could snap a picture. This tutorial is photo HEAVY! I thought it would be easier for anyone who is using this as a guide to be able to see the parts I am talking about instead of me just describing them. Here's our old faucet & sprayer. That is actually Moen ® as well, but I think it's from the 90's. Our new one is the Indi Pullout Kitchen Faucet. I love the new one so much. It's kind of vintage/modern looking right?
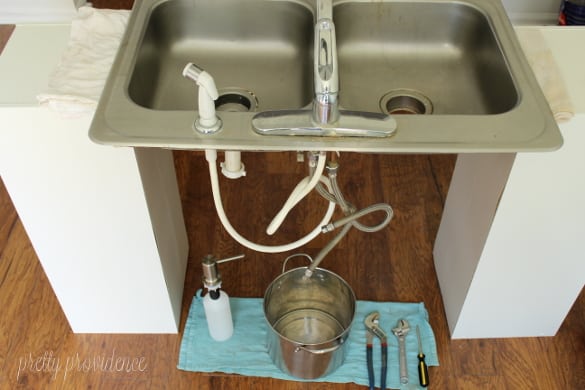
Okay so to make it possible to take pictures of what was going on, we removed our sink and did this in another room. You will not do this. Removing a sink is not that simple, unless, like us, you are about to embark on another DIY so your counter tops and sink are not actually attached to your cabinets :)
Here's what you need: Grubby towels, bucket, wrench, screwdriver, nylon tape and of course, a new faucet and whatever hardware and extras it comes with.
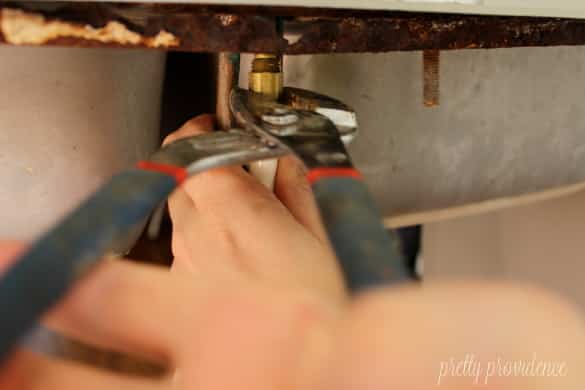
Turn off your water. Place a bucket below your valves because when you detach them, water will leak out. Keep towels handy for this too. Disconnect hose from valves.
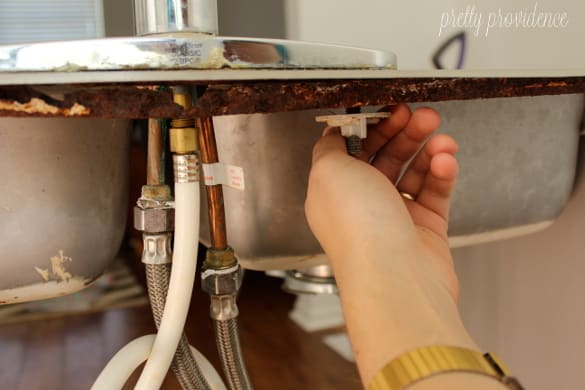
Disconnect fixture from your sink. As you can see below we have wingnuts. and rust.
Disconnect squirter if you have one.
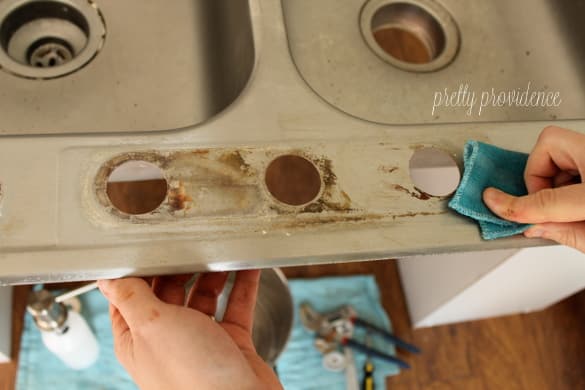
Clean underneath where your fixture has been. (Ew. Right? Sorry for showing you this.)
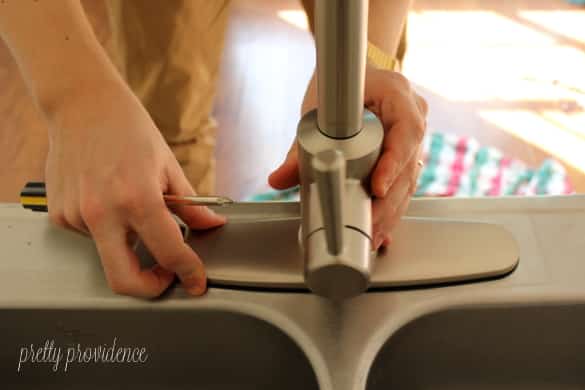
Place new fixture where it needs to go. Make sure it's straight and tighten it from below.
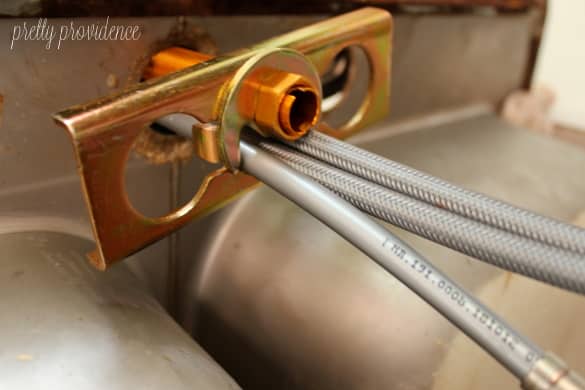
Put valves through the hardware that looks like this:
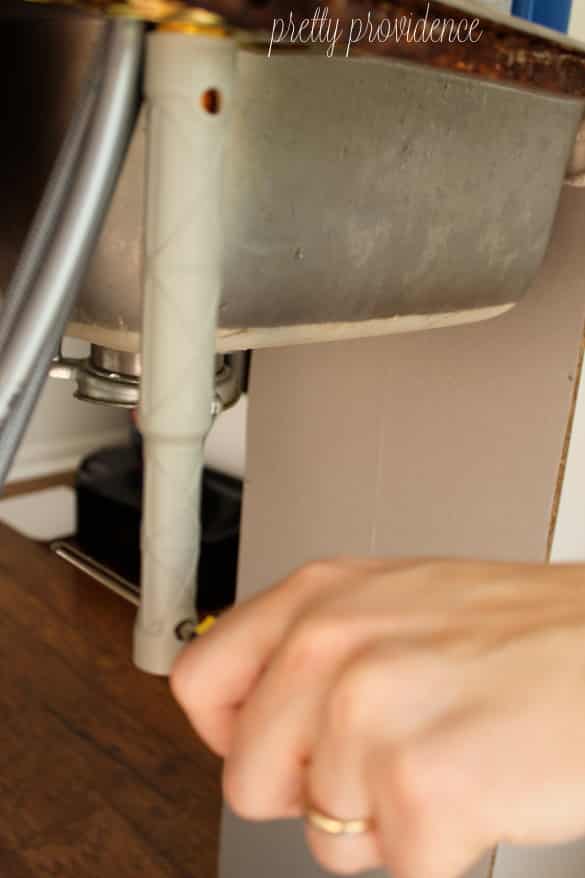
Moen provided this very helpful tool for tightening the fixture. You put your screwdriver into it and twist, it just makes it so you don't have to reach as far, to where you can't see.
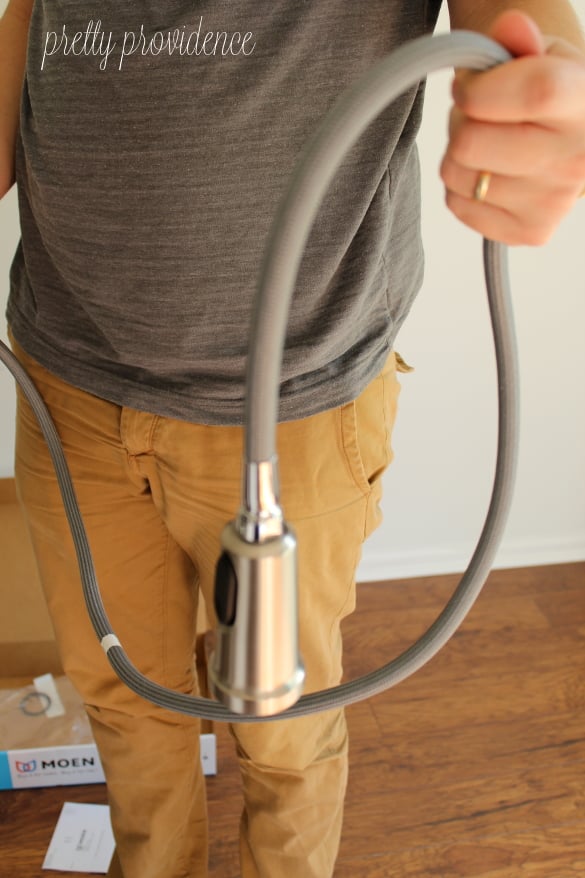
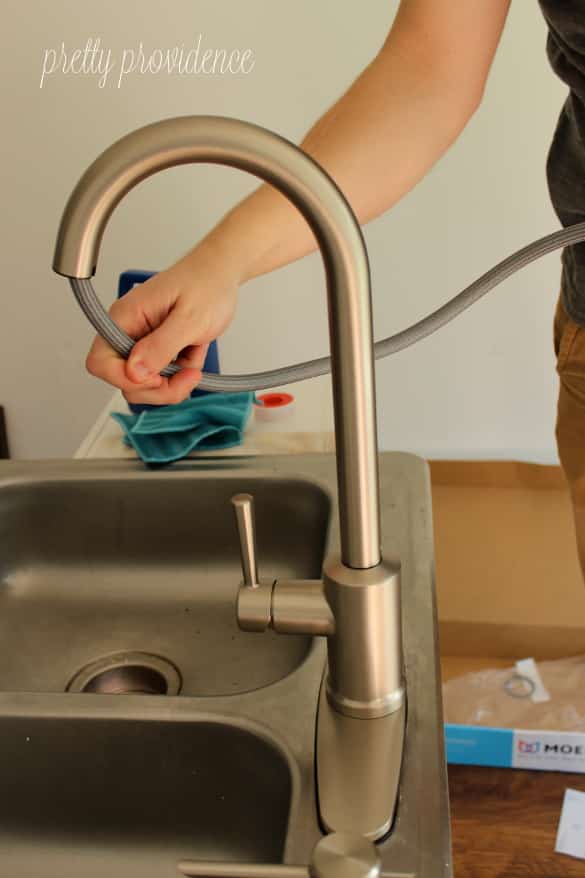
Insert the hose through the top of the fixture.
Like so:
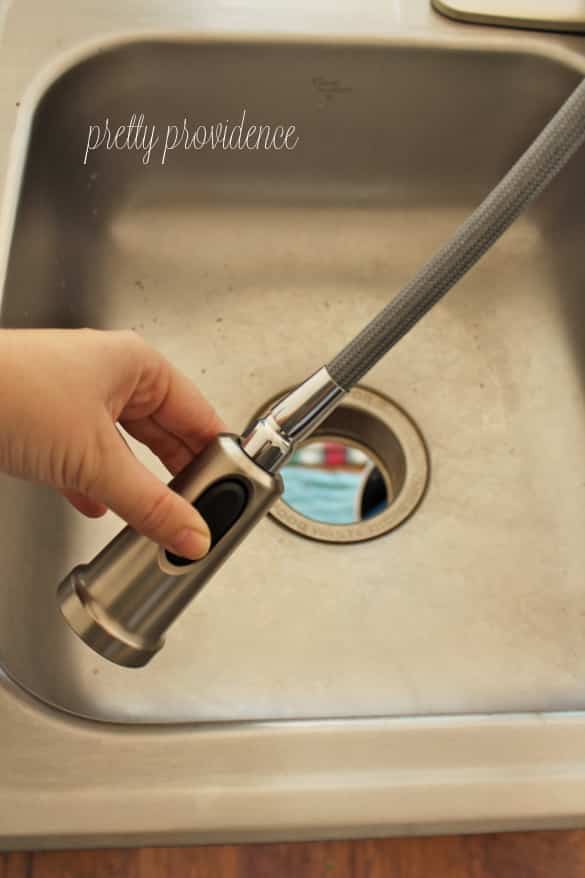
This faucet has Reflex, so after you pull it out it retracts on its own.
Decide how far you want it to come out.
Then secure the docking tool on the spot at which you want it to stop pulling out.
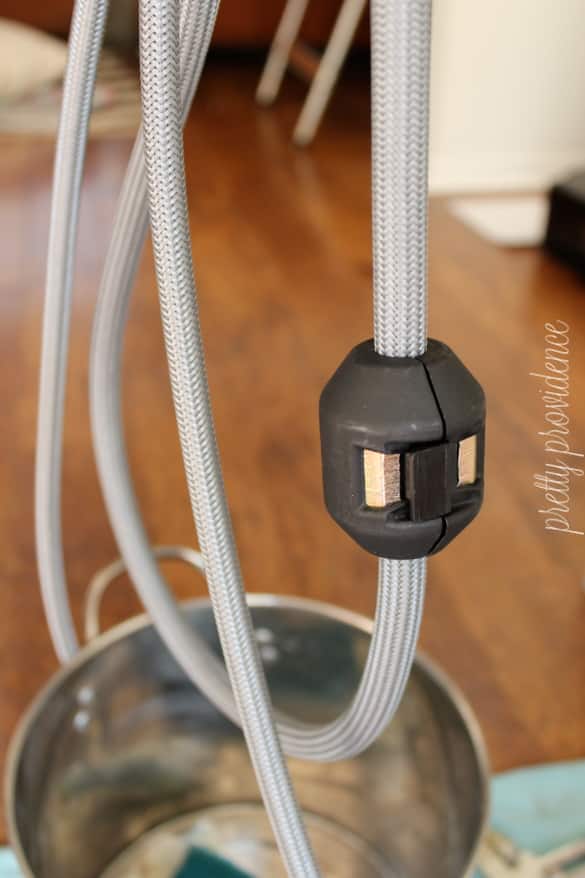
Attach this black thing here to keep the hose tight.
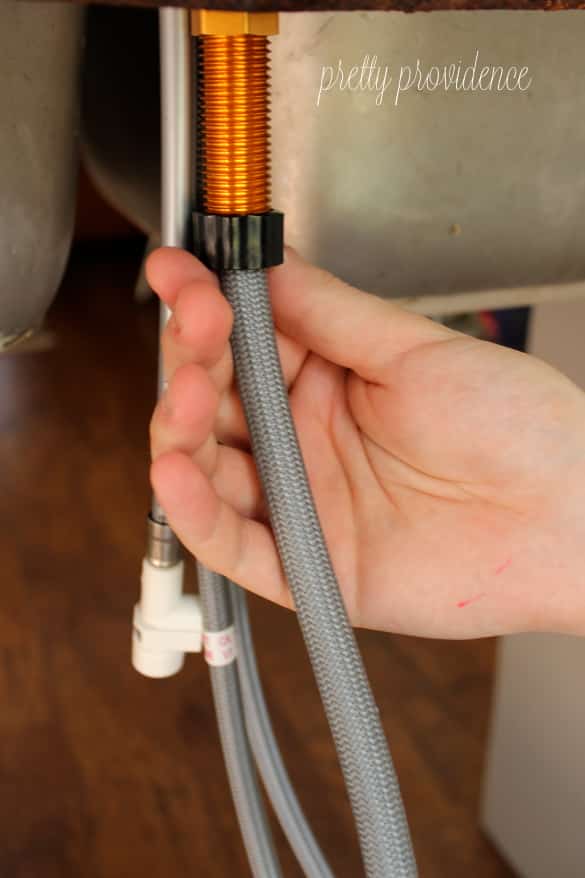
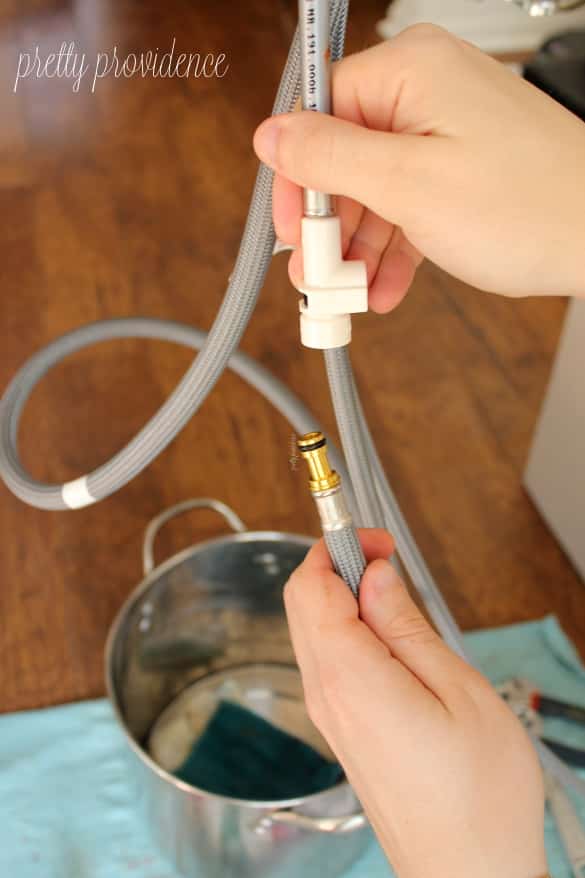
Then attach the hose to the other valves.
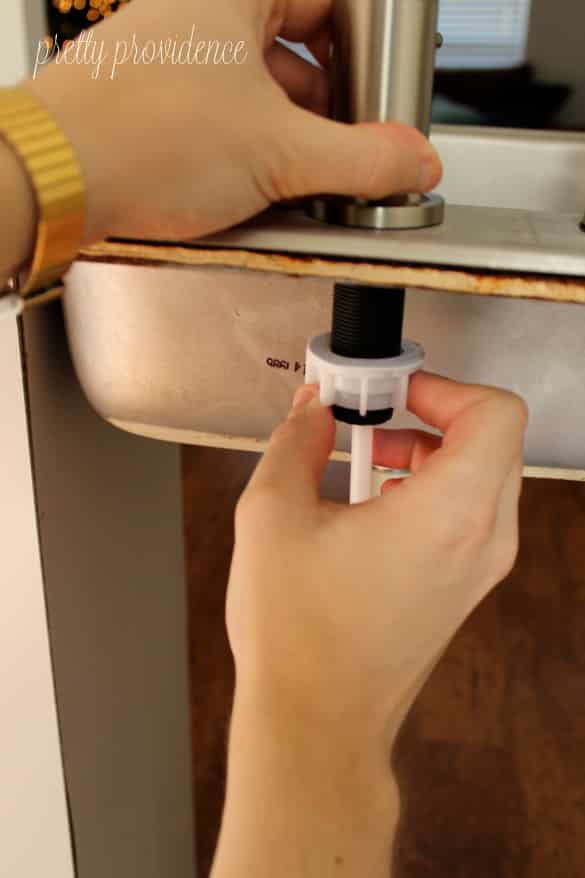
If you are installing a soap dispenser like we are, do that. It's the easiest part.
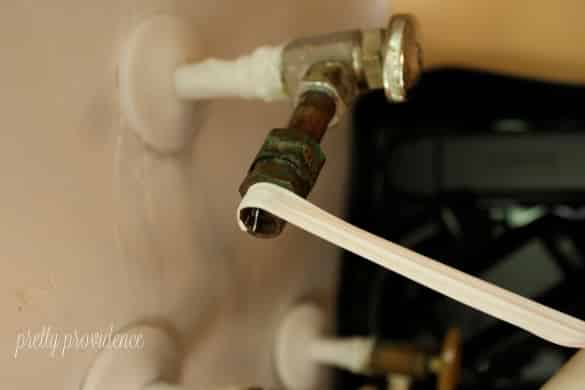
We're in the homestretch now! But this is important. You're going to use nylon tape where you attach the valves to plumbing. Put the tape on CLOCKWISE. This way when you tighten the bolts, the tape will help tighten it more. If you place it counter-clockwise it will loosen it. Counter-clockwise = counter-productive. Also, don't let it bunch up. It's kind of flimsy and it wants to get bunchy but keep it as straight and smooth as possible.
And that's it folks! Enjoy your new faucet! I know I will. Now to tackle those counter tops and add that tile backsplash!
If you like this post, check out this DIY framed mirror!
This post may be linked up to one of these parties.




WhippedGreenGirl Angie
I thought I'd go on Pinterest cause I plan on replacing my kitchen tap today- No kidding, I have the exact faucet too! Thanks for sharing this, you made my life so much easier lol