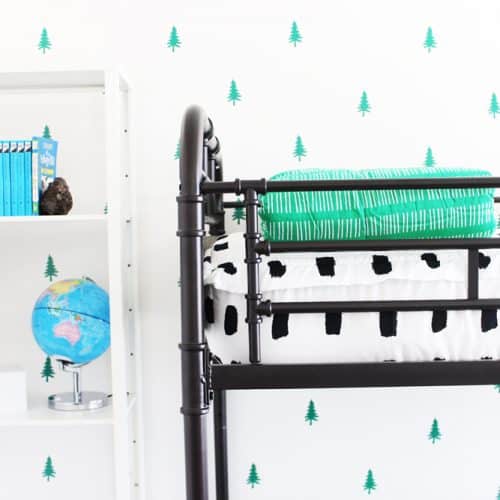
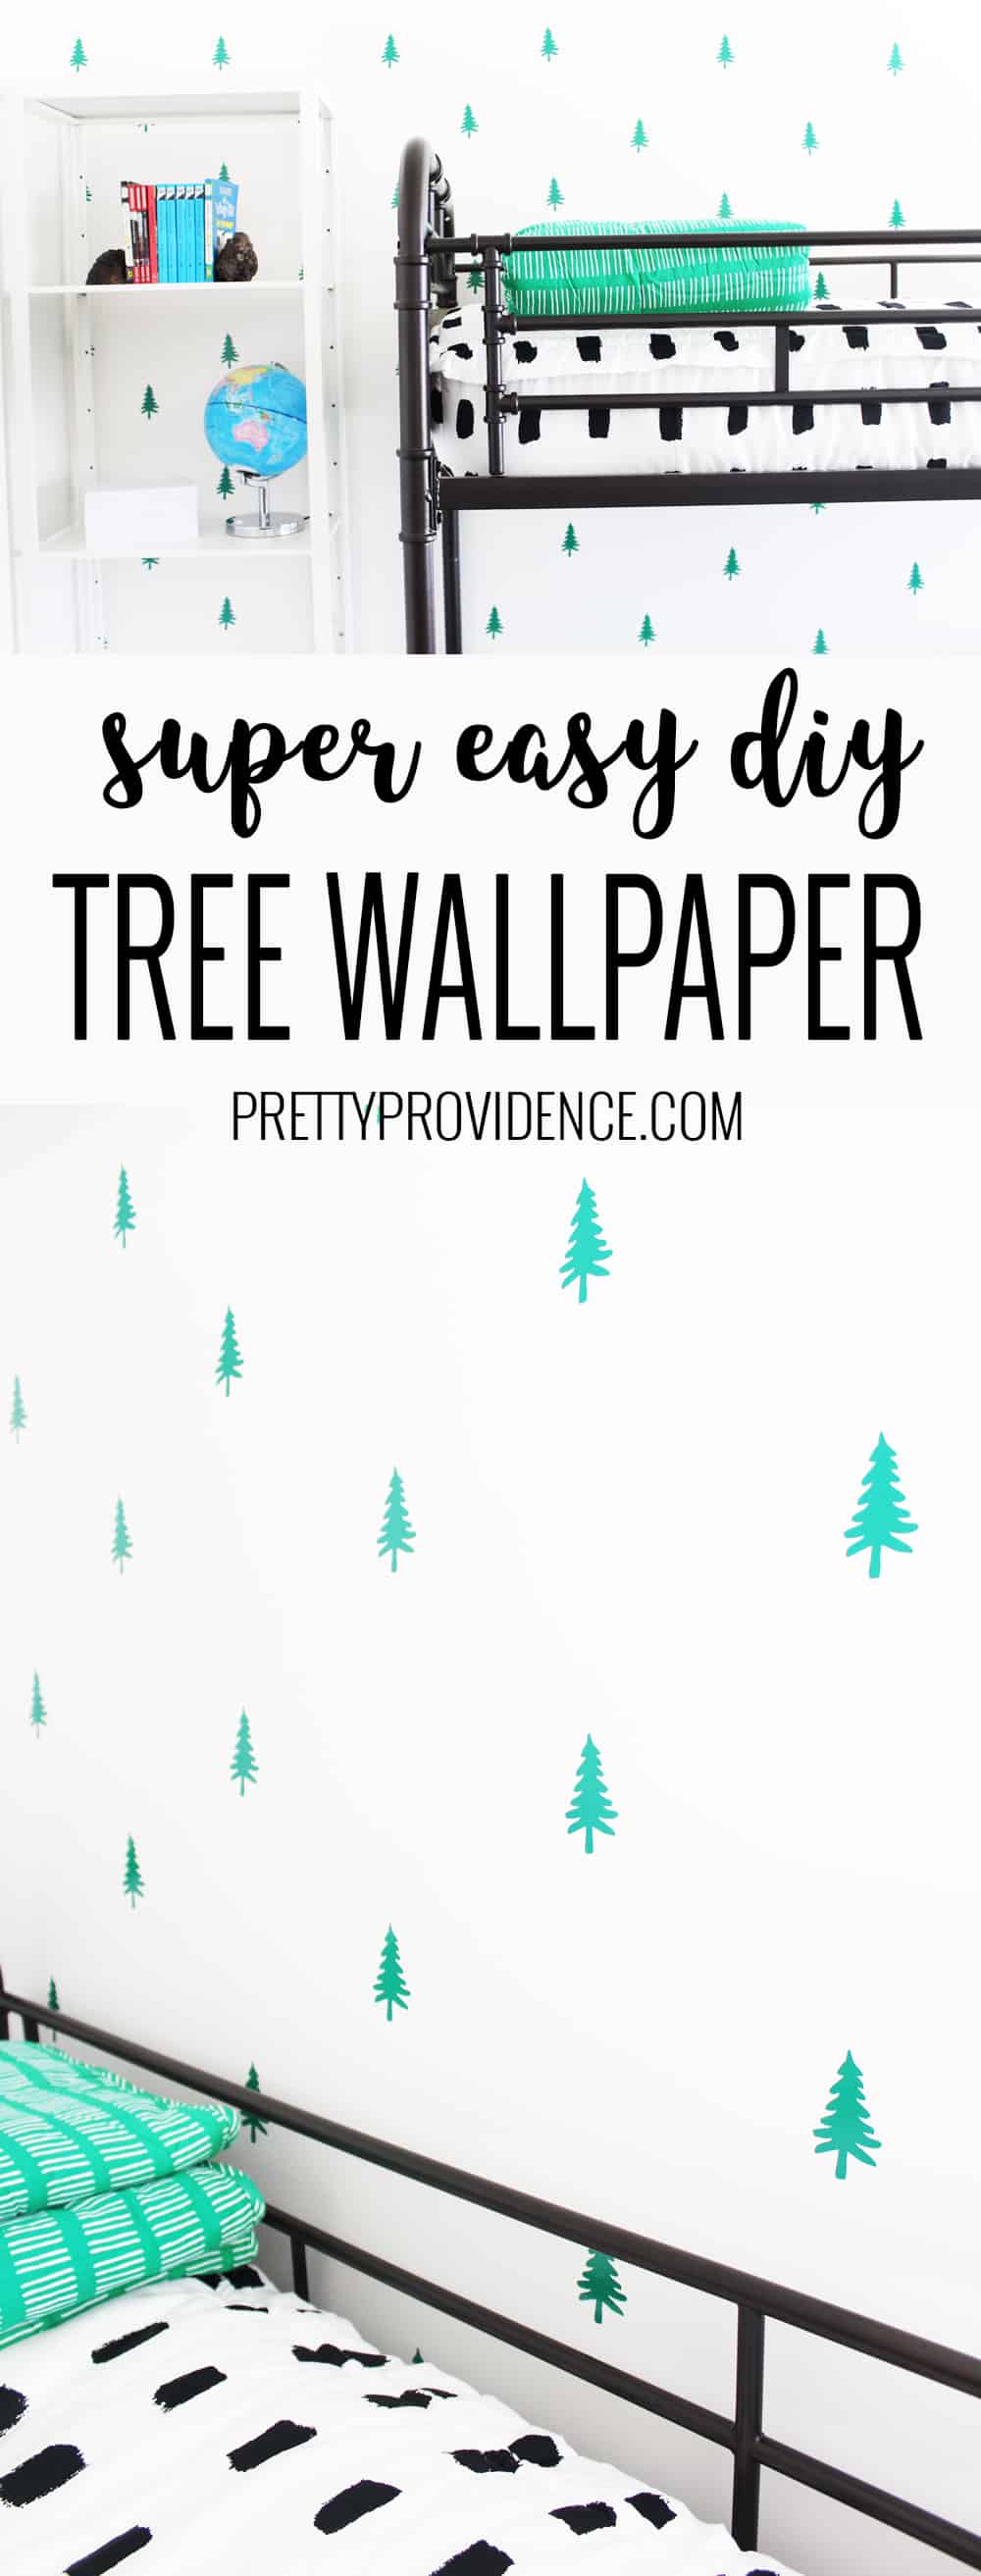
How cute is this DIY wallpaper? It took less than two hours and less than $20 to make these DIY wall decals using a Cricut and some vinyl!
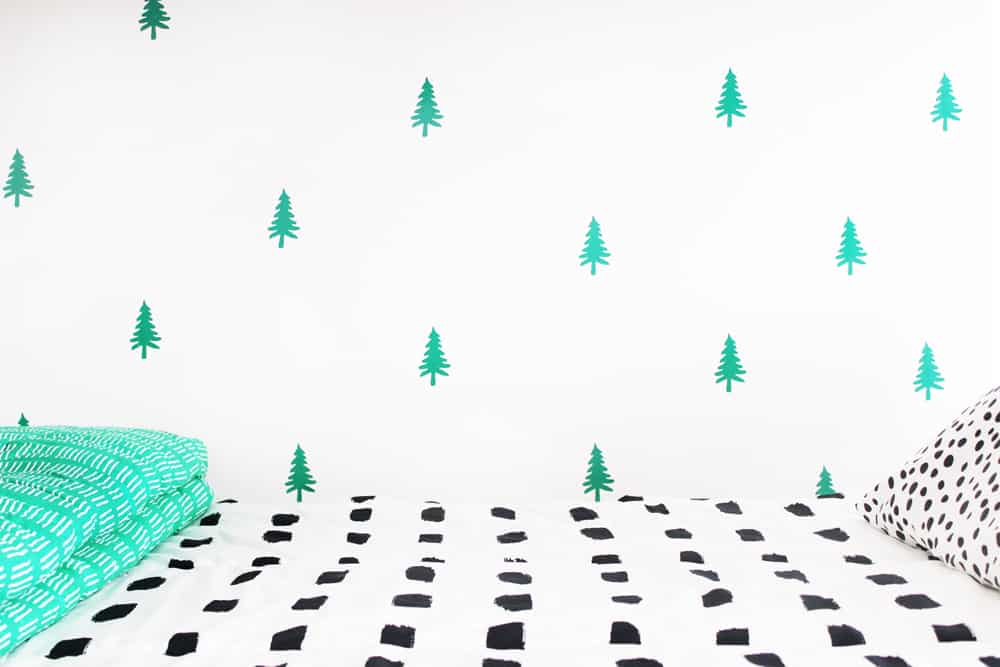
I for one LOVE the fact that wallpaper is back on trend! It is such a fun accent to any space. The hard part is that wallpaper can be super pricy, hard to install, and a pain to change out if you decide you don't like it anymore. Well, it's your lucky day friends, because this DIY wallpaper solves all those problems in one fell swoop!
This project was part of my oldest son's room makeover. If you didn't catch it, here's the Modern Boy's Bedroom Reveal, and you might want to check out these DIY Reader Pillows and this tutorial on How to Refinish Furniture with Chalk Paint!
(This post contains affiliate links.)
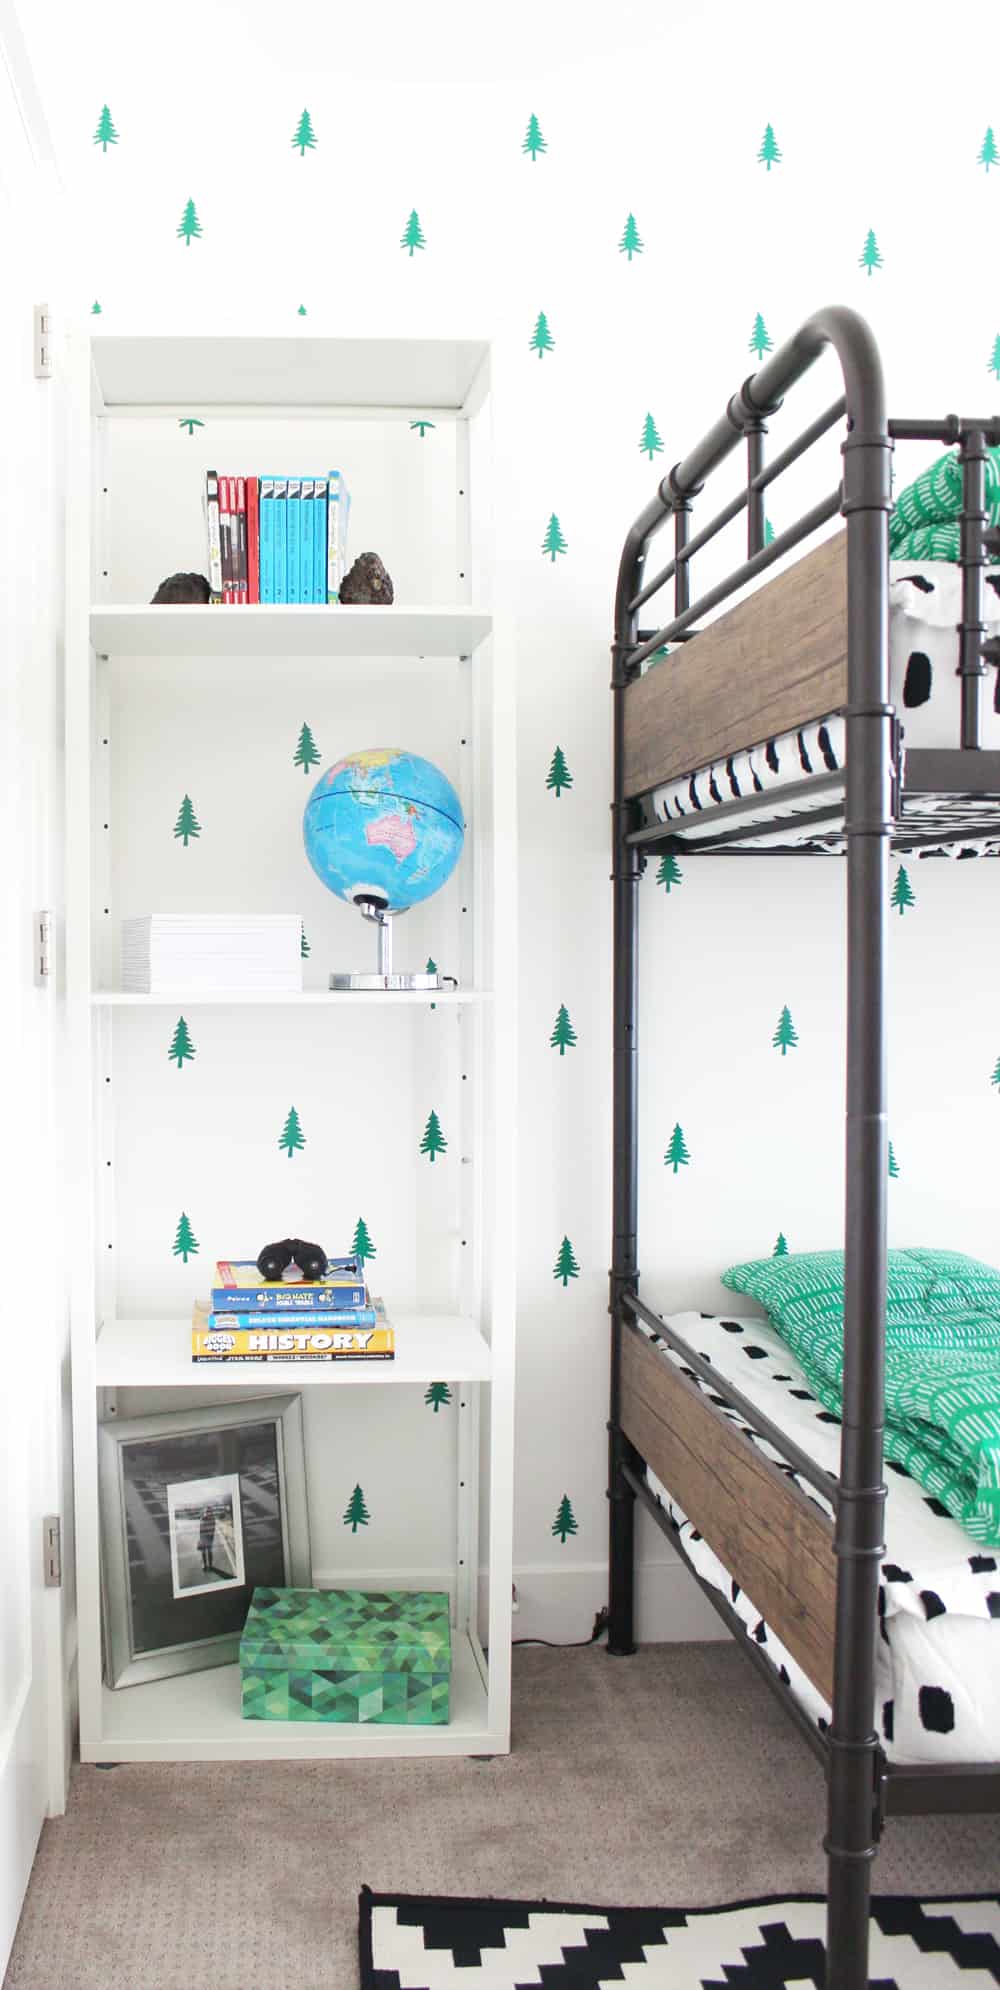
Not only did it take less than two hours from start to finish, but it cost less than $20 to make, and I can easily switch it out whenever I want to! Three cheers for DIY wallpaper, am I right?
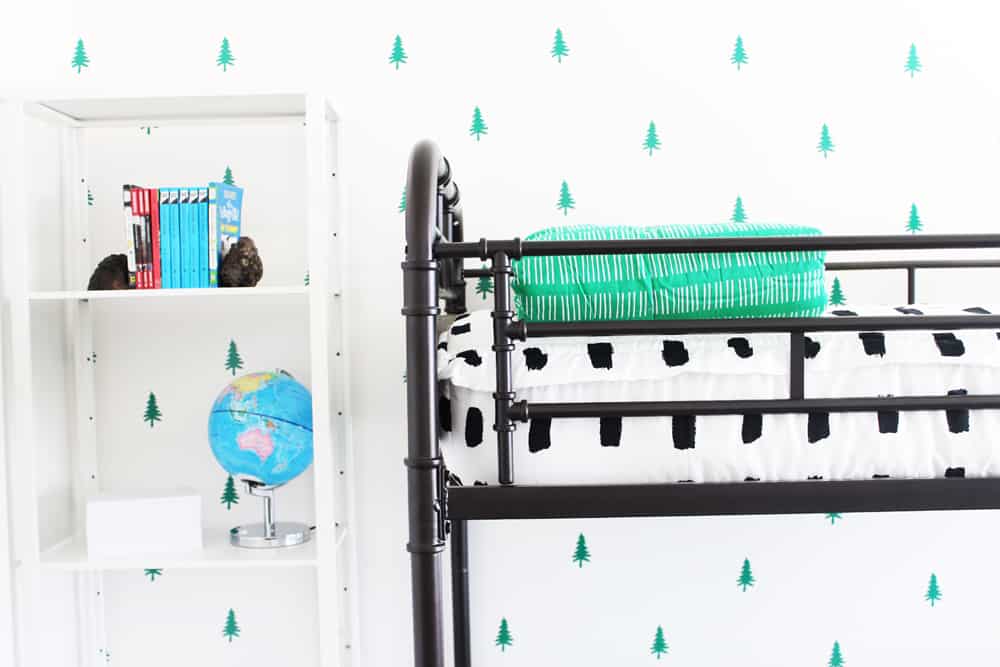
Basically if you want to make your own DIY tree wallpaper all you need is a Cricut Machine and some removable vinyl! I typically only use Cricut vinyl but Cricut only has lime green in their regular vinyl and I needed a deeper green to match the room, so I used this pack of vinyl.
How to make Faux Wallpaper with DIY Wall Decals
Equipment needed:
Instructions:
Cut out this file. Open the design in Cricut Design Space and select 'make it.'
How many times you need to cut it will depend on how large your wall is, and how close together you want to place your trees. My wall is rather large and I cut the file five times.
Put vinyl on a Standard grip mat facing up, and select material (removable vinyl.)
Press 'go' and cut!
After the first cut, repeat as many times as you need.
Weed the excess vinyl from around the trees using a weeding tool.
To apply it, peel trees and stick them on your wall.
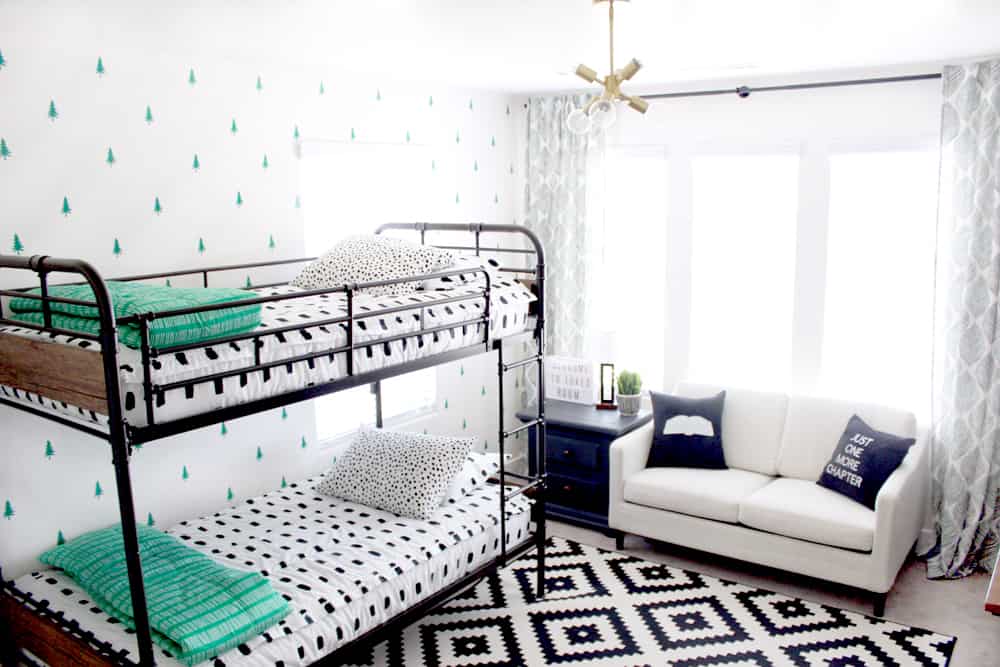
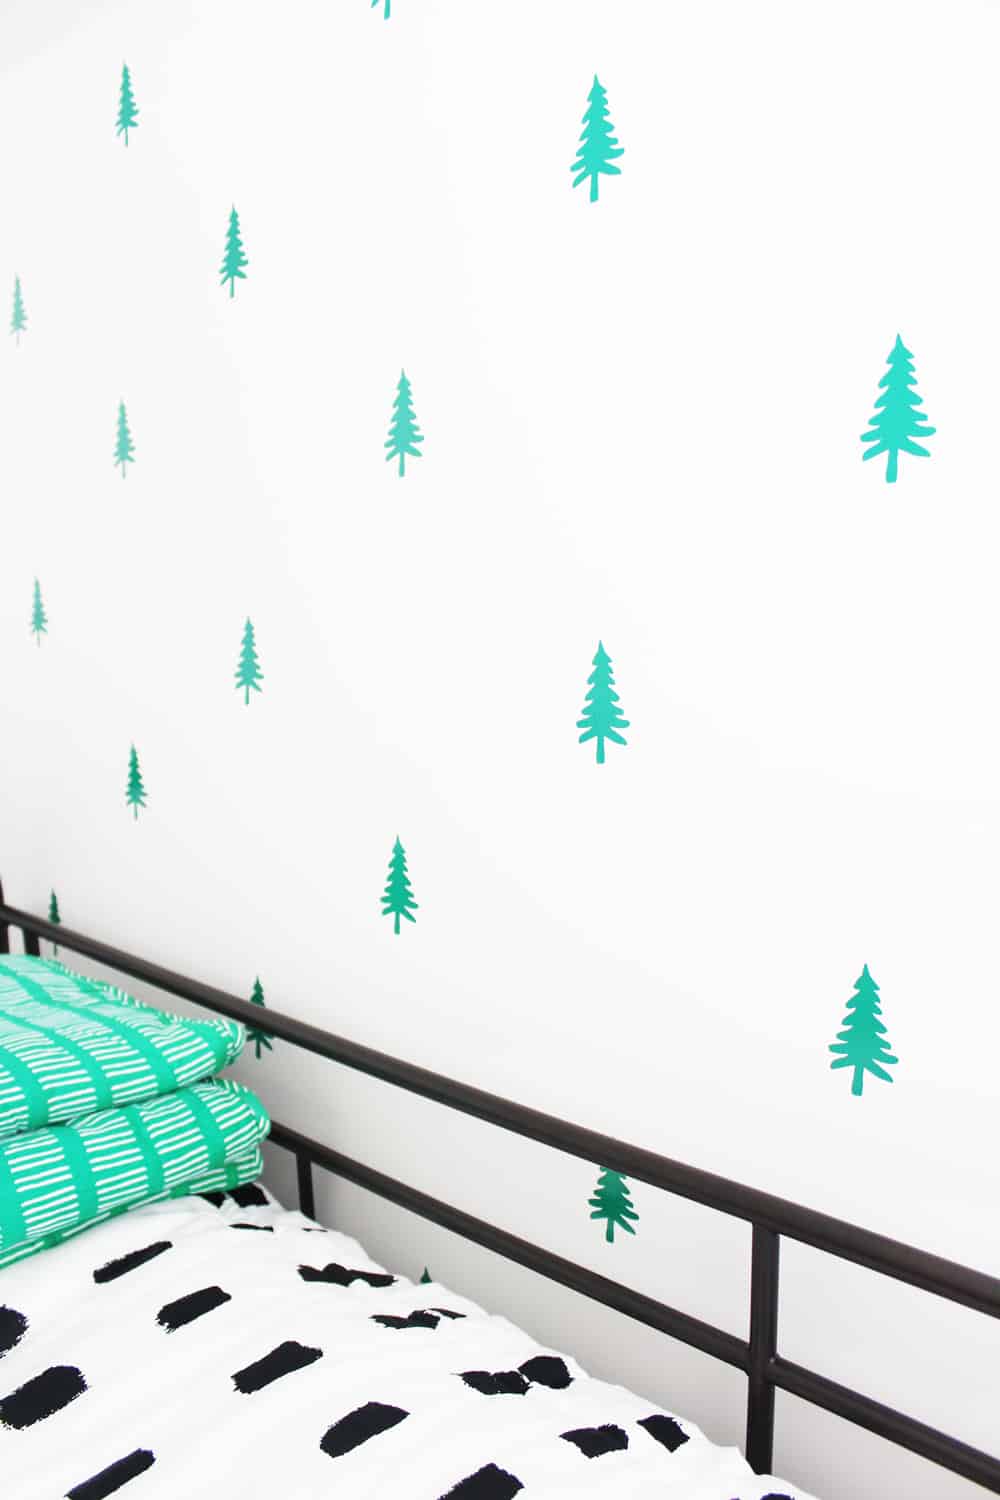
I didn't measure, I just placed the first row of trees roughly about a foot and a half apart, then stuck the next row of trees in between the trees of the top row. Continue this pattern until you reach the bottom of the wall.
This will form diagonal lines or kind of a diamond pattern. If you look closely you will see my lines are not exact and it totally doesn't even matter! That being said, if you stand back and one of the trees seems off just peel it and re-stick it in a better placement.
How to Make Vinyl Tree Wall Decals
Equipment
- Cricut Tool Set
Materials
- Dark Green Vinyl
Instructions
How to Make Vinyl Wall Decals
- Open this file in Cricut Design Space.
- How many decals you need will depend on how large your wall is and how close together you want to place your trees. My wall is rather large so I cut the file five times.
- Once the design is loaded, press vinyl onto the mat with the vinyl facing up.
- Load the mat, choose material (removable vinyl) and press 'go.'
- After one sheet cuts, repeat until you have the amount you want. While the other vinyl sheets are cutting, weed the extra vinyl off with a weeding tool.
How to Apply Vinyl Wall Decals
- Peel trees and stick them on your wall. I didn't measure, I just placed the first row of trees roughly about a foot and a half apart, then stuck the next row of trees in between the trees of the top row.
- Continue this pattern until you reach the bottom of the wall.
- This will form diagonal lines or kind of a diamond pattern.
xo,






Leave a Reply