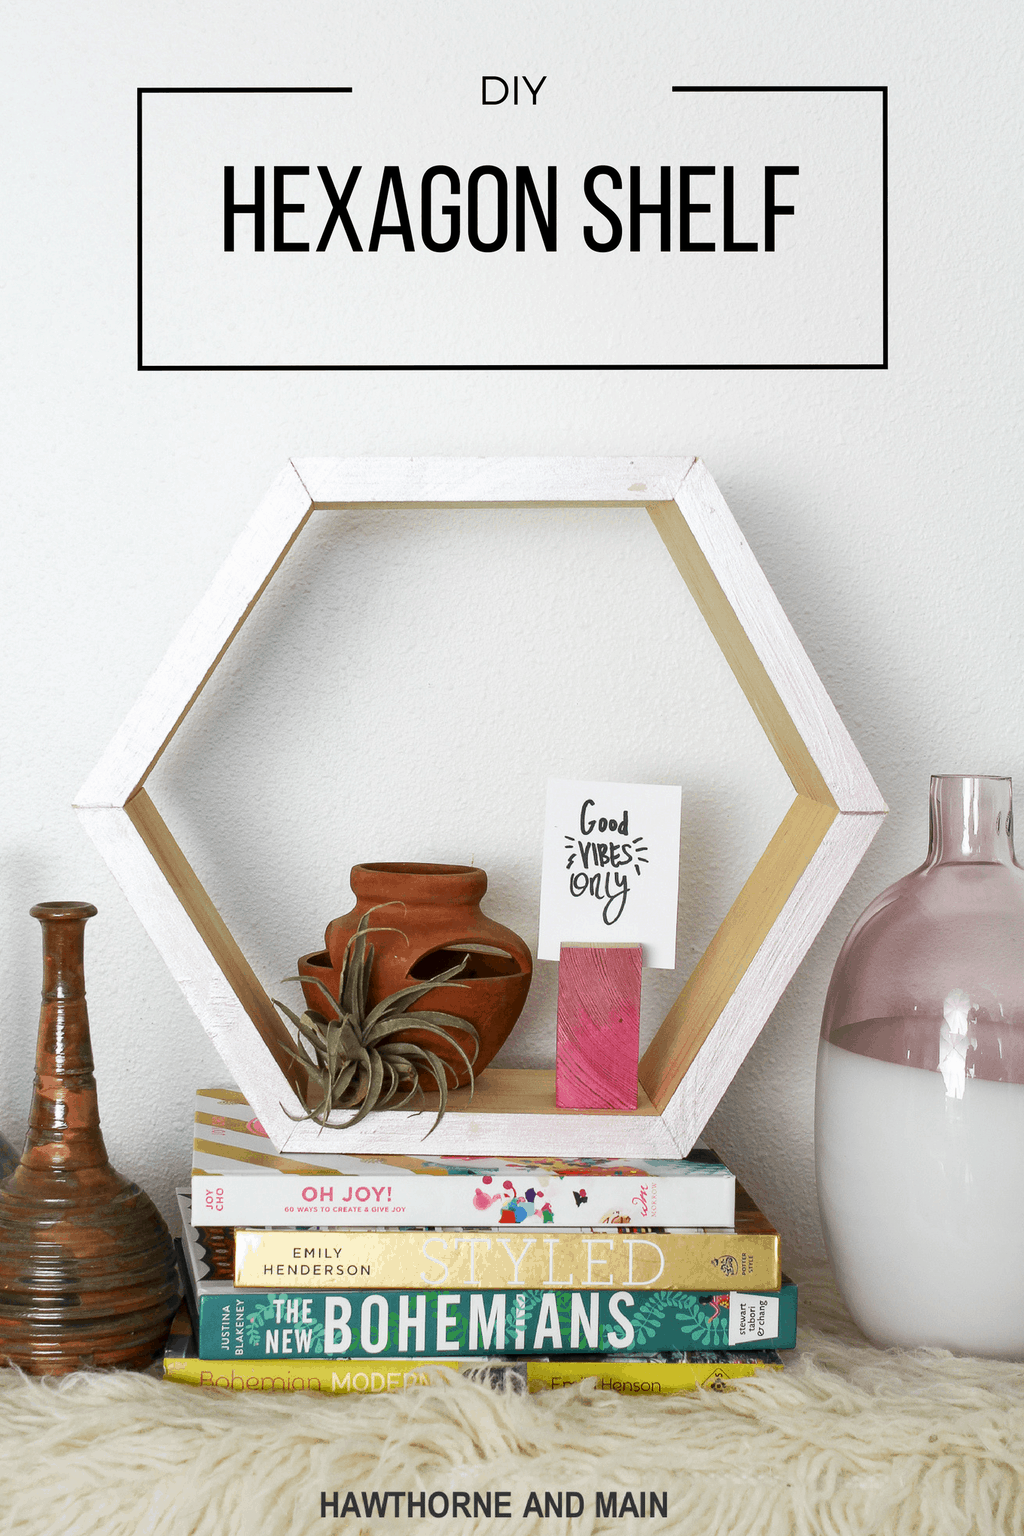
• Skip to primary navigation
  • Skip to main content
  • Skip to primary sidebar
  • Skip to footer

Pretty Providence

  • Home
    • Newest Blog Posts
  • About
  • Recipes
    • Appetizers
    • Beverages
    • Breakfast
    • Dessert
      • Cookies
    • Dinner
    • Salads
    • Side Dishes
  • DIY & Crafts
    • Cricut
    • T-Shirts
    • Crafts
    • Decor
    • DIY Projects
  • Holidays
    • Halloween
    • Thanksgiving
    • Christmas
    • New Years Eve
    • Valentine’s Day
    • St. Patrick’s Day
    • Easter
    • Mother’s Day
    • Father’s Day
    • 4th of July
  • TIPS
    • Tips
    • Organization
    • Family Life
      • Baby
      • Fun
      • Family
    • Travel
  • OCCASIONS
    • Gifts
    • Parties
  • Navigation Menu: Social Icons

    • Facebook
    • Instagram
    • Pinterest
    • YouTube

DIY Hexagon Shelf

Home » All » DIY Hexagon Shelf

Published December 15, 2016 Last Updated June 10, 2019 / By Pretty Providence Leave a Comment

Tweet
Pin181
Share
Email
181 Shares

I love this modern DIY hexagon shelf! It looks easy to make and would be perfect for my house!

Hello again Pretty Providence readers! This is Shonee here again from Hawthorne and Main.  I am super excited to be with you today.

I love me some good shelves! They are so fun to customize and style.  There is even a popular hashtag on Instagram called #shelfie where you can find some great shelf styling ideas.

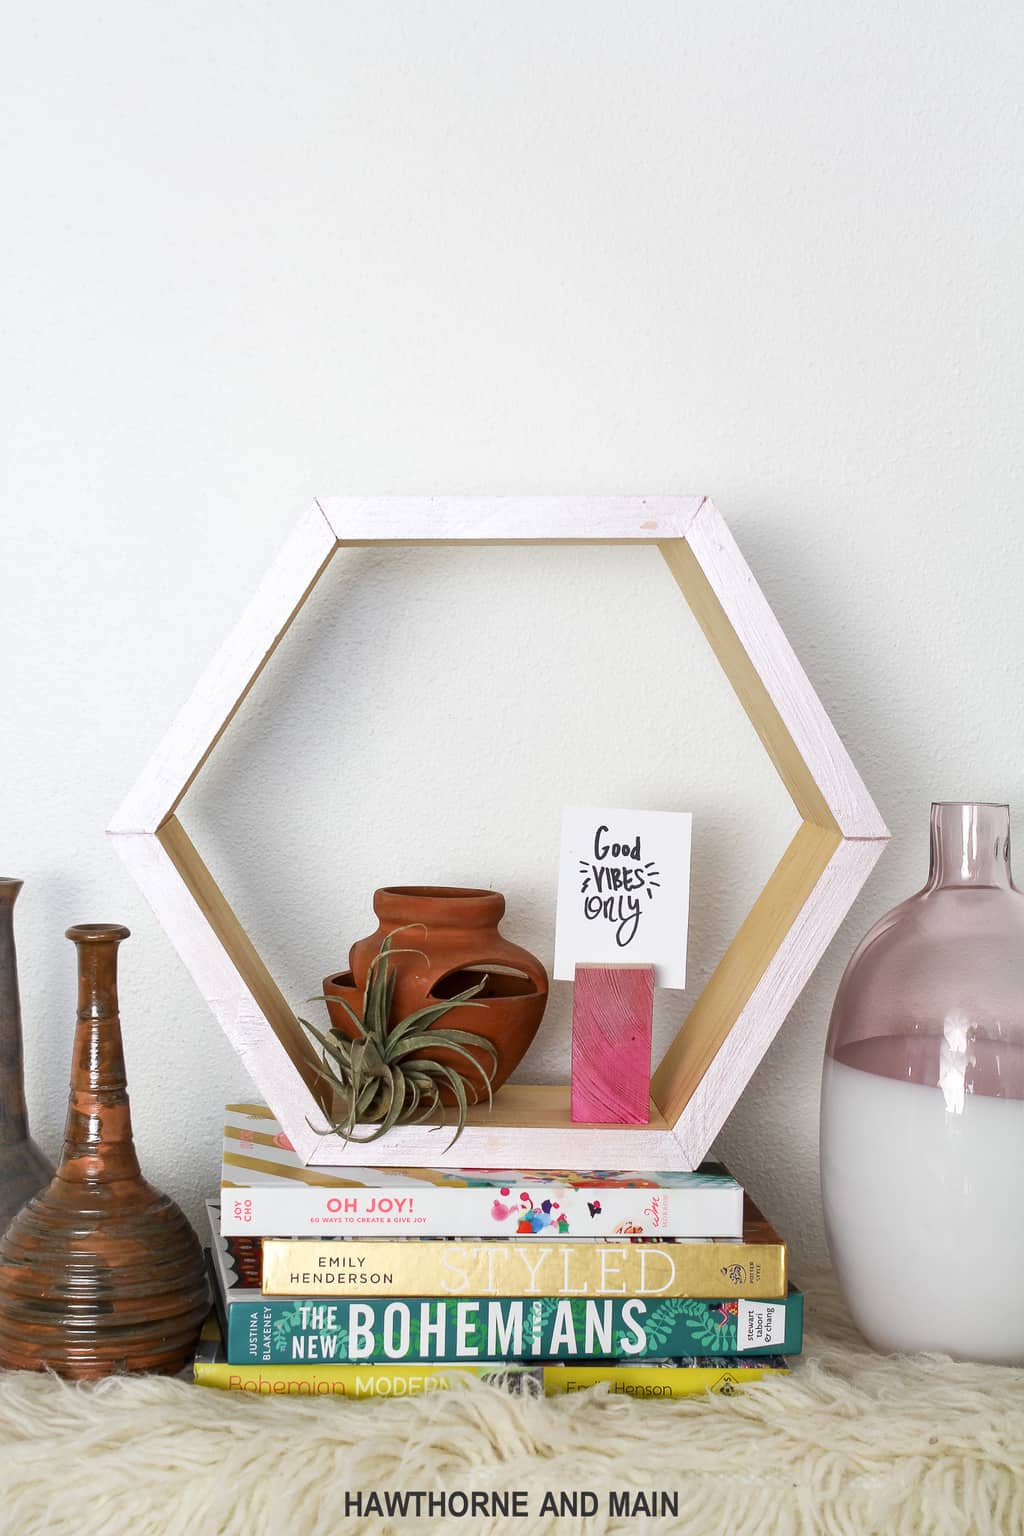
Today I am going to show you how easy it is to create this DIY hexagon shelf.  These would be good hung on a wall or even sitting on a desk or other flat surface.

SUPPLIES (1):

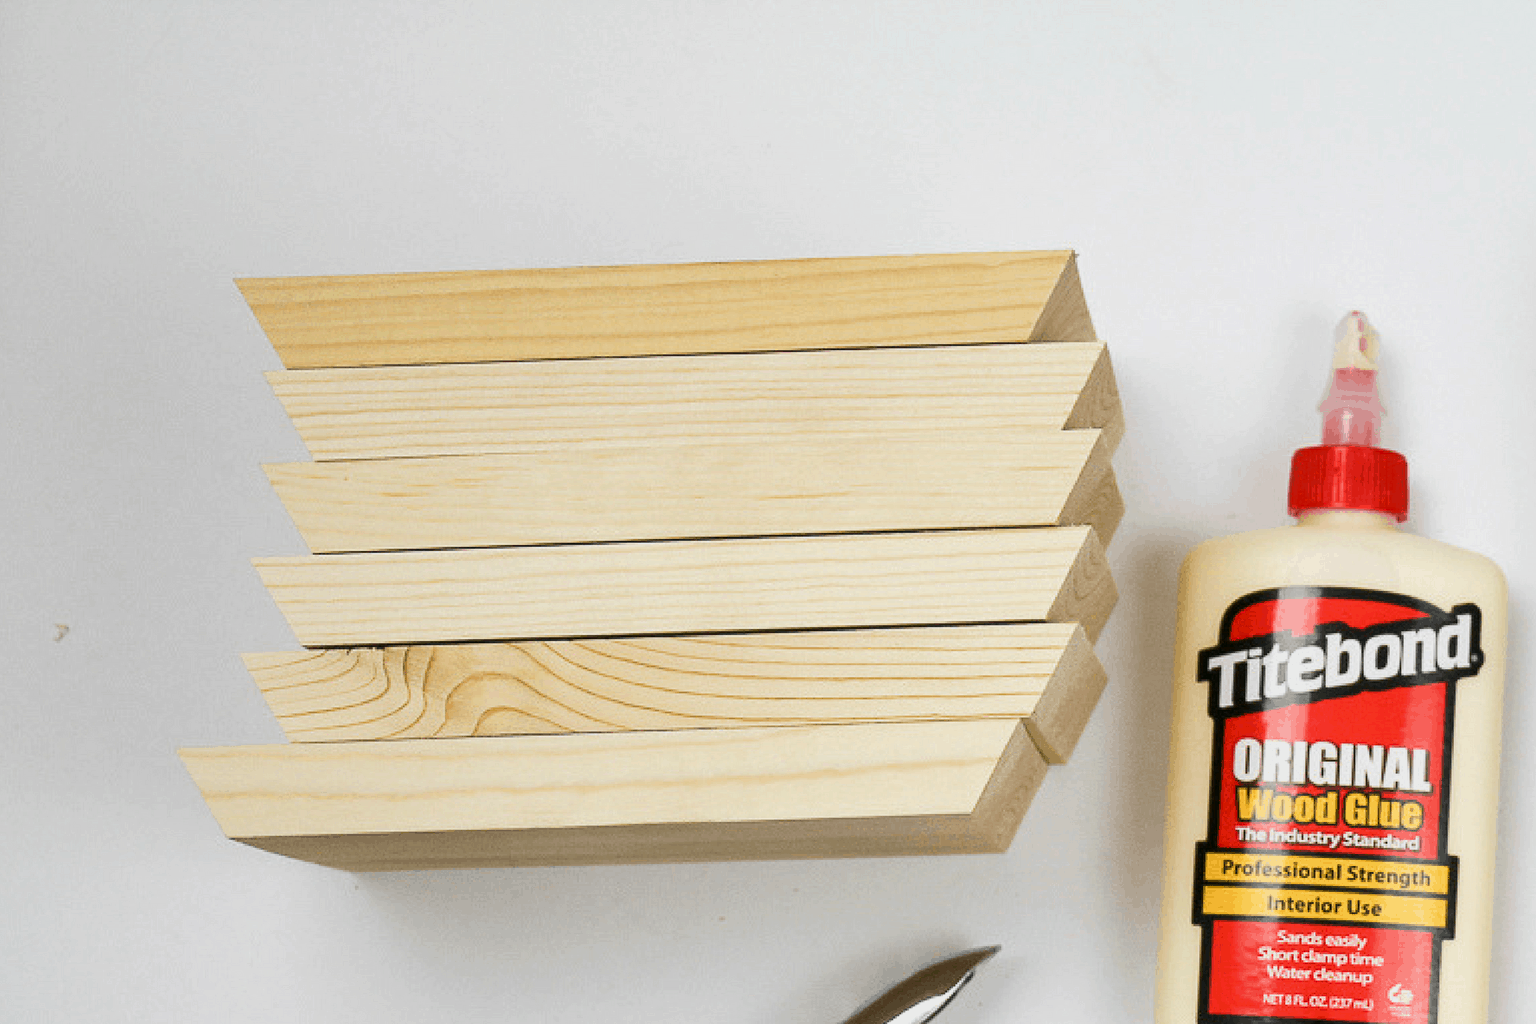
-1x4x6 board (cut into 7 inch lengths)
-wood glue
-paint
-polyurethane – to seal paint and wood
-stapler
-sand paper
-other supplies needed: miter saw, pencil, tape measure, staples

TUTORIAL:

2) cut and sand lumber:

Set the angle on your miter saw to 30 degrees. This will be the only angle needed for this shelf.  It is very important that the angle be precise. This is to ensure that all the angles match up when you start to assemble to shelf. You will need 6 pieces cut for each shelf.
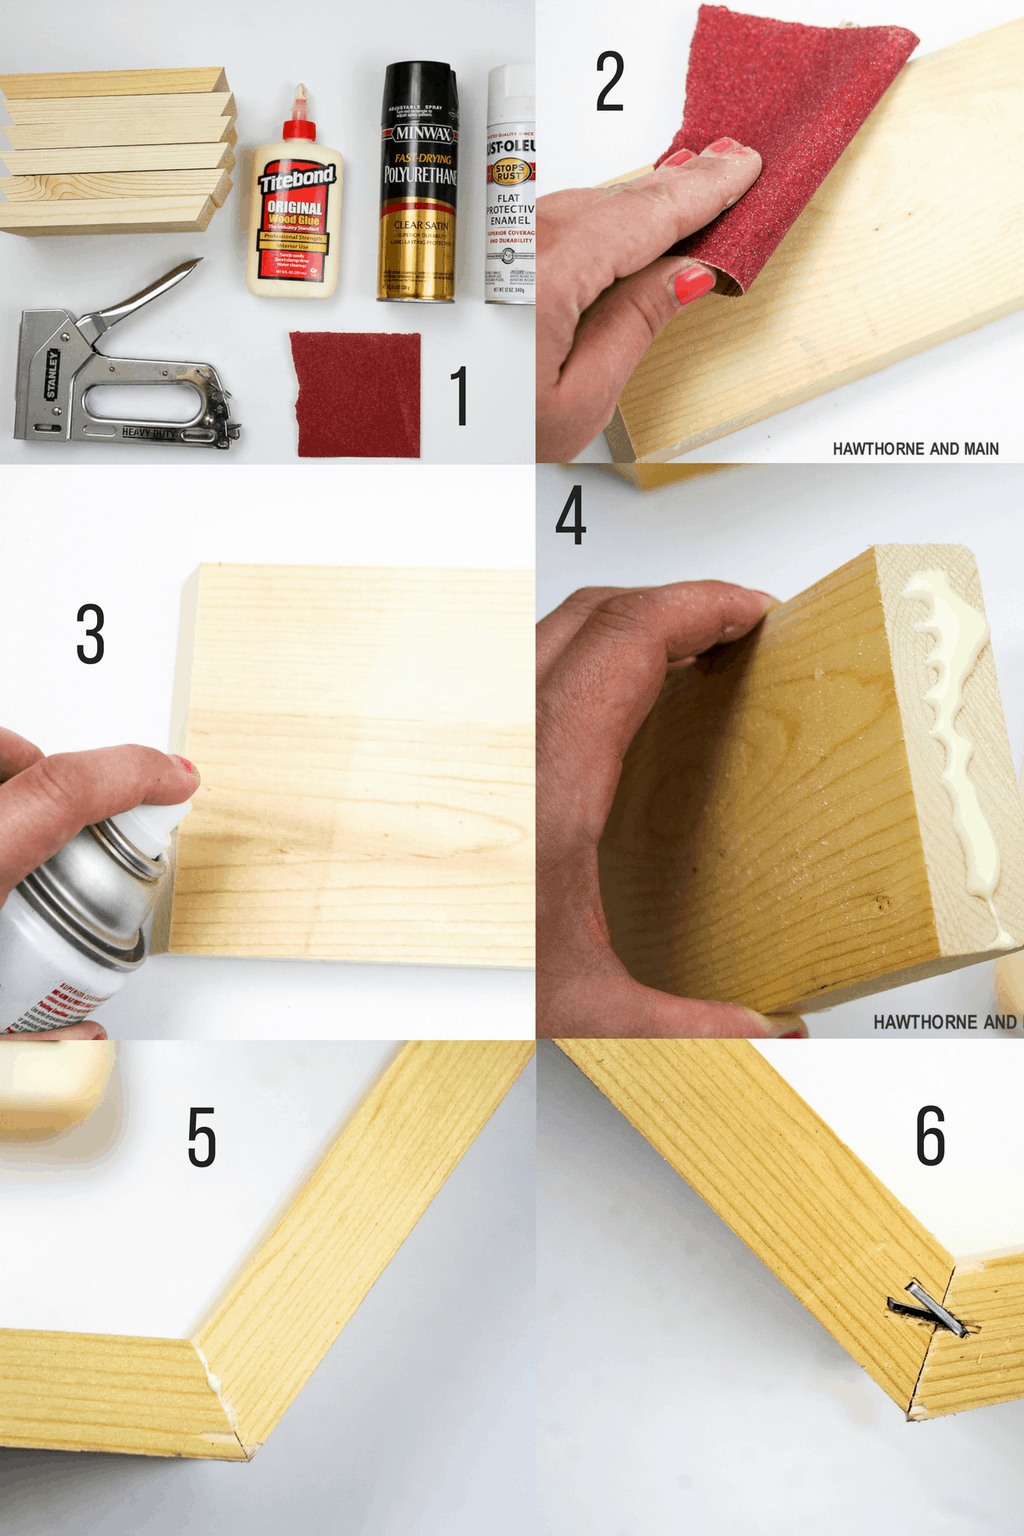
I love this modern DIY hexagon shelf! It looks easy to make and would be perfect for my house!

I love this modern DIY hexagon shelf! It looks easy to make and would be perfect for my house!

2) sand

After all the pieces are cut, use some sandpaper to get them smooth.

3) paint

Pick your favorite paint and paint all the pieces.  I ended up doing a spray paint on the outside and then I added some acrylic blush metallic paint to just the front of the shelf.  You can really customize and get creative here.

4) & 5) glue

I found that it was more effective to glue the entire shelf together first before moving to the stapling.  Maybe if you had another pair of hands to hold the two boards in place while you stapled, might make it easier.  Either way, make sure that you have glue on all the joints.

6) staple

After the glue is on add staples.  I ended up doing two in a criss cross pattern.  I also experimented with using a finish nail gun which seemed to work better.  The staples did work but I felt that the nail gun would make the shelves stronger and more durable.  I also on added the staples to the back of the shelf.

I love this modern DIY hexagon shelf! It looks easy to make and would be perfect for my house!   I love this modern DIY hexagon shelf! It looks easy to make and would be perfect for my house!

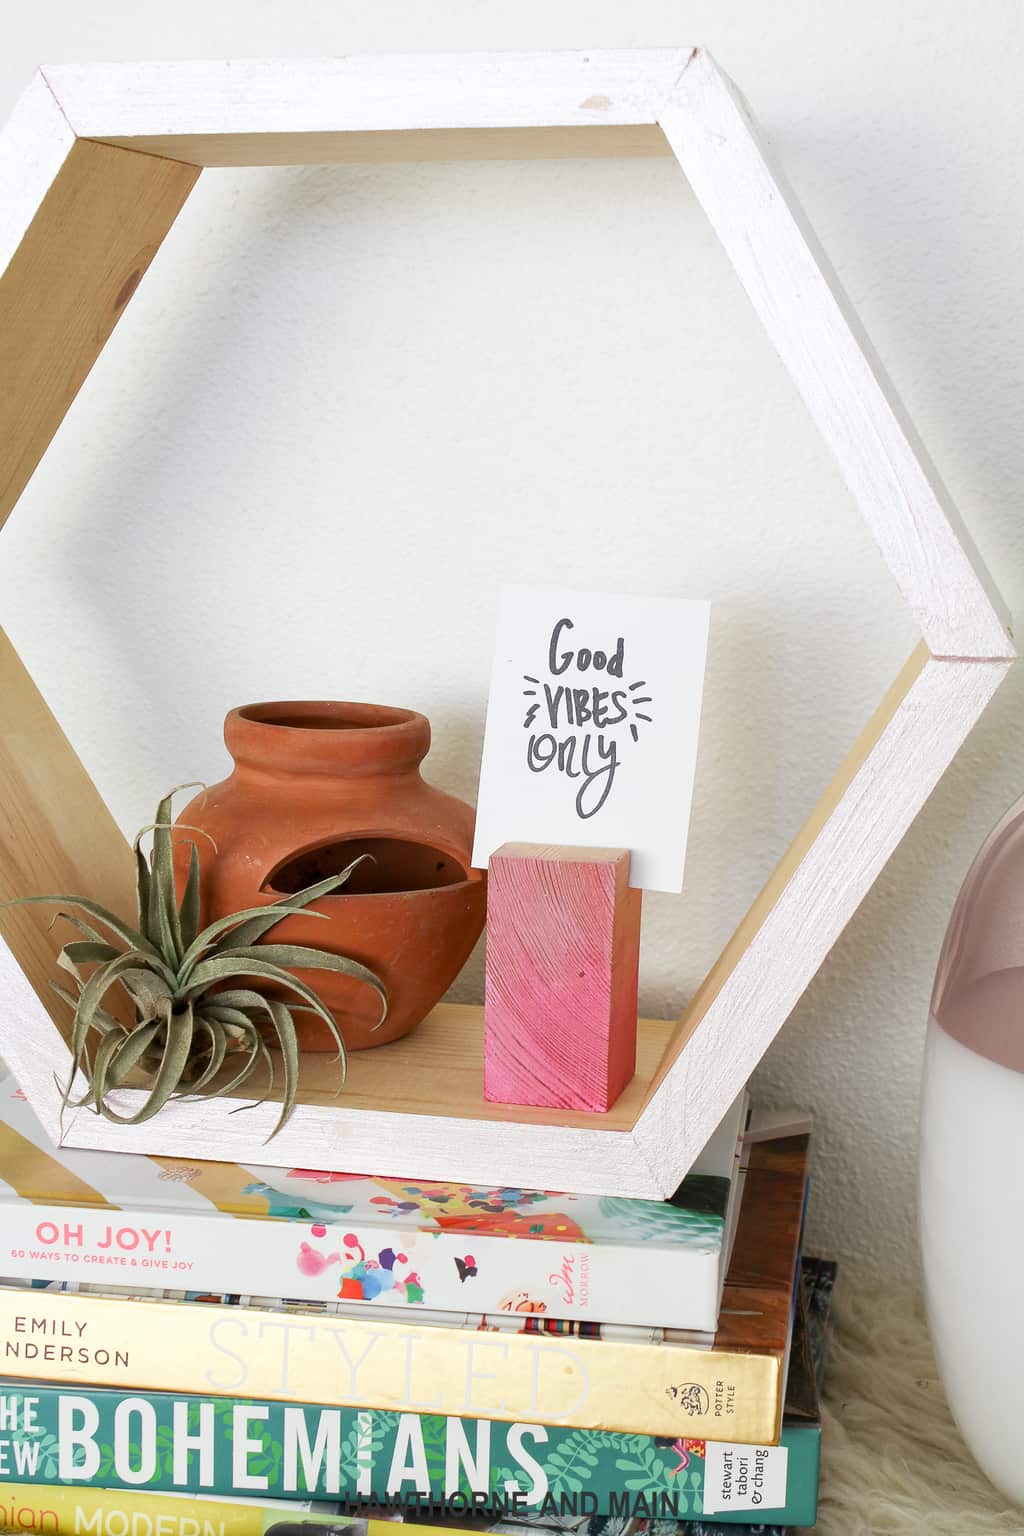
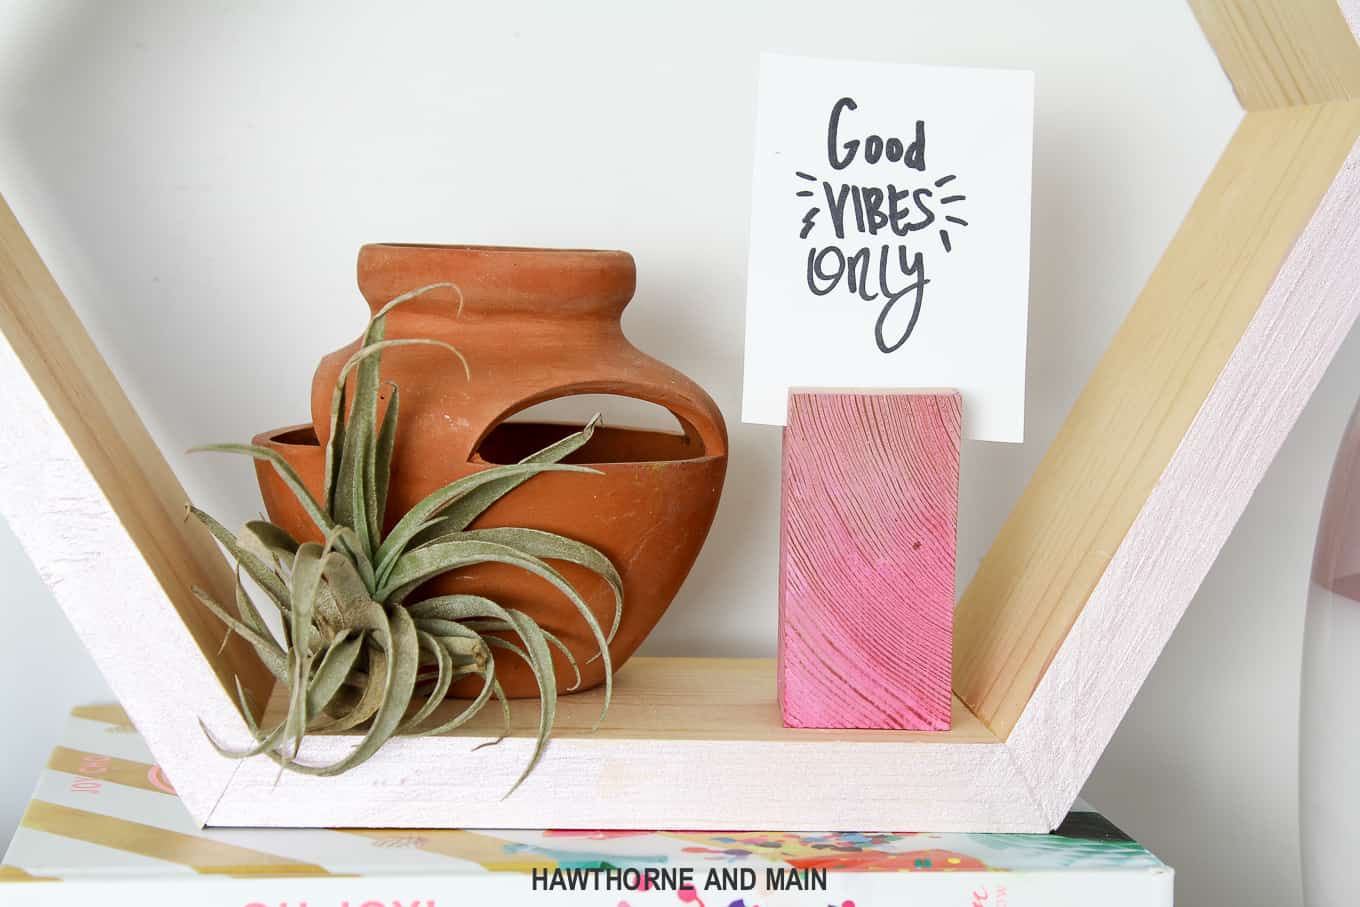
Overall I am really happy with how this shelf came together. Keep in mind you can cut different widths and lengths of lumber to make different sizes of shelves.  Just make sure that you use the 30 degree angle for all cuts.

Where would you put hexagon shelves? 

I love this modern DIY hexagon shelf! It looks easy to make and would be perfect for my house!

Tweet
Pin181
Share
Email
181 Shares

Reader Interactions

Leave a Reply Cancel reply

Your email address will not be published. Required fields are marked *

Recipe Rating


Primary Sidebar

about-pretty-providence  

Hey! We're Sarah and Jessica. We're BFF's and have known each other since we were 5 years old. This blog is our place to share all of our best recipes, tips, crafts and DIY projects.

You can read more about us on our about page and find us on instagram! We love making new friends.

  • Email
  • Facebook
  • Instagram
  • Pinterest
  • TikTok
  • YouTube

Most Popular

Breakfast casserole with sausage, eggs, cheese and bell peppers on a white plate

World’s Best Breakfast Casserole

DIY desk made from two storage cube bookshelves and IKEA desk top with marble look

DIY IKEA Desk Hack

Iron-on t-shirt with Cricut collage of supplies needed, iron-on cut and weeded, and then the final shirt that says "#tired" in gold iron-on letters

How to Make a Shirt with Cricut

The Office birthday party table with decorations, food, balloons and "it is your birthday" sign

The Office Birthday Party

Teepee style blanket fort made with bedsheets and clothesline hung from a light fixture.

How To Build The Best Blanket Fort

German Pancakes just out of the oven, dusted with powdered sugar in a glass baking dish.

German Pancakes

Organization

a habit tracker with pink squares next to a rose gold pen

Free Printable Habit Tracker

collage image of four different laundry hacks to make laundry easier

The Best Laundry Hacks

art supplies organized and labeled on a white IKEA kallax shelf

School and Art Supply Organization

Weekly cleaning checklist and routine, and checklist for kids too with pictures and check boxes!

Weekly Cleaning Routine + Checklist

Laundry Care Symbols Explained

pantry organization at it's finest! great tips and tricks in this post!

Home Organization Ideas

CRICUT

Light blue Cricut Maker 3 with an assortment of colors of vinyl and iron-on vinyl fanned out under it and behind it.

The Best Iron On and Vinyl to Use with a Cricut

custom hats with cricut iron-on, baseball cap style

How to Make Custom Hats with Cricut

light blue Cricut maker 3 next to vinyl and art on shelves

Cricut Materials – Everything You Need to Know

cute first/last day of school whiteboard on a light blue background

Back to School Photoshoot Board

DIY tote bag canvas with a rainbow and the words 'I'll walk with you' in gold iron-on vinyl

Rainbow DIY Tote Bag

DIY Custom Napkins

Footer

Copyright © 2012-2019 Pretty Providence | Contact Us | Privacy Policy | Disclosures