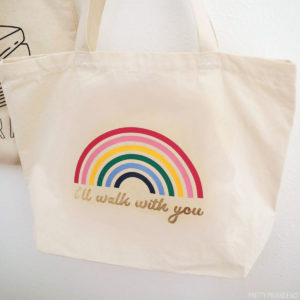
Make any plain canvas bag more interesting with this easy DIY tote bag tutorial.
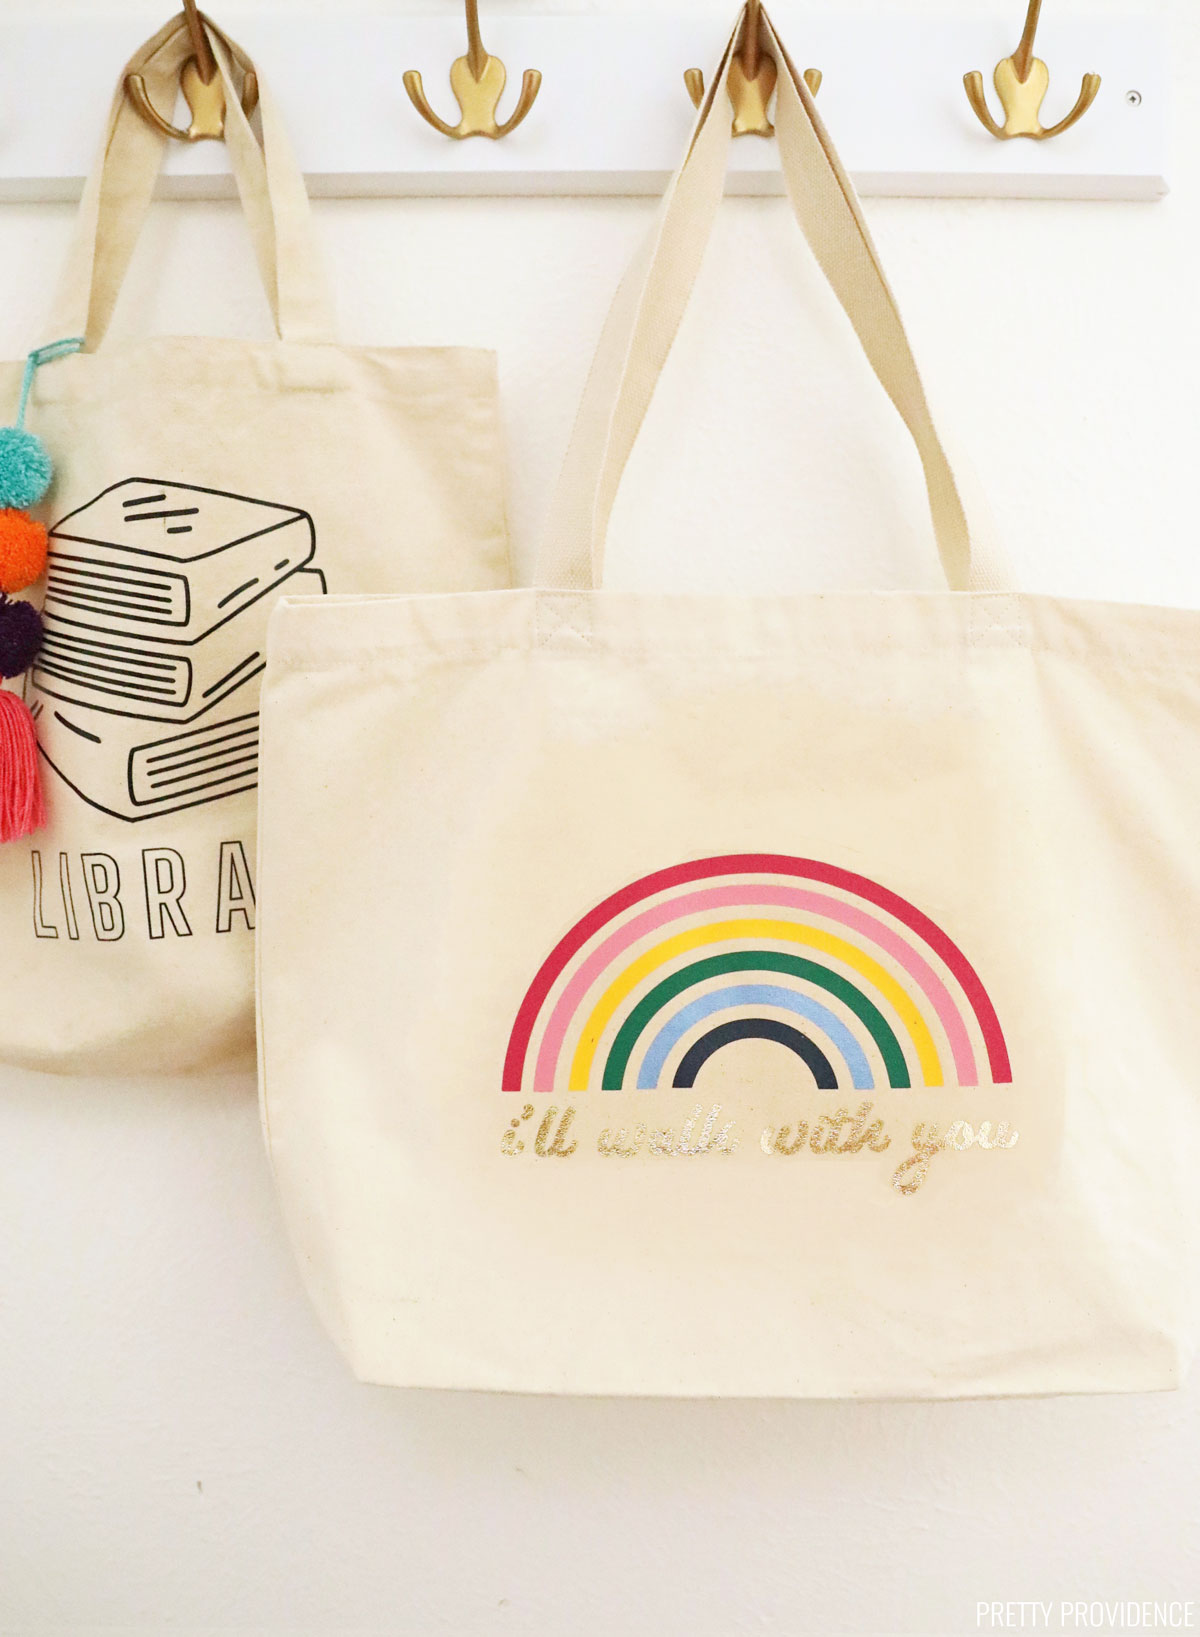
I decided it was time for me to make another tote bag! Remember when I made these DIY tote bags to organize all the things? I have been using them for a couple of years, and they have worked really well! The only problem with them is that I wish I had used BIGGER canvas tote bags. So today I'm sharing with you this new, bigger tote bag I made.
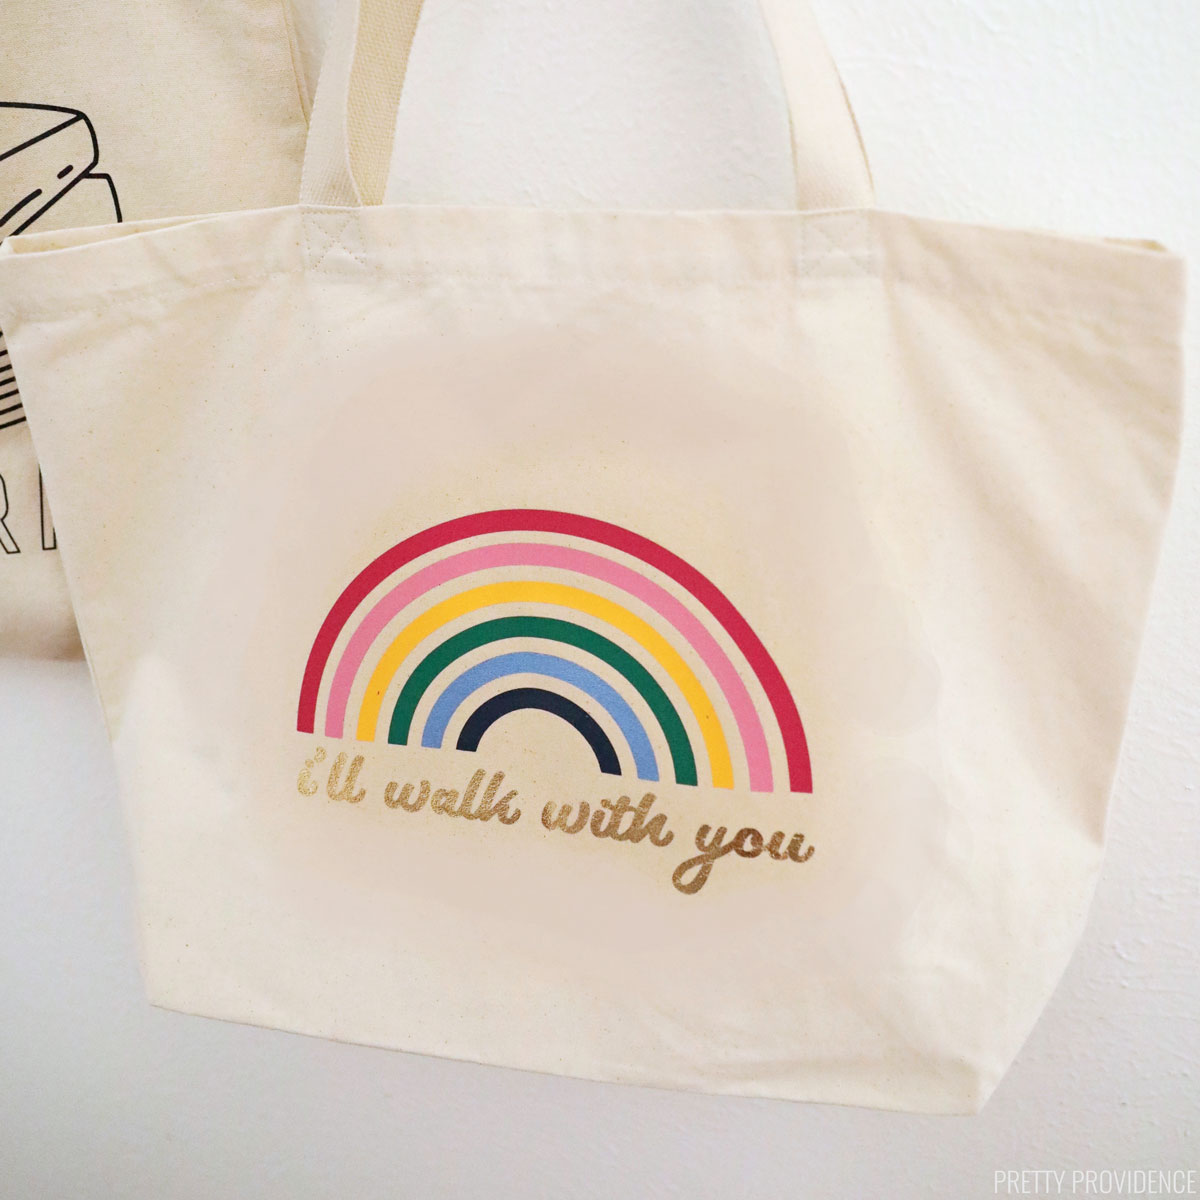
This tote bag has 'I'll Walk With You' written on it, based on one of my favorite children's songs from church. The words to the song were written by Carol Lynn Pearson, and she recently published a children's book of the same name. This book is gorgeous and makes me cry when I read it with my kids. I can't recommend it highly enough!
If you are looking for more Cricut tote bag ideas, check out these Cricut tote bags, and Halloween trick-or-treat bags. Or to see all kinds of projects you can go to our Cricut projects page!
DIY Tote Bag
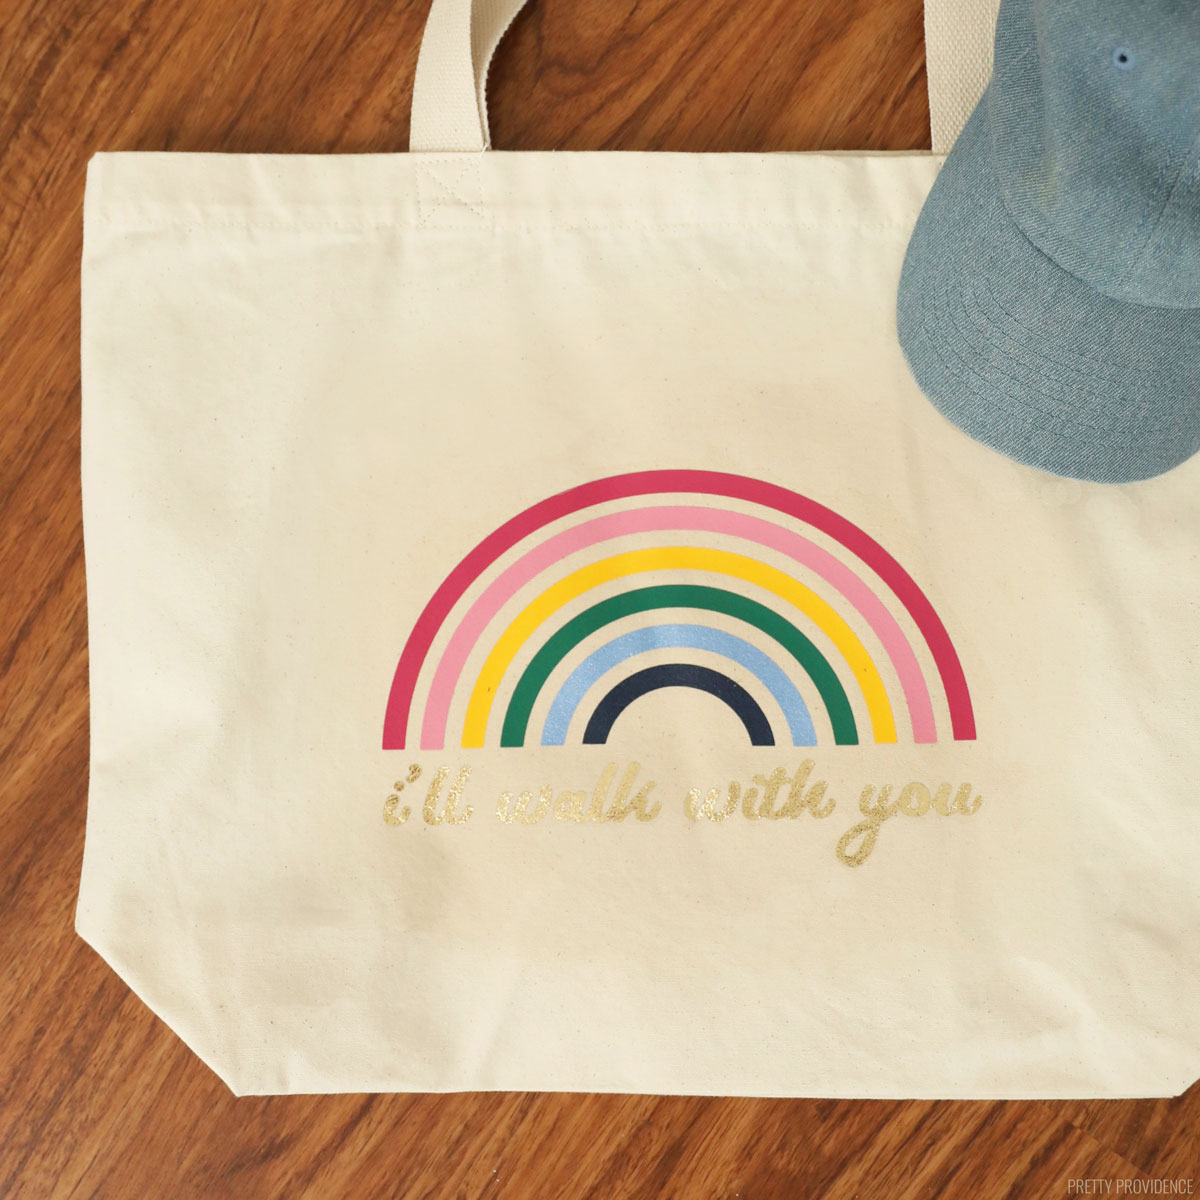
This Rainbow tote bag is fun because it has a lot of colors, which means LAYERING iron-on. I love doing this and I always feel proud of projects with multiple colors when they are finished. These FLORAL SHOES - those were fun! The beautiful thing about this rainbow is that it's also really simple to weed so it's impressive without being a ton of work.
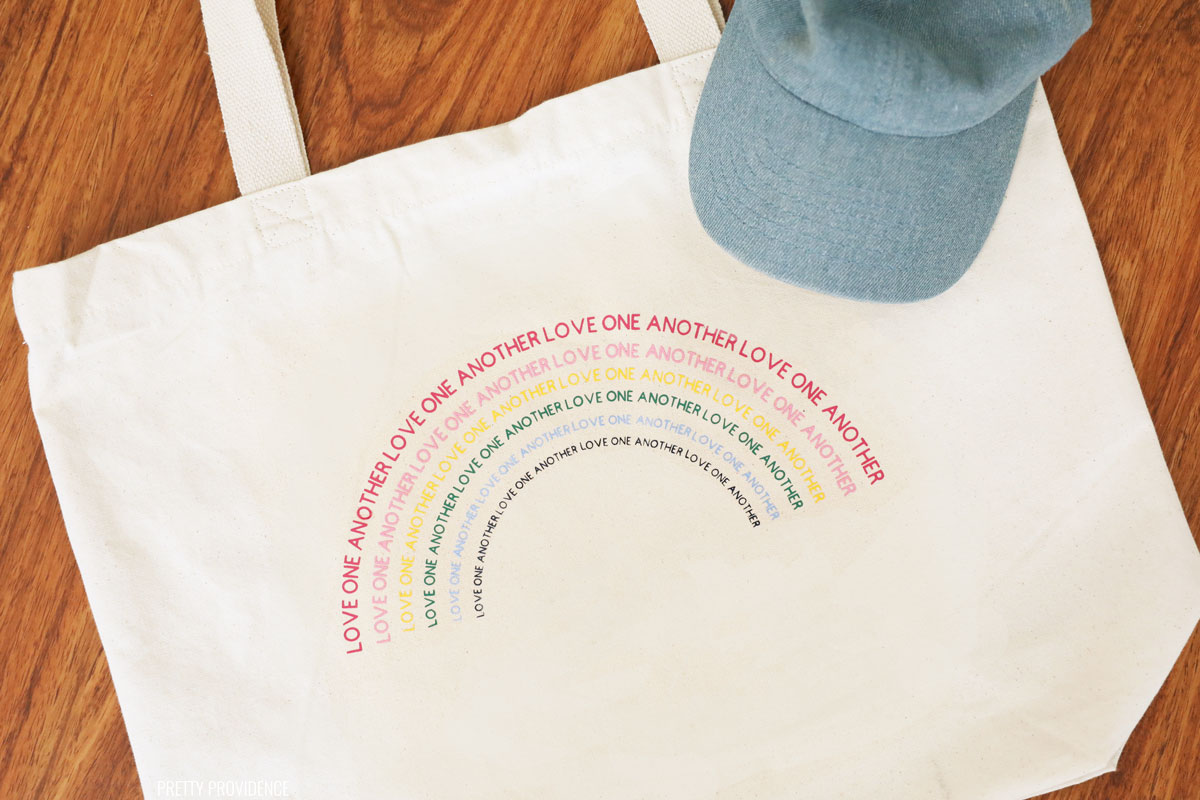
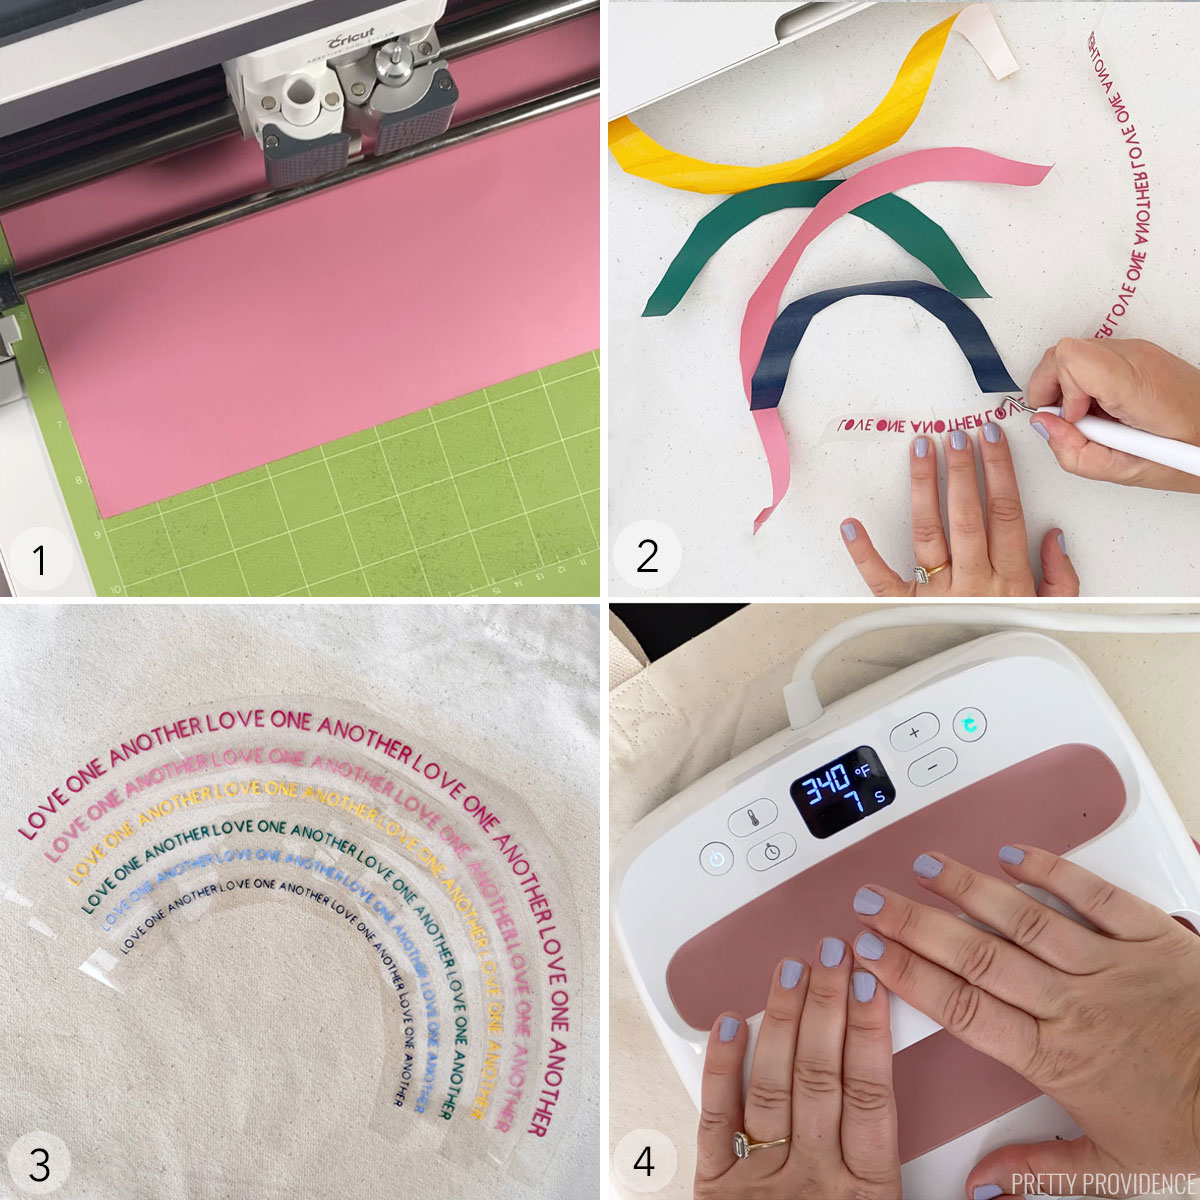
When I couldn't decide whether to do the solid rainbow or the rainbow made out of the words 'love one another,' I just did both. One on each side! The 'Love One Another' rainbow was a lot more work to weed, but it didn't take too long. Probably about 30 minutes for all of the layers.
Cricut Tote Bag
Let's get into the tutorial, shall we?
Note: I'm going to share the exact materials that I used, but you can customize your project by using different colors, iron instead of an EasyPress, or a different Cricut or cutting machine.
Materials
- Cricut Maker
- StandardGrip Mat
- Iron-on Vinyl - rainbow colors
- Iron-on Vinyl - gold foil
- Easypress 2
- Heat Protective Sheet
- Weeding Tool
How to add iron-on vinyl to a canvas tote bag:
First, get your design ready. If you want to use my design, you can access it here. You might need to buy the images/fonts or have a Cricut Access membership to use these images.
Whether you're using an Easypress or an iron, use the Heat Guide to determine what heat to use.
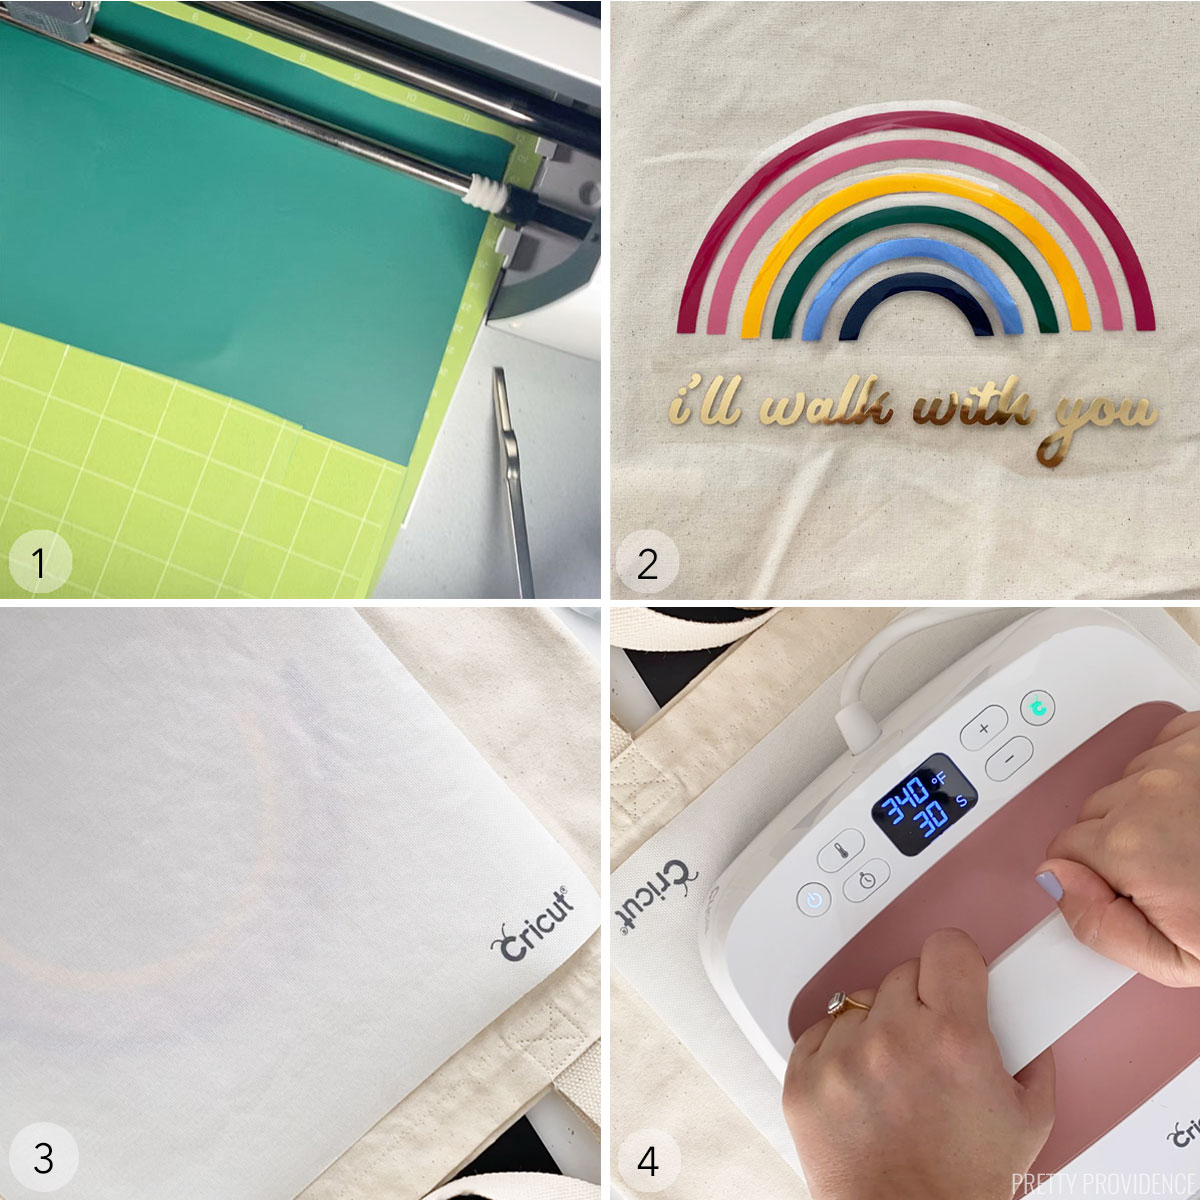
- Cut layers of iron-on according to Cricut Design Space directions. Make sure that the designs are mirrored and that your iron-on pieces are on the mat with the shiny side down before cutting.
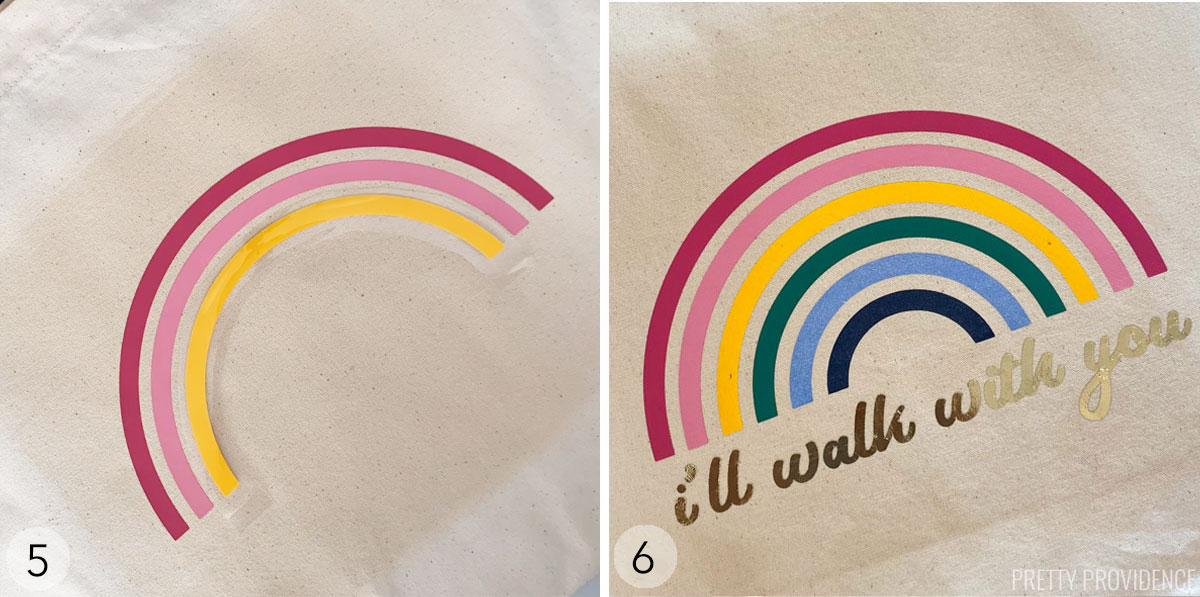
- Weed extra vinyl from designs. Cut the extra clear plastic around the edges so that it doesn't overlap with other pieces of iron-on too much when you're ironing on. Arrange the pieces of the rainbow on the bag where you want them to be placed.
- Iron one color of vinyl onto the canvas at a time.
- Use a heat protective sheet after the first layer so that your iron-on doesn't melt.
- Continue to iron each layer on, using the heat protective sheet each time.
Ta da! I love this bag so much. I've been using it all the time.
'Love One Another' Rainbow tote bag
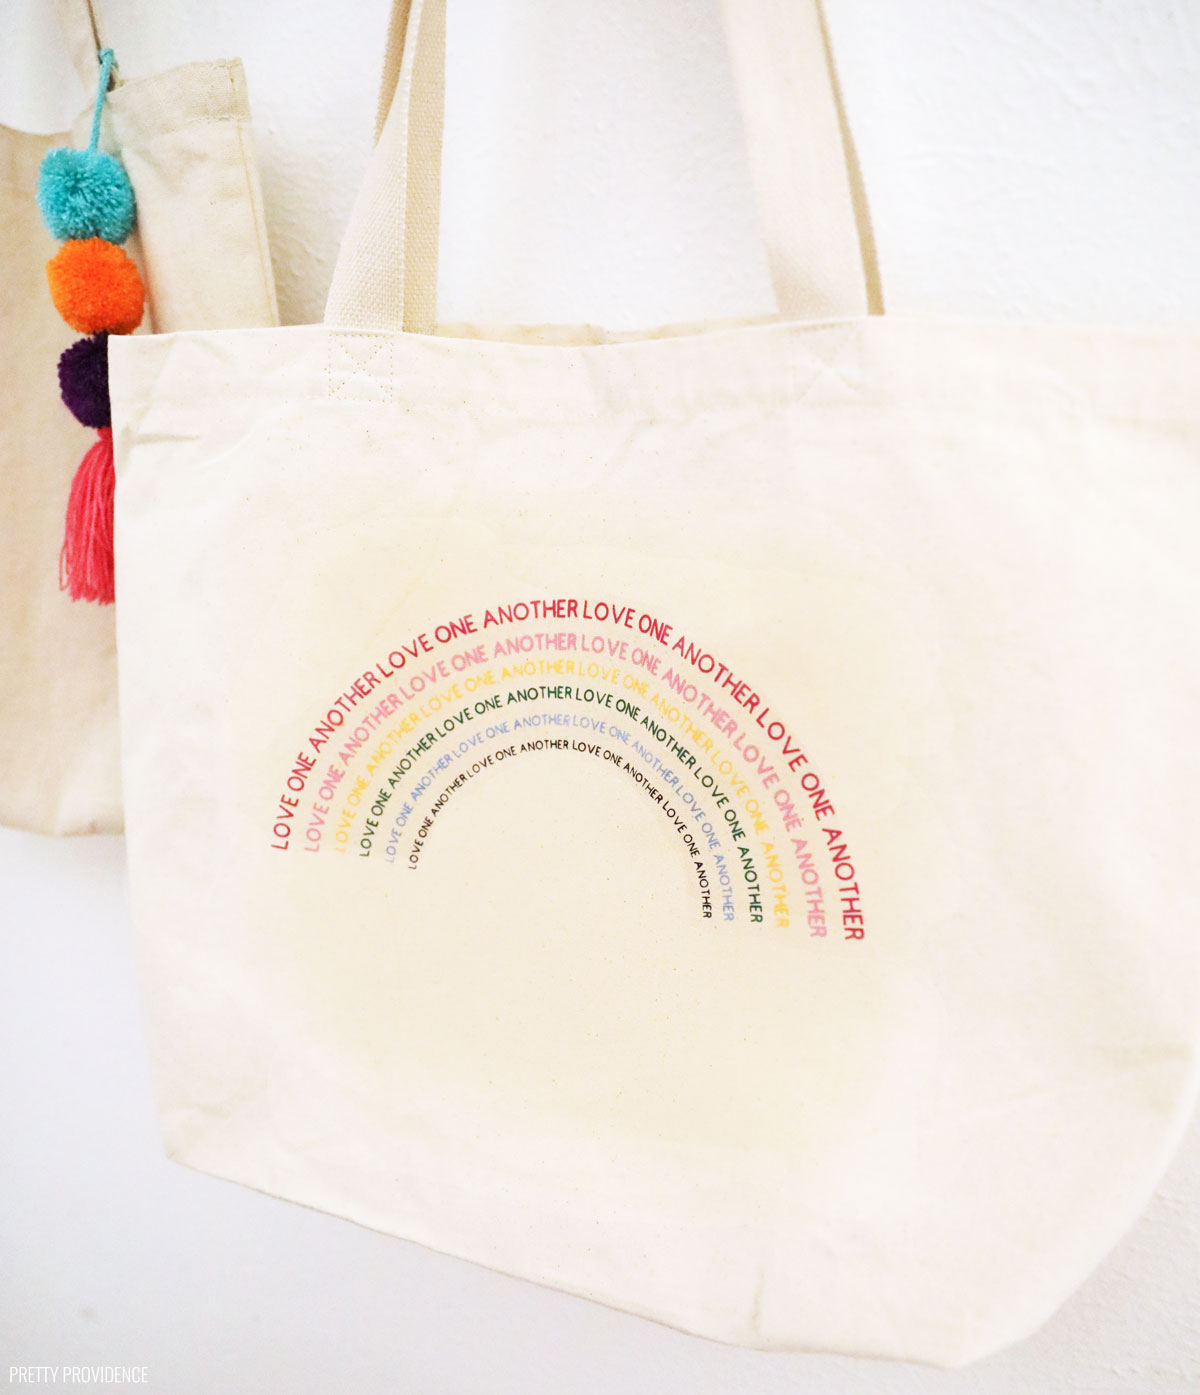
To make this 'love one another' rainbow tote you follow basically the same steps, but you have to weed more.
- Cut layers of iron-on according to Cricut Design Space directions. Make sure that the designs are mirrored and that your iron-on pieces are on the mat with the shiny side down before cutting.
- Weed extra vinyl from designs. Cut the extra clear plastic around the edges so that it doesn't overlap with other pieces of iron-on too much when you're ironing on.
- Arrange the pieces of the rainbow on the bag where you want them to be placed.
- Iron one color of vinyl onto the canvas at a time. Use a heat protective sheet after the first layer so that your iron-on doesn't melt.
If you find this cricut tote bag tutorial helpful, please leave a comment and a positive review, we really appreciate them! AND if you make this particular design, I NEED to see it! Please tag us on Instagram or email us a picture!
DIY Tote Bag
Equipment
- Heat Protective Sheet
- Weeding Tool
Materials
- Iron-on Vinyl - rainbow colors
- Iron-on Vinyl - gold foil
- Canvas Tote Bag
Instructions
Rainbow Tote Bag Design
- First, get your design ready. If you want to use my design, you can access it here.
- Cut layers of iron-on according to Cricut Design Space directions. Make sure that the designs are mirrored and that your iron-on pieces are on the mat with the shiny side down before cutting.
- Weed extra vinyl from designs. Cut the extra clear plastic around the edges so that it doesn't overlap with other pieces of iron-on too much when you're ironing on.
- Arrange the pieces of the rainbow on the bag where you want them to be placed.
- Iron one color of vinyl onto the canvas at a time.
- Use a heat protective sheet after the first layer so that your iron-on doesn't melt.
- Continue to iron each layer on, using the heat protective sheet each time.
Love One Another Rainbow Design
- Cut layers of iron-on according to Cricut Design Space directions. Make sure that the designs are mirrored and that your iron-on pieces are on the mat with the shiny side down before cutting.
- Weed extra vinyl from designs. Cut the extra clear plastic around the edges so that it doesn't overlap with other pieces of iron-on too much when you're ironing on.
- Arrange the pieces of the rainbow on the bag where you want them to be placed.
- Iron one color of vinyl onto the canvas at a time. Use a heat protective sheet after the first layer so that your iron-on doesn't melt.
Notes
Happy crafting,




Anna
I love this. Such a cute bag! I really like the words as a rainbow. Thanks for sharing.