Customized Tote Bags to Organize All the Things

HAPPY NEW YEAR, you guys! I wanted to kick off the year right with a fun little organizing idea. In the fall, after my daughter started dance and I started teaching Sunday school, I kept finding myself switching the dance stuff, then the church stuff, then the library books, in and out of my diaper bag daily. That drove me crazy! So I decided to use Cricut iron-on to make customized tote bags for each of our weekly activities. That way everything can stay organized and in its place. These totes have gotten us a lot of compliments and they have worked beautifully for us, so I figured it is time I share them with you!
You can find the full tutorial for how to cut and apply the iron-on to canvas bags at the bottom of the post. I'll also share the design files for the three totes that I made. Because I wanted them to all kind of match, I used line drawings for the pictures and used the same font throughout all three designs.
Dance Tote Bag
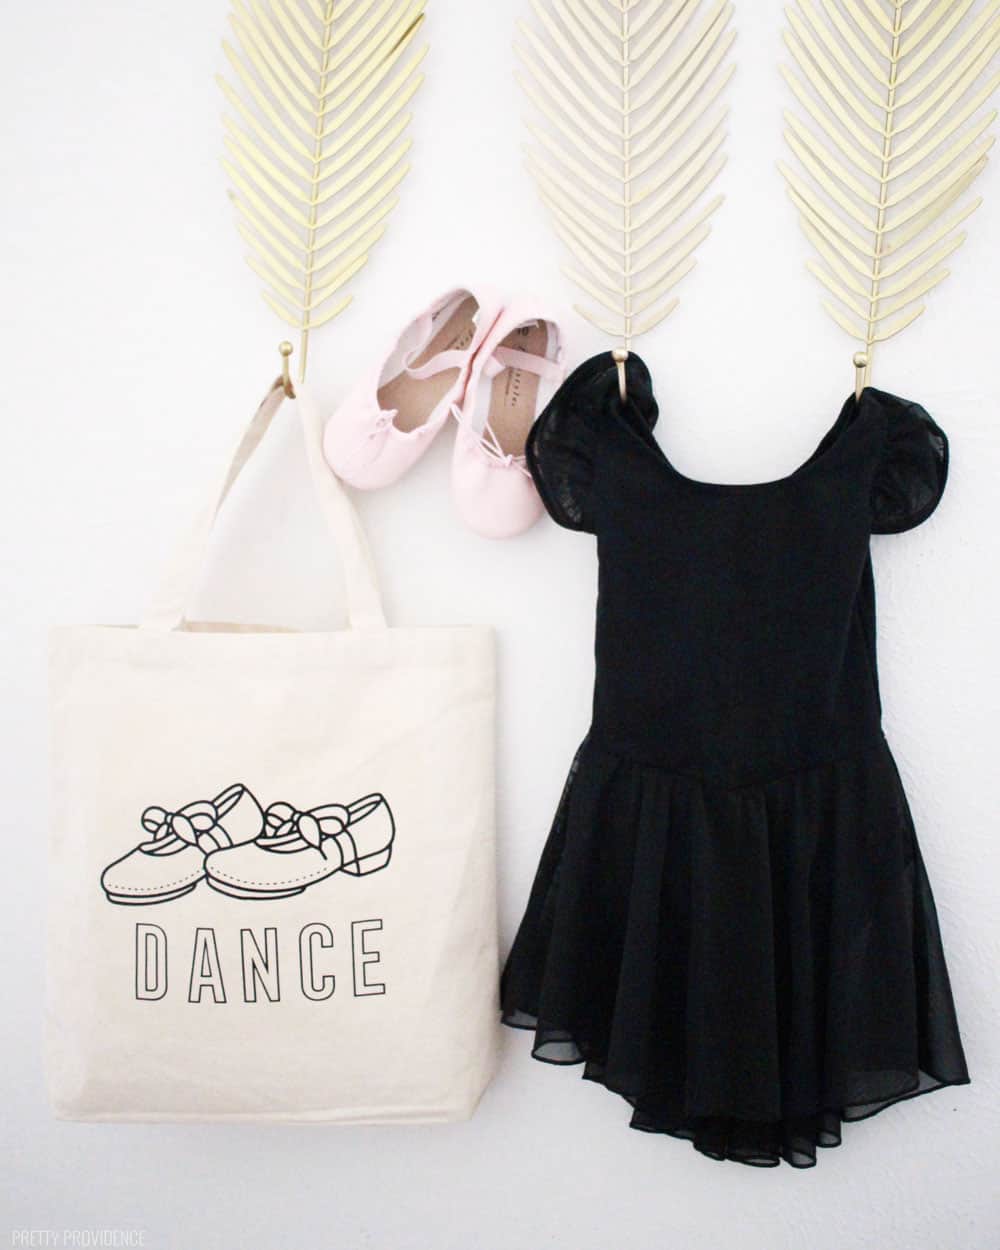
Tap shoes illustration credit: www.vecteezy.com
I love this personalized dance tote bag. It's the perfect size for holding June's ballet and tap shoes, plus any other accessories she needs. I also cut her name out of iron-on and applied it to the back of the bag so that her teachers know who the bag belongs to. During the week I actually keep her tights and leos inside it too, so they don't get lost among real clothes and dress-ups! #momhack
Church Tote Bag
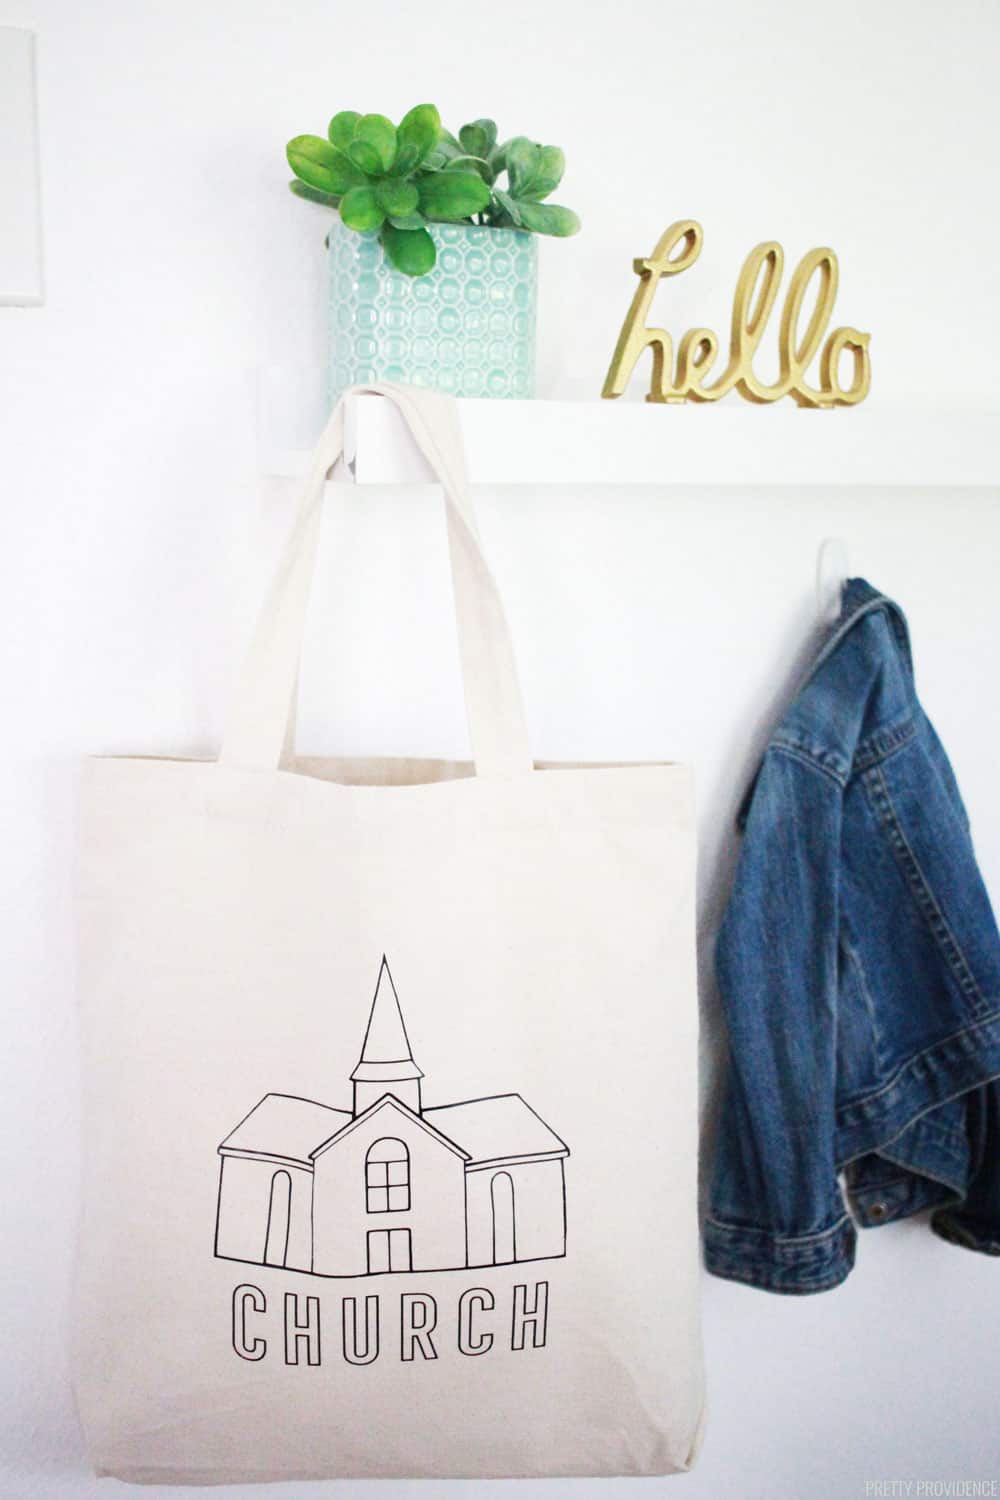
Church line drawing illustration credit: www.vecteezy.com
My church tote bag has by far been the best use of a tote bag ever. I have to keep a bag full of snacks and art supplies and folders and scriptures and it's just best to keep it separate from my regular bags so that it's always ready to go on Sundays. No more running back and forth trying to gather the supplies and get out the door on time!
Library Tote Bag

Library books illustration credit: www.vecteezy.com
My personal favorite, the library tote! Once I'm done reading a library book, I like to keep it in this bag instead of putting it on a shelf or nightstand where it might get mixed up with the rest of our books. Plus, have you ever tried to carry an almost two-year old, a diaper bag, and a pile of books out of the library while holding another small child's hand? Things fall. It's hilarious to watch, I'm sure. This one is 100% necessary in this phase of my life.
Since I've made these, I realized I need one more. A mail bag! I keep using my library tote to go get the mail, because my mailbox is one of those communal mailboxes and it takes a walk around the corner. Hopefully I' can find the time to make that one soon!
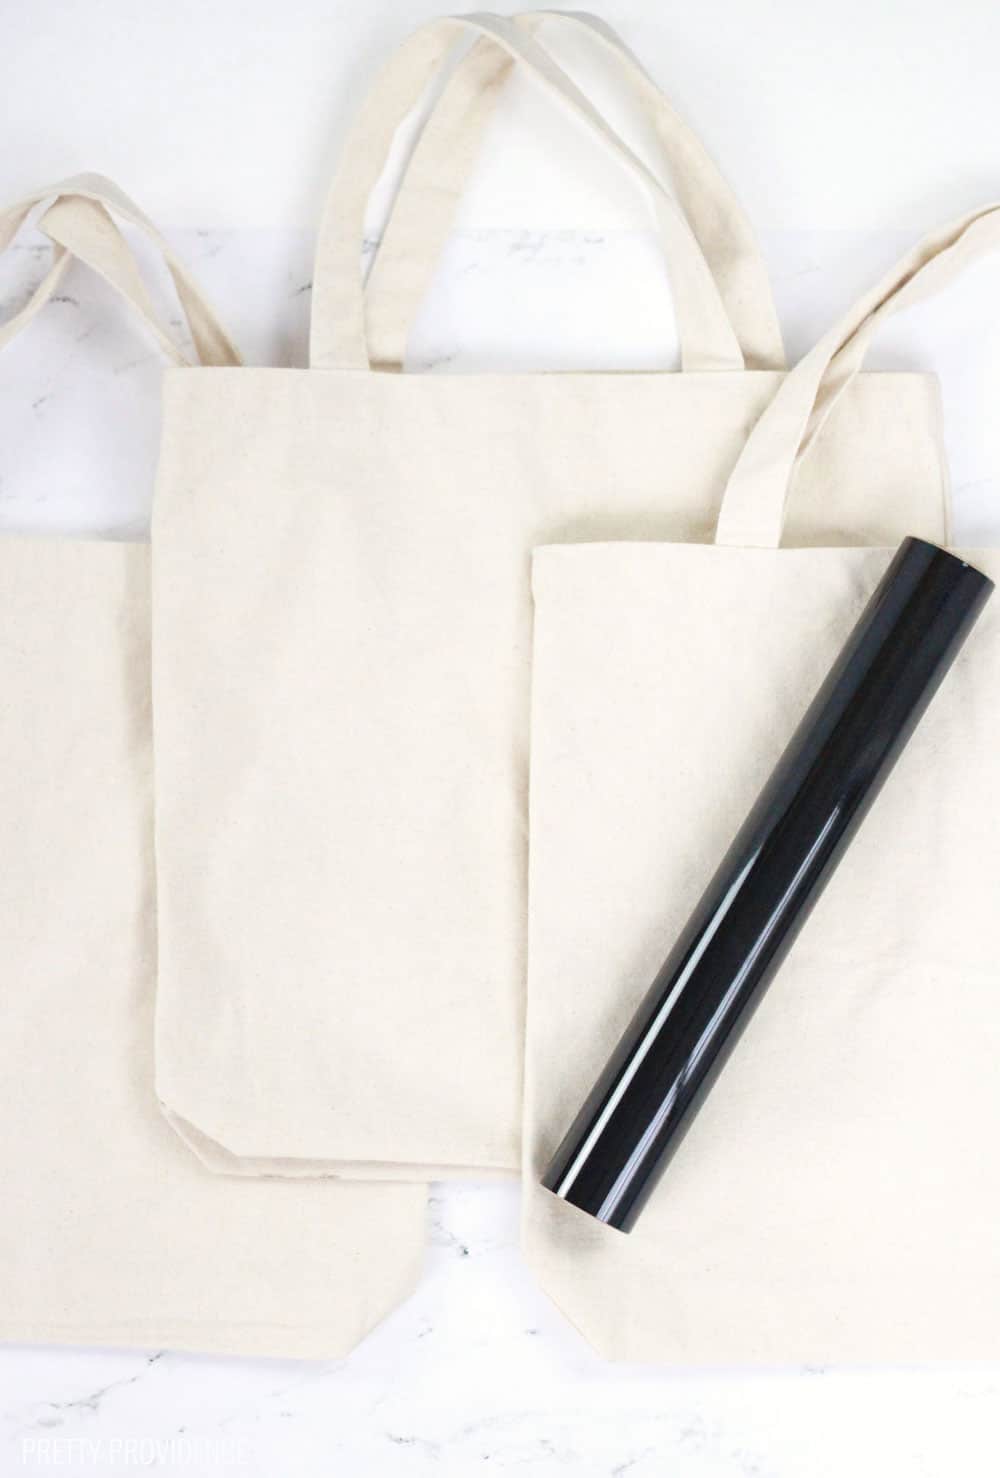
How to Make these Customized Tote Bags:
- Download the SVG cut files for the tote bags you want to make by clicking below. These are zip files. Once they are downloaded, double click on each one to unzip the SVG.
- Unzip the SVG files by double clicking on them.
Dance Tote - Library Tote - Church Tote
I used my Cricut maker to cut the Iron-on for these tote bags. Any cutting machine that can cut heat transfer vinyl should work.
[mv_create key="1" type="diy" title="How to Customize Canvas Tote Bags" thumbnail="https://prettyprovidence.com/wp-content/uploads/2019/01/library-tote-bag.jpg"]
Make sure to check out our these other fun iron-on crafts:
DIY Funny Socks
Custom Fanny Packs
Laundry Organization Bags
How to Make a Custom Shirt with Cricut
Teacher Gift - Tote and Tumbler


I absolutely love those totes!!
Thank you, me too!!
These look outstanding!! These are perfection!
Thank you so much!
These are so cute! I need the library one, and my daughter needs the church one for all the coloring supplies she takes to church!
Thank you!! For sure - ours is just full of coloring stuff!