Floral Sneakers - How to Add Iron-On to Shoes
Check out this tutorial for how to add HTV Iron-On to shoes with Cricut! This is such a fun new Cricut project to try!

I have thought about making some cute Cricut shoes using Iron-On for a LONG TIME. I even had two pairs of sneakers just sitting in my craft closet for at least a year, but I worried about how to transfer Iron-On to shoes without melting them.
So, I put the project off, until a few weeks ago when I found out about the EasyPress Mini from Cricut. The EasyPress Mini is a mini craft iron that is perfect for applying Iron-On to small or oddly shaped things, like shoes, hats, stuffed animals, etc.
This is a small version of the EasyPress 2. If you haven't used one yet, read this post: Everything you Need to Know about EasyPress 2.
Adding Floral Iron-On to Shoes
The thing I had been wanting to try was making some floral sneakers for me and my two girls so we could all match. That's right. Mommy and Me Sneakers! My friend Mique had a similar idea and made some cute Cricut shoes for herself too - along with a matching hat!
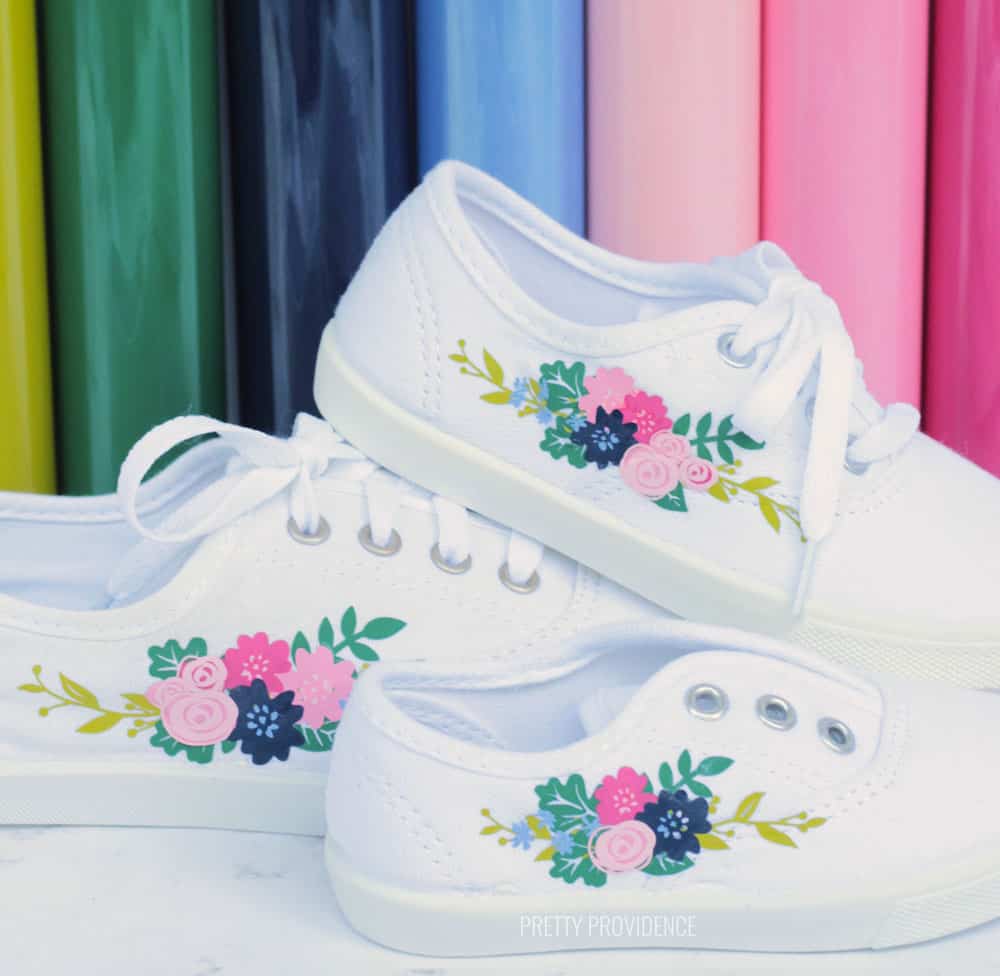
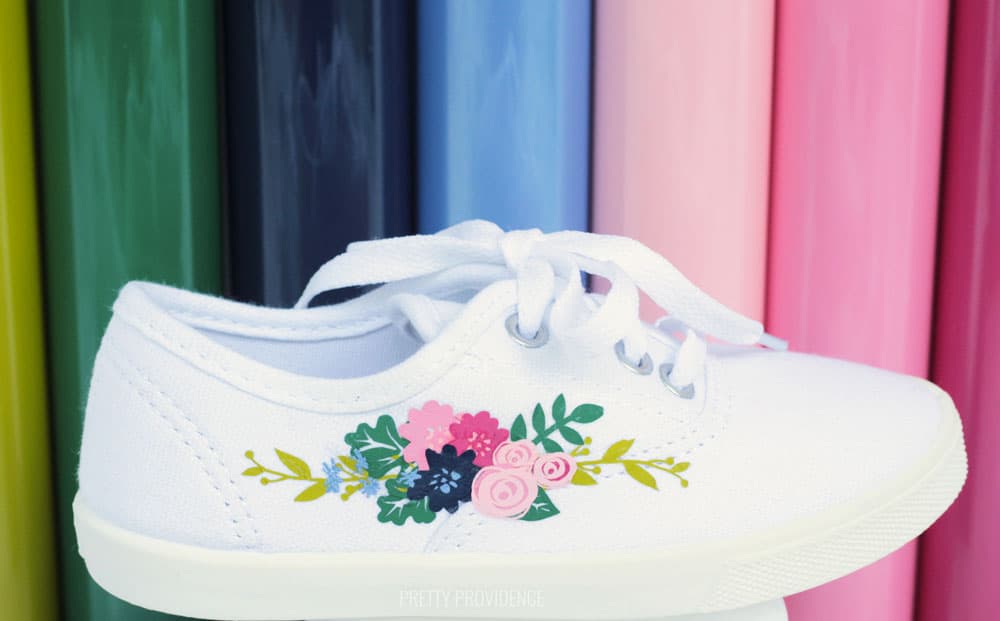
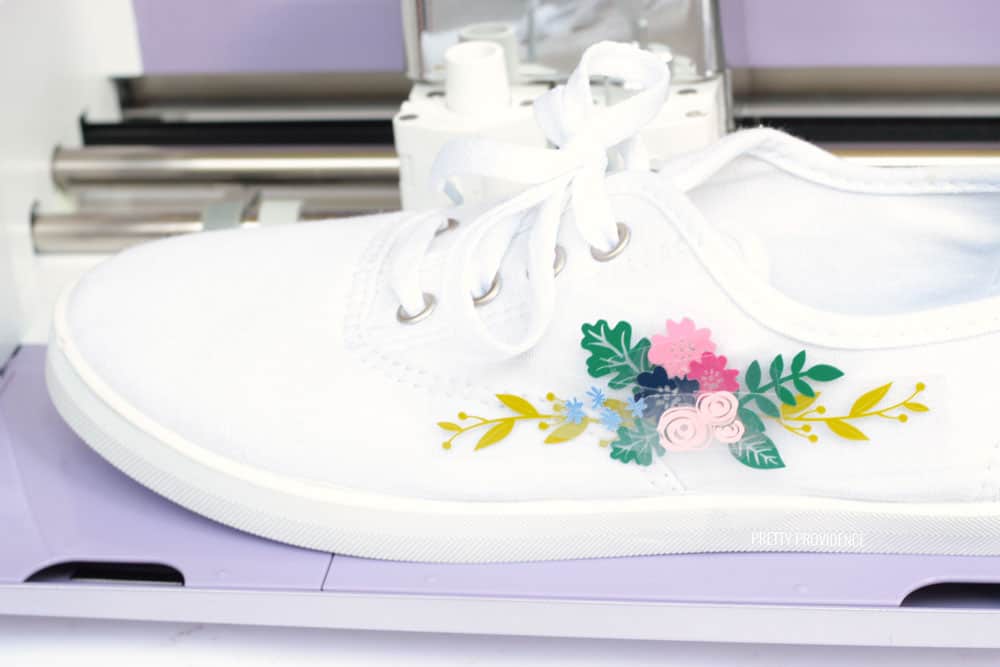
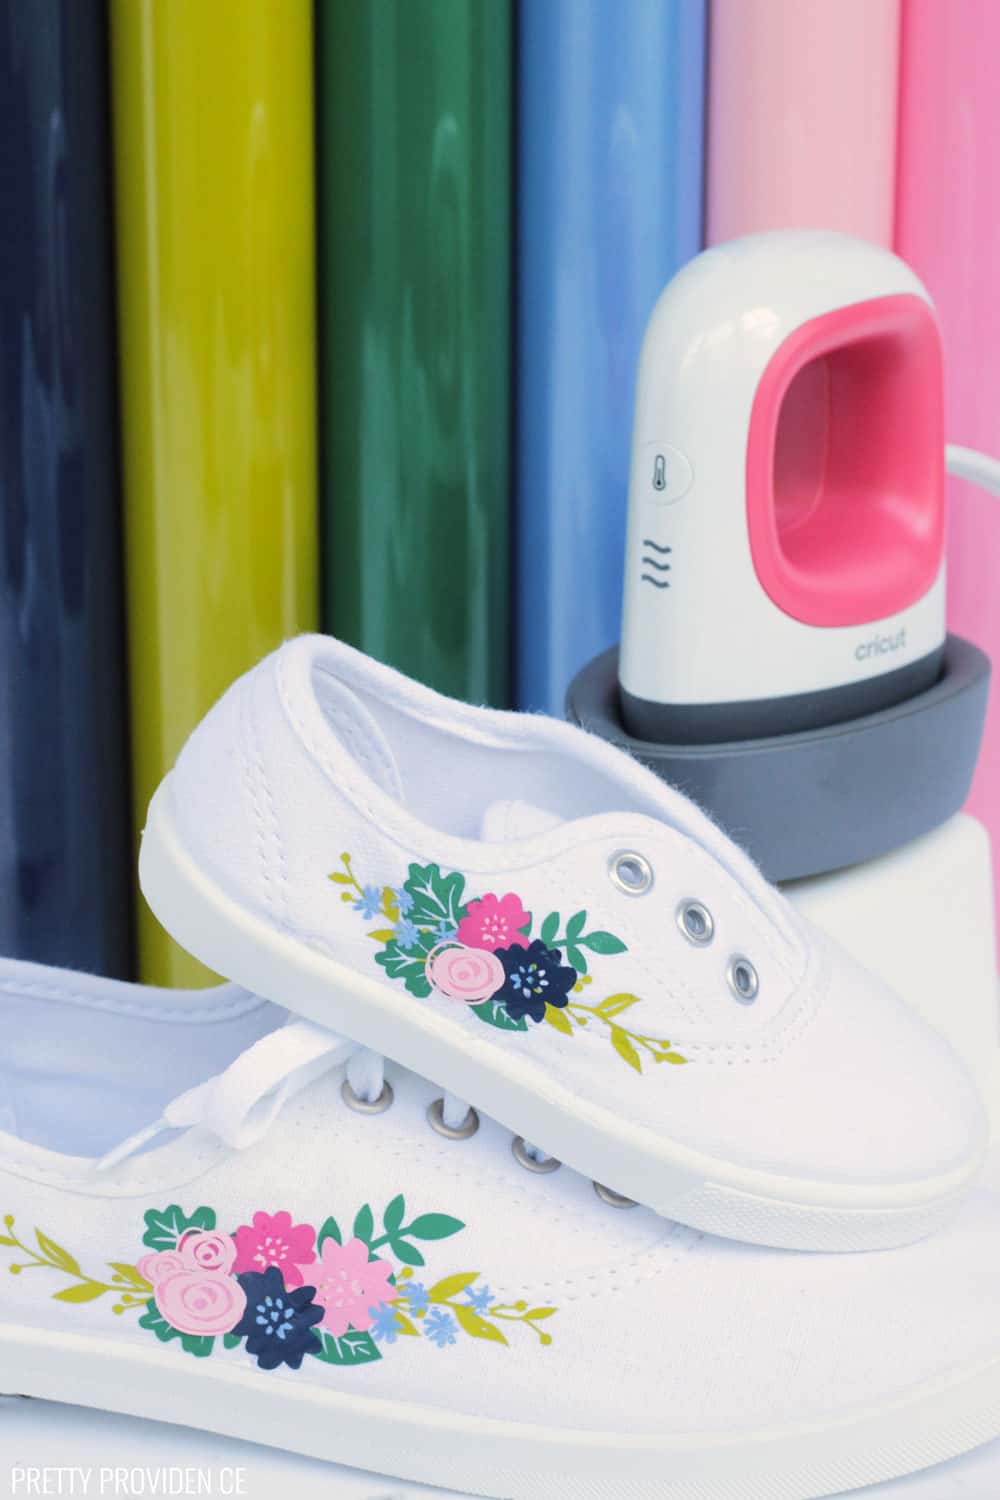
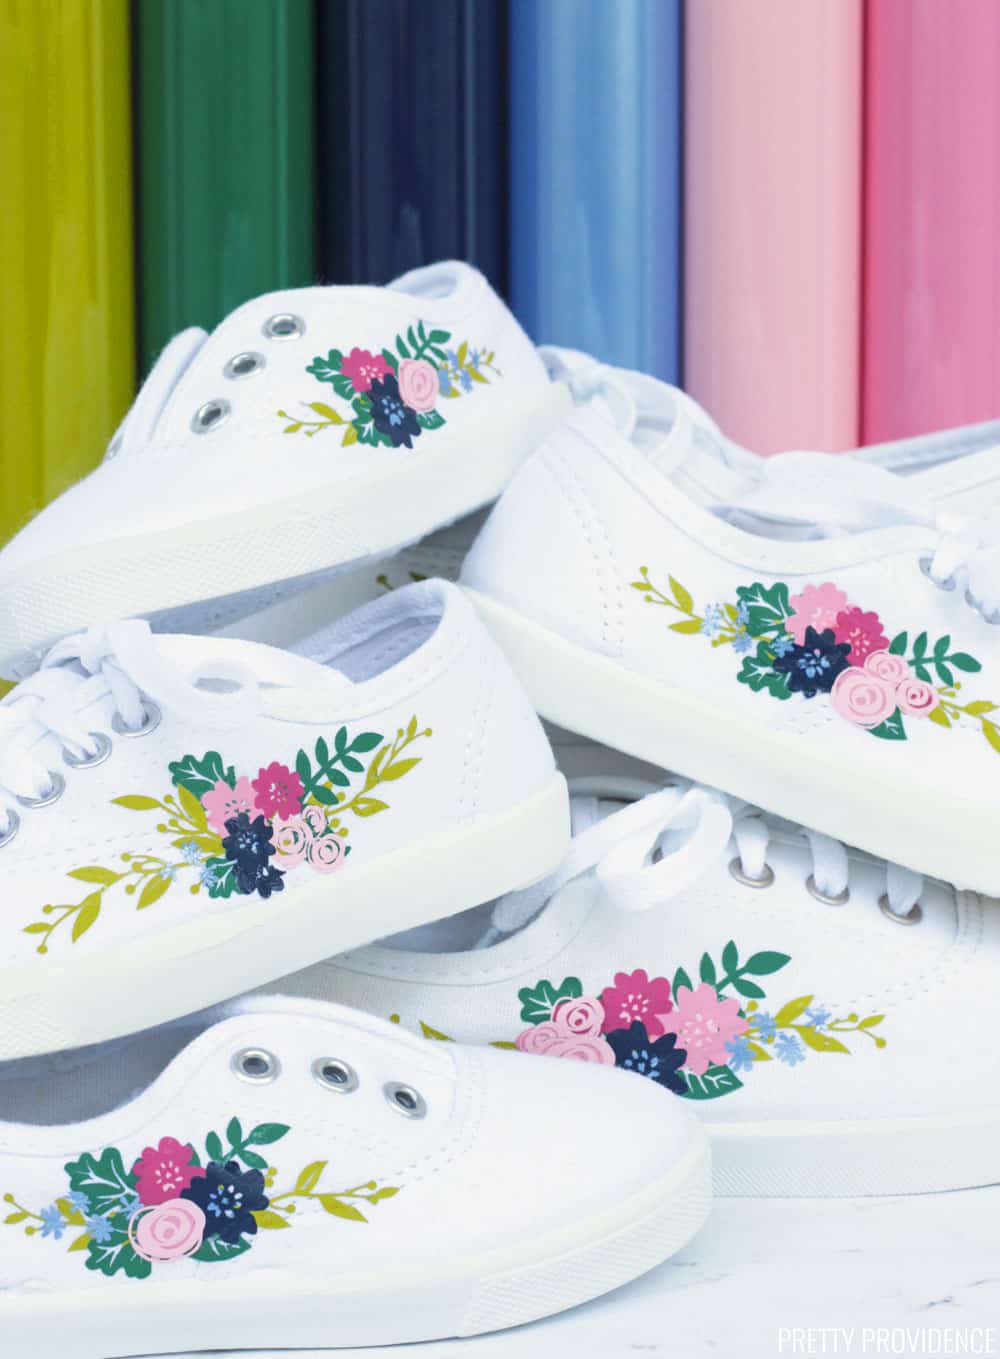
I did this shoe project from start to finish in one day, although I will say cutting all of these tiny pieces and weeding them took quite a while. It was 100% worth it. Look at this cuteness.
Here is a tutorial for making these cute floral sneakers with a Cricut and EasyPress Mini!
How to Cut Iron-On Floral Design
Materials:
Everyday Iron-On in the Following Colors: Avocado, Kelly, Petal, Raspberry, Blush, Navy, Ocean
Cricut Explore Air 2 or Cricut Maker
StandardGrip Mat
Weeding Tool
This is a more advanced Cricut project, as it does require cutting a lot of small pieces of iron-on and then layering them. After making tons of t-shirts and other Cricut projects, I was ready for the challenge of adding floral Iron-On to shoes!
It worked best to press them onto the shoe one by one, instead of trying to apply multiple pieces at once.
Here is the floral design I created, available in Design Space. All of the images are included with Cricut Access subscription.
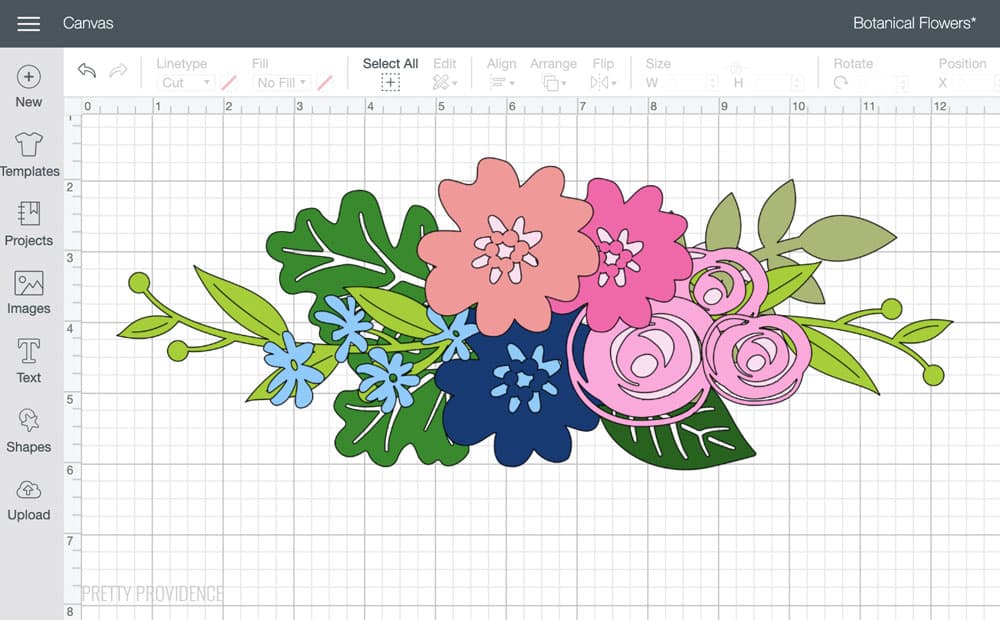
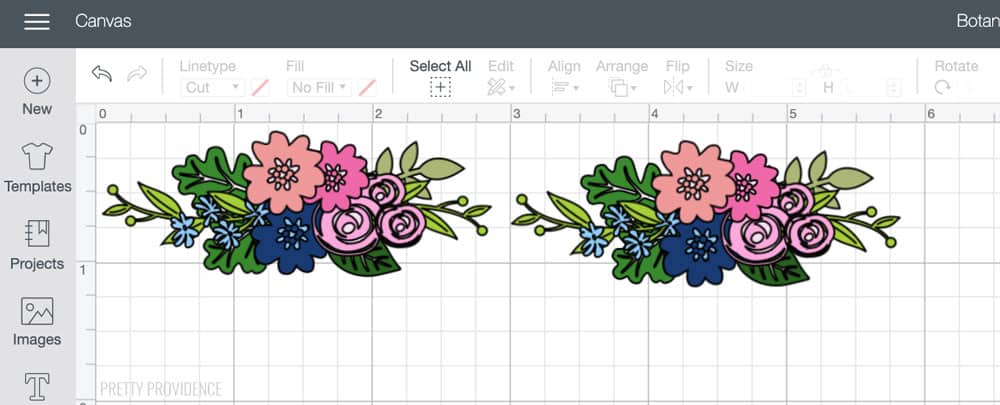
To make two shoes, duplicate the design and size it to how you want it to fit your shoe. Measure the space on your shoe with a ruler. For my Keds style shoe I sized it just over an inch from top to bottom. For my little girls' shoes, it was a little bit less than an inch.
I also grouped and attached four of the leafy green pieces together on the canvas so that it would cut out exactly how I wanted them on the shoe. The rest I cut individually, because they are all different colors.
Here is what it should look like in DS when you go to cut the design. The instructions say to prepare 8 mats.
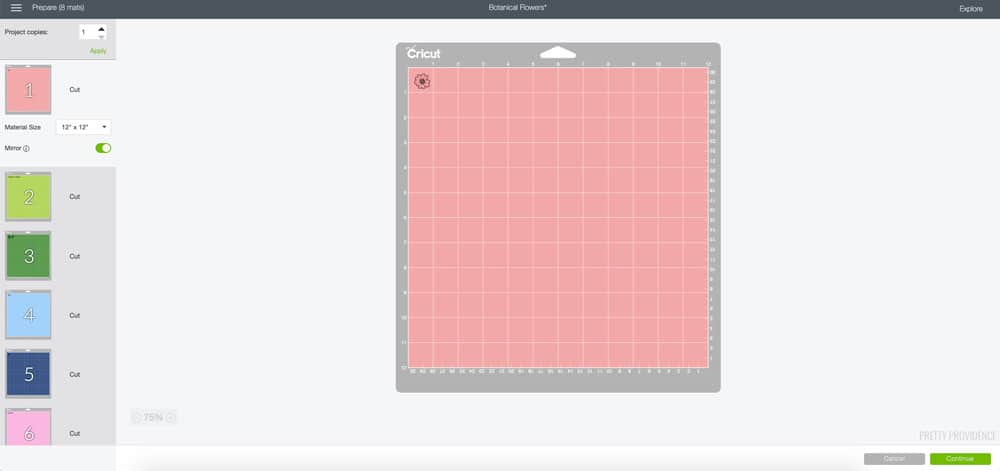
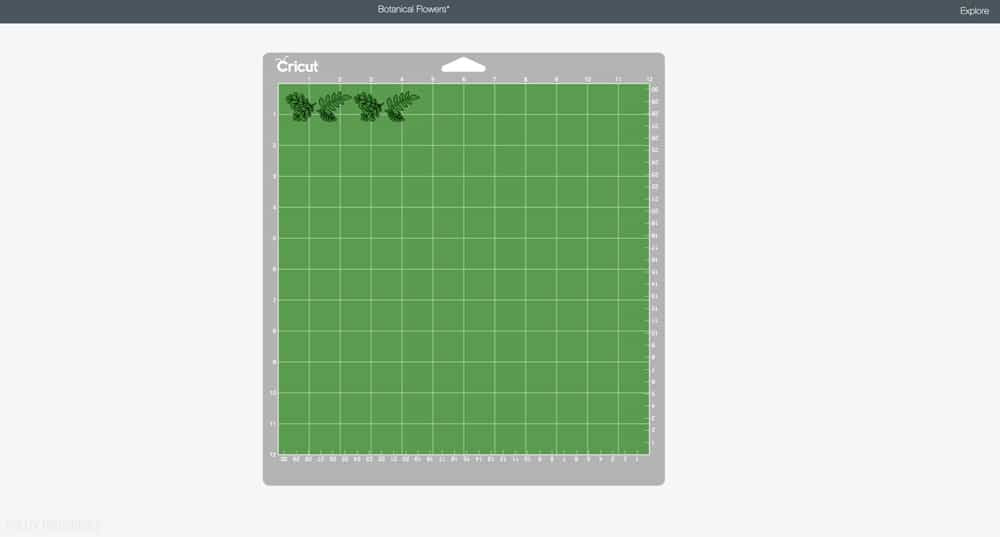
Since I was cutting such small pieces, I actually only used two mats. To do it this way, first you will prepare your mats. Add a piece of iron-on, shiny side down in each color onto the mat. It should look something like this. I try to place them where they start on an inch line.

Drag each item you're cutting to the area on the digital mat where the corresponding color of Iron-On is on the physical mat. Do this for all the pieces before you start any cuts.

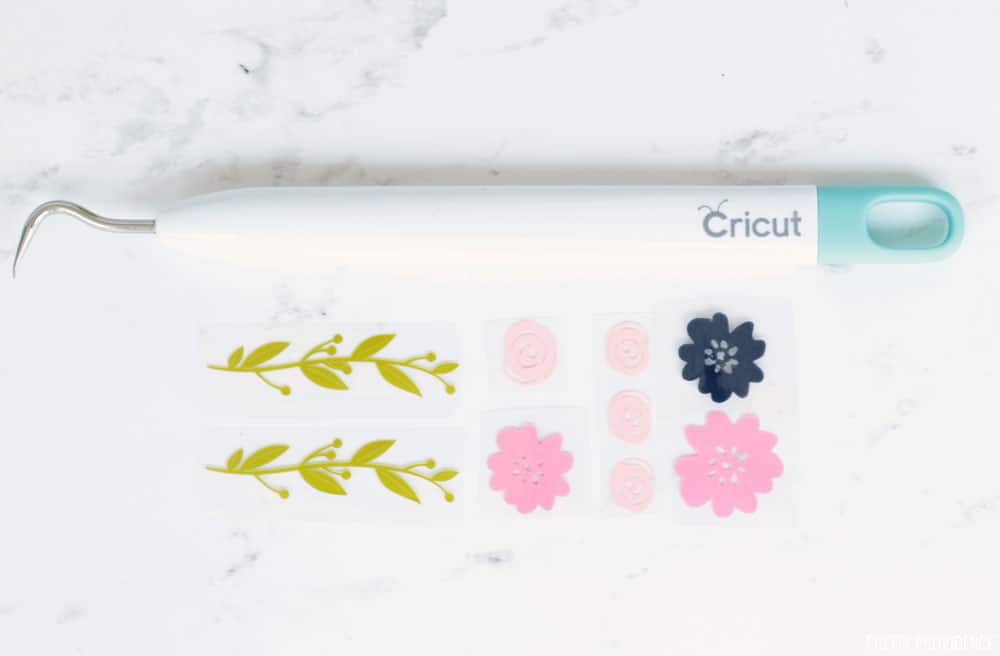
After cutting each part of the design, you will weed. I find weeding relaxing, especially if I listen to an audiobook or podcast while I do it.
For reference, this is how big the flowers were compared to the weeding tool.
I mentioned that I used my Explore Air 2 to do this project. I use both my Explore Air 2 and my Maker all the time. The Air 2 comes in a lot of fun colors, including Lilac.
How to Apply Iron On to Shoes with EasyPress Mini
Materials Needed:
EasyPress Mini
Iron-On Protective Sheet
Iron-On Design Cut and Weeded
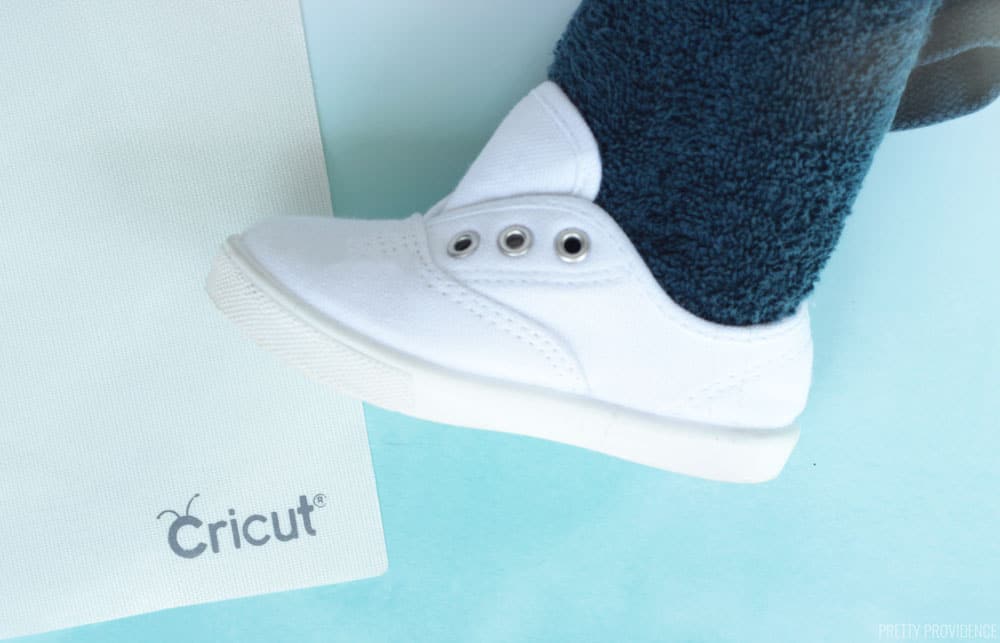
Canvas Shoes
Dish Towel
Instructions for Applying Iron On to Shoes:
Heat EasyPress Mini to the hottest setting. Check that your design will fit on the shoe how you want it to, and keep the design on your screen or take a picture of it arranged how you like it so that you can reference it as you iron each piece on.
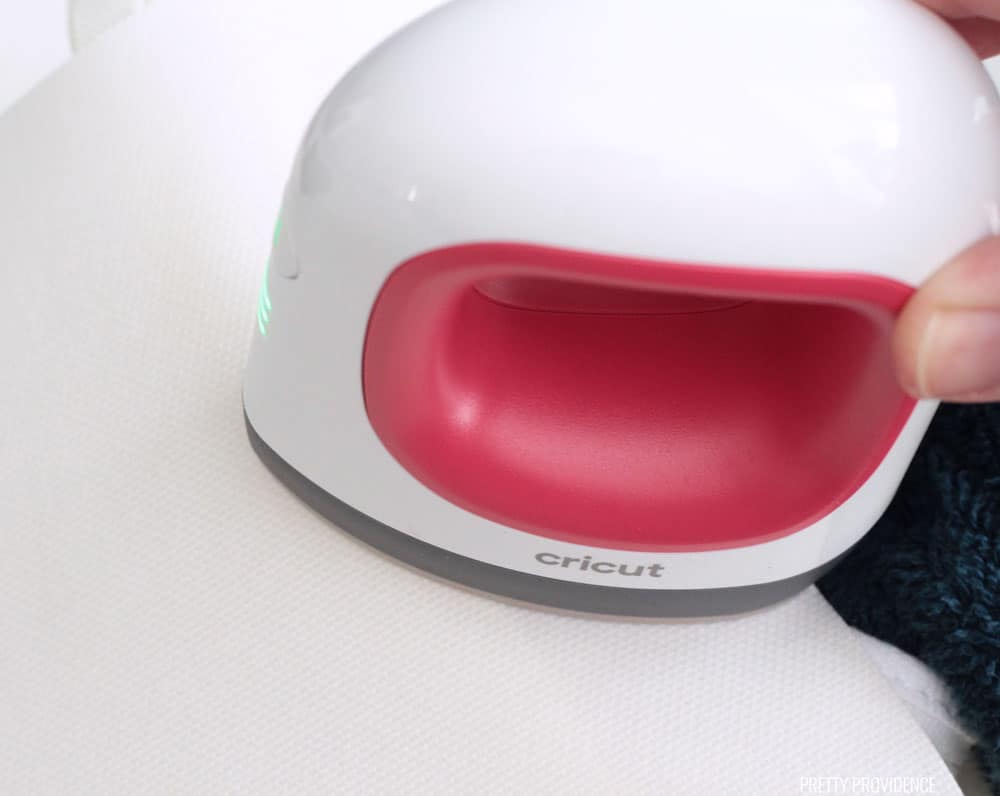
Roll up a hand towel and stuff it into the shoe as far as you can. The goal here is to keep the outside of the shoe flat, and to give you something to hold on to while you are applying Iron-On to the shoe.
This probably goes without saying, but be careful. The EasyPress Mini is very hot and the Iron-On protective sheet gets hot too. I think if I do more projects like this I will get some of these finger protectors.
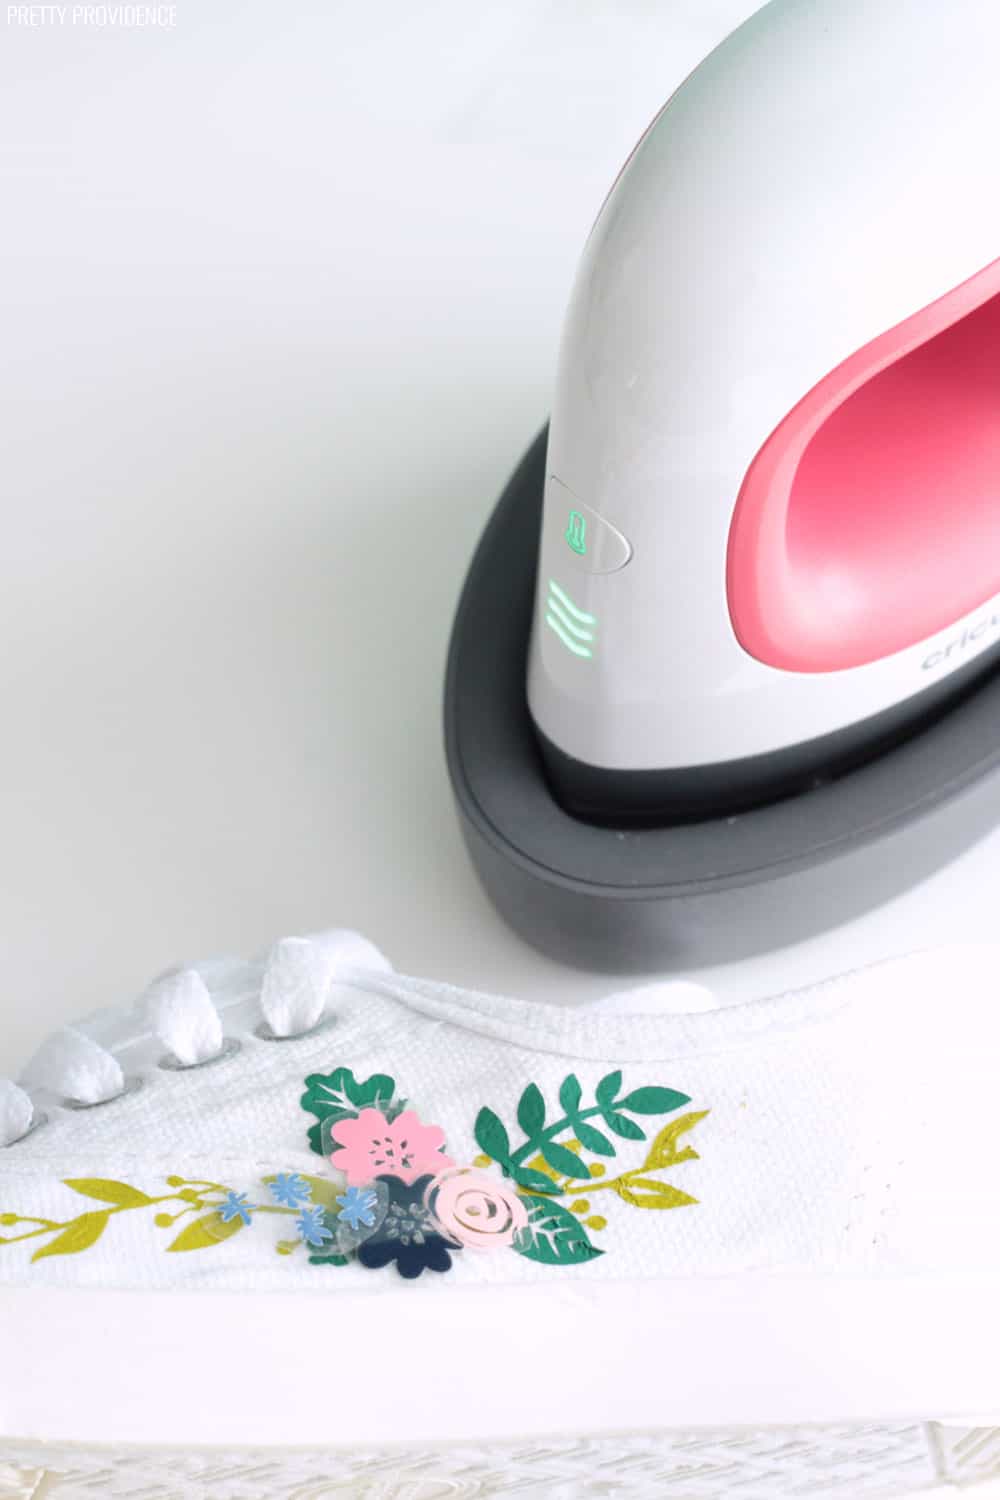
Apply the pieces one by one, using the protective Iron-On sheet each time. Wait til each layer cools down from hot to warm, and peel off the plastic layer. Repeat until the design is all ironed on.
I did this on six shoes, and applying the iron-on took me about 30 minutes per shoe. I wanted to pay close attention and make sure everything was done correctly. Very glad I did it that way, because this pile of shoes is making me SO HAPPY.
What do you think? Will you be adding some iron-on to shoes soon!?
Iron-On Shoes
Equipment
- Weeding Tool
- EasyPress Mini
- Dish Towel
Materials
- Canvas Shoes
- Everyday Iron-On Colors: Avocado Kelly, Petal, Raspberry, Blush, Navy, Ocean
Instructions
How to Cut Iron-On for Shoes
- Open the floral design in Design Space, or pull up your own design.
- To make two shoes, duplicate the design and size it to how you want it to fit your shoe. Measure the space on your shoe with a ruler. For my Keds style shoe I sized it just over an inch from top to bottom. For my little girls' shoes, it was a little bit less than an inch.
- I also grouped and attached four of the leafy green pieces together on the canvas so that it would cut out exactly how I wanted them on the shoe. The rest I cut individually, because they are all different colors.
- The instructions say to prepare 8 mats. Since I was cutting such small pieces, I actually only used two mats. To do it this way, first you will prepare your mats. Add a piece of iron-on, shiny side down in each color onto the mat.
- Drag each item you're cutting to the area on the digital mat where the corresponding color of Iron-On is on the physical mat. Do this for all the pieces before you start any cuts.
- After cutting each part of the design, you will weed. I find weeding relaxing, especially if I listen to an audiobook or podcast while I do it.
How to Apply Iron On to Shoes with EasyPress Mini
- Heat EasyPress Mini to the hottest setting. Check that your design will fit on the shoe how you want it to, and keep the design on your screen or take a picture of it arranged how you like it so that you can reference it as you iron each piece on.
- Roll up a hand towel and stuff it into the shoe as far as you can. The goal here is to keep the outside of the shoe flat, and to give you something to hold on to while you are applying Iron-On to the shoe.
- This probably goes without saying, but be careful. The EasyPress Mini is very hot and the Iron-On protective sheet gets hot too.
- Apply the pieces one by one, using the protective Iron-On sheet each time. Wait til each layer cools down from hot to warm, and peel off the plastic layer. Repeat until the design is all ironed on.
Notes


I love the shoes & have looked & looked for the floral design in Design Space , but I can’t find it.
I have the All Access. I would appreciate any help you can give me so I can find it. Thank you.
Can't wait to make up some Kitty shoes for all my cat mom friends!!!
Those shoes look amazing! I love the design you created. Thank you for sharing it!
Thank you! We are all so happy with them!