• Skip to primary navigation
  • Skip to main content
  • Skip to primary sidebar
  • Skip to footer

Pretty Providence

  • Home
    • Newest Blog Posts
  • About
  • Recipes
    • Appetizers
    • Beverages
    • Breakfast
    • Dessert
      • Cookies
    • Dinner
    • Salads
    • Side Dishes
  • DIY & Crafts
    • Cricut
    • T-Shirts
    • Crafts
    • Decor
    • DIY Projects
  • Holidays
    • Halloween
    • Thanksgiving
    • Christmas
    • New Years Eve
    • Valentine’s Day
    • St. Patrick’s Day
    • Easter
    • Mother’s Day
    • Father’s Day
    • 4th of July
  • TIPS
    • Tips
    • Organization
    • Family Life
      • Baby
      • Fun
      • Family
    • Travel
  • OCCASIONS
    • Gifts
    • Parties
  • Navigation Menu: Social Icons

    • Facebook
    • Instagram
    • Pinterest
    • YouTube

Mini Boxwood Wreath Tutorial

Home » Crafts » Mini Boxwood Wreath Tutorial

Published April 24, 2015 Last Updated February 11, 2020 / By Pretty Providence Leave a Comment

Tweet
Pin470
Share6
Email
476 Shares
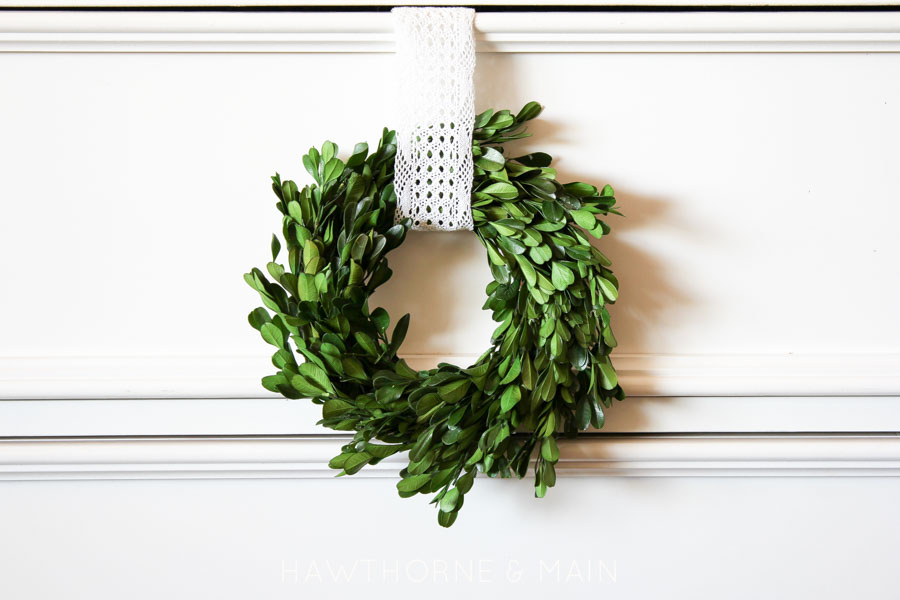
Hello Pretty Providence readers!! This is Shonee from Hawthorne and Main and I am super excited to be here again today!! I love love love to decorate with green.  I feel like it’s an easy way to bring color into any space! Today I am going to share with you how easy these mini boxwood wreaths are to make!

Here are the supplies you will need: 
1- box wood wreath
1- mini mdf wreath (found mine at michaels)
1- hot glue gun
ribbon or lace
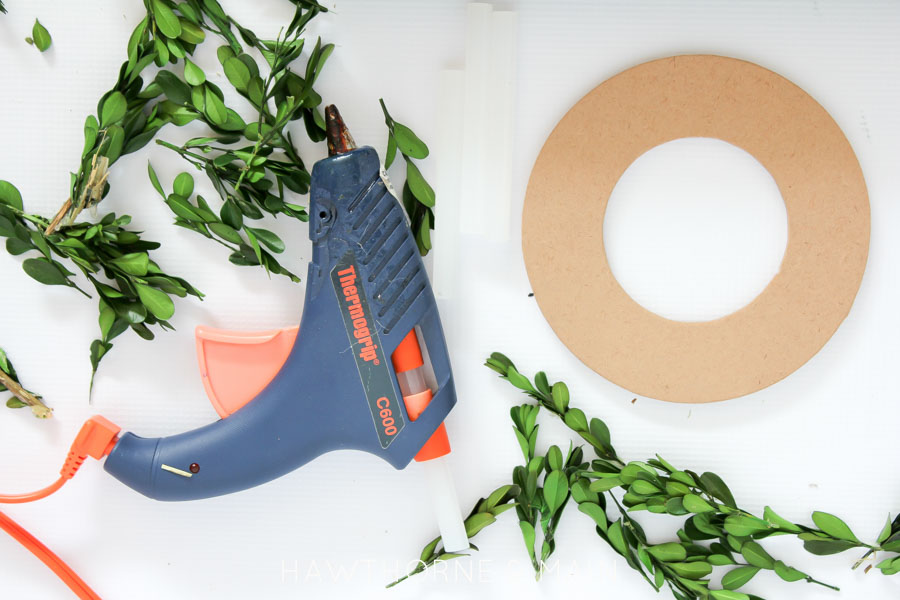
Start by breaking the leaves off the boxwood wreath.  They should already be in small pieces.  As you start to break them off you will be able to tell how big they are.
 Last year I picked up a heart shaped wreath after valentines day.  It was on sale!!!  I really didn’t like the heart shaped look, but I knew that I would be able to use the leaves for a different project.
Boxwood wreaths can get pricy, if you cannot find one on sale.   Purchasing one wreath and then breaking it down into a few smaller wreaths is a great way to spread out the green without spending a ton of money!!
After you have the boxwood leaves broken up it is time to assemble the new wreath.  Start by gluing the small pieces around the mdf frame. Don’t be afraid to use a little extra glue.  You really want to make sure the leaves are suck down good!!  Continue around the circle until all the entire frame is covered.
Grab a piece of vintage lace or some ribbon and hang it up!!

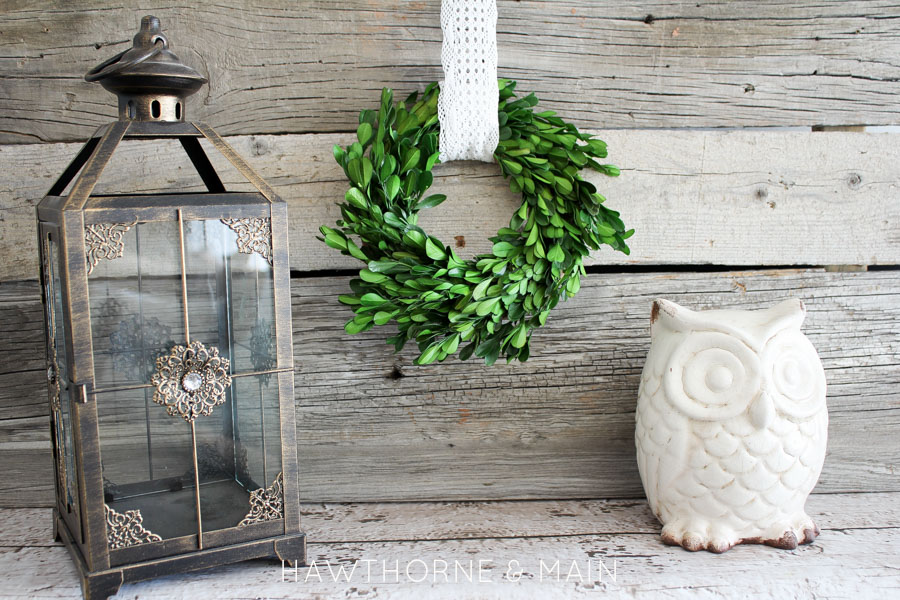
This little wreath would look awesome on a mantel! I love the contrast between the old barn wood and the green boxwood leaves!!

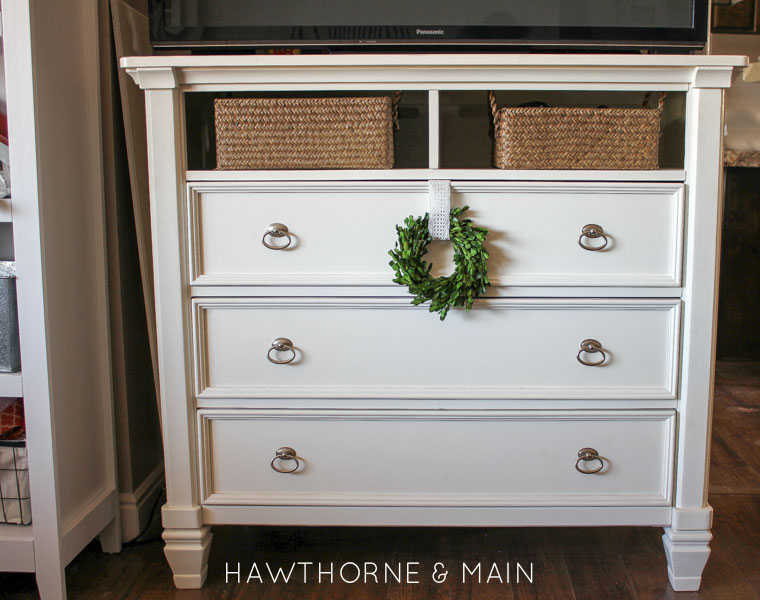
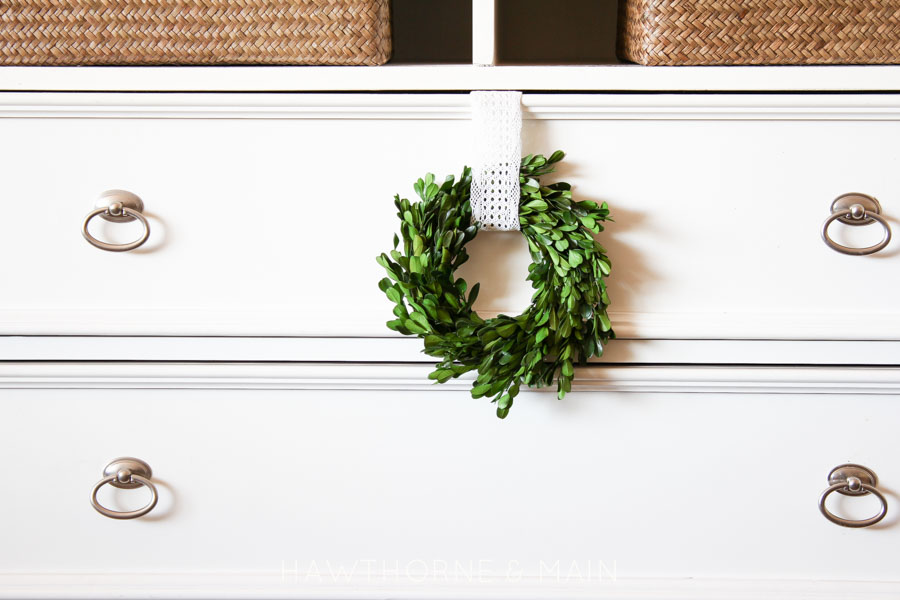
It would also look great as an accent on a piece of furniture!!  Love that pop of green! To attach the wreath to the tv console table I used a small tack on the inside of the drawer.  Easy and not permanent!


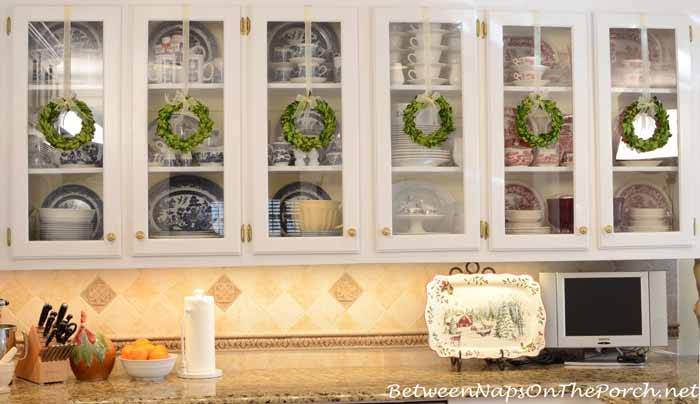
Lastly, I have even see them hung from kitchen cabinets! So pretty!!  Perfect for spring and summer!!
(source)
I guess the point is that these little boxwood wreaths are so versatile and I love the little pop of green!! Get creative with them!!
Have you decorated with boxwood wreaths before?
Lets connect!! 
Come see what else is going on at Hawthorne and Main!!


Image Map
Tweet
Pin470
Share6
Email
476 Shares

Reader Interactions

Leave a Reply Cancel reply

Your email address will not be published. Required fields are marked *

Recipe Rating


Primary Sidebar

about-pretty-providence  

Hey! We're Sarah and Jessica. We're BFF's and have known each other since we were 5 years old. This blog is our place to share all of our best recipes, tips, crafts and DIY projects.

You can read more about us on our about page and find us on instagram! We love making new friends.

  • Email
  • Facebook
  • Instagram
  • Pinterest
  • TikTok
  • YouTube

Most Popular

Breakfast casserole with sausage, eggs, cheese and bell peppers on a white plate

World’s Best Breakfast Casserole

DIY desk made from two storage cube bookshelves and IKEA desk top with marble look

DIY IKEA Desk Hack

Iron-on t-shirt with Cricut collage of supplies needed, iron-on cut and weeded, and then the final shirt that says "#tired" in gold iron-on letters

How to Make a Shirt with Cricut

The Office birthday party table with decorations, food, balloons and "it is your birthday" sign

The Office Birthday Party

Teepee style blanket fort made with bedsheets and clothesline hung from a light fixture.

How To Build The Best Blanket Fort

German Pancakes just out of the oven, dusted with powdered sugar in a glass baking dish.

German Pancakes

Organization

a habit tracker with pink squares next to a rose gold pen

Free Printable Habit Tracker

collage image of four different laundry hacks to make laundry easier

The Best Laundry Hacks

art supplies organized and labeled on a white IKEA kallax shelf

School and Art Supply Organization

Weekly cleaning checklist and routine, and checklist for kids too with pictures and check boxes!

Weekly Cleaning Routine + Checklist

Laundry Care Symbols Explained

pantry organization at it's finest! great tips and tricks in this post!

Home Organization Ideas

CRICUT

Light blue Cricut Maker 3 with an assortment of colors of vinyl and iron-on vinyl fanned out under it and behind it.

The Best Iron On and Vinyl to Use with a Cricut

custom hats with cricut iron-on, baseball cap style

How to Make Custom Hats with Cricut

light blue Cricut maker 3 next to vinyl and art on shelves

Cricut Materials – Everything You Need to Know

cute first/last day of school whiteboard on a light blue background

Back to School Photoshoot Board

DIY tote bag canvas with a rainbow and the words 'I'll walk with you' in gold iron-on vinyl

Rainbow DIY Tote Bag

DIY Custom Napkins

Footer

Copyright © 2012-2019 Pretty Providence | Contact Us | Privacy Policy | Disclosures