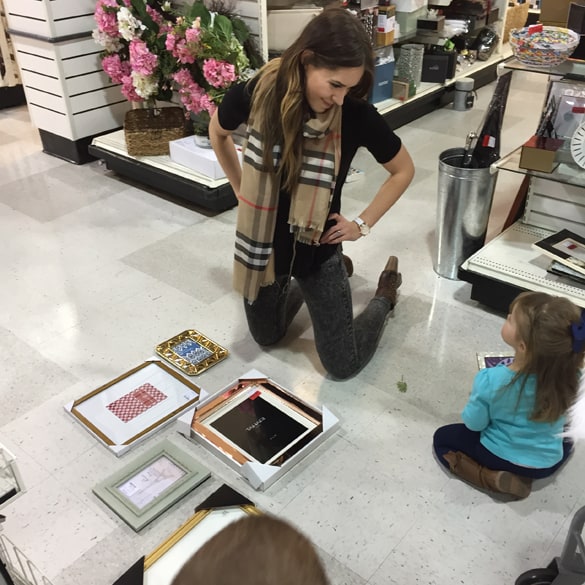
So you guys know how obsessed I am with Nora's big girl room, and one of the best parts of the whole room is the is the gallery wall. It is just such a focal point. We knew from the start we wanted a gallery wall in the room, but I won't lie, I was more than a little overwhelmed by making it happen (thank goodness for Kelsey, from The Wells Collection who is like the design grand master of the world). Tons of work goes into picking the frames, picking the art, pairing them up, and arranging them on the wall, but at least all of those steps are pretty fun... the one step that everybody dreads is the actual hanging and measuring, am I right? Well people, get jazzed up, because today I am solving that problem for you, and you will never stress out about hanging a gallery wall ever again!
If you are interested in a larger scale gallery wall, check out this post.
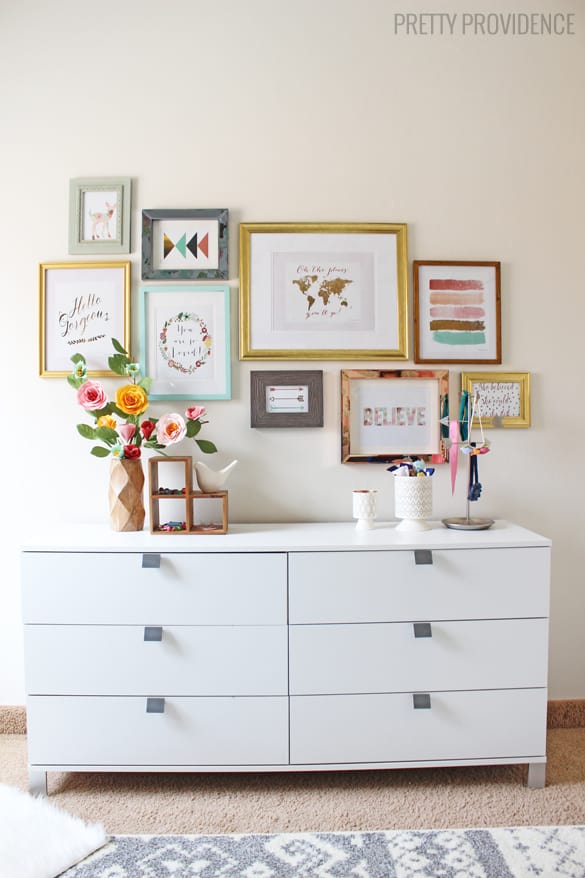
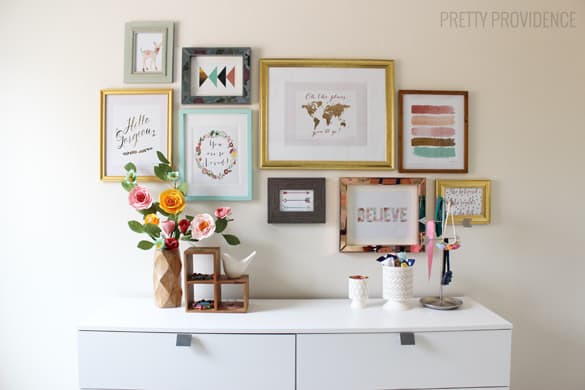
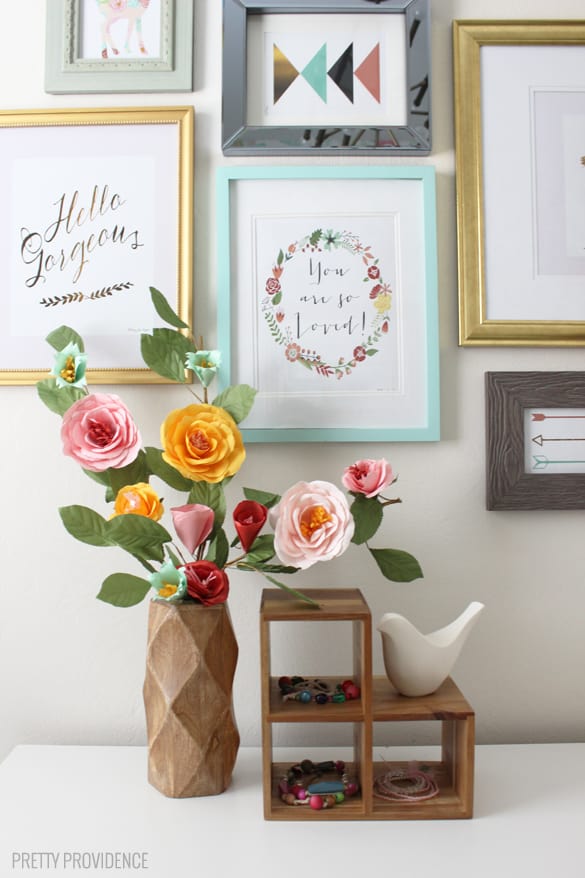
So here is the picture of the finished gallery wall to get you excited!
One of the greatest parts about this little trick is that it doesn't matter at all if your frames have hanging brackets or not! So pick out any frames you want, large or small, irregardless of hardware.
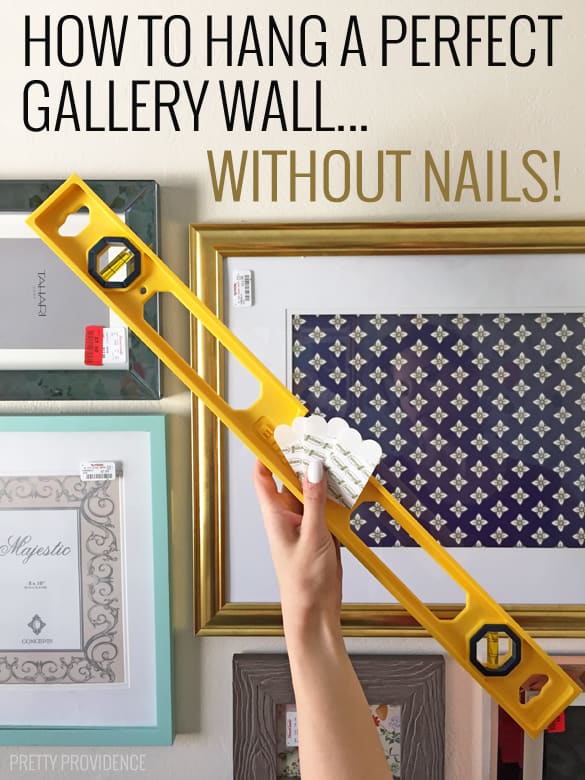
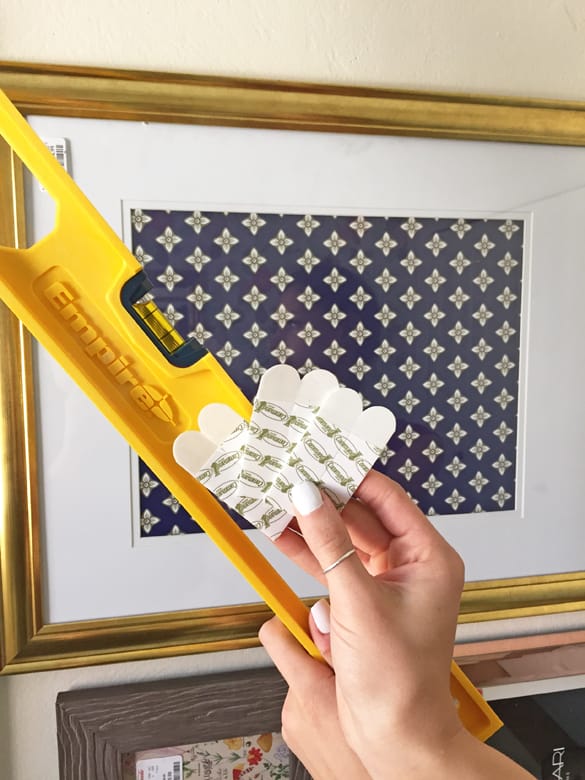
So here's the magic tools, literally all you need is a level (if you are like me and don't know how to hang anything strait on your own, haha) and some 3m command strips! As you can see from the picture above, we had some pretty big frames, and some heavy metal frames as well, and these strips worked like a champ! For the smaller frames, we only used one strip and cut them in half (hotdog style) down the middle and put half on each side of the frame. Below I will illustrate the process in photos for all you visual people. :)
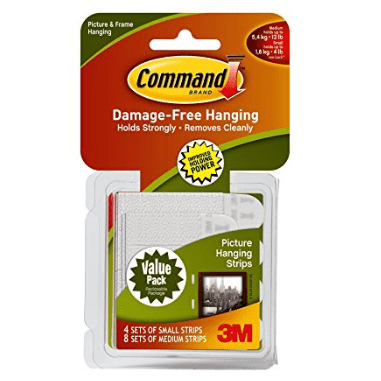
Here are the exact command strips I used:
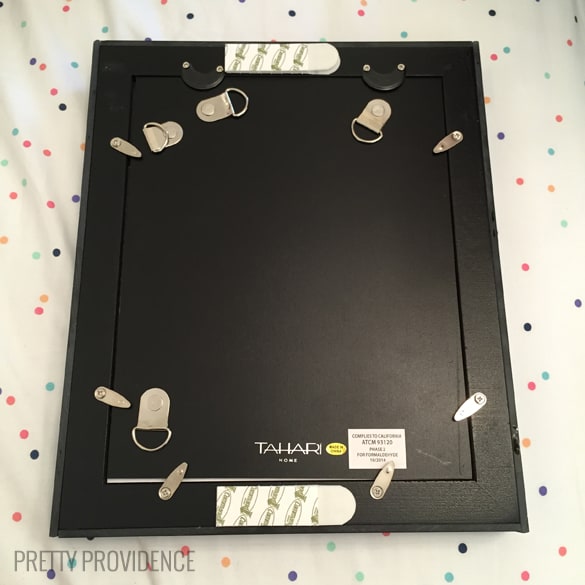
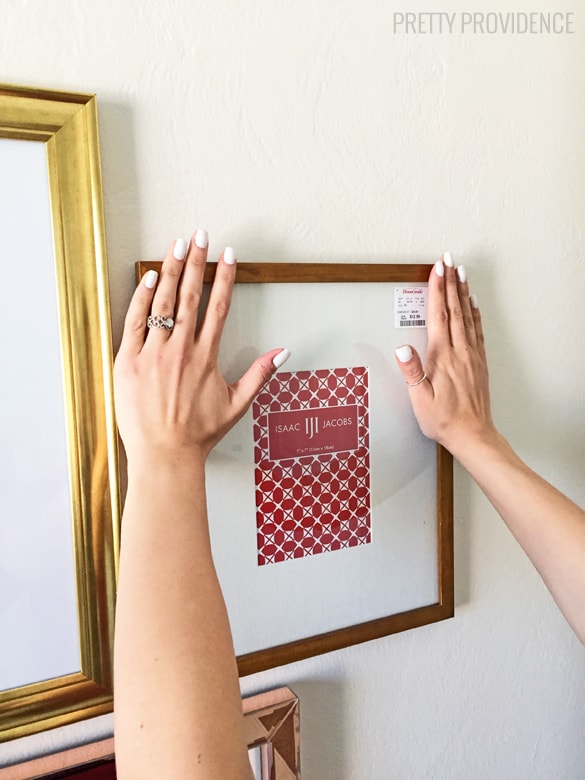
So the first step is to stick one side of the command strips to the frame like you see above.
Then just peel the command strip sticker off the other side and hold the frame up to where you think you'd like to place it, but before you stick it to the wall, have a helper place the level on top of the frame to be sure you are completely strait before you stick it to the wall. This initial binding is what will stick the back velcro to the wall, you will still be able to remove the frames, but the back tape will stay on the wall (see below).
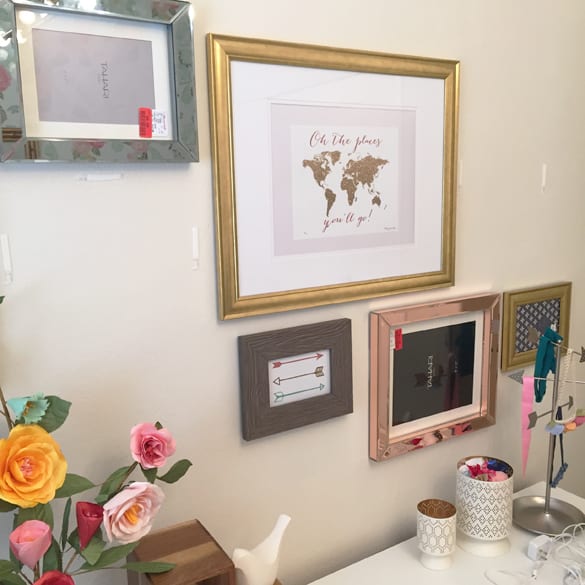
So, when we were hanging our wall we hung all the empty frames first, and then decided after which art we wanted where, because it was easier to visualize that way. In this picture you can see two spots where we had removed the frames to fill them with art, (in the empty spot on the left you can see that those strips were the half strips I mentioned earlier) once your frame is filled you just line it up again and press the velcros securely back together!
Step back and admire your finished product!
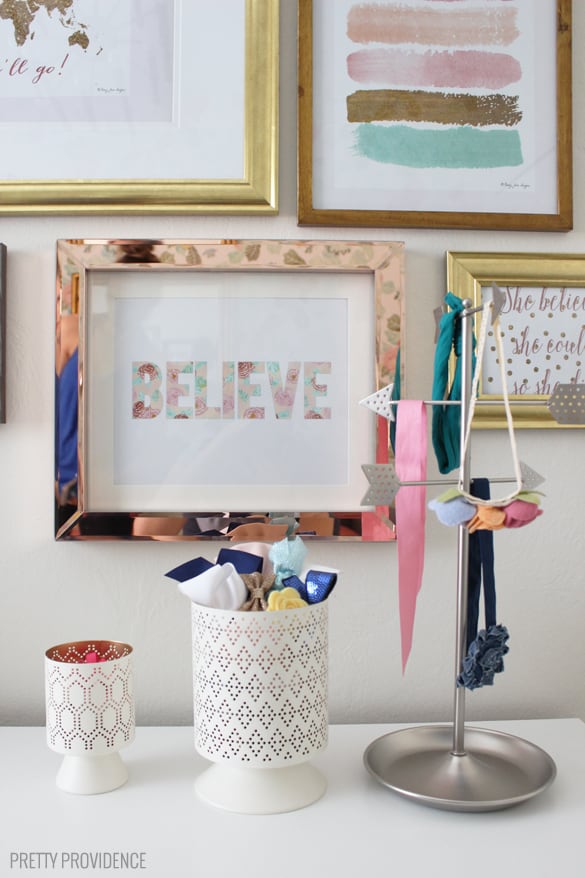
A couple of up close pictures, how cute are those prints?
Welp, is your life changed, or what?! Happy gallery making friends!
xo,
Also, if you love frugal and AMAZING DIY projects as much as we do, check out our awesome DIY Sliding Barn Door video tutorial!
|

|
|





josh
Yea but the moment you want to take them off the wall, it will strip the paint and you have to paint the wall all over again!
Jessica
If you use the tabs to gently pull down on the strips it should not remove the paint! We've moved them around lots of times with no problems.
Abby
How did you measure and keep the picture frames centered before sticking them to the wall? I’m having trouble with measuring out above the dresser and then having to restick the command strips due to it looking odd. Thanks!
Staci Madak
Do you happen to have the Files to print out the pictures you used in your frames? Theyre all so cUte!
Jessica
I don't! I actually bought them from an etsy shop- but they were super adorable! If you click through to my post about my daughters room the link is there! :)
Melissa espinoza
Got the answer i was looking for!! Thanks so much. Hated the thought of putting nails all over the wall!!!!
Jessica
Yay!! so glad!
Pat Mendenhall
I broke a very expensive painting using command strips; I used the correct ones for the weight of the picture and it still didn't hold, test first!!
Jackie blake
Been using com and strips for years. Love them.
Paul B Garcia
There is one problem with this!
3M COMMAND STRIPS WILL NOT EVEN HOLD A SIMPLE PLASTIC WALL CLOCK ON THE WALL AS OF 2018!
Apparently they changed the formula of the Glue and it fails about a year after you hang something up!
So if you care about your frames and the glass in them! Don't Use 3m command strips they no longer work!
Haley Hepburn Ellis
Can you share the source for those paper flowers? They are gorgeous!
Sarah + Jessica
absolutely! they were from Target!
[image: Facebook] [image: Twitter] [image: Google Plus Page] [image: pinterest] [image: Instagram]
Dot
Any links as where to buy the command strips please . We don`t have them where I come from . Would they support only light weight frames ?
Sarah + Jessica
Absolutely! Here is a link for some great picture hanging ones! I use them for all sizes of pictures, but if the frames are SUPER heavy then you may need multiple strips! On the box it should tell you how much weight each strip can support! http://amzn.to/2xJvio5
[image: Facebook] [image: Twitter] [image: Google Plus Page] [image: pinterest] [image: Instagram]
Jackie blake
Wal-Mart sells them