DIY Sliding Barn Door
This DIY Sliding Barn door project costs under $250 and can be done in a weekend!
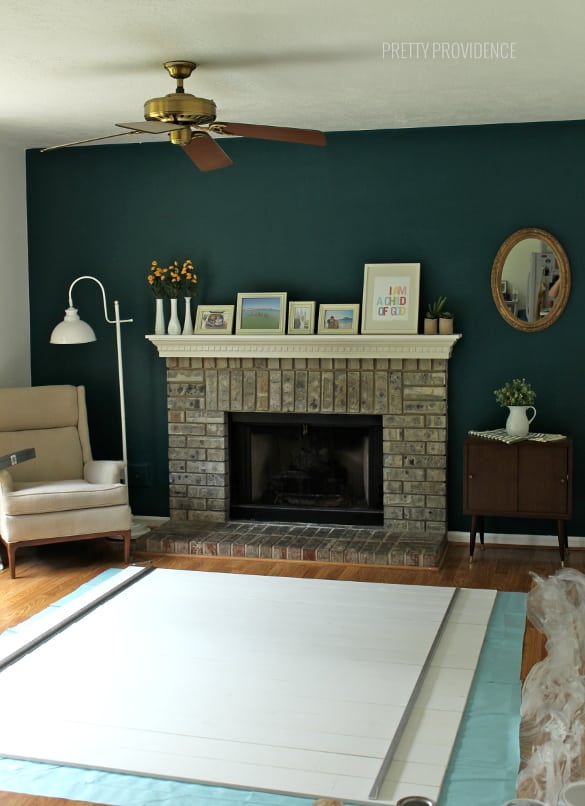
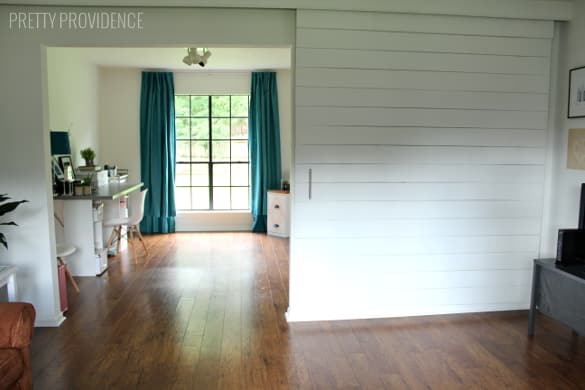
I finally get to show you this huge, gigantic, really big DIY sliding barn door project that my husband and I did a few weeks ago! It all started when we moved into our house and decided that our formal dining room would not function as such but would be my office and craft room. The space is open - you can see it from our entry way as well as anywhere you're sitting in our living room, which is where we are always sitting. So, we thought it would be really cool to do a sliding barn door in the doorway that goes from the living room to my office. You know, in case I haven't cleaned up a project I'm in the middle of and someone is stopping by. The craft mess can get real. We started looking into doing the sliding barn door project and it looked expensive. Even doing it DIY, just buying the hardware was pricy! Add actually building the door in the size we needed, all the tools and supplies that we'd need, it seemed inconceivable. So, we put that idea on the back burner and figured that maybe someday we would get to it.
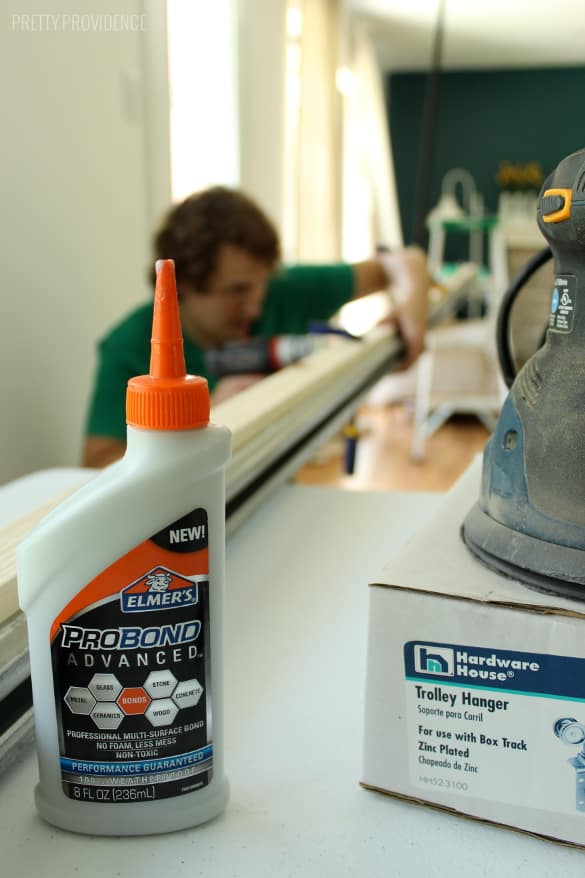
Then, Elmers stepped in and we were emailing back and forth about what type of projects I could do using their ProBond Advanced glue. This glue is really awesome, doesn't make a mess, and is paintable, so I really wanted to try it out. The barn door project came up and they were so excited about it they agreed to not only sponsor it, but they sent a team to come film us and put together a how-to video! SO COOL, right? I'm a total dork in front of the camera - just watch and see - but it was so fun. We still had a relatively small budget to work with so we decided we'd need to be able to do it for $250 or less. We did it! You can find the full tutorial below including supplies, sources and step-by-step directions so that if you too want to build a sliding barn door for less than $250, you can!
For the full tutorial ---->
Materials:
Cedar Fence Slats (Standard Size)
One 1" x 2" Cedar Board (similar)
One 1" x 4" Cedar Board (similar)
Aluminum Angles (1 inch)
Door Pull
Elmers Probond Advanced
Elmers Wood Glue
1-inch Wood Screws (#8)
2.5-inch Wood Screws (#8)
9/16 Truss Head Screws
1-inch Finishing Nails
Square Barn Door Track
Barn Door Rollers + Hardware
5-inch Moulding (optional)
White Caulk
Paint
Tools:
Sandpaper or Orbital Sander
Drill (Our drill is terrible so we borrowed this one - it is so good! It's on our Christmas list now!)
Paint Brushes & Rollers
Crescent Wrench
Screwdriver
Hacksaw (OR just let the hardware store make cuts for you! Home Depot will do up to 5 cuts free.)
Stud Finder
About the materials and tools:
I've linked to everything that we used so that you can see them all in more detail, with dimensions and prices. If something linked that means I couldn't find a link or it's not available online! I've linked to similar items in their place. A few things are strictly personal preference (like the moulding & paint brushes) so no links are provided for those either.
We also had to special order our 14' square barn door track from a local building materials store. Everyone will have different size needs for this project, so contact your local store once you know the length of track you'll need!
Normal barn door hardware that we liked the look of was super expensive, but when we realized we could buy cheaper hardware and cover it with moulding, the potential cost went way down!
How to Build a Sliding Barn Door
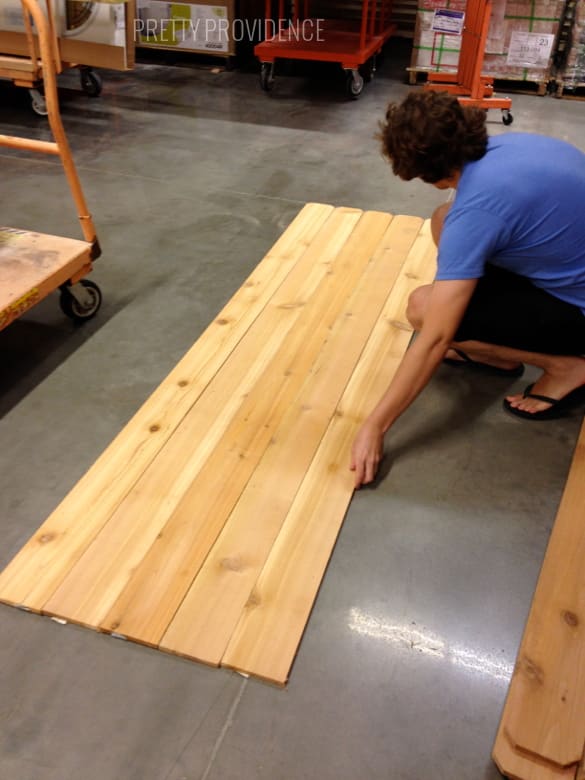
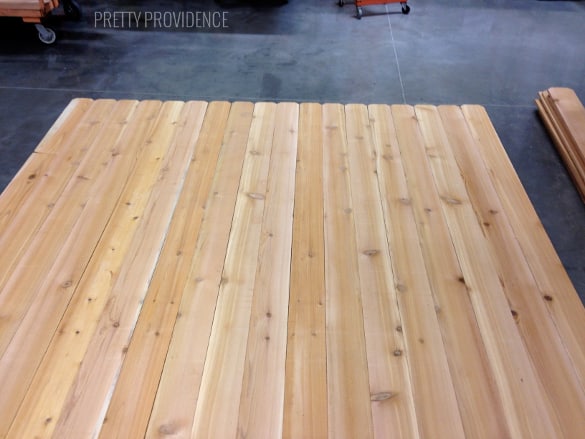
Step 1: Pick good straight slats. We chose to use Cedar fence slats because they're sturdy but light compared to other types of wood, and they're cheap! We actually hand-picked ours one-by-one, putting them all in a row in the store. It may have looked silly but we had to make sure they'd all fit together and look nice.
Step 2: Cut slats to length. We had the nice people at the store do this for us! Length will depend on how big you want your door. Our doorway is 6 feet so we had our slats cut to 6'6" so there would be a 3-inch overlap on each side.

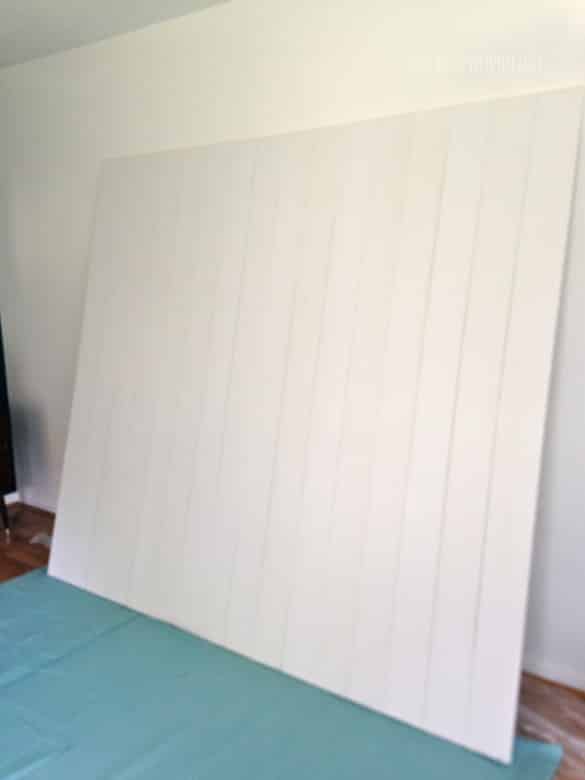
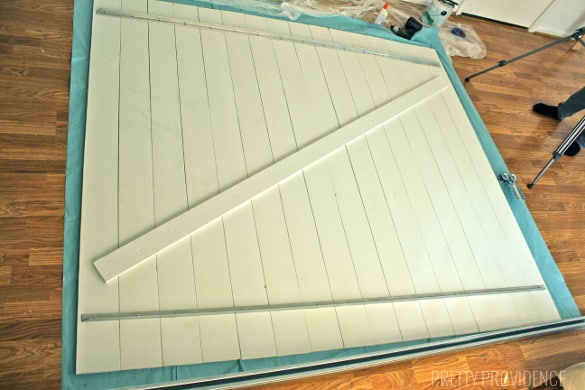
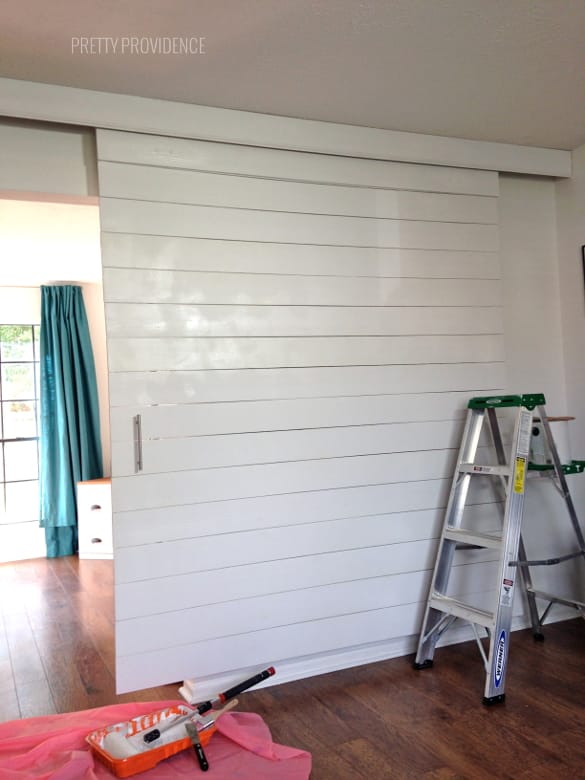
Step 3: Prep slats by sanding rough edges, then paint them. We wanted a bright white barn door, so we gave them three coats for good measure. Lay out slats again and make sure everything is lined up straight.
Step 4: Cut aluminum angles to length using a hacksaw (or the hardware store would probably do that for you!)
Step 5: Drill holes in angles every 5.5" (these holes should be a little larger than the diameter of your screws! We used #8 screws.) Then line up and glue angles onto your slats, using Elmers Probond Advanced. Screw in the angles with 9/16" truss head screws.
Step 6: Glue and screw in the 1" x 4" slat diagonally on the back of the door. This is just for extra support.
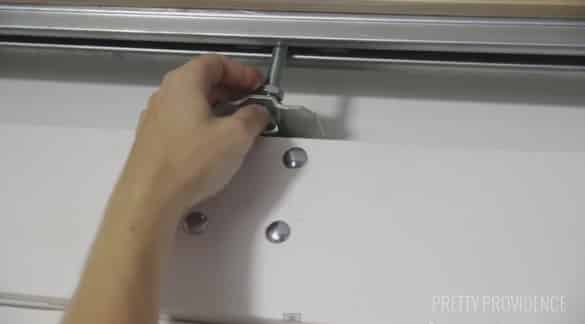
Step 7: Drill the holes for your roller brackets and attach them to the doors. We reinforced the brackets by adding an extra board, so just the top plank of the door is two slats thick.

Step 8: Glue your 1" x 2" onto the barn door track using Elmers Probond Advanced. Use clamps if you have them, or clamp tape! This glue opens up so many doors (pun intended?) for other projects. I love mixing materials and it's nice to finally know what will adhere them together!
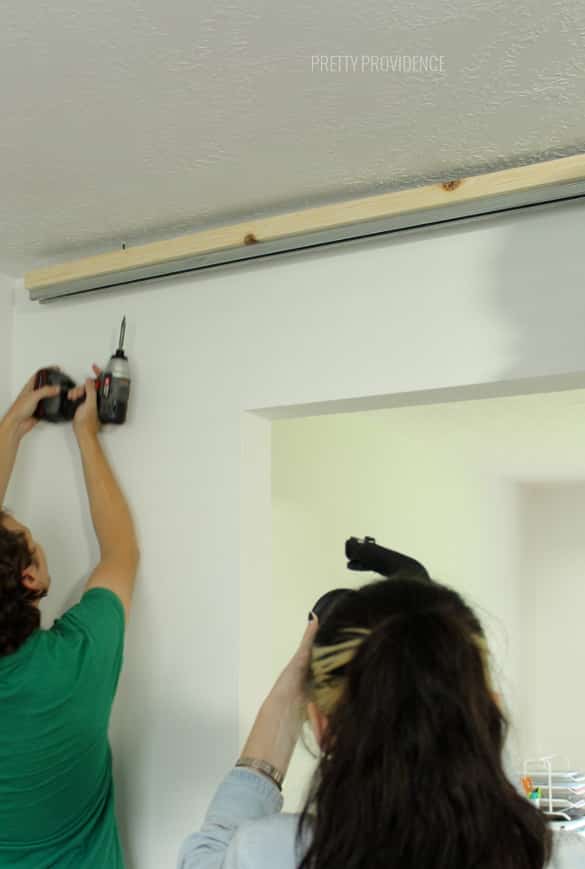
Step 9: Mark where the studs are on the ceiling and screw the barn door track into the studs.
Step 10: Slide the rollers into the track. Attach the roller brackets on your door to the rollers in the track.
Step 11: Cut and paint wood moulding, then hammer the moulding to your 1" x 2" with finishing nails.

Step 12: Mark and drill holes for the door handle & attach it.
Step 13: Touch-up your paint & caulk between the moulding and the ceiling.
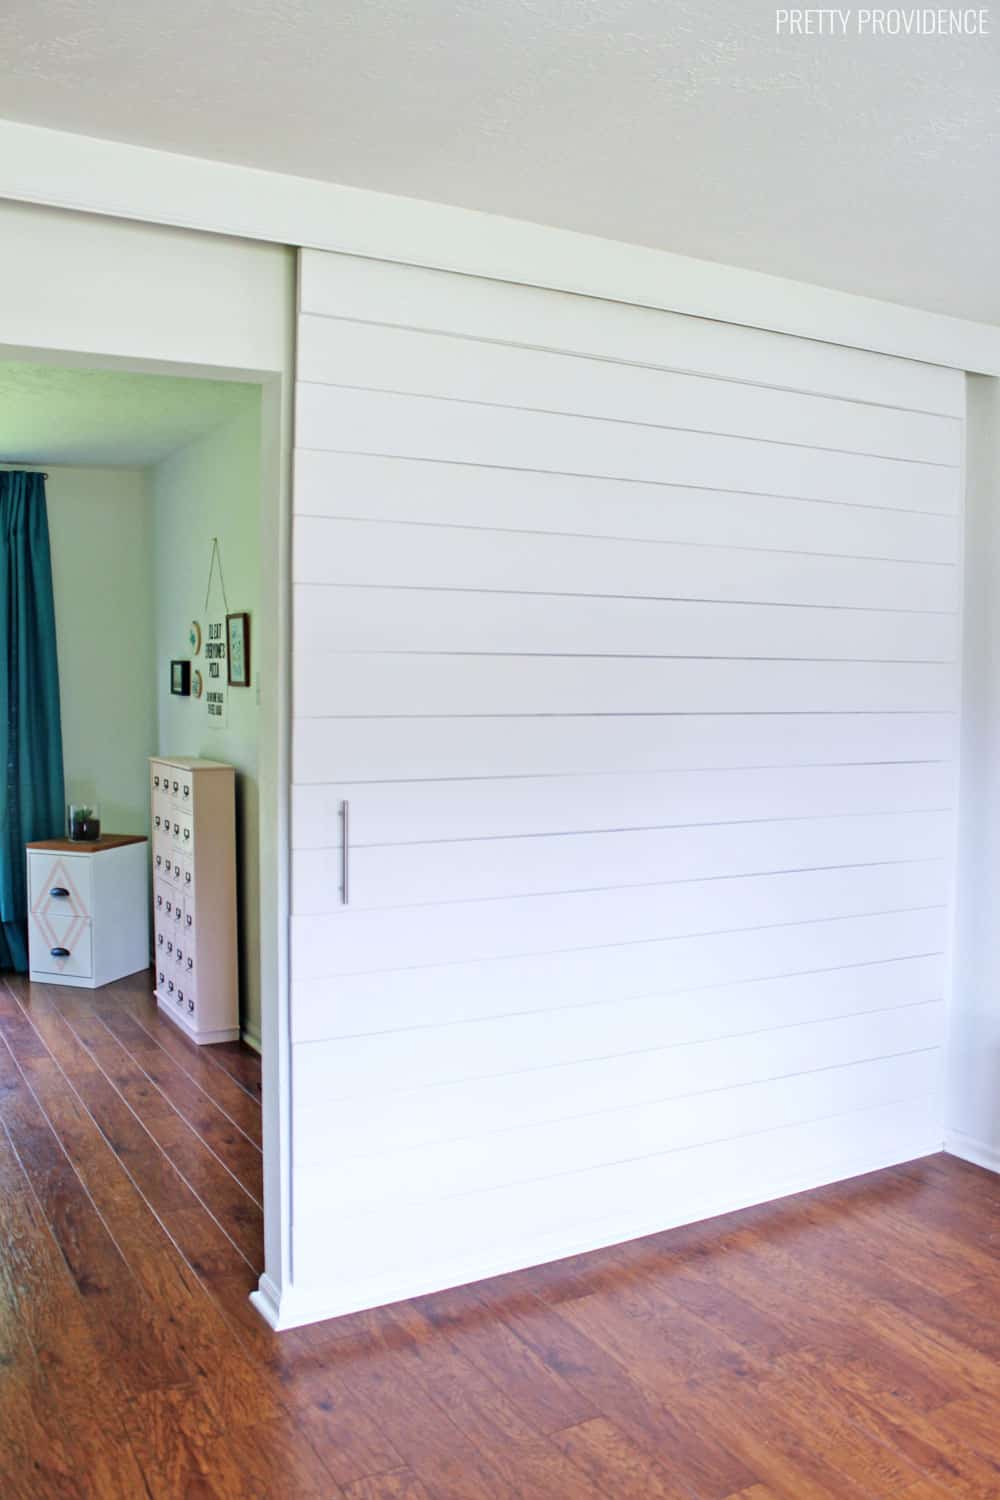
TADA! The finished product. I love the white on white - I wanted to do that because I am going for a clean, modern feel in my house. That's also why we added the moulding over the track, aside from cost. A lot of people just leave the track visible, and it definitely looks cool when you do that, but we aren't too industrial in our tastes so I'm glad we covered it with a moulding.
My husband Jacob is the bomb and being the engineer that he is, he is the reason this project came together. He did way more work on this than I did. The fact that I'm majorly pregnant did not allow me to help as much as I wanted to but I did what I could and took the pictures. He deserves all the credit for planning and executing this so beautifully!
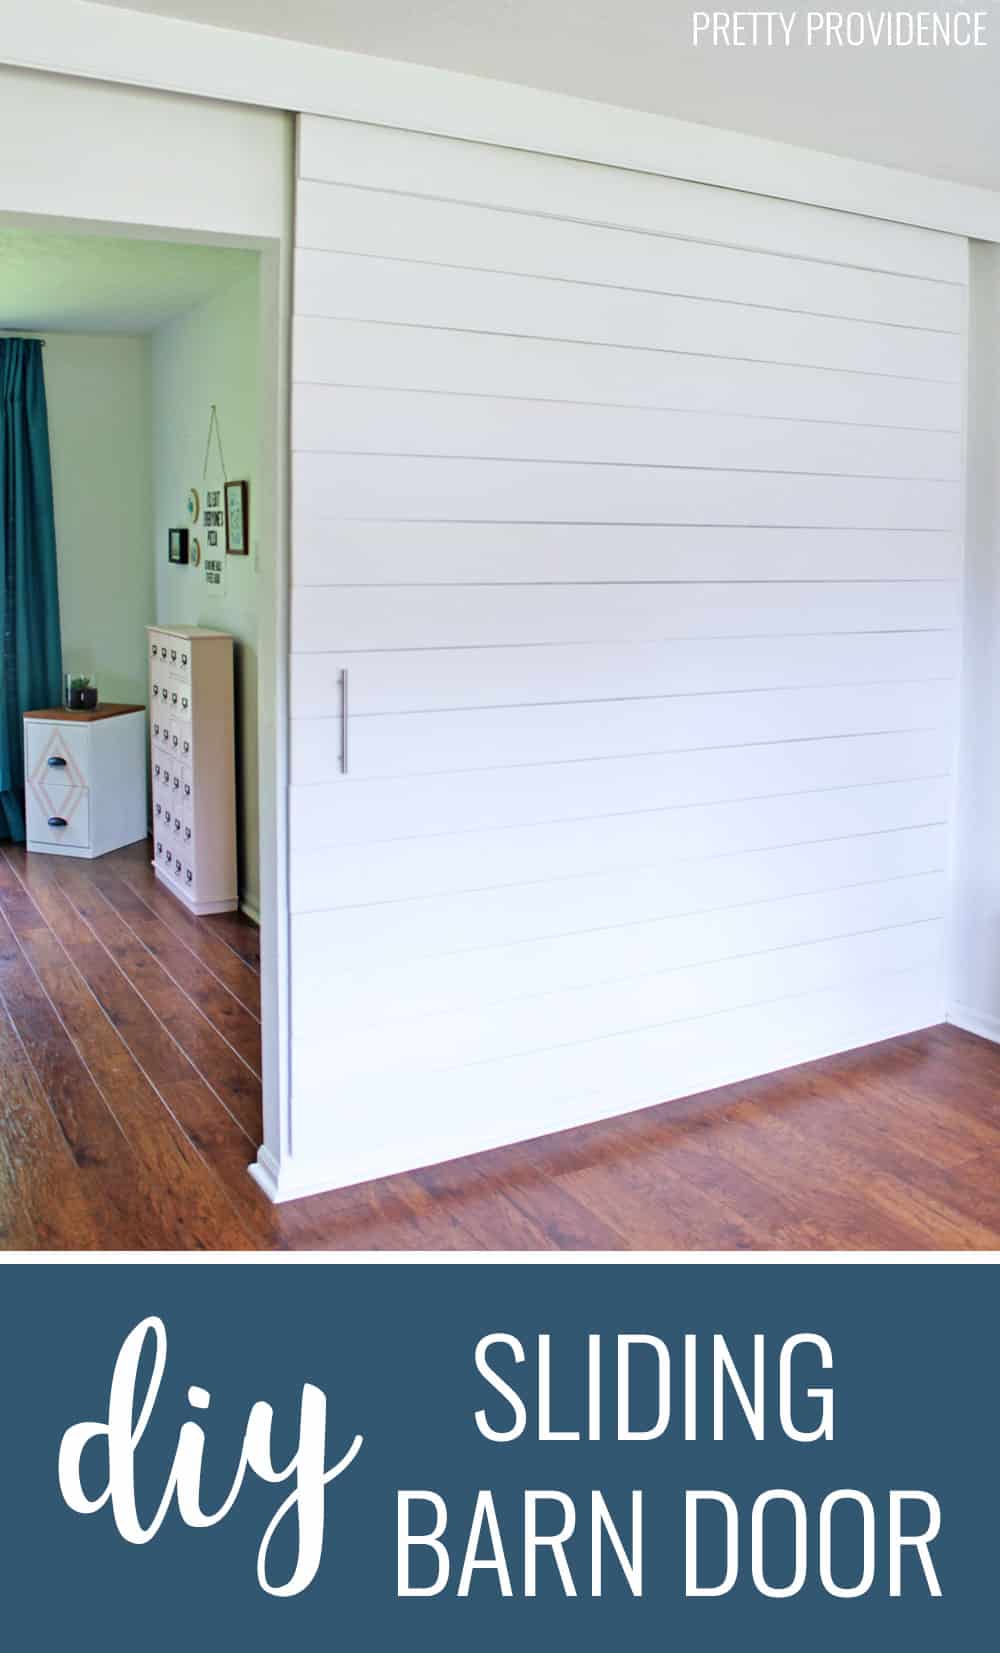
Now I can close the door if I need to, but most of the time it's open, and just looking awesome right there in front of the wall.
Interested in other budget-friendly DIY projects?
DIY IKEA Hack Desk Under $60
Painted Filing Cabinet Makeover
Craft Room on a Budget
Small Bathroom Makeover
Painted Piano Makeover
IKEA Hack Headboard
Well, I hope this tutorial will inspire you to build your own sliding barn door. Next I'm gonna have to try making one to cover my TV like this one. :)
Happy DIY-ing!


Where did you get your bracket and track?
I am also interested in the hardware. The Barn Door hardware seems to be very expensive so I would very much like to find it at a reasonable price.
I found mine locally but here is one on Amazon that is super affordable with good reviews! https://amzn.to/2Qand5Z
Where did you get the hardware and track from? Love it so much going to make one. Thank you!
OMG what shade of green is that on the fireplace wall? It's so lovely!
this is so awesome!! i hope i can see it in person soon :)
You guys are awesome and it looks so great! It's fun to see so many of your previous projects in the background. Loved your high five at the end!
Amazing! You and Jessica look so much alike that I had to scroll to the bottom to see who's eyes were peeking over the face mask. Great job!
That looks so great! Your house is adorable. :) Way to go w/ the professional video!!
Thanks Bree!!
Wow! That looks amazing. What a great idea!
Where is the video? I'm not seeing it anywhere on the mobile post