Spring time is a lot more fun now that we have this garden-themed DIY water and sensory table for our outdoor play area!
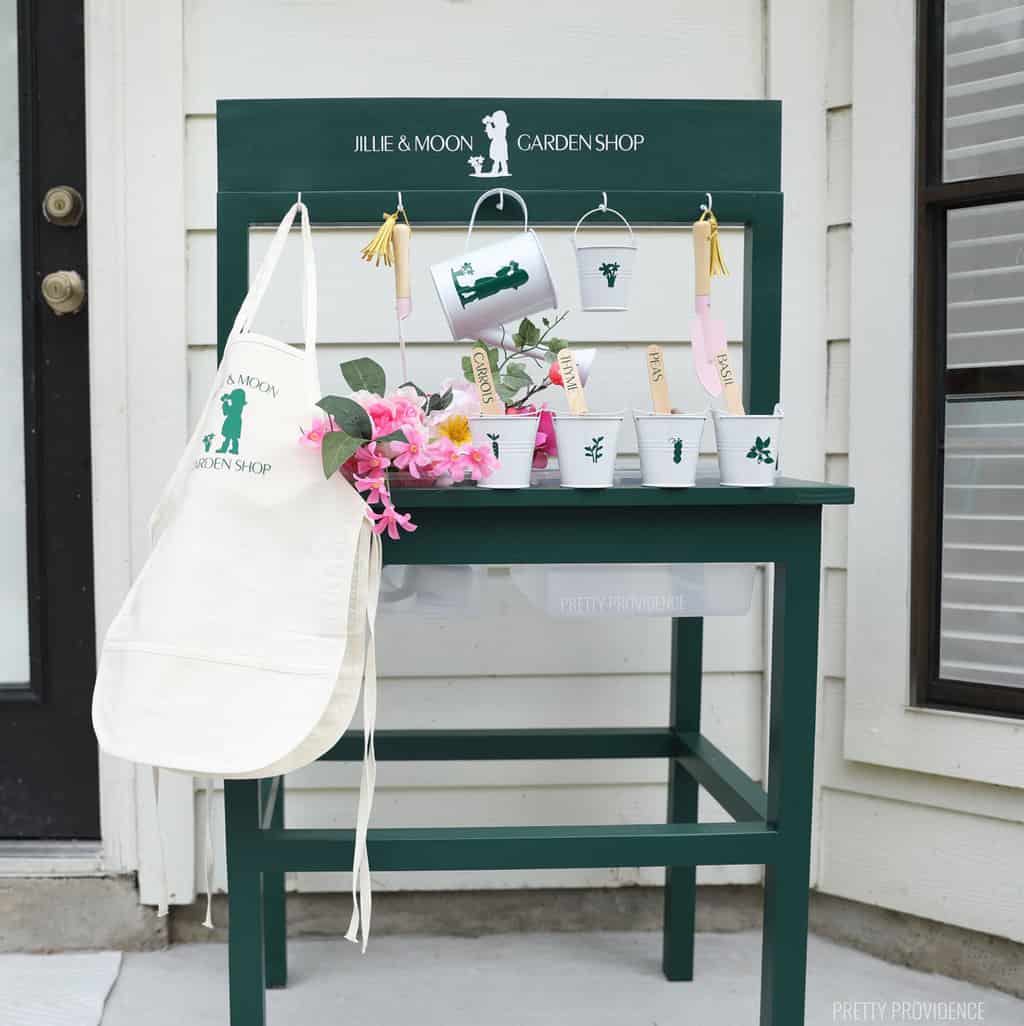
I have been dreaming about building a DIY water table for a few years now, mainly because the tables you can buy are usually short and meant for toddlers. My girls are tall, and they aren't toddlers! But they do love playing with water and sand - what kids don't?! I knew I would need to make my own to have one that fit those specifications.
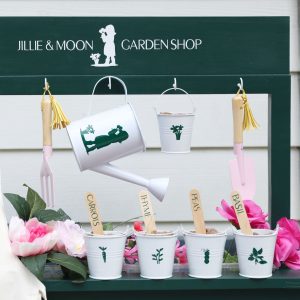
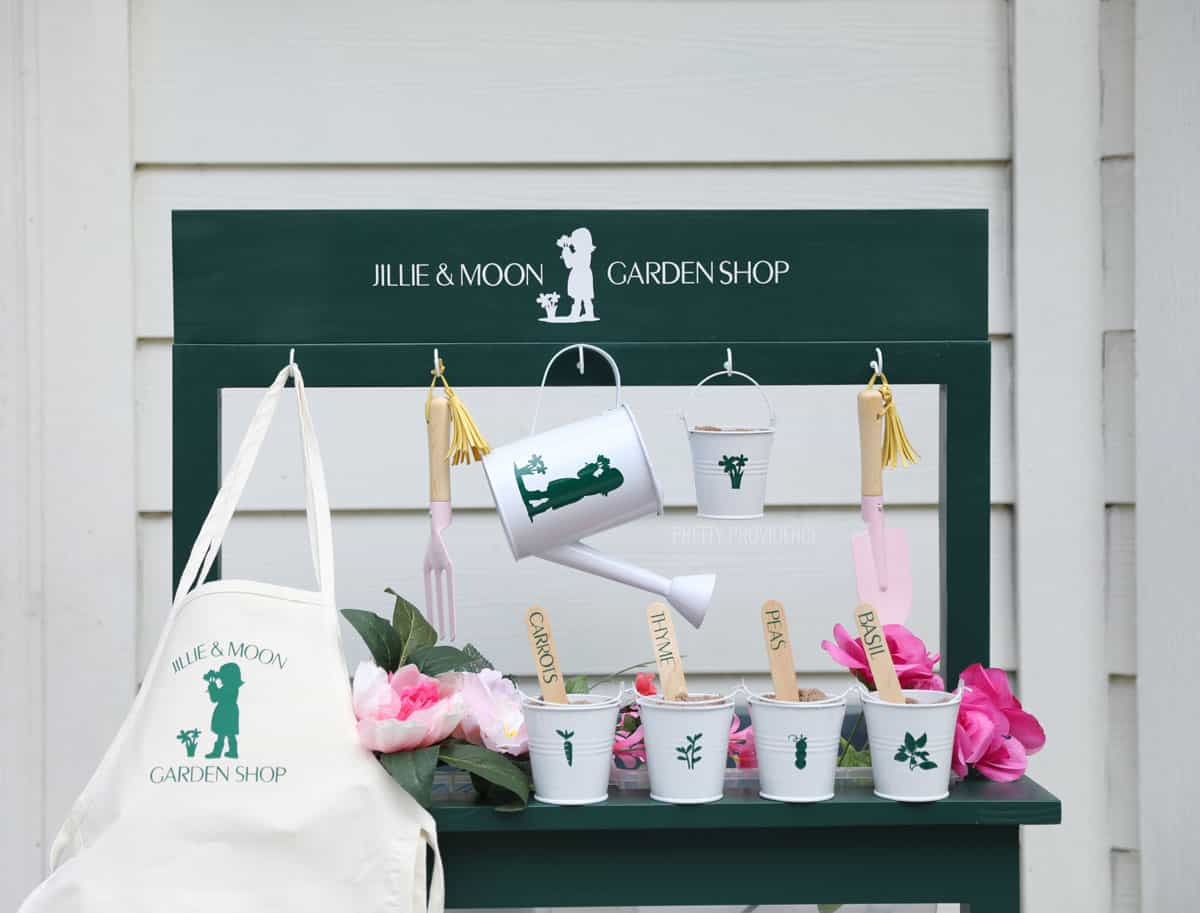
To personalize the water and sensory table, I used my Cricut Explore Air 2. I added a sign made with permanent vinyl, made iron-on aprons, and put vinyl decals on some of the water toys. I love how it all looks together with a garden shop theme!
This is just one of many fun Cricut projects we've done for our kiddos! You should also check out these DIY Bath Toys and our Gratitude Journals for Kids.
DIY Water Table
I used DIY Water Table plans from Anika's DIY Life, making a few modifications. First, I made the legs longer, added supports for the legs, and then added the top bar with hooks. The garden shop sign is the cherry on top!
Since this is my first woodworking project, I don't feel comfortable answering questions about how to build it. Anika's blog and plans are a great resource and I followed her directions and figured the rest out as I went.
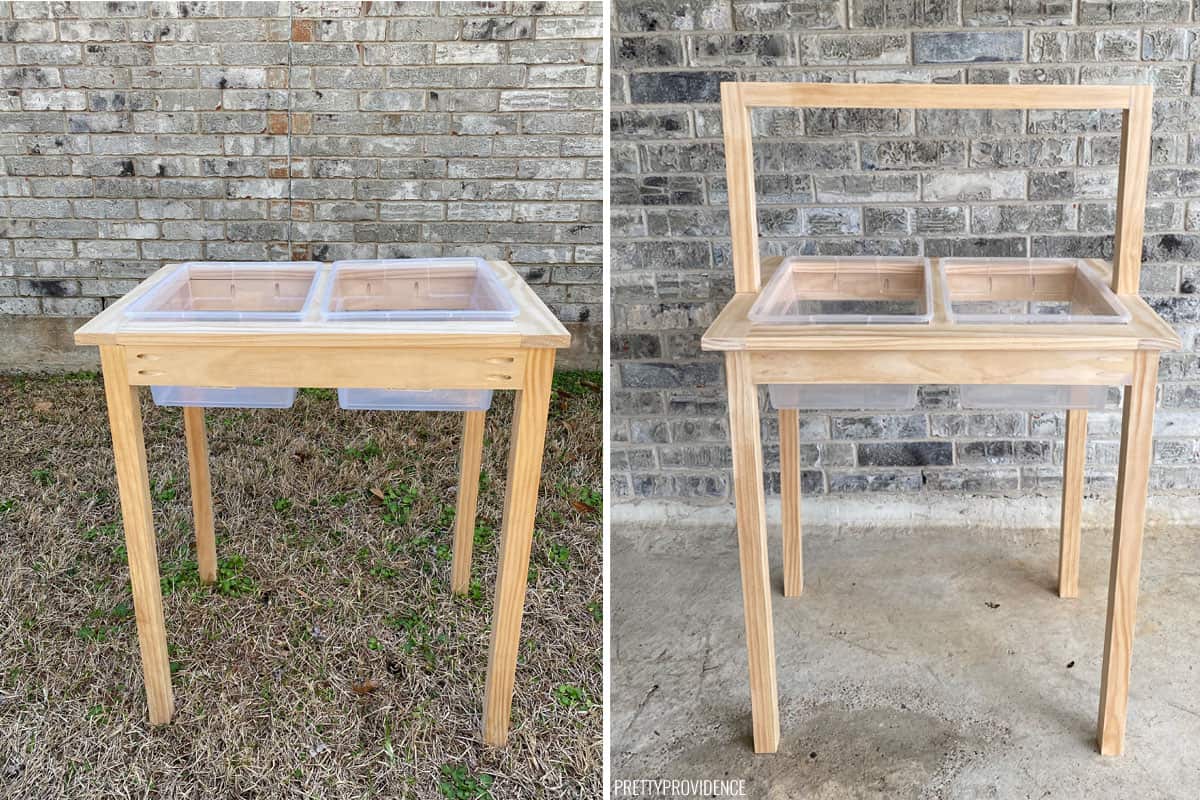
Below on the left, you can see the water table when I had first assembled it, before I had filled in the holes or added my extras to it. I think that it would be an awesome table just like that!
On the right is the table after filling holes, sanding and adding the top bar that we added hooks onto soon after.
Resources Used:
- DIY Water Table Plans from Anika's DIY Life
- Hooks from Target
- BEHR Exterior Paint color: Dark Everglade
- Cricut Explore Air 2
Water and Sensory Play Ideas
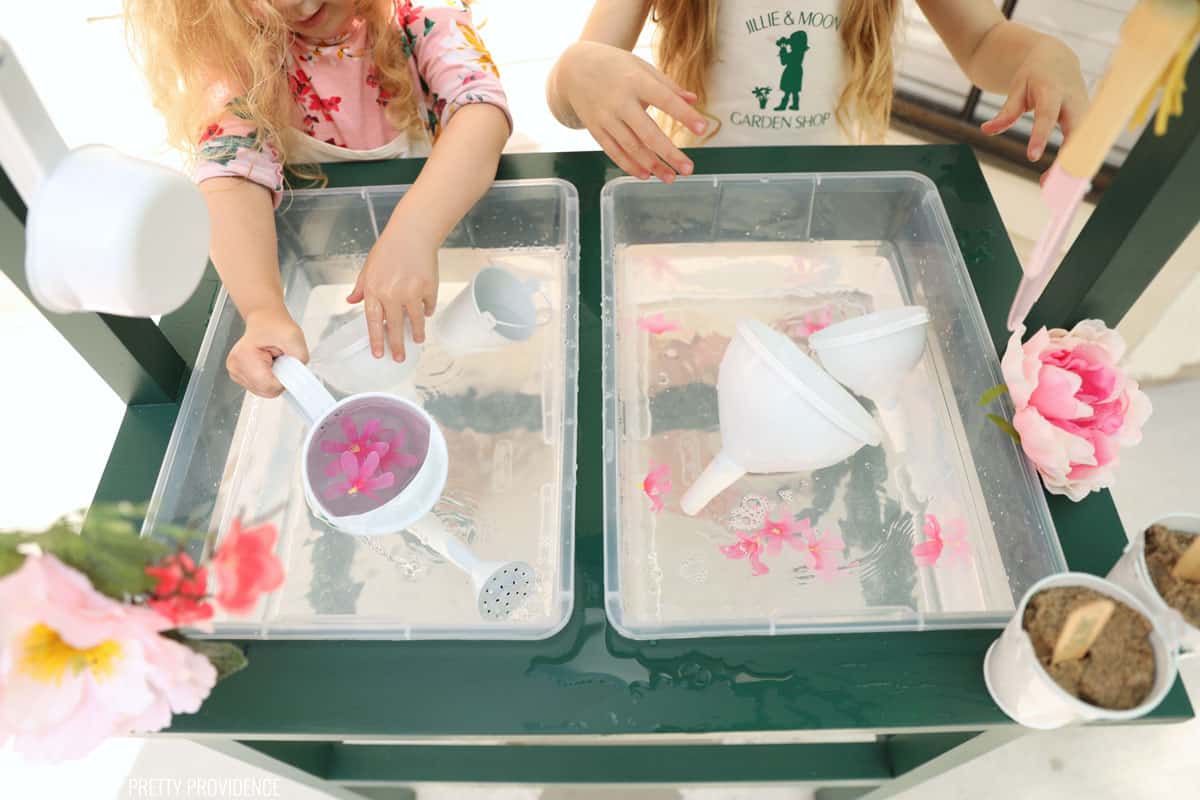
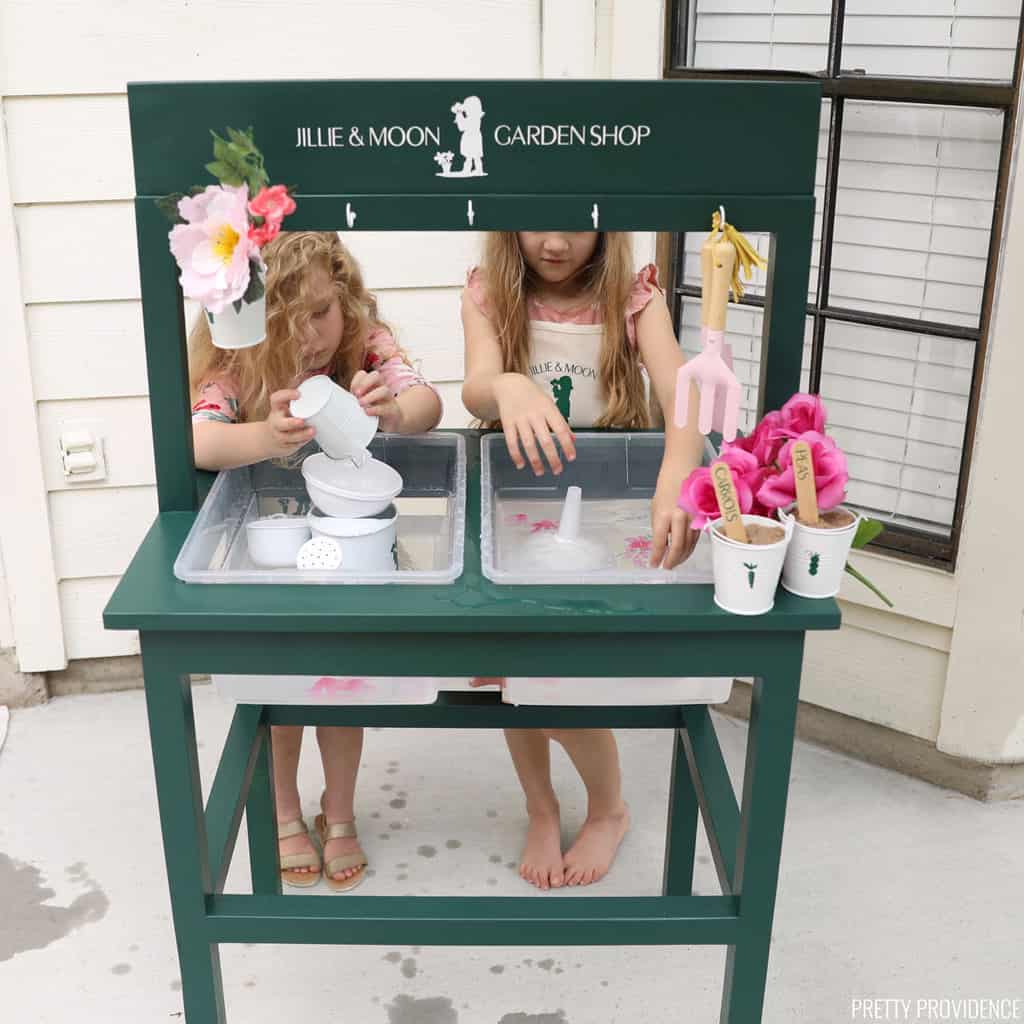
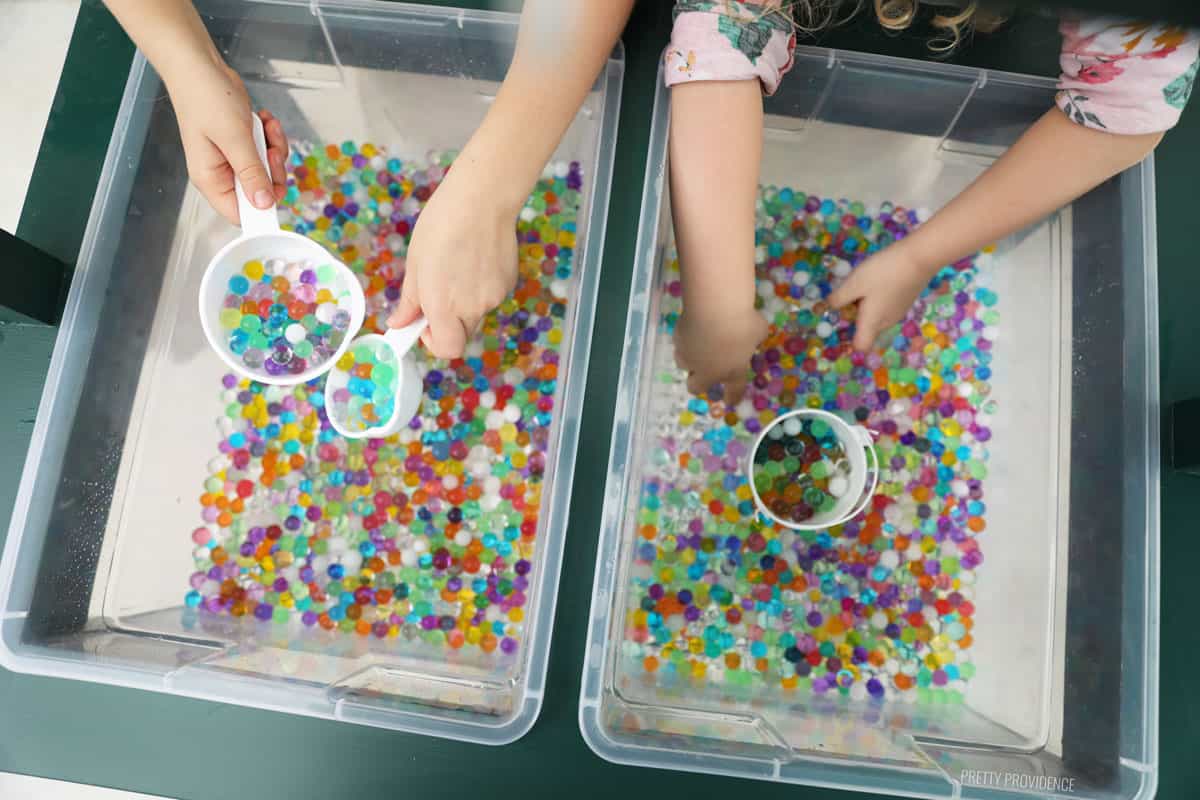
This water table is great for any kind of sensory activities. My daughters have used it to played with water, kinetic sand, faux flowers, and water beads so far! I can't wait to see what else they get into with it this summer. We are going to try gravel and toy trucks next.
How to Make the Water/Sensory Table Toys with Cricut
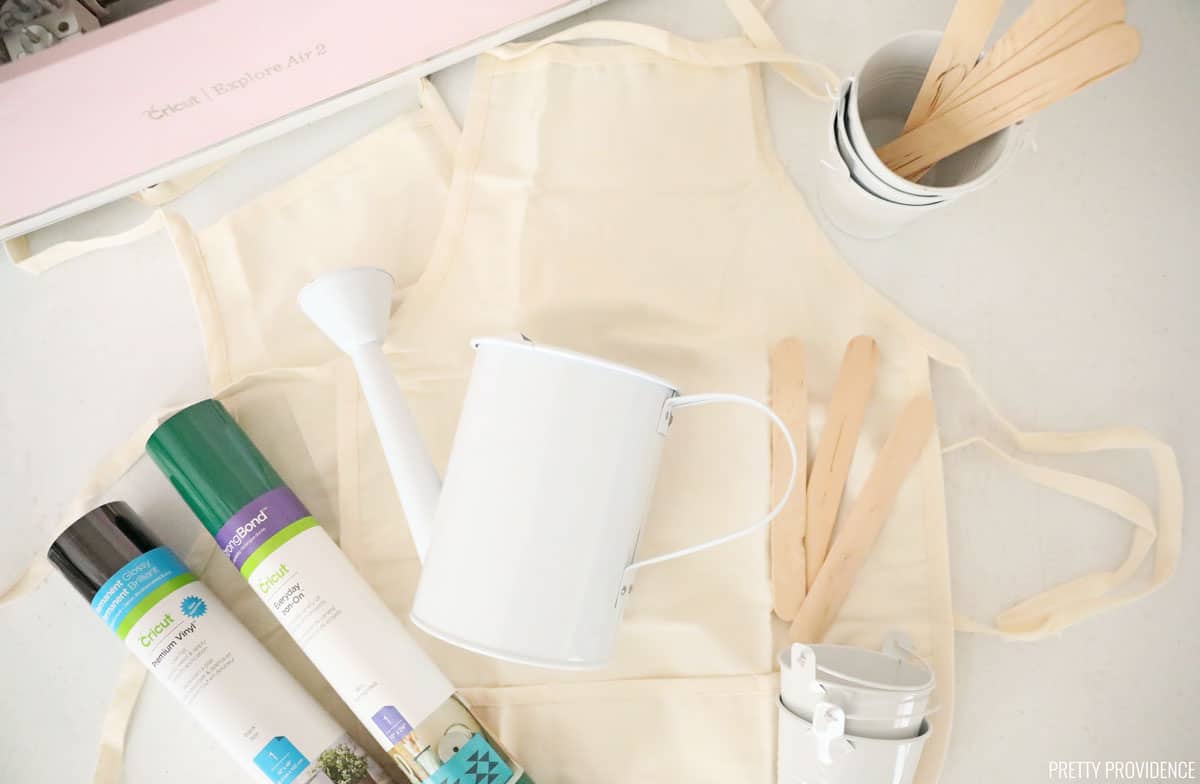
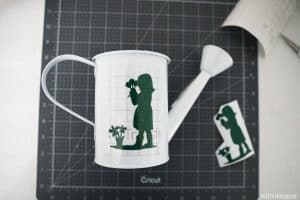
I used my Cricut Explore Air 2 to cut permanent vinyl decals for the garden shop sign and the toys, then used Everyday Iron-On for the aprons.
Cricut Materials:
- Cricut Explore Air 2, Maker or Joy
- EasyPress 2
- StandardGrip Mat
- Premium Permanent Vinyl in Forest Green
- Basic Tool Set
- Transfer Tape
Blank Items and Toys:
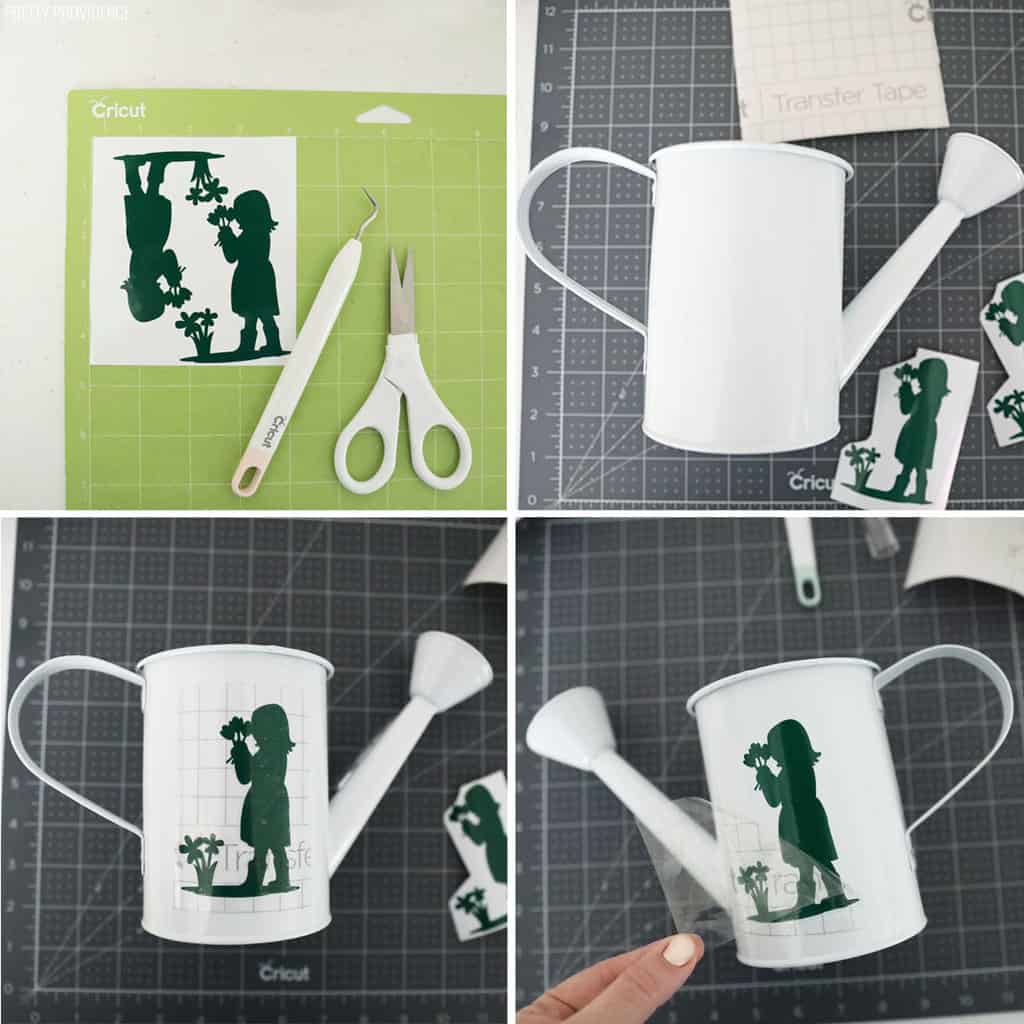
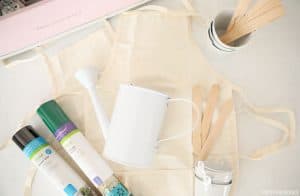
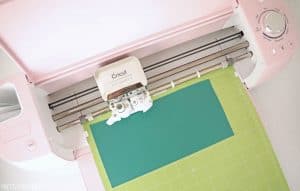
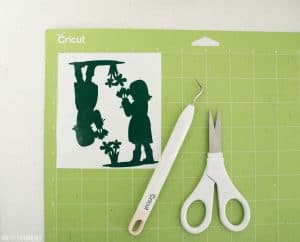
Here is a collage showing the process. Full, printable instructions can be found below!
If you use this tutorial, please let us know how it turned out by leaving us a comment and a positive review!
DIY Water Table Toys for Kids
Equipment
- Cricut Machine (Air 2, Maker or Joy)
Materials
Cricut Materials
Toys to Personalize
- Watering Can
- Small Buckets
- Popsicle Sticks
Instructions
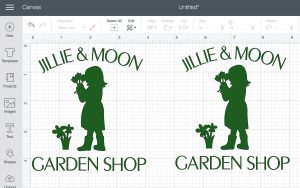
- Create a design that you want to put on the toys, using Cricut Design Space.
- Make sure that you measure the items you'll be putting vinyl on. Size each image to fit on the items.
- Put vinyl onto a green StandardGrip mat and click 'Make it' in Design Space. Follow the instructions on the screen to cut vinyl.
- Weed extra vinyl from around edges and in between letters.
- Use transfer tape to transfer the vinyl images onto the water toys.
Notes
Materials for Iron-On Aprons
- Cricut Explore Air 2, Maker or Joy
- EasyPress 2
- StandardGrip Mat
- Everyday Iron-On in Kelly Green
- Basic Tool Set
- Plain Canvas Aprons (kids size)
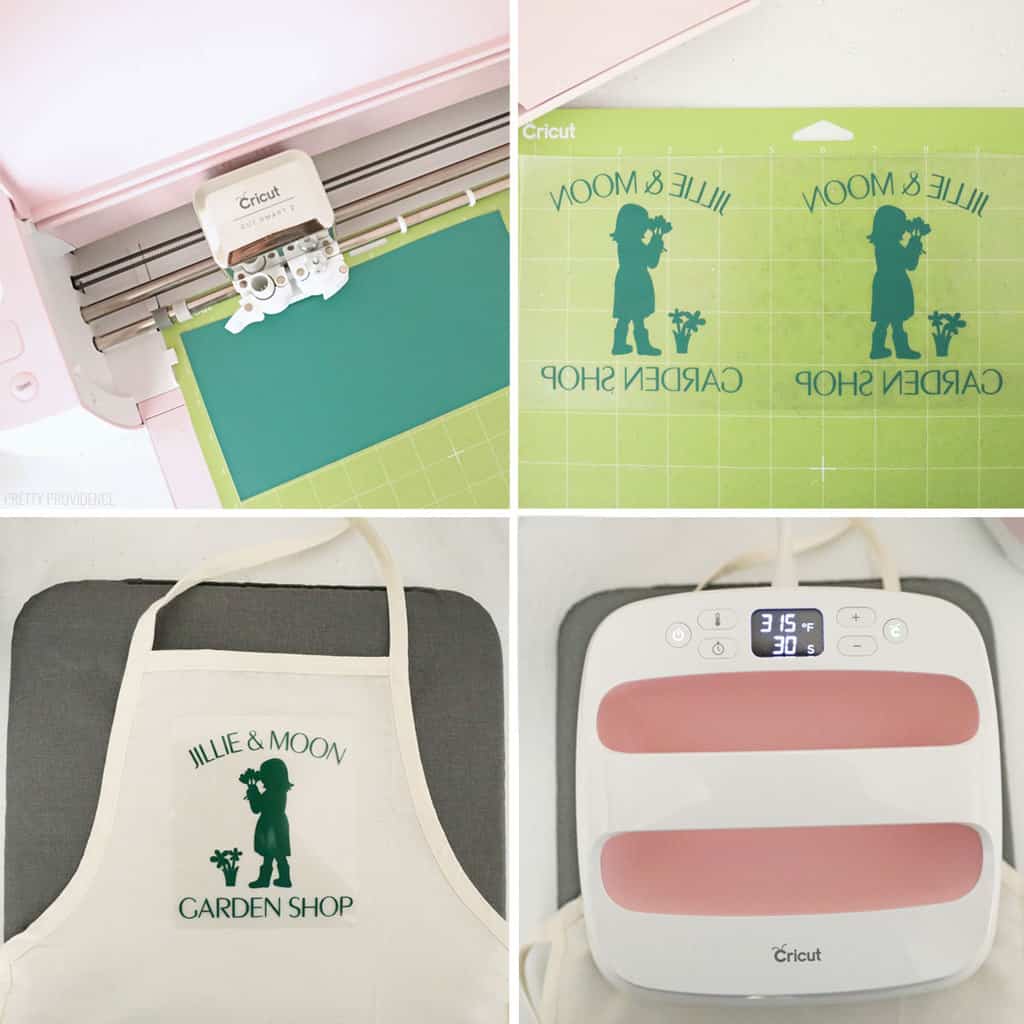
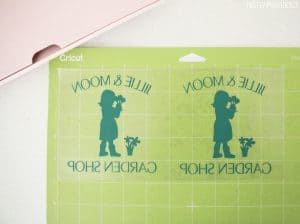
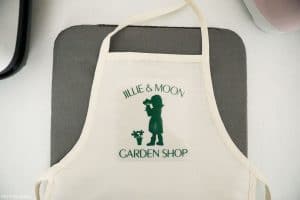
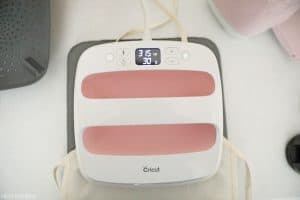
Here is a collage showing steps to make the aprons. Full, printable instructions can be found below!
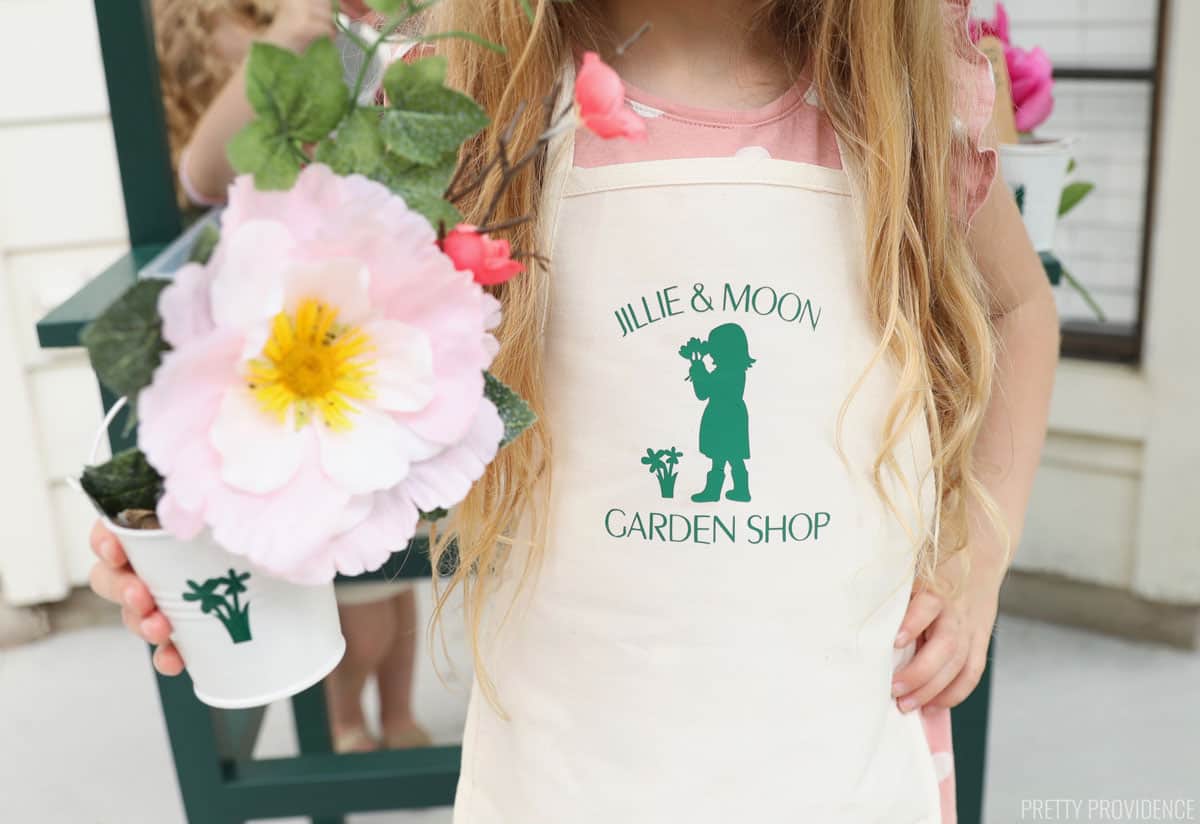
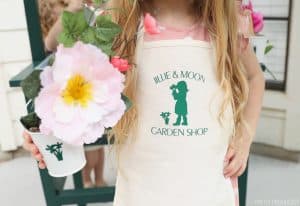
Here is the finished apron! I think this is the cutest thing, and it really does help keep the clothes clean when they are playing with certain things like sand or rocks!
If you use this tutorial, please let us know how it turned out by leaving us a comment and positive review!
Garden Shop Apron for Kids
Equipment
- Cricut Machine (Air 2, Maker or Joy)
- StandardGrip Mat (green)
- Weeding Tool
- EasyPress 2 or Iron
Materials
- 1 roll Iron-On forest green
- 1 plain canvas apron
Instructions
- Create or upload a design in to Cricut Design Space canvas.
- Make sure to measure your apron and size your images to fit the area you want to iron-on to.
- Put vinyl shiny side down onto a green StandardGrip mat and click 'make it' in design space. Don't forget to mirror your images! Follow the prompts to cut the vinyl.
- Weed the extra iron-on vinyl from around the design and from in between the letters.
- Place the design where you want it to go on the apron.
- Using an EasyPress 2 or Iron, use heat to transfer the iron-on to the apron.
- Enjoy the cute, new apron!
Notes


Lynne
I love it! This is the best water table I've seen. I like how it works with taller/older children. I also really appreciate the tutorials on how to make it. Awesome!
Jessica
Thank you so much! We love it!
Anna McNamara
So simple yet would last a lifetime! I am loving this.
Pam
I’m obsessed with this! Sooo cute!