DIY Bath Toys - Foam Bath Letters and Faces
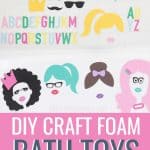
DIY bath toys with craft foam are a fun, inexpensive Cricut project! These DIY foam bath letters and funny faces are a great boredom buster and bath activity for toddlers and little kids!
Jessica has always talked about how much her kids love foam bath letters and we had never had any. While trying to come up with some fun bath time activities to do, I thought it would be really fun to make some with my Cricut. We made foam bath letters in our favorite colors and with a font that I chose! While cutting, I decided I also wanted to cut out some hair, eyes, lips and accessories so my girls could make little mix and match faces. We all love how these DIY bath toys turned out, and I was able to make a TON with just a few sheets of craft foam. We plan to give some of them away as gifts!
Looking for fun little kid activities? Try this DIY Bath Paint too - this was hours of fun. Here are even more fun kids activities to browse.
*This post contains affiliate links.
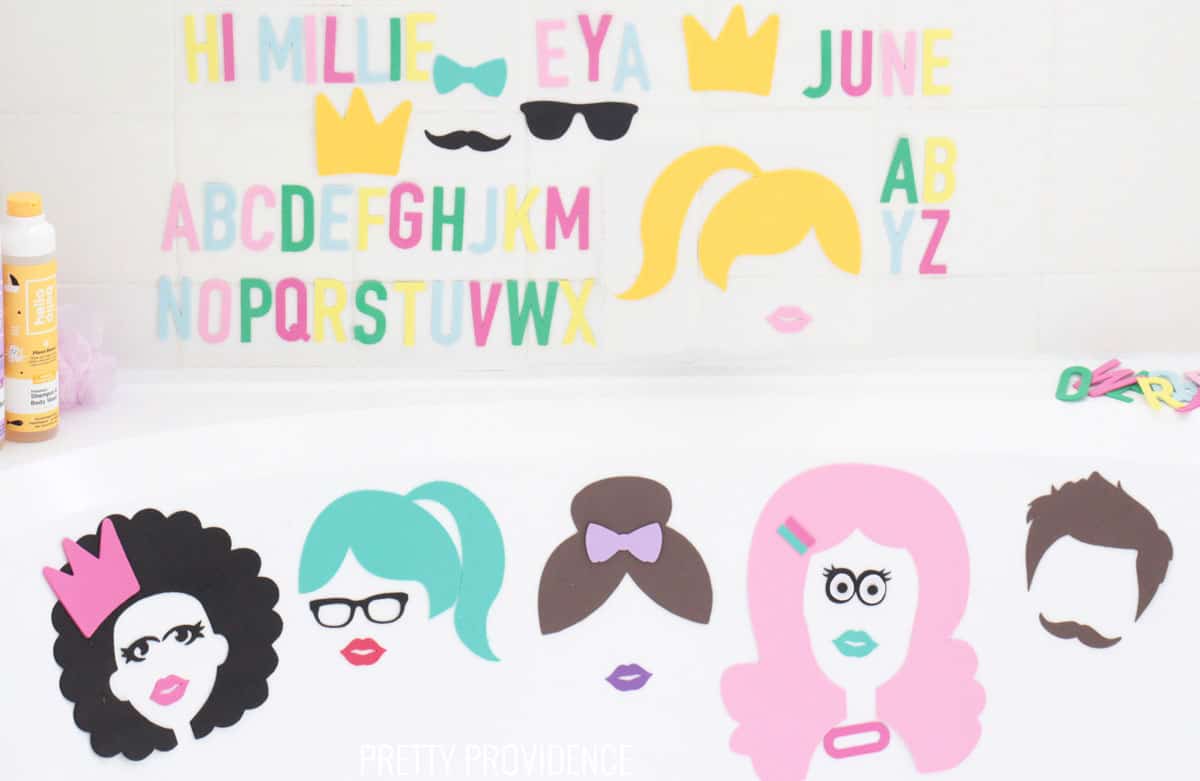
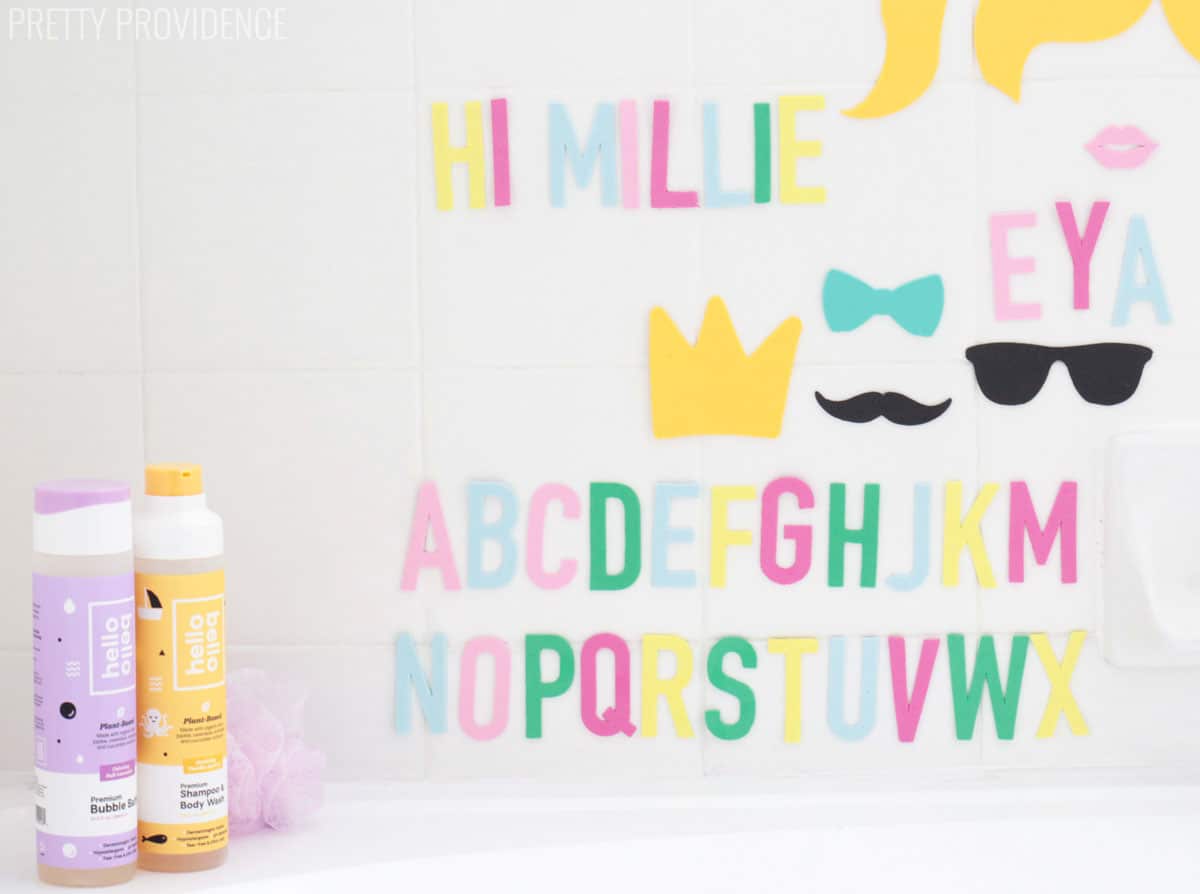
DIY Foam Bath Letters
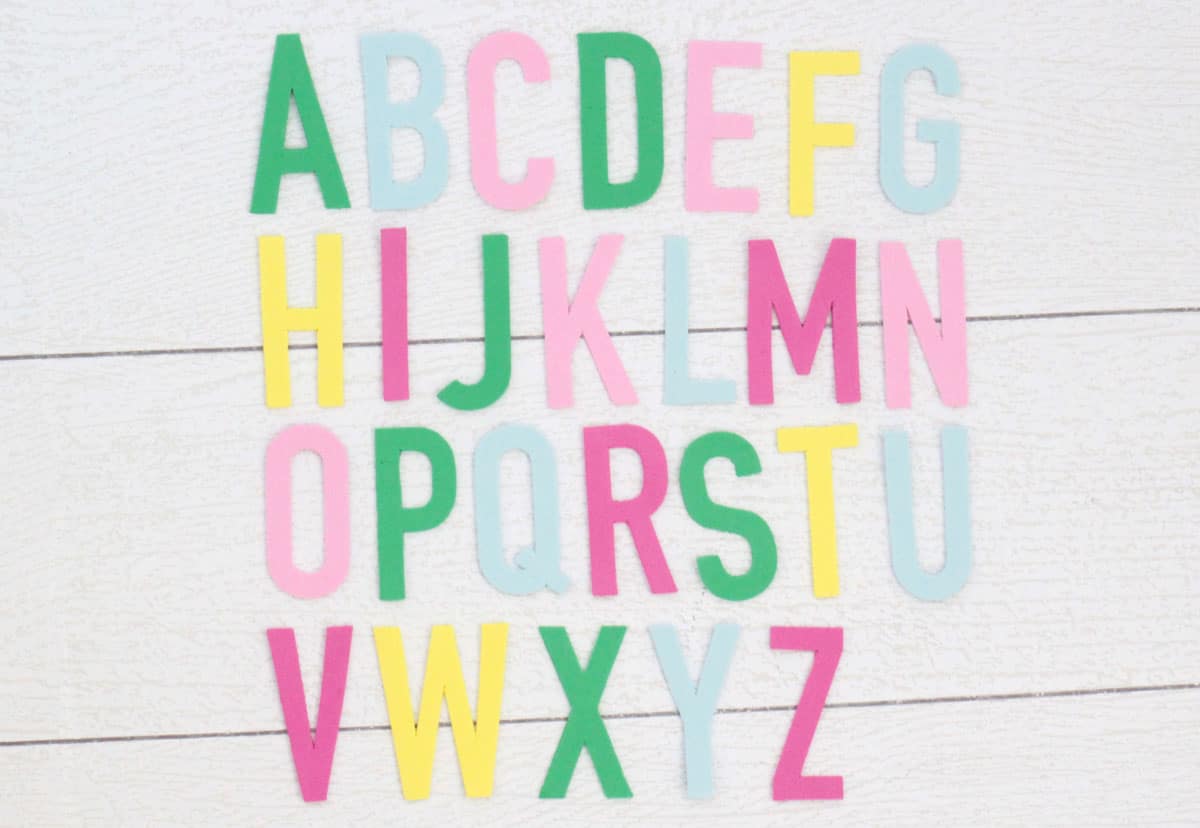
These alphabet letters for the bath tub are awesome. They are especially useful right now with my five year-old who is learning sight words and how to spell different things, like our family members' names!
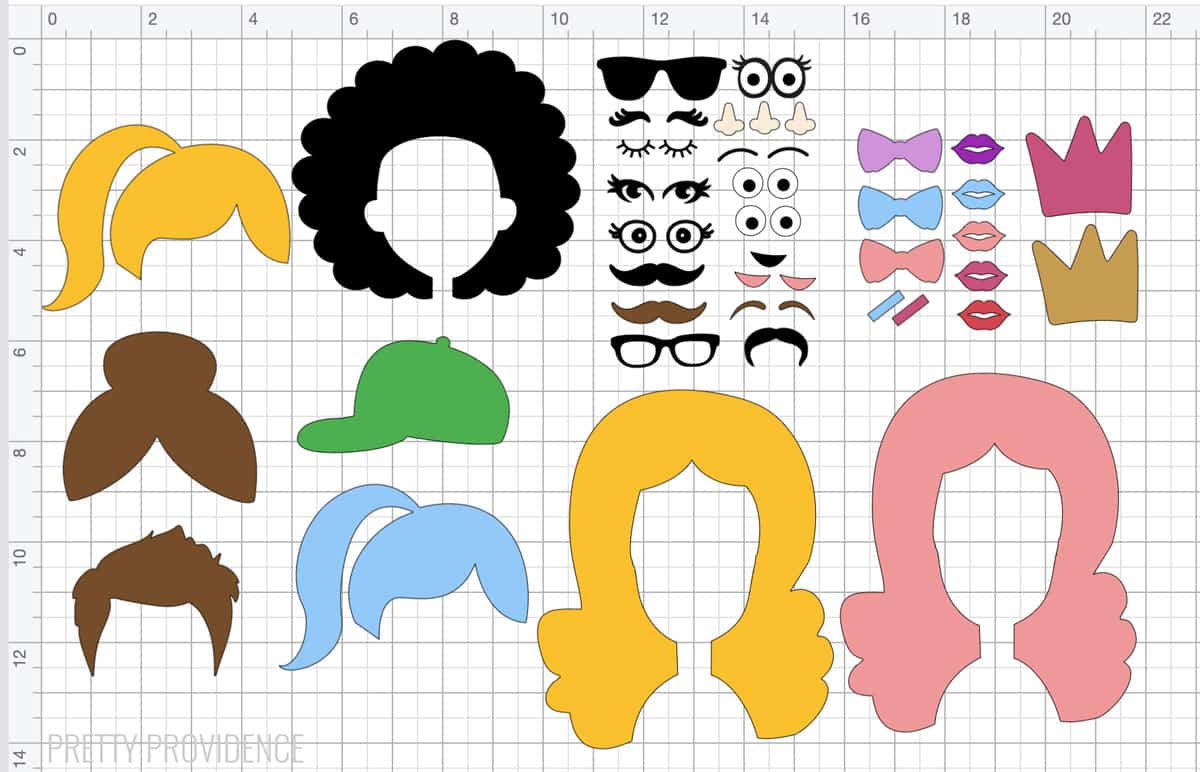
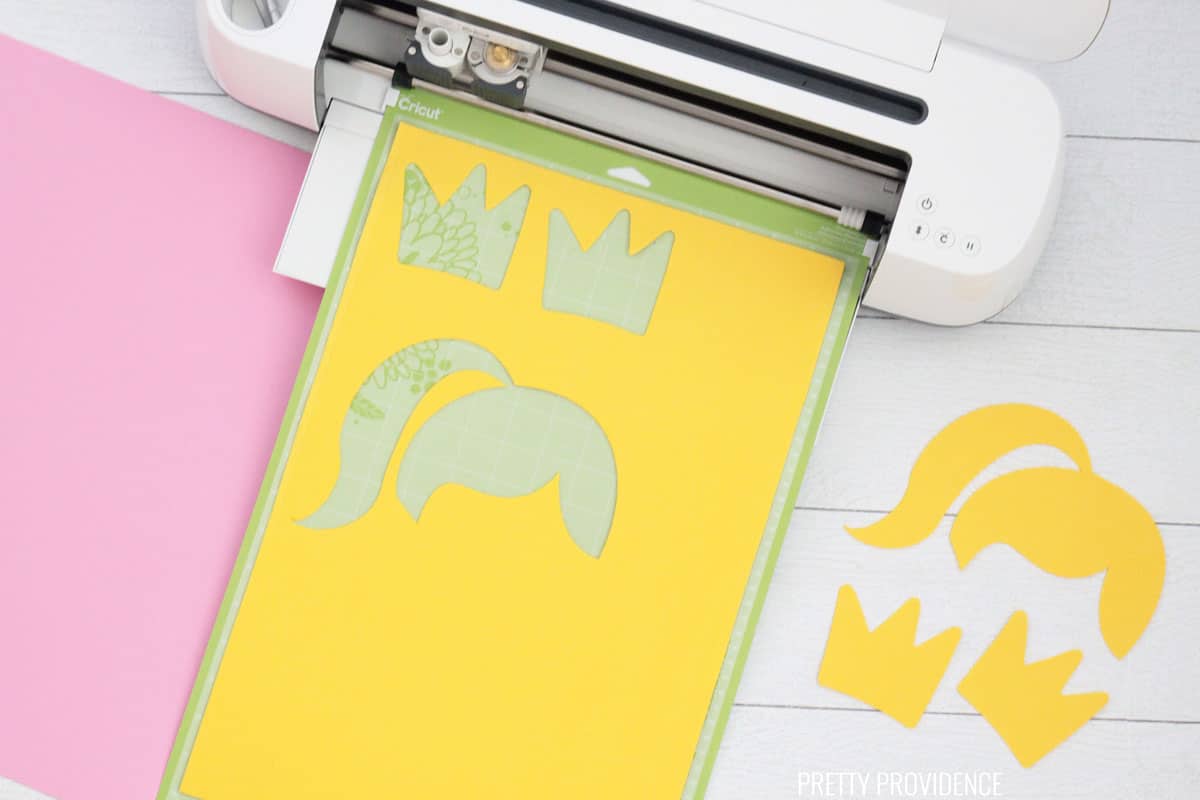
DIY Bath Toys - Mix and Match Faces
I also thought it would be really fun for my kids to be able to mix and match some hairstyles, faces and accessories to make different 'people.' They love these and have spent lots of time playing with them in the bath. Given that we need all the boredom busters we can get right now, I call it a win!

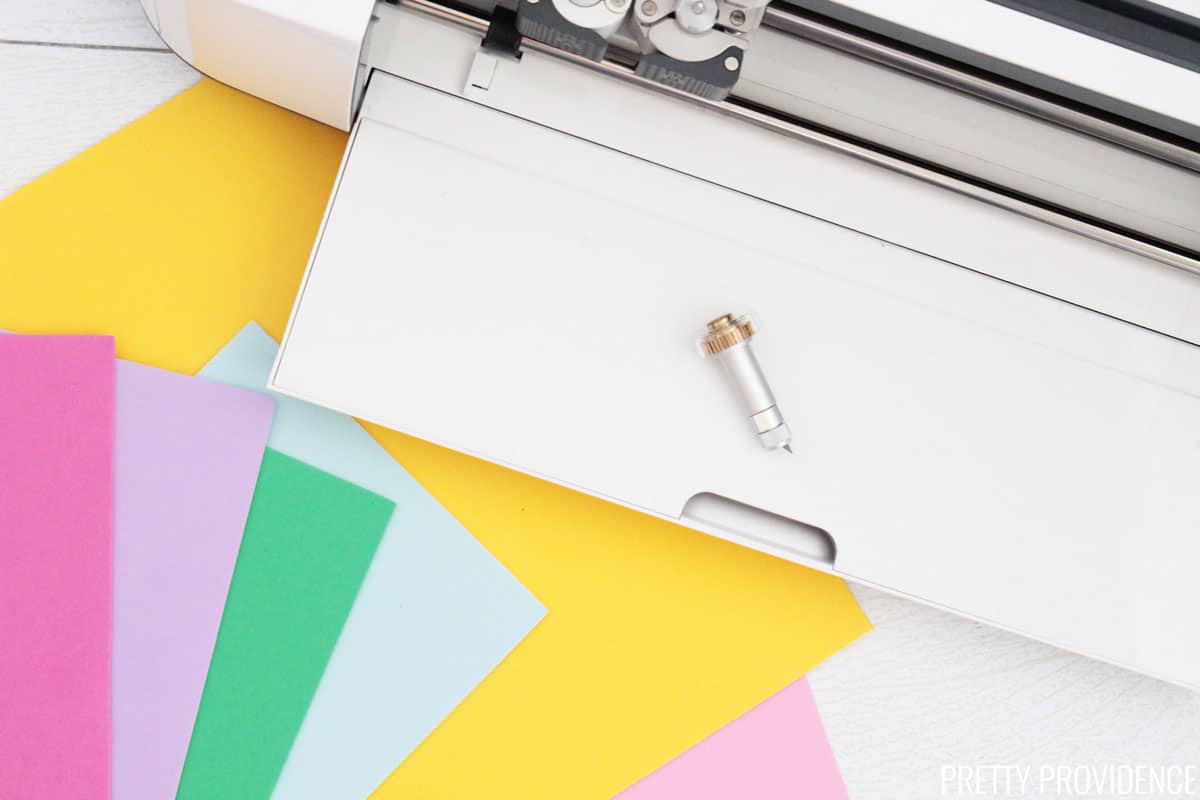
How to cut craft foam with Cricut knife blade
I had never cut craft foam with a Cricut before this project. It took a little bit of trial and error to figure out the best way to do it. First, I did try using a deep point blade which can be used with either a Cricut Explore Air 2 or a Cricut Maker. I didn't have great success with doing it that way, so I decided to use the Knife Blade in my Cricut Maker. The knife blade cut through the craft foam much better.
Materials:
- Cricut Maker
- Knife Blade
- StandardGrip Mat
- Craft Foam (2 mm) in various colors
- Scissors
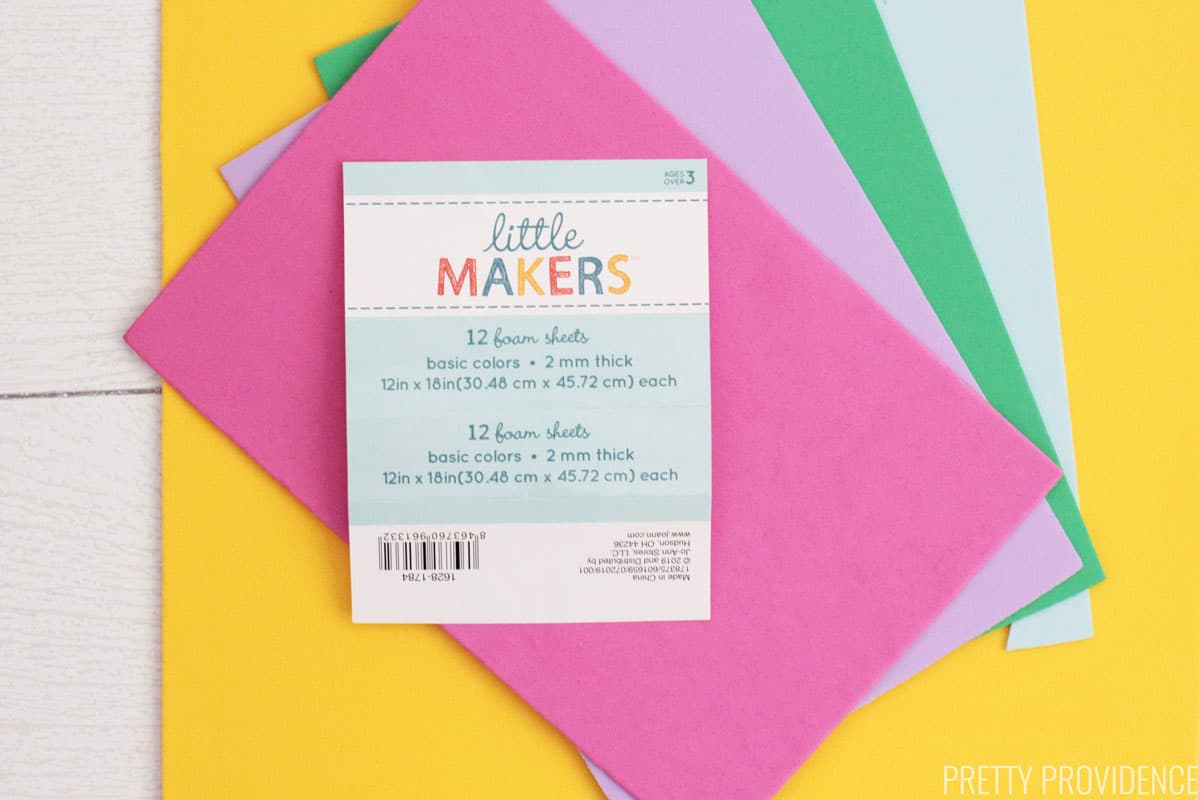
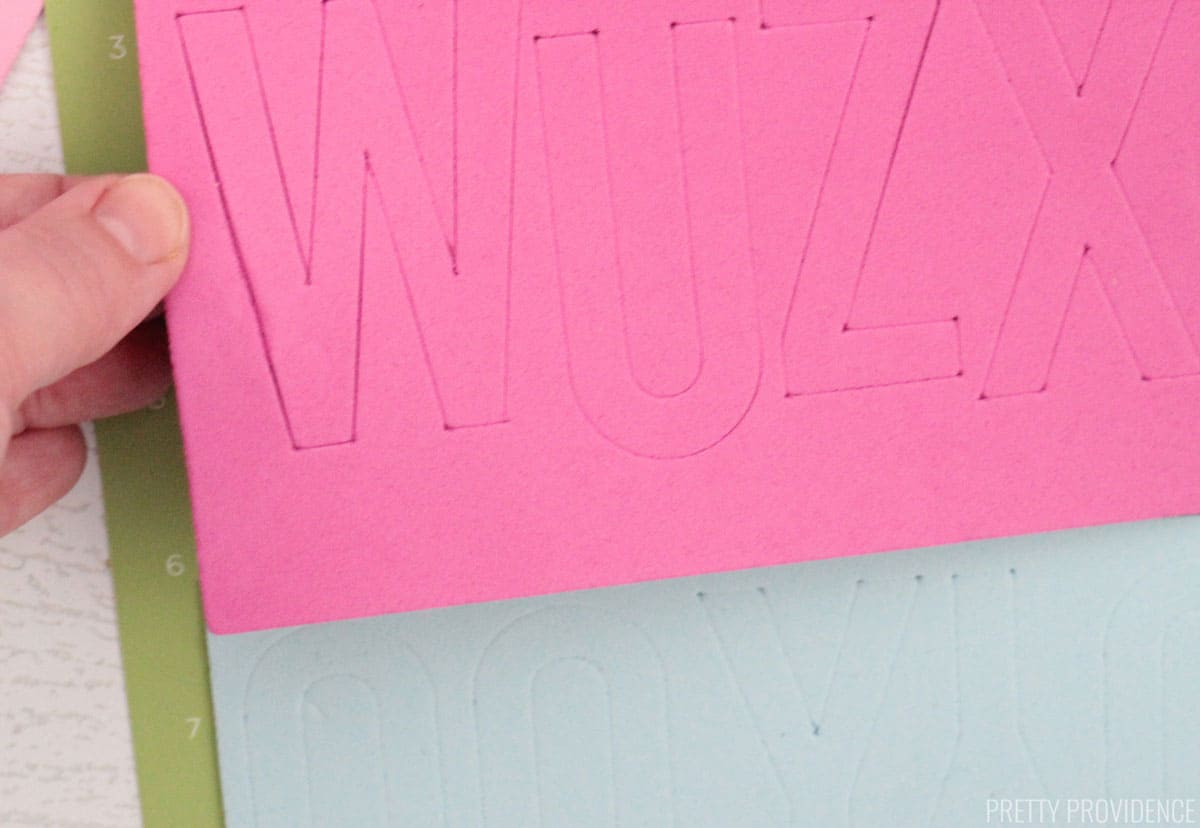
When I talk about how to cut through the craft foam, I wanted to make sure to specify the kind I am using. I'm guessing that different brands and thicknesses of craft foam will cut a little bit differently. I used Little Makers brand from Joann and each sheet is 2 mm thick.
Instructions:
- Load knife blade into your Cricut Maker machine.
- Open design in Cricut Design Space select customize, resize and choose colors according to your preferences.
- Here is the design for the faces design.
- Here is the bath letters design.
Note: I ended up not using the eyebrows or eyelashes that I cut out because I realized they were just too small to keep in the bath tub and would likely end up down the drain.
- Make the pieces that you want to cut on the same sheet, the same color on the Design Space canvas. When you're ready to start cutting, select 'Make it.'
- Design Space will show you how many different mats you need to prepare based on all the different colors you are choosing to cut. You can also re-arrange the shapes on the mats right now to save material.
I moved the little pieces on this pink one to be cut from inside the hair rather than on the outside.
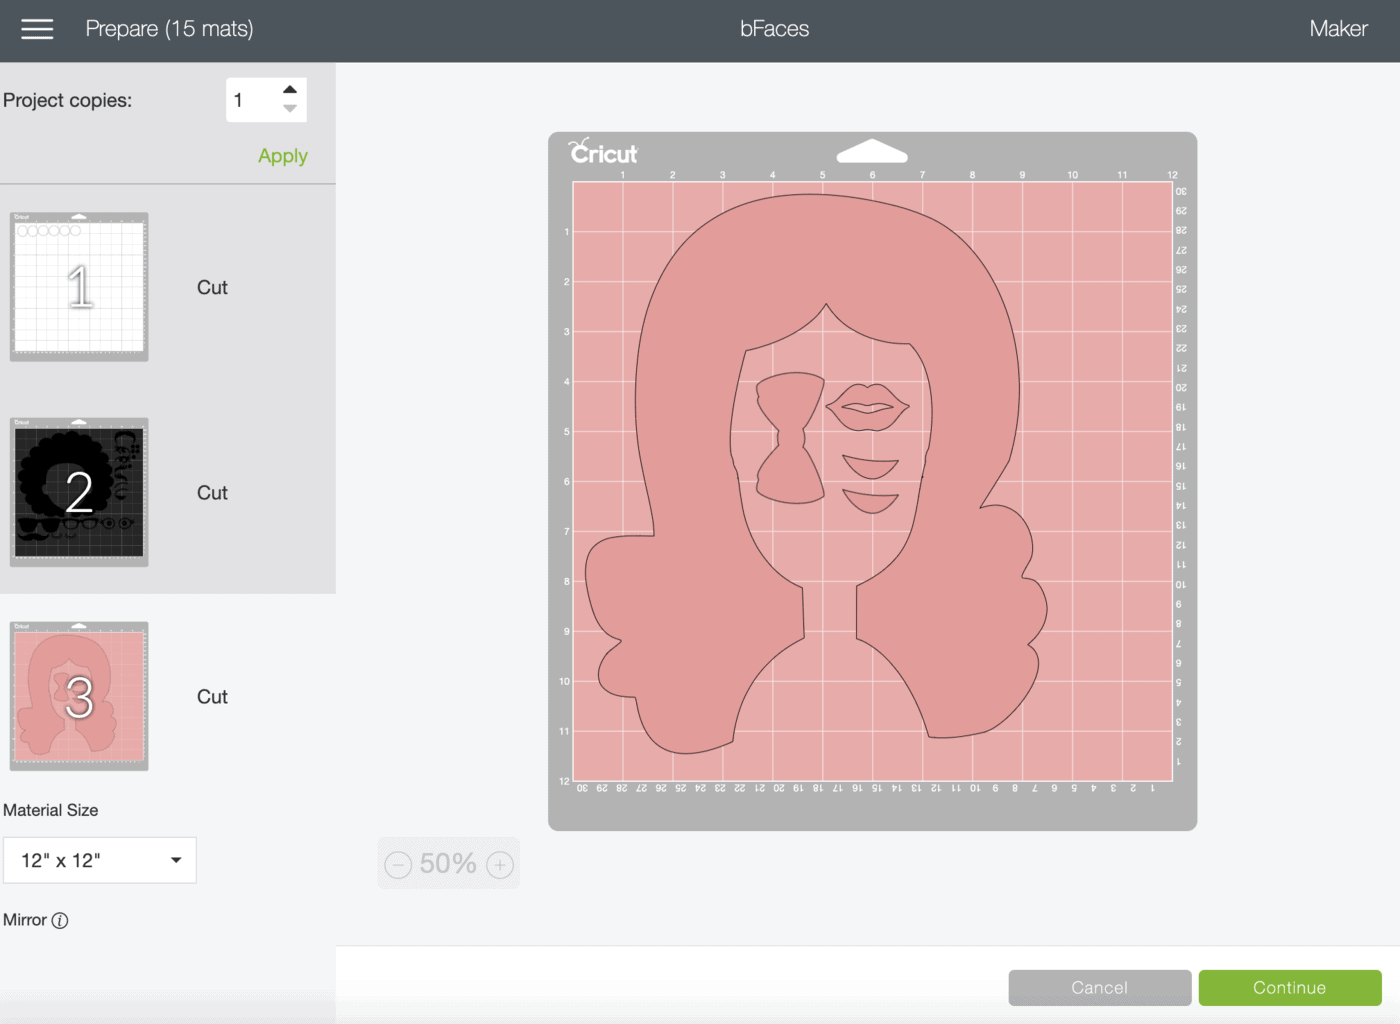
- This is also when you should change your material size if you are planning to use a bigger mat, like a 12x24. Change it on all of the mats before you begin cutting.
How to Cut:
- Load mat and press 'go.' Select 'more pressure' when the options on the screen ask. The knife blade will do a couple of passes with each shape, then a screen will pop up asking if you want to finish with the cut.
- Push the 'go' button again on your machine for the machine to repeat the passes again.
- Once the machine has done four passes, the craft foam is ready. It will still be attached a little bit to the sheet, but you should be able to easily pop the shapes out. Take care when you do this not to rip anything.
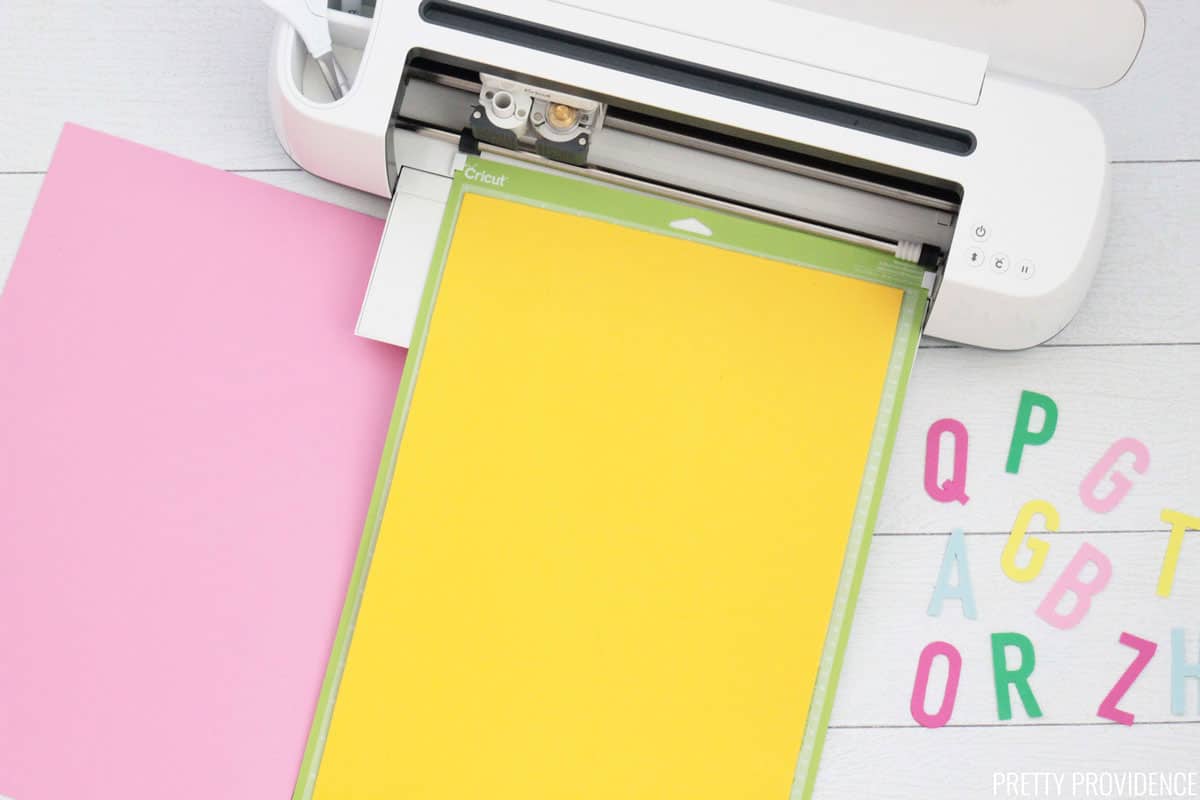
- To remove the Alphabet letters press down on a letter with one hand, and pull the foam sheet with the other hand.
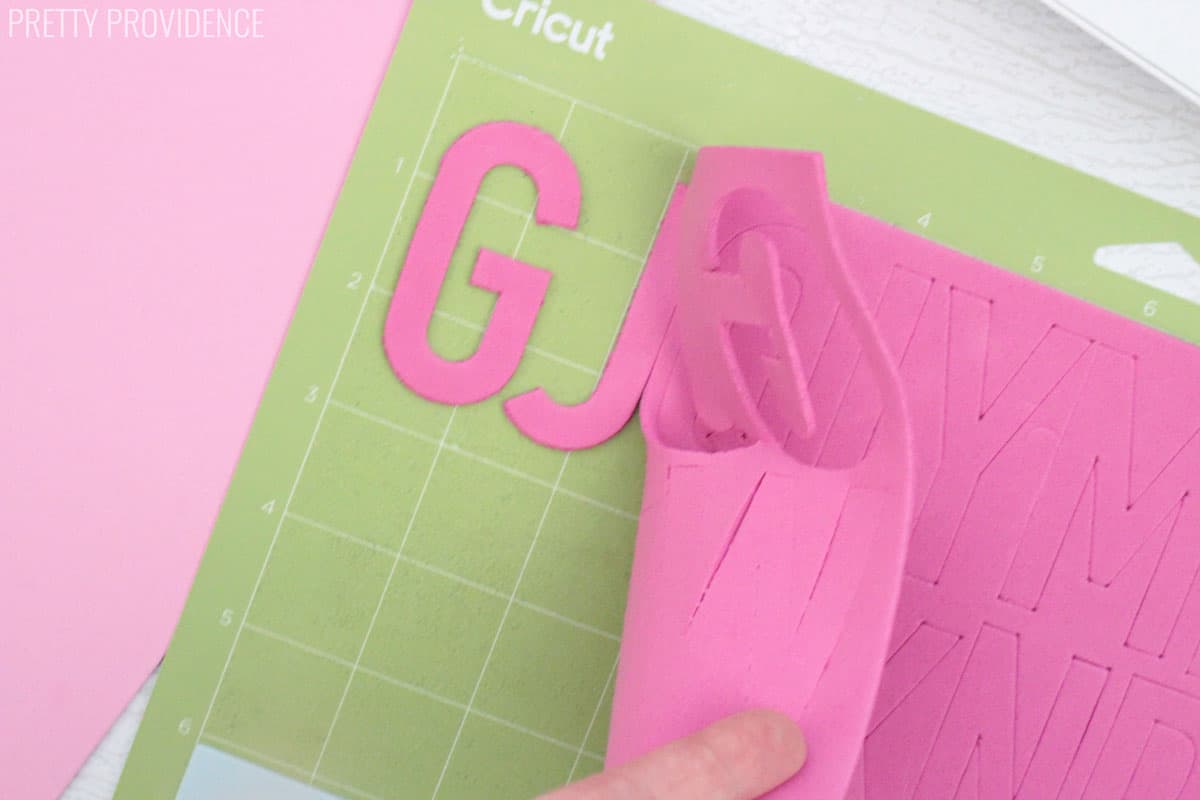
I just trimmed the little bits off the sides with small scissors to clean the edges up. You don't have to! My kids wouldn't care if the edges on their bath letters weren't perfectly smooth. Since I wanted to give some away as gifts, I wanted the edges nice and clean.
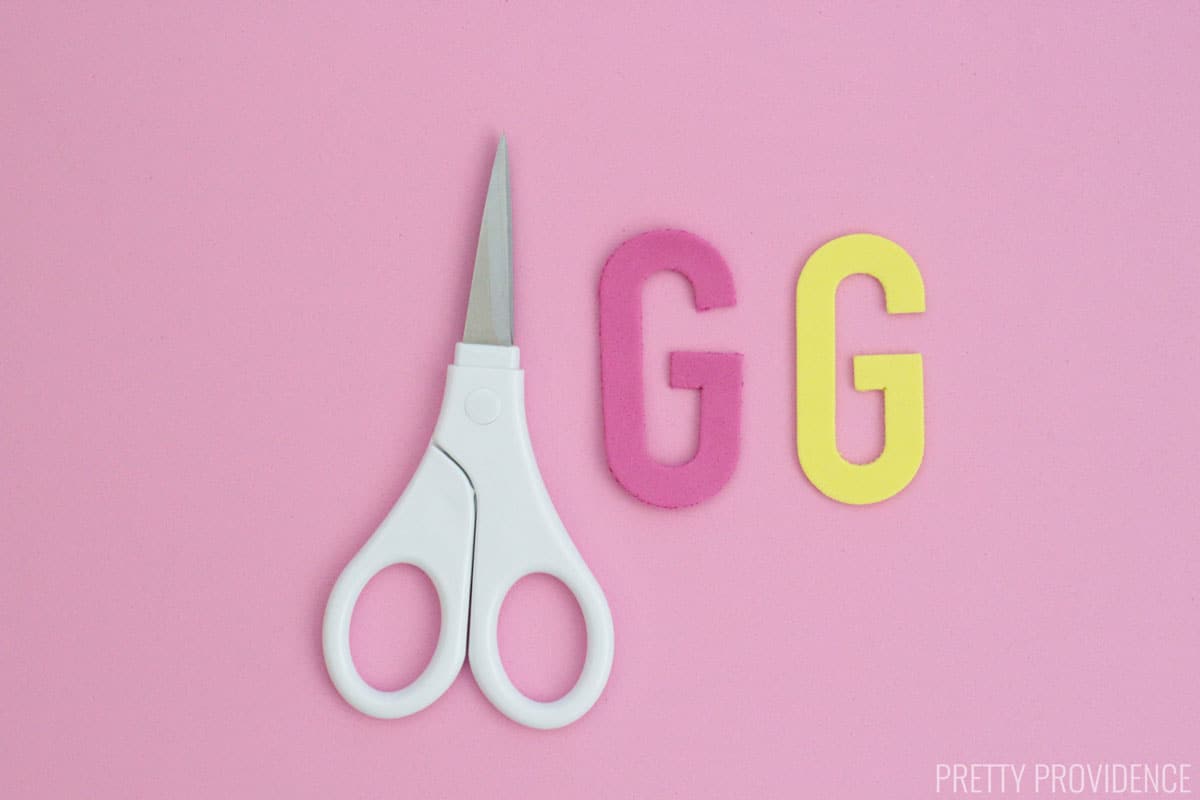
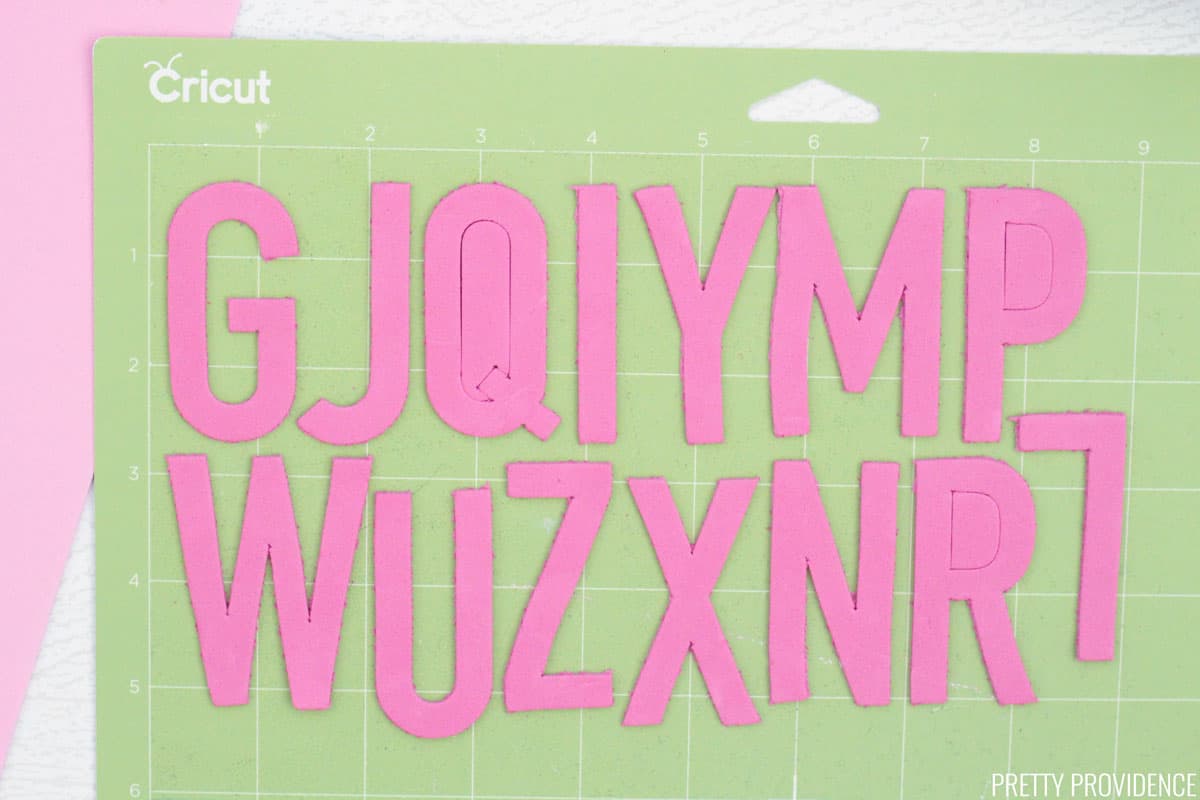
I cut five different sets of the alphabet letters so that I could mix and match the colors.
Pro Tips to Cut Craft Foam with Cricut Knife Blade
- Select 'More Pressure' when before you cut craft foam with the knife blade
- Once the blade does its first set of passes, push 'go' again and the machine will do two more passes.
- Four passes, or two sets of passes with the knife blade cut the foam pretty well.
- The foam will still be connected at the back but it is easy to tear off after the four passes.
- Clean up the edges with scissors if you want a super clean edge!
If you make this project we would love to hear from you - leave us comment and review! We'd also love to see it! Tag us on instagram @prettyprovidenceblog!

DIY Bath Toys - Craft Foam Letters and Faces
Materials
- Craft Foam 2 mm in various colors
- Scissors
Instructions
- Load knife blade into your Cricut Maker machine.
- Open design in Cricut Design Space select customize, resize and choose colors according to your preferences.
- Make the pieces that you want to cut on the same sheet, the same color on the Design Space canvas. When you're ready to start cutting, select 'Make it.'
- Design Space will show you how many different mats you need to prepare based on all the different colors you are choosing to cut. You can also re-arrange the shapes on the mats right now to save material.
- This is also when you should change your material size if you are planning to use a bigger mat, like a 12x24. Change it on all of the mats before you begin cutting.
- Load mat and press 'go.' Select 'more pressure' when the options on the screen ask. The knife blade will do a couple of passes with each shape, then a screen will pop up asking if you want to finish with the cut.
- Push the 'go' button again on your machine for the machine to repeat the passes again.
- Once the machine has done four passes, the craft foam is ready. It will still be attached a little bit to the sheet, but you should be able to easily pop the shapes out. Take care when you do this not to rip anything.
- Optional: trim the edges of the craft foam shapes with scissors for a perfectly clean edge.


This is such a fun project - I love the fun faces! Thank you for sharing!
Thank you!
Such incredible fun. I am going to make these for best friend's granddaughter. I might have to make a set for myself! ;-)
I'm sure she'll love them!
These are the cutest! My kiddos are going to have so much fun with them. Thank you for sharing.
YAY!