DIY Christmas Ornaments
I love making DIY Christmas Ornaments. Every year, I try to make a few new decorations. It's so fun to have something homemade on the tree, it's personal. This year, having the Cricut Maker has taken my ideas to a new level! We are always looking for retro style ornaments to add to our collection, and this year I made some using chipboard.
I am absolutely OBSESSED with how they turned out! It's fun being able to cut any shape I want out of chipboard, and use craft paint, adhesive foil and vinyl to decorate them. Now, I've started making other homemade holiday decorations, too. I just can't stop!
What is Chipboard?
Chipboard is a thick, sturdy material that is usually made from reclaimed paper, but it feels and looks kind of like wood. Sometimes it is called particle board. Cricut 2 mm Chipboard is great for making things like ornaments and home decor, frames, signs. It comes in packs of 5, each 2mm thick.
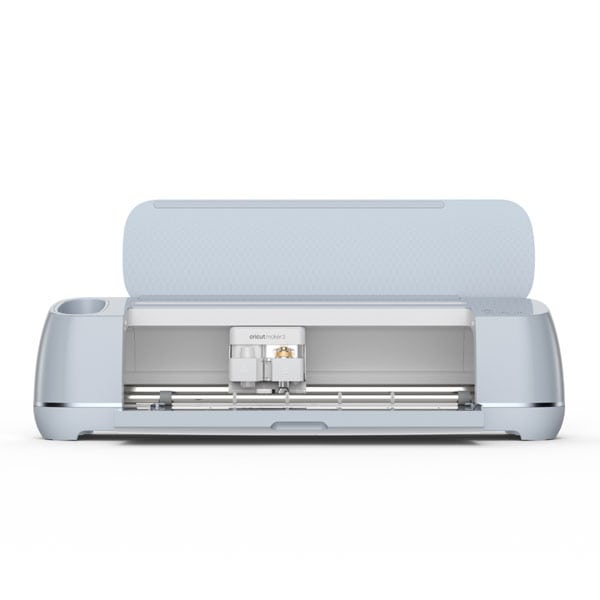
How to Cut Chipboard with the Cricut Maker
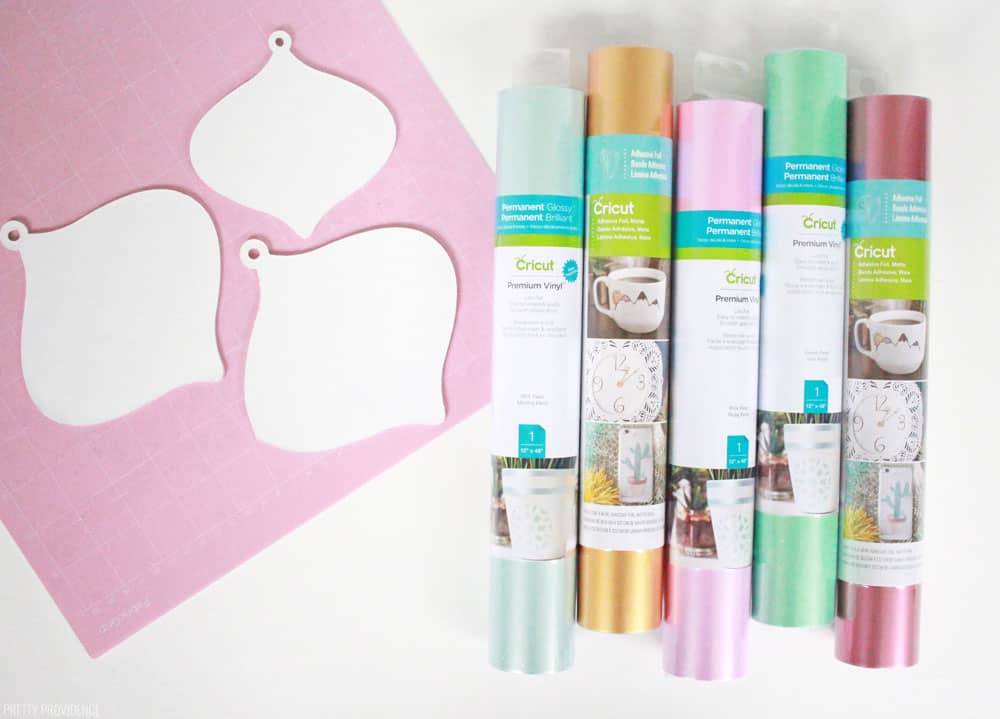
Materials Needed:
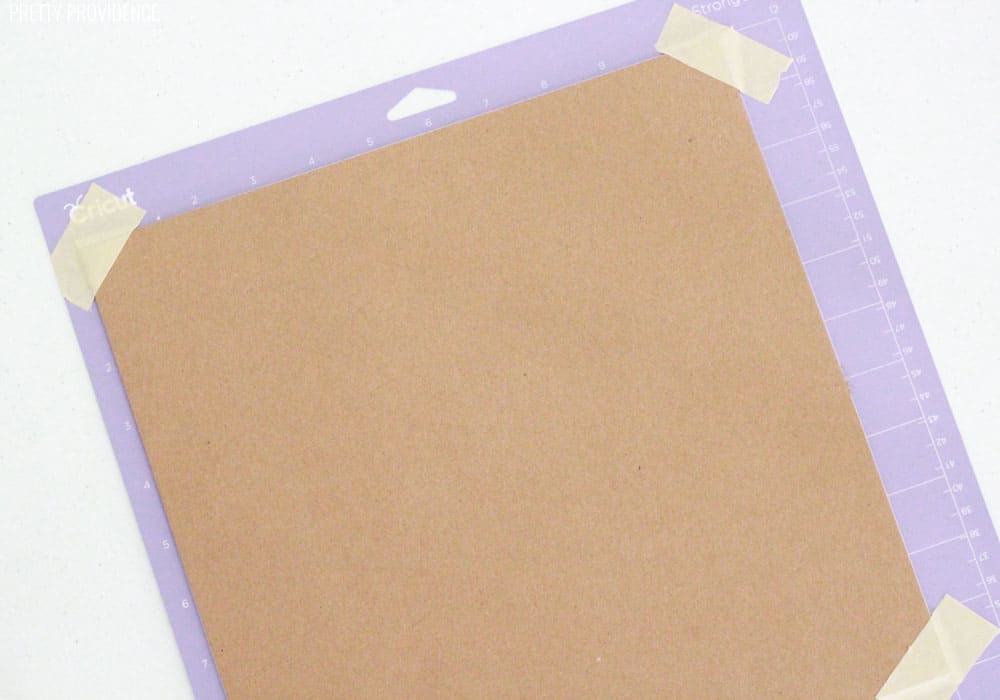
First, place one sheet of chipboard onto a Strong Grip mat. Make sure it is good and stuck, and use masking tape to secure each corner.
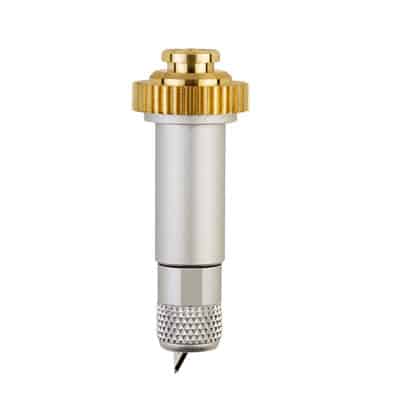
Next, load the knife blade into your machine.
Now, choose images in Cricut Design Space. After that, choose the material: 2 mm Chipboard.
Cut!
It takes about 20 passes with the knife blade to cut the chipboard, so you will want to give yourself plenty of time if you want to make a lot of these. The good thing is, you can start the cut and go do something else for 30 minutes while it cuts. I cut 8 snowflakes and 9 ornament shapes over the span of two afternoons, all while I got all kinds of other things done.
If you haven't used a knife blade yet, read this post all about how to use the Cricut Knife Blade.
How to make these DIY Christmas Ornaments
Prepare the chipboard on a mat and load one of these ornament designs in Design Space.
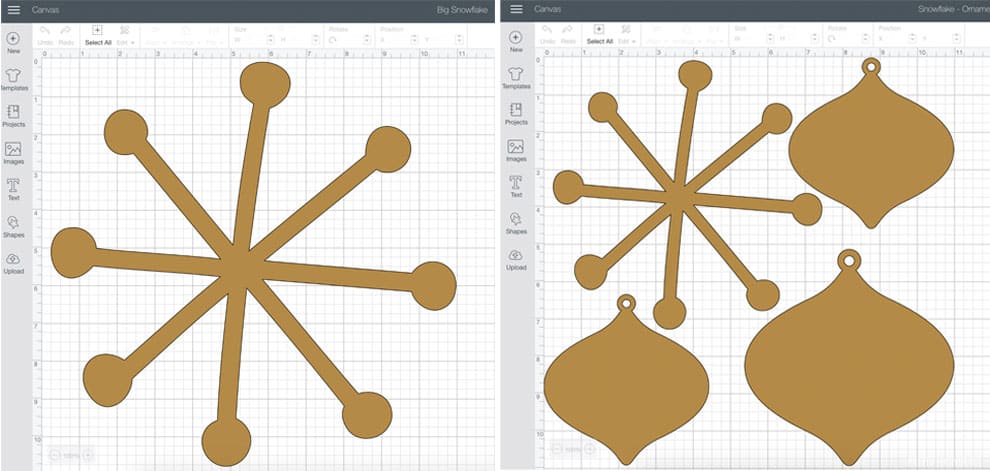
Click here to access the 11-inch snowflake image | Click here to access the smaller snowflake and Christmas ornaments shapes
After that, you will cut the chipboard shapes out.
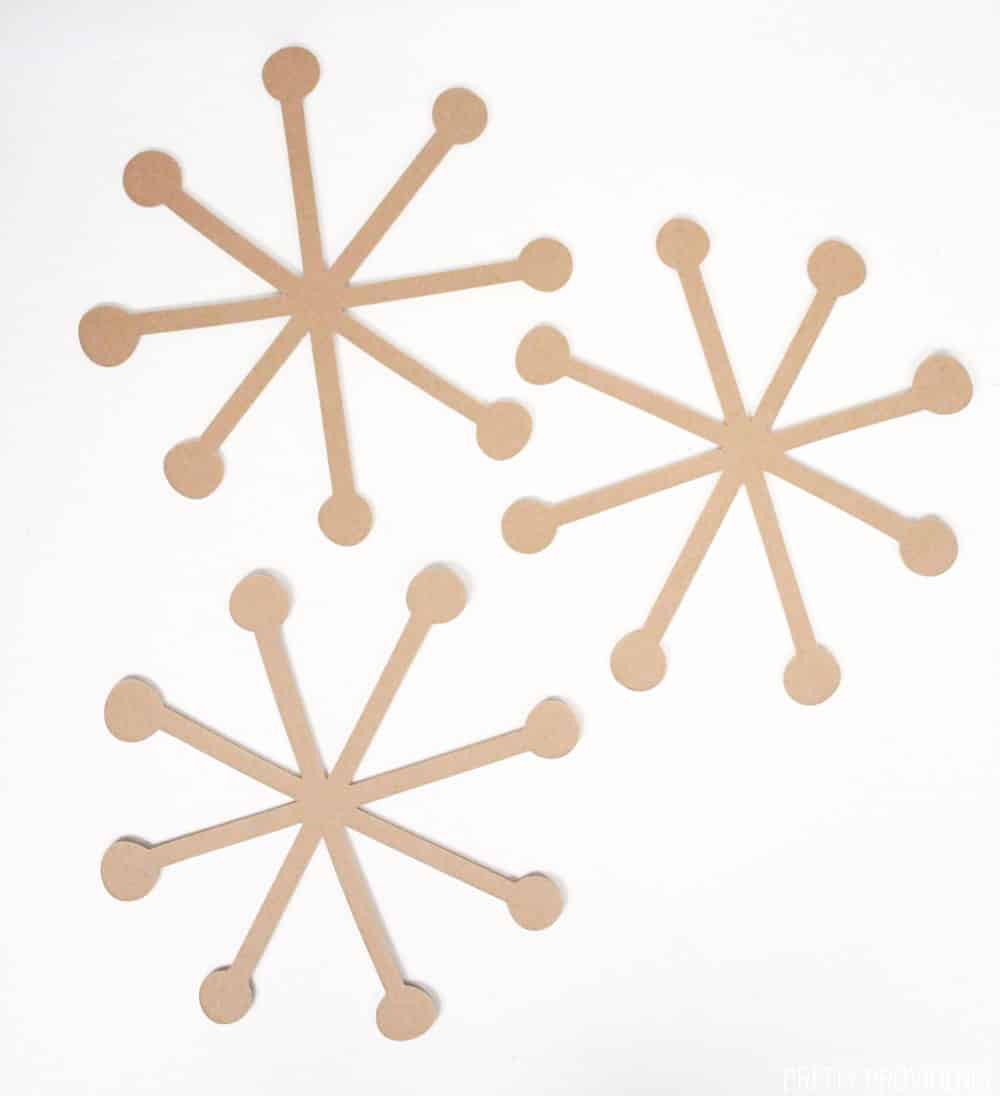
After cutting the snowflake and Christmas ornaments shapes, paint them with white craft paint (or any color of your choice) and let them dry for a few hours or overnight.

Chipboard Christmas Ornaments
Materials
- 2 MM Chipboard
- Masking Tape
- Paint
Instructions
- Place one sheet of chipboard onto a Strong Grip mat. Make sure it is good and stuck, and use masking tape to secure each corner.
- Load the knife blade into your machine.
- Choose images in Cricut Design Space and when prompted, choose the material: 2 mm Chipboard.
- Press chipboard onto the Strong grip mat and tape the corners down with masking tape or painters tape. This is so that the chipboard doesn't move around while it's being cut.
- Cut!
- It takes about 20 passes with the knife blade to cut the chipboard, so you will want to give yourself plenty of time if you want to make a lot of these. The good thing is, you can start the cut and go do something else for 30 minutes while it cuts. I cut 8 snowflakes and 9 ornament shapes over the span of two afternoons, all while I got all kinds of other things done.
- Prepare the chipboard on a mat and load one of these ornament designs in Design Space.
- Now cut the chipboard shapes out.
- After cutting the snowflake and Christmas ornaments shapes, paint them with white craft paint (or any color of your choice) and let them dry for a few hours or overnight.
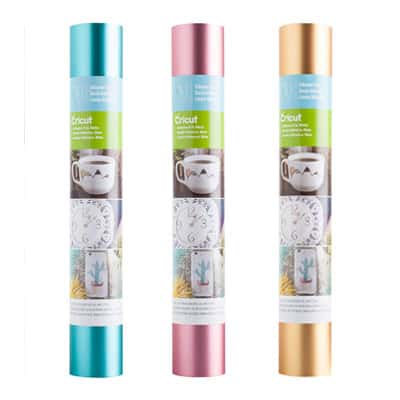
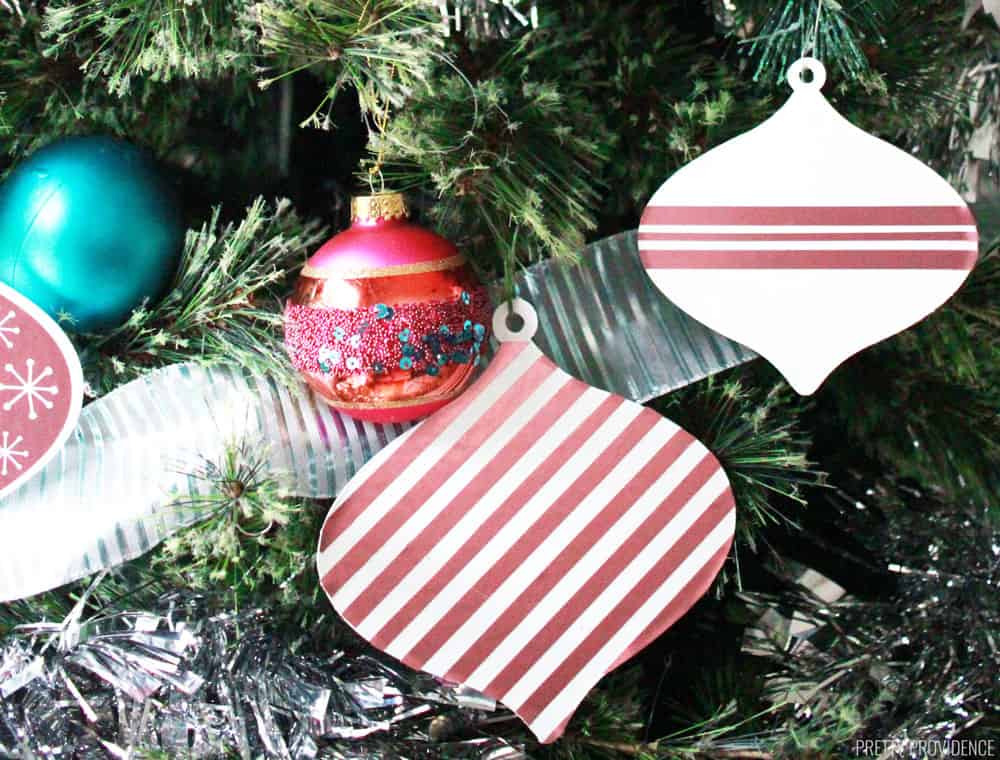
Next, cut shapes out of Adhesive Foil and Permanent Vinyl to jazz them up.
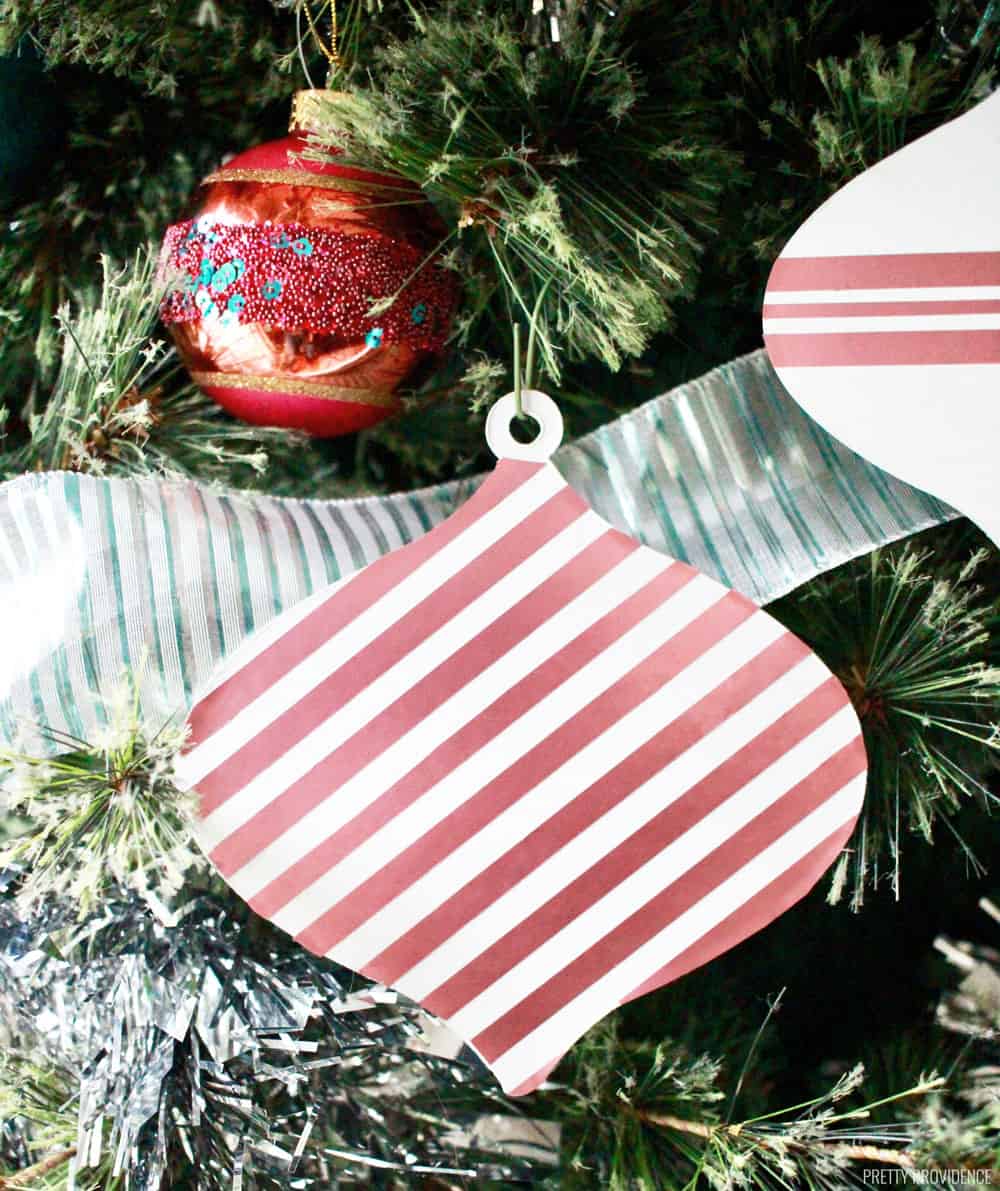
I used simple stripes that I uploaded to make the candy striped ornaments, placing them onto the ornament one by one and then trimming them with a True Control Knife.
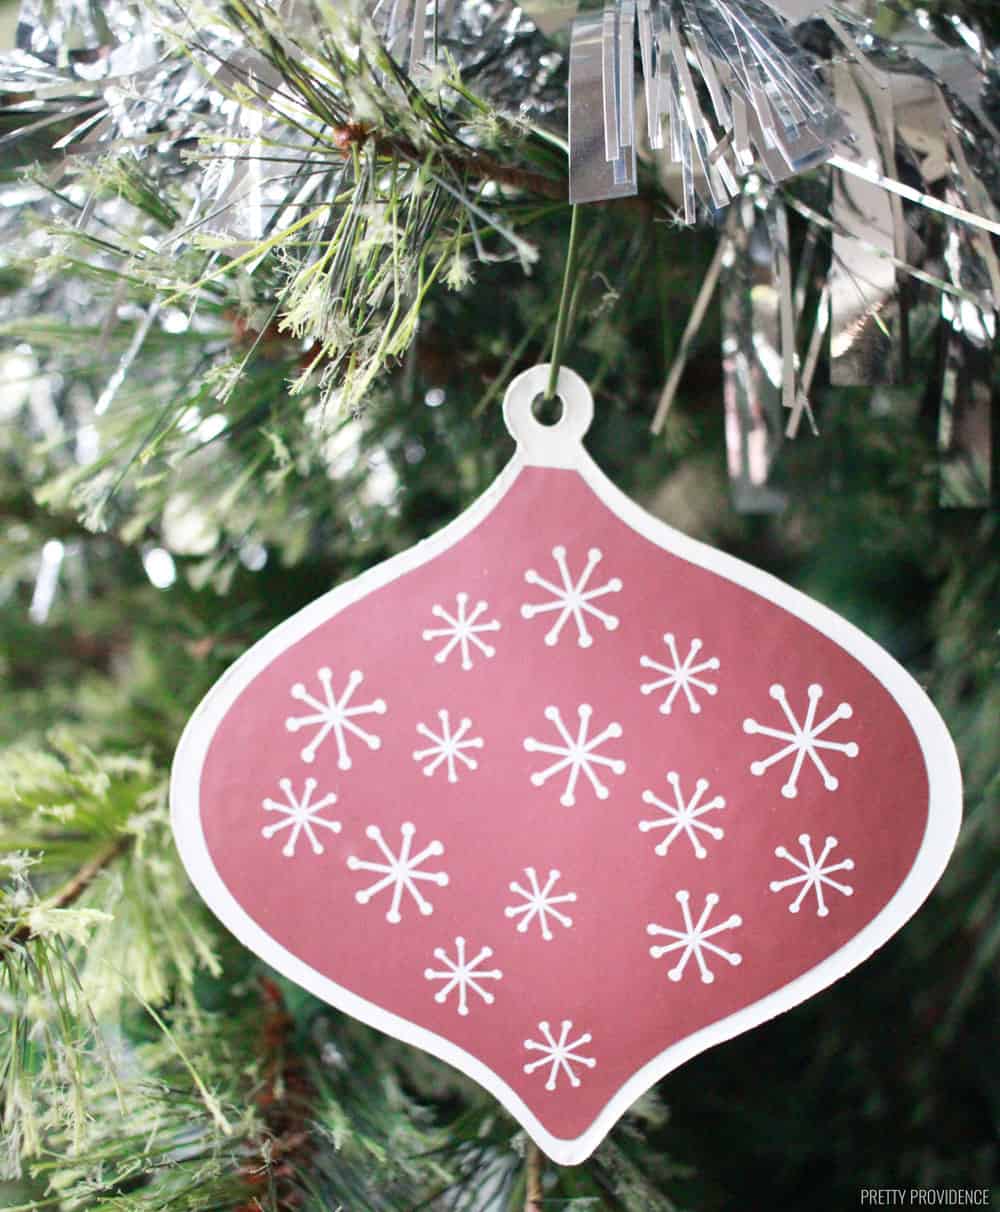
To make the ornaments with the little snowflakes on them, first cut adhesive foil or your choice of permanent vinyl to the shape of the ornament.
Then, cut small snowflakes from white permanent vinyl.
Here is the little snowflakes image.
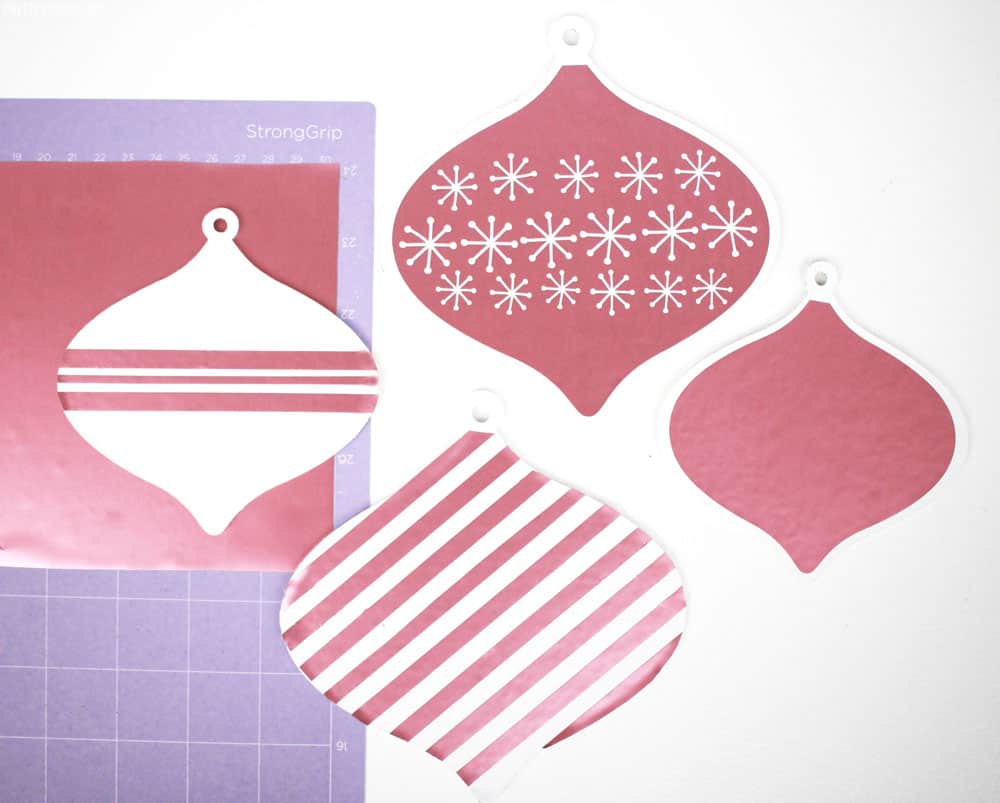
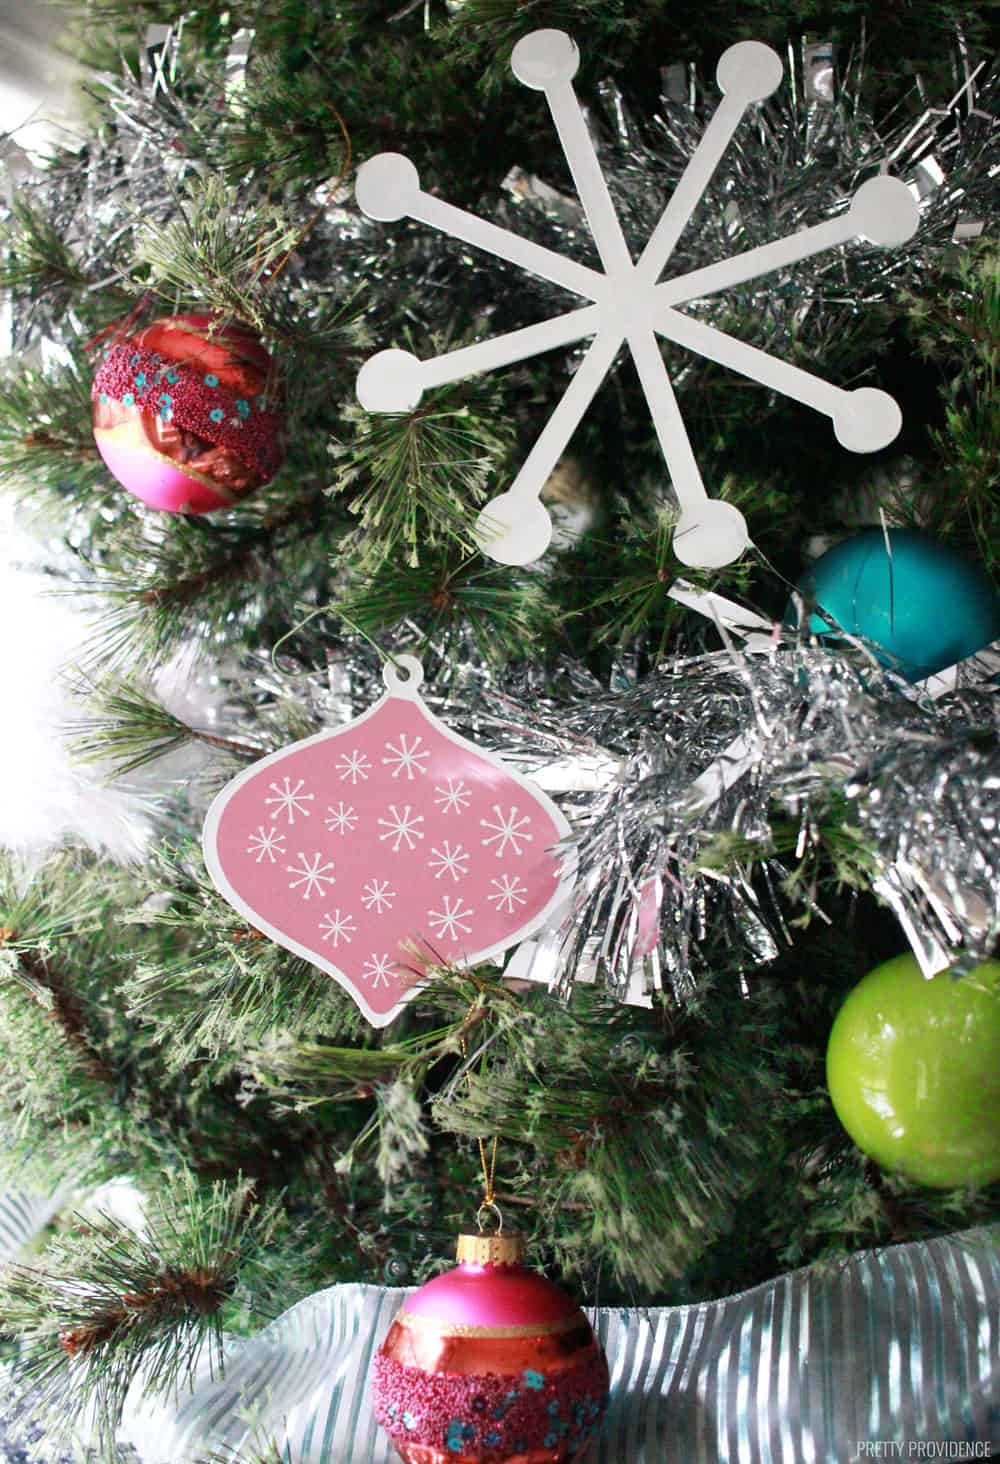
Now, center the adhesive foil ornament shapes on top of the painted chipboard ornaments, and arrange the little snowflakes however you like them!
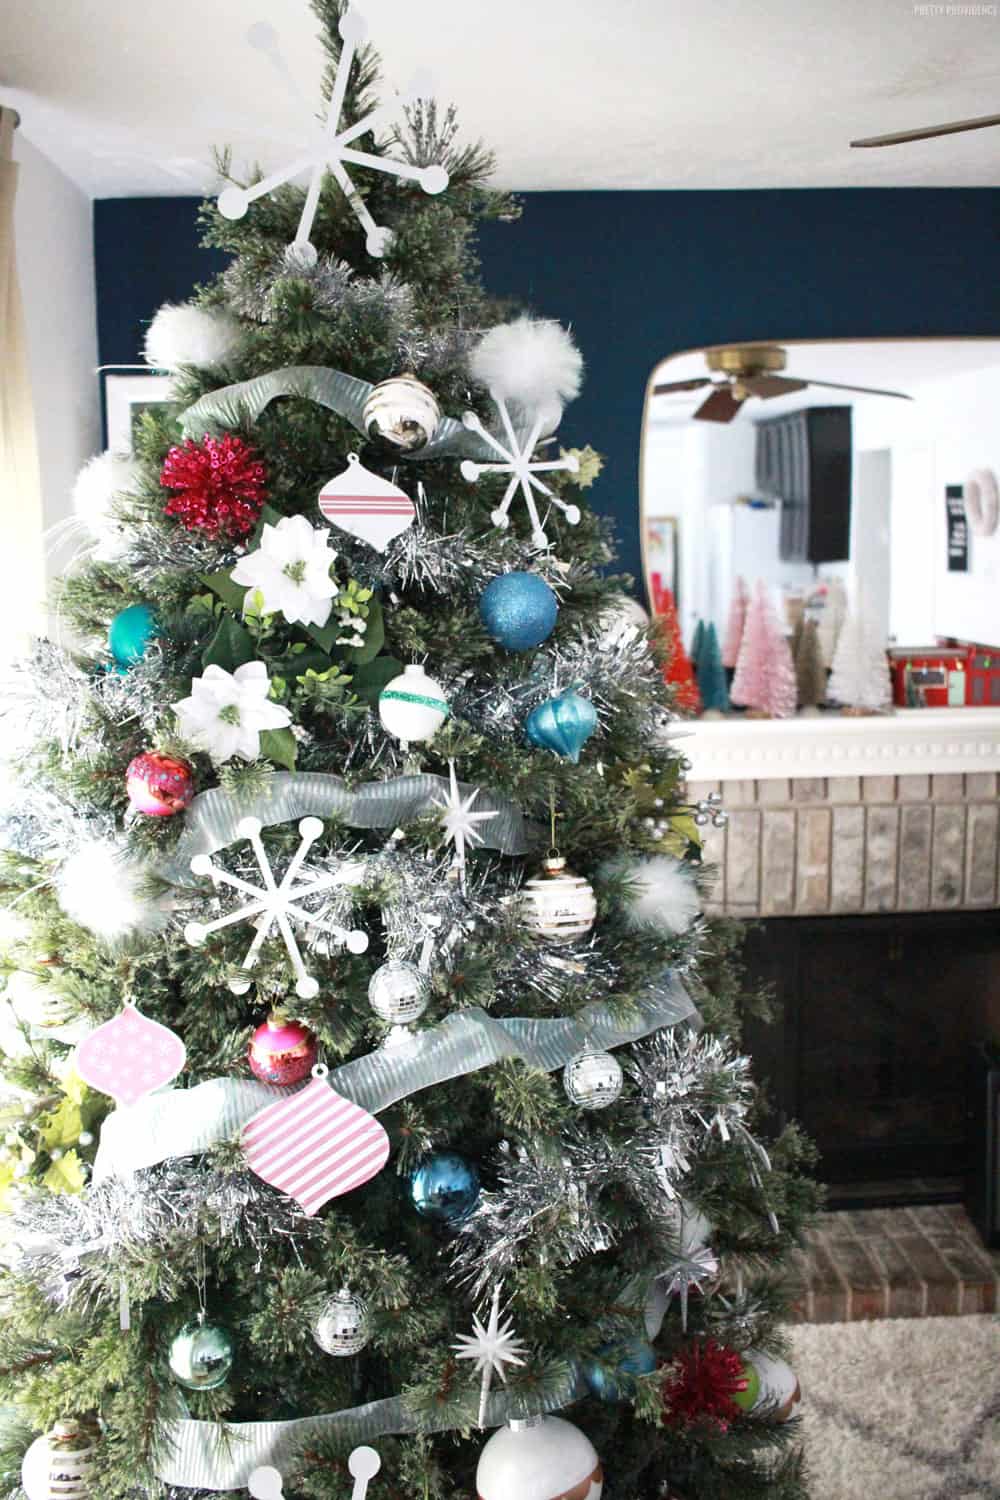
Aren't these so fun? I am loving them! Totally fun to be able to make my own retro mid-century modern ornaments!


I’ve learn a few good stuff here. Definitely value bookmarkingfor revisiting. I wonder how much attempt you place tomake this sort of fantastic informative site.