• Skip to primary navigation
  • Skip to main content
  • Skip to primary sidebar
  • Skip to footer

Pretty Providence

  • Home
    • Newest Blog Posts
  • About
  • Recipes
    • Appetizers
    • Beverages
    • Breakfast
    • Dessert
      • Cookies
    • Dinner
    • Salads
    • Side Dishes
  • DIY & Crafts
    • Cricut
    • T-Shirts
    • Crafts
    • Decor
    • DIY Projects
  • Holidays
    • Halloween
    • Thanksgiving
    • Christmas
    • New Years Eve
    • Valentine’s Day
    • St. Patrick’s Day
    • Easter
    • Mother’s Day
    • Father’s Day
    • 4th of July
  • TIPS
    • Tips
    • Organization
    • Family Life
      • Baby
      • Fun
      • Family
    • Travel
  • OCCASIONS
    • Gifts
    • Parties
  • Navigation Menu: Social Icons

    • Facebook
    • Instagram
    • Pinterest
    • YouTube

Custom Fanny Packs

Home » Crafts » Custom Fanny Packs

Published August 20, 2018 Last Updated June 11, 2019 / By Jessica Leave a Comment

Tweet
Pin375
Share
Email
375 Shares

How adorable are these easy custom fanny packs made with the Cricut Maker?! Follow this step by step tutorial to make your own today!

How adorable are these easy custom fanny packs made with the Cricut Maker?! Follow this step by step tutorial to make your own today!I recently got my own Cricut Maker (finally) and I have become so obsessed, you guys!! I mean, the fast mode lets you cut things up to 2x faster! Plus, it will cut so many different materials from the most delicate fabric to vinyl to foam to yardstick to chipboard! I seriously have been making all the things! My friends have been shocked because I am typically not the hugest crafter. That being said, I am way into personalization. I am also a huge lover of giving gifts! The Maker is the best for making and giving personalized gifts like these easy custom fanny packs!

We recently got back from the most amazing trip to Disneyland! Before we went I wanted to get my kids some cute Disney fanny packs to wear around in the parks, but they were all so expensive! Which is when I got the great idea to get some simple plain colored ones and customize them with some every day iron on! The best thing about this was that I was able to pick sayings that fit each of my kids personalities, and they loved them so much!

All the supplies you need to make your own custom fanny pack! 
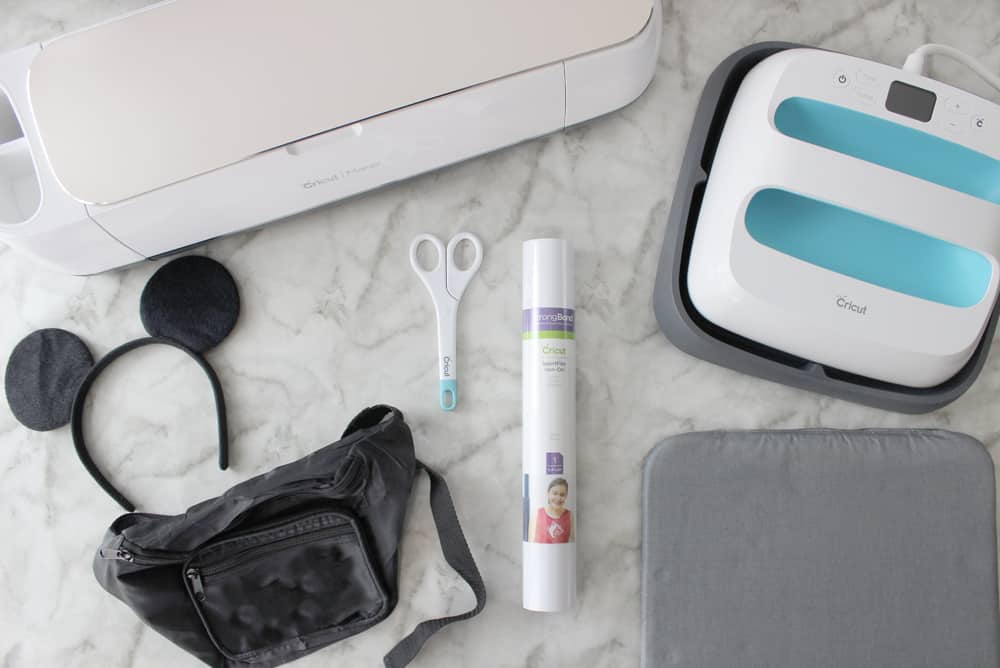
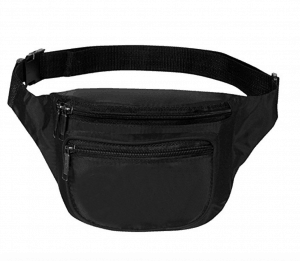
Making these fanny packs was honestly so easy! All you need is a Cricut machine, a blank fanny pack, every day iron on in whatever color you want to use, an iron or a Cricut EasyPress and some scissors!

You ready for the super easy step by step tutorial?

Custom Fanny Packs Tutorial

1) Make or find a design in design space.

First step is to decide what you want your fanny packs to say! If you aren’t a designer that’s no problem! You can search in design space for a design or use one of the three that I made! You can find mine by clicking the links below.

Best Day Ever Fanny | Living My Best Life Fanny | Let’s Go Adventure Fanny

I wanted to pick sayings that were applicable to Disney, since that’s where we were going, but that would also work for other adventures like hiking, road trips or even make believe with friends!

Once you have your design made or pulled up in design space click make it at the bottom right of your screen, and it should look like this.

cricut design space

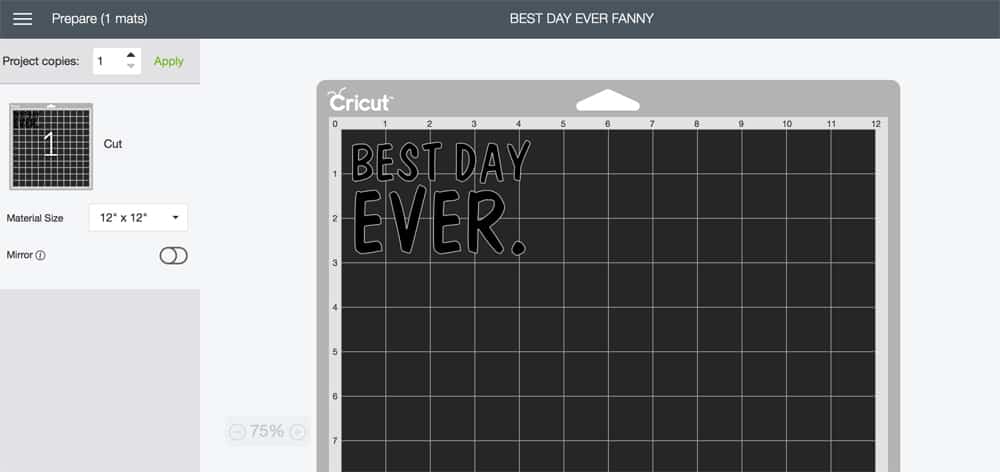
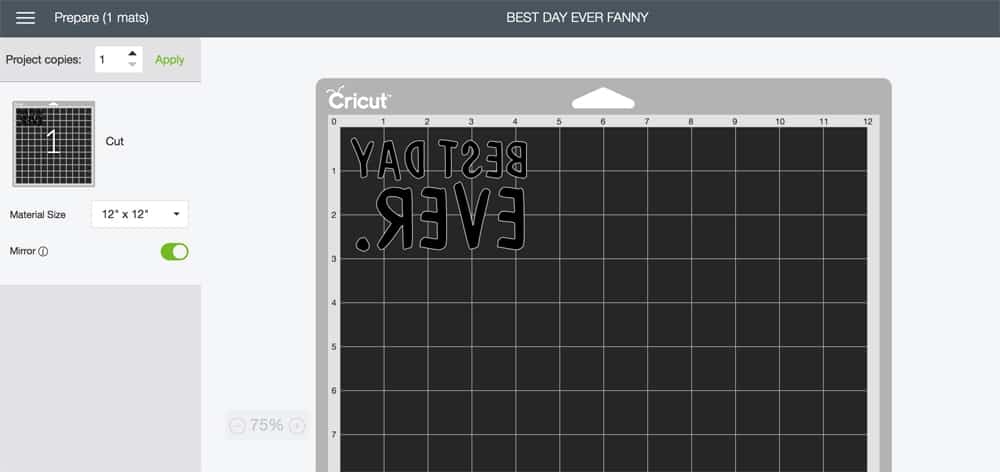
2) Turn your mirror option on.

Anytime you are cutting iron on of any type you need to make sure your mirror option is on, so that when you iron your design on your project it won’t be backwards. When the mirror option is on it will turn green like you see below.

mirror-image

3) Set your material.

Next you need to set your material. This is so the machine knows how deep to make the cut. For this project you will set your material to Iron On! If you decide to use a specialized type like glitter iron on or sports flex you need to make sure that specific kind is selected.

select-material

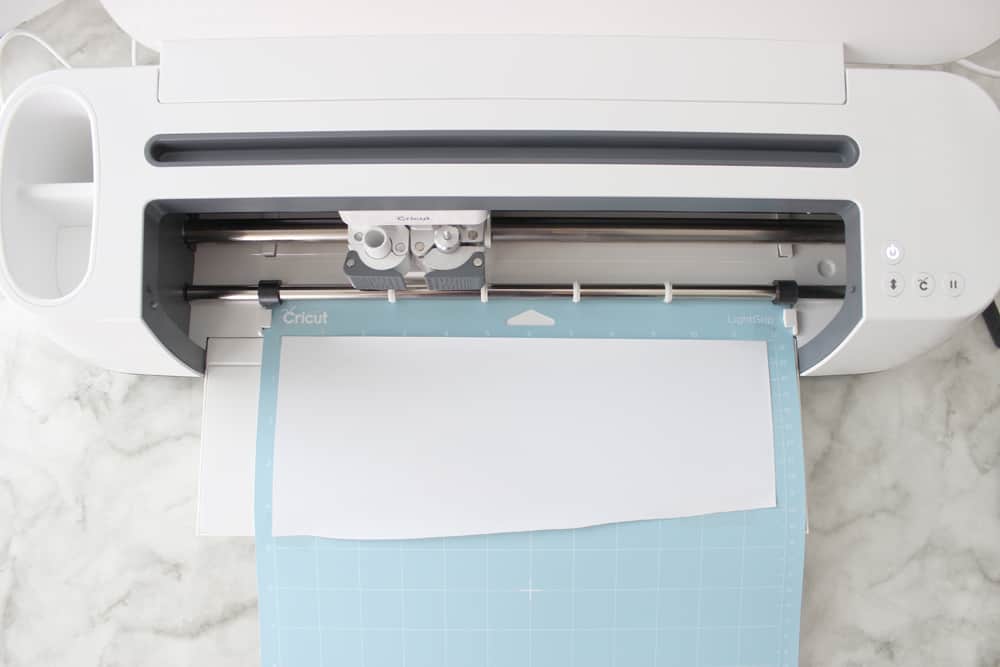
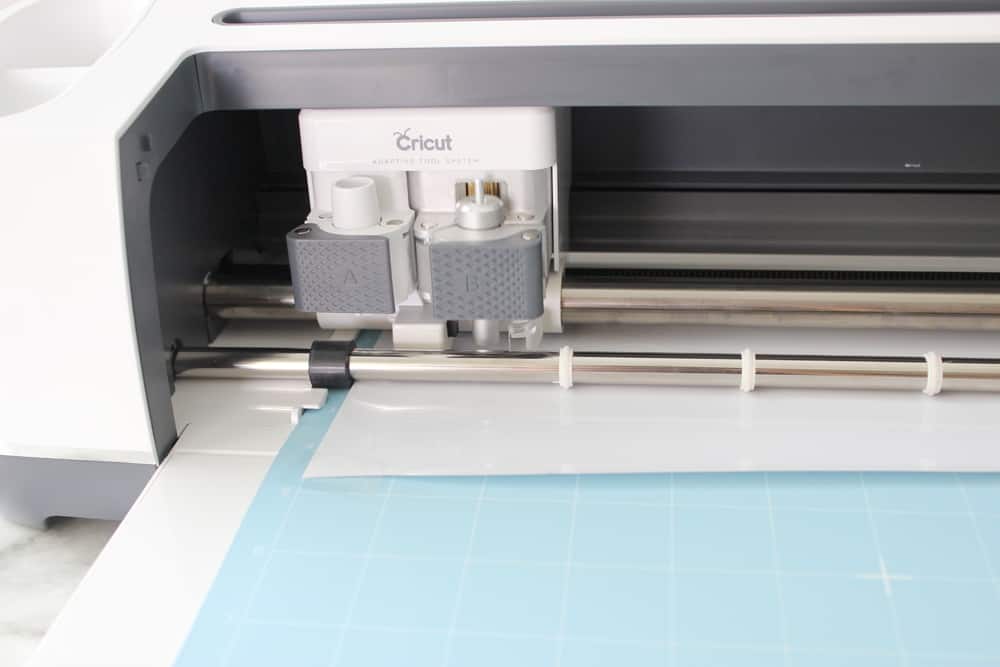
4) Load your machine.

Once your material is selected you are ready to load your machine! Make sure you put your vinyl on the mat SHINY SIDE DOWN. The little arrow button on your machine will start flashing and once you have your mat in and ready to load push the arrow button and the machine will grab your mat and move it into position.

load-mat

5) Make your cut.

Once your mat is loaded your little C button will start flashing indicating the machine is ready to cut. Push the button and let the machine do it’s thing!

machine-cutting

6) Weed your design.

Once your design is cut it will look like this. Cut around the edge of your design to save the excess vinyl, and then weed out the extra vinyl.

finished-cut

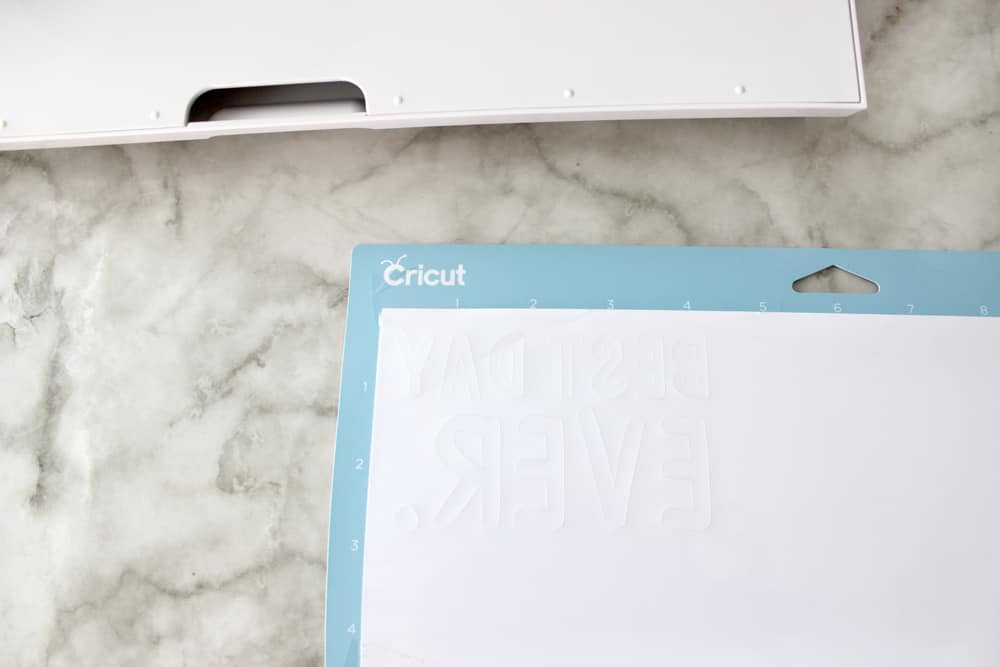
When you are done weeding your image should look like this.

ready-to-iron-on

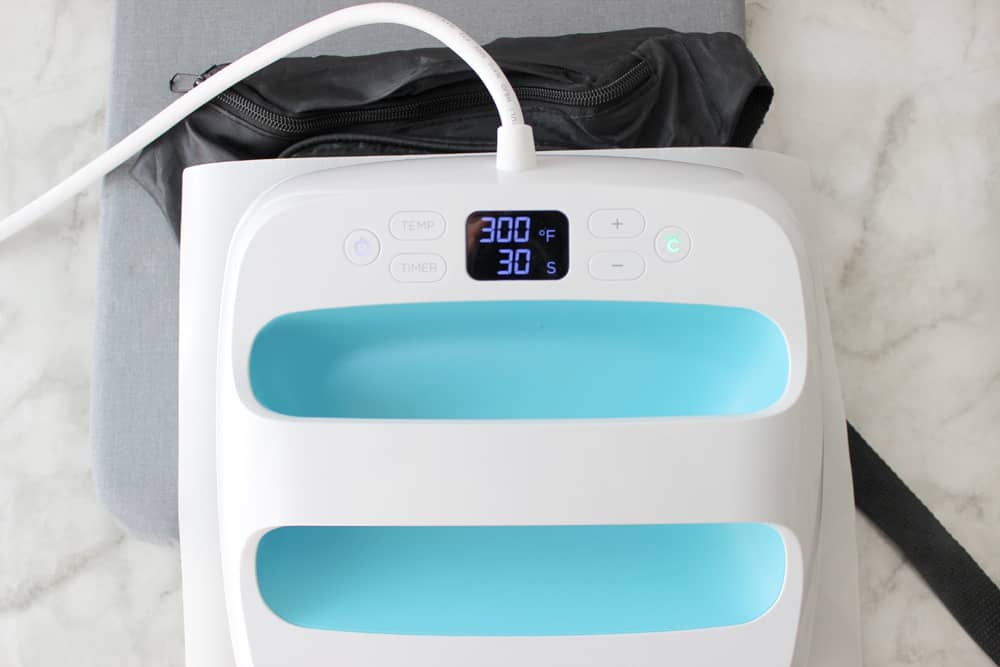
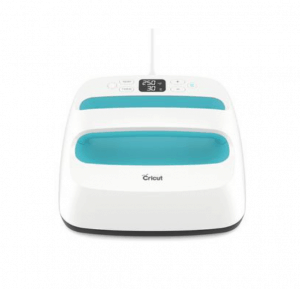
7) Iron on or EasyPress your design.

Now is the fun part! Iron on your design! Make sure to check out Cricut’s heat settings so you know exactly how long to apply heat depending on the material of your fanny pack. Mine were Polyester, and I found that with the protective layer between the fanny pack and the easy press I needed 30 seconds at 300 degrees on the front. Then I used a warm peel!
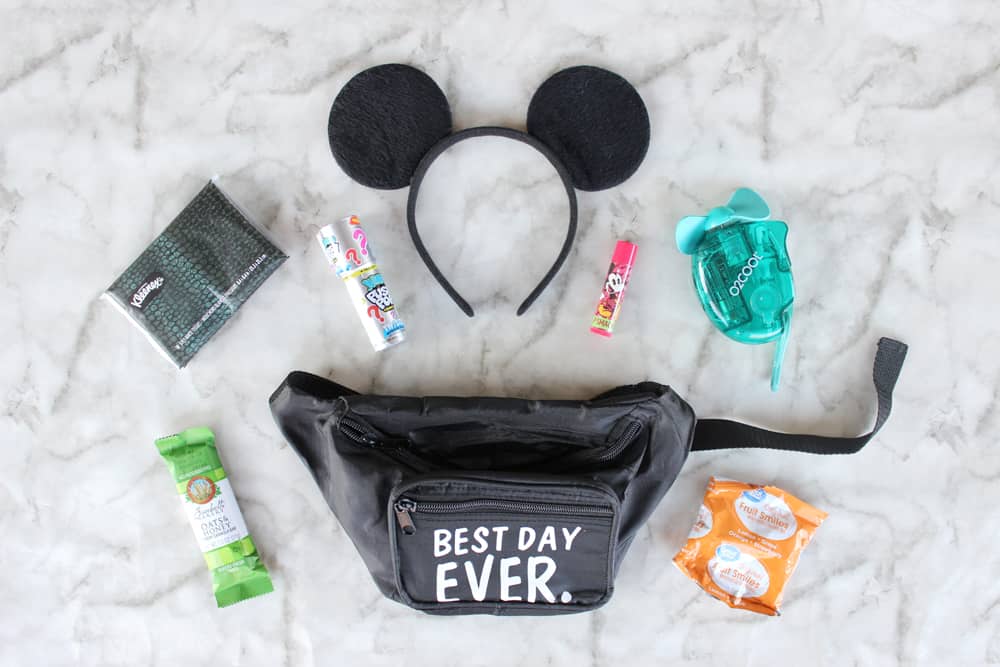
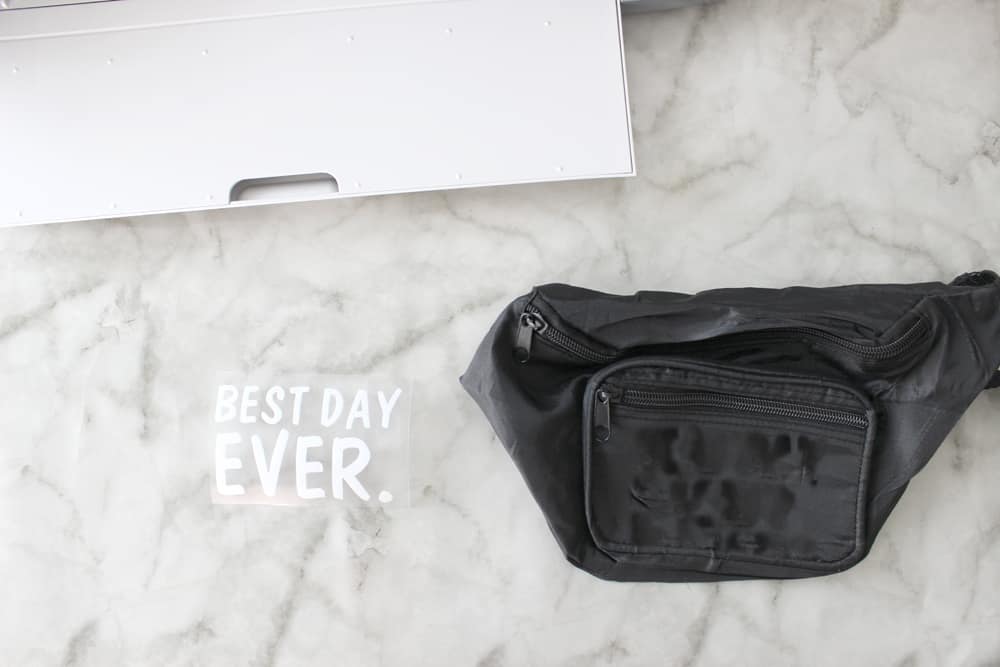
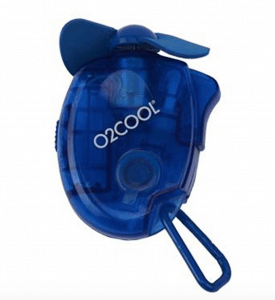
easy-press

How cute did this “best day ever” fanny turn out?! So sweet and fun! Next step is to fill it with all the fun things! For ours I did Disney chapsticks, mini mister fans to keep us cool in line, tissues and some snacks! It would be fun to hide a couple dollars in there too for the kids to buy treats of their own!
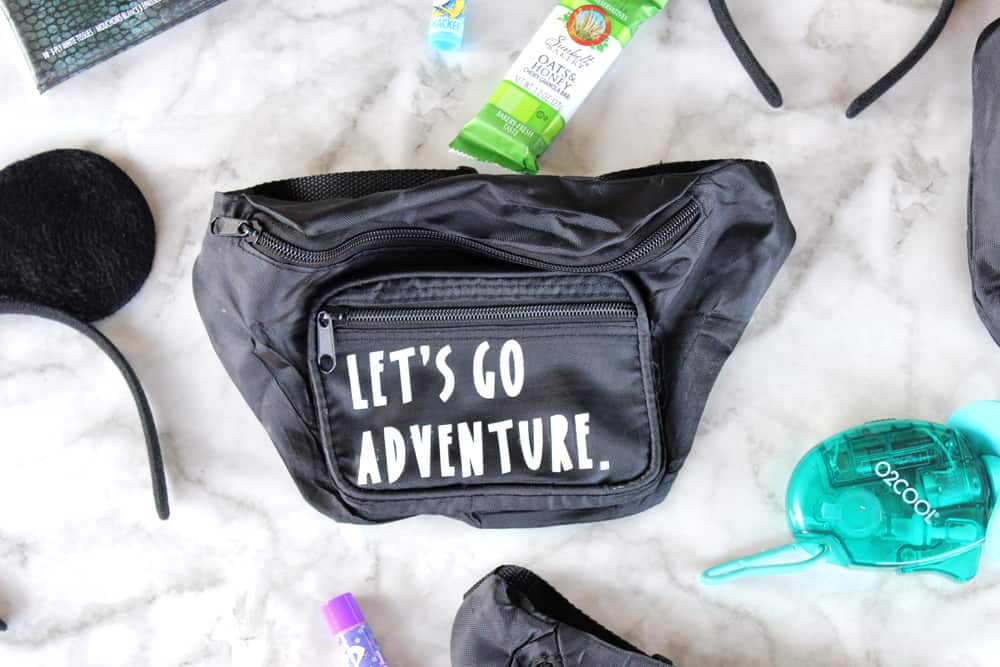
 How adorable are these easy custom fanny packs made with the Cricut Maker?! Follow this step by step tutorial to make your own today!

My older son Luke got the “let’s go adventure” fanny, and he still wears it around all the time!
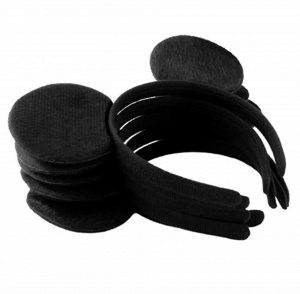
How adorable are these easy custom fanny packs made with the Cricut Maker?! Follow this step by step tutorial to make your own today!

And my three year old Liam got this “living my best life” fanny! Why is it so cute to see little kids wearing fanny packs? Haha. I love that this trend is back in style! How adorable are these easy custom fanny packs made with the Cricut Maker?! Follow this step by step tutorial to make your own today!Well there you have it friends! I hope you have fun making your own custom fanny packs! Also, if you have an upcoming Disney trip make sure you check out this post about the new Disneyland App or this one about making your own super affordable new sew Mickey Mouse Ears!

xo,

jessica-about-1

Shop this Post:

screen-shot-2018-08-16-at-12-38-53-pm

Cricut Maker

 screen-shot-2018-08-16-at-12-40-55-pm

Everyday Iron On Vinyl

 screen-shot-2018-08-16-at-12-42-55-pm

EasyPress Heat Press

 Fanny Pack

Fanny Pack

 screen-shot-2018-08-16-at-12-50-45-pm

Mini Mister Fans

screen-shot-2018-08-16-at-12-52-07-pm Mickey Mouse Ears

Pin it for Later:

How adorable are these easy custom fanny packs made with the Cricut Maker?! I made them for my kids to bring to Disneyland and they LOVED them! They still use them all the time!

This is a sponsored conversation written by me on behalf of Cricut. The opinions and text are all mine.


Tweet
Pin375
Share
Email
375 Shares

Reader Interactions

Leave a Reply Cancel reply

Your email address will not be published. Required fields are marked *

Recipe Rating


Primary Sidebar

about-pretty-providence  

Hey! We're Sarah and Jessica. We're BFF's and have known each other since we were 5 years old. This blog is our place to share all of our best recipes, tips, crafts and DIY projects.

You can read more about us on our about page and find us on instagram! We love making new friends.

  • Email
  • Facebook
  • Instagram
  • Pinterest
  • TikTok
  • YouTube

Most Popular

Breakfast casserole with sausage, eggs, cheese and bell peppers on a white plate

World’s Best Breakfast Casserole

DIY desk made from two storage cube bookshelves and IKEA desk top with marble look

DIY IKEA Desk Hack

Iron-on t-shirt with Cricut collage of supplies needed, iron-on cut and weeded, and then the final shirt that says "#tired" in gold iron-on letters

How to Make a Shirt with Cricut

The Office birthday party table with decorations, food, balloons and "it is your birthday" sign

The Office Birthday Party

Teepee style blanket fort made with bedsheets and clothesline hung from a light fixture.

How To Build The Best Blanket Fort

German Pancakes just out of the oven, dusted with powdered sugar in a glass baking dish.

German Pancakes

Organization

a habit tracker with pink squares next to a rose gold pen

Free Printable Habit Tracker

collage image of four different laundry hacks to make laundry easier

The Best Laundry Hacks

art supplies organized and labeled on a white IKEA kallax shelf

School and Art Supply Organization

Weekly cleaning checklist and routine, and checklist for kids too with pictures and check boxes!

Weekly Cleaning Routine + Checklist

Laundry Care Symbols Explained

pantry organization at it's finest! great tips and tricks in this post!

Home Organization Ideas

CRICUT

Light blue Cricut Maker 3 with an assortment of colors of vinyl and iron-on vinyl fanned out under it and behind it.

The Best Iron On and Vinyl to Use with a Cricut

custom hats with cricut iron-on, baseball cap style

How to Make Custom Hats with Cricut

light blue Cricut maker 3 next to vinyl and art on shelves

Cricut Materials – Everything You Need to Know

cute first/last day of school whiteboard on a light blue background

Back to School Photoshoot Board

DIY tote bag canvas with a rainbow and the words 'I'll walk with you' in gold iron-on vinyl

Rainbow DIY Tote Bag

DIY Custom Napkins

Footer

Copyright © 2012-2019 Pretty Providence | Contact Us | Privacy Policy | Disclosures