DIY No-Sew Disney Ears
These DIY Minnie Mouse Ears are easy, no-sew and fun to make your own! Perfect Disney Ears for any upcoming Disney World or Disneyland trip!
This post contains affiliate links.
I've been studying up on all things Disney World lately as I'm getting ready to go to the Disney Social Media Moms Conference, DSMMC for short. I feel like most of the people going are all Disney regulars and I will be a first timer! Not to worry though, because I think I'm prepared. Especially now that I've planned my outfits and made matching Disney ears to go along with them. (It's a thing!)
If you have a Disney trip coming up you will probably want to use our Disney Trip Planner sheets, too. Or make yourself a Disney Snacks T-Shirt to go along with your ears!
DIY Minnie Mouse Ears
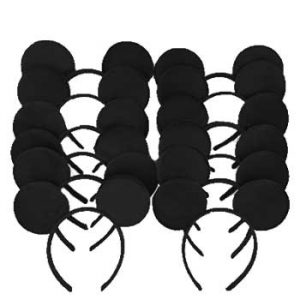
I knew that you could buy custom Disney ears on Etsy and of course they sell them at the parks, but they can be expensive - and I am picky! I knew that I would end up wanting some black and white and gold ears to wear. On Amazon, I found some cute, cheap options but when THIS came up I knew exactly what I would do. Yep. 12 Mickey Mouse ear headbands for $15.99. Are you kidding me!? That is SO cheap you guys. They have great reviews, too!
So, I bought them on the spot and then got to planning how I'd make them into the Disney ears of my dreams. This project took some trial and error to get right, because I found a lot of tutorials out there but they all required sewing. I was determined to make them no-sew. I tried four different kinds of glue, you guys. FOUR. Plus a lot of different sizes of circles and so on and so forth. Now, all of you can benefit from the practice tries that I did and know that this is going to work for you if you follow my tutorial!
How to make DIY Minnie Mouse Ears
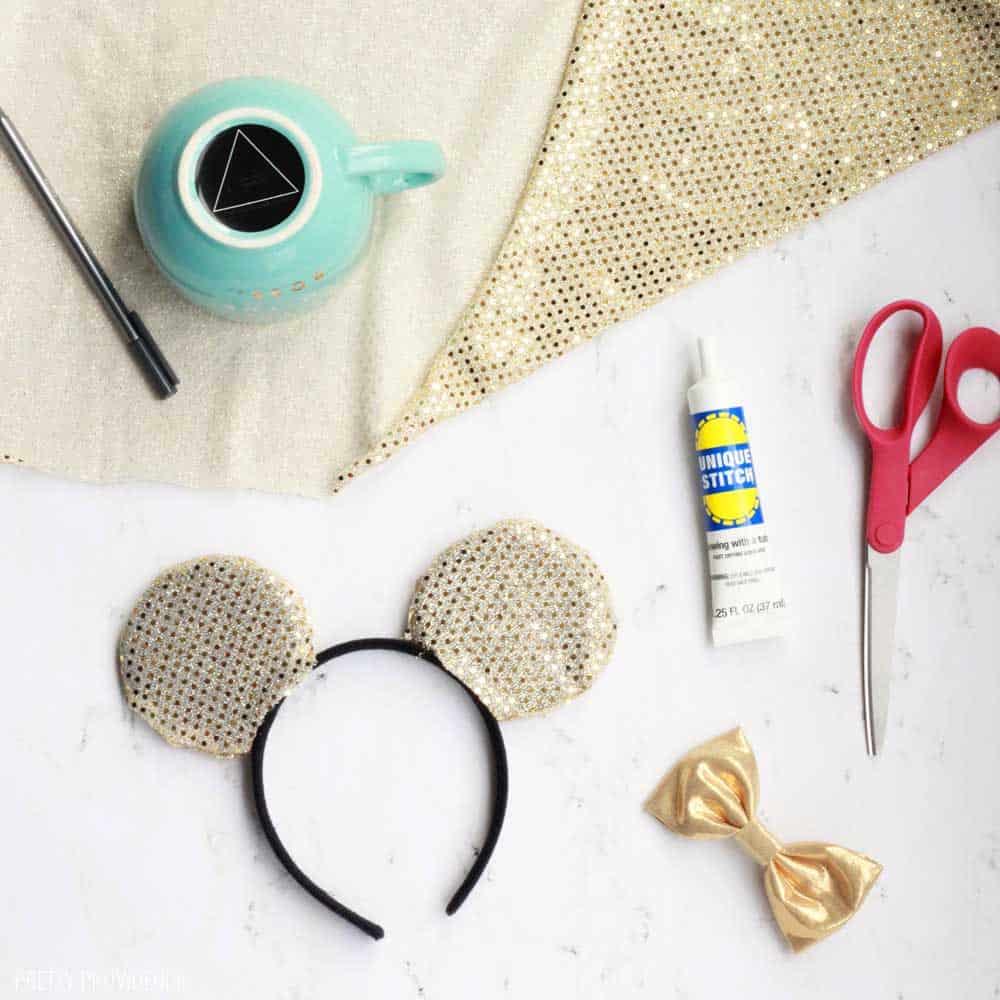
Materials Needed:
Plain Mickey Ears
Ribbon & fabrics of your choice
Hot glue gun & glue sticks
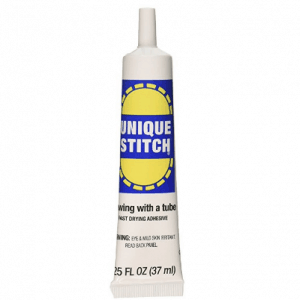
Unique Stitch fabric glue
Pen or Marker
4" mickey ear template (click to print)
Fabric scissors
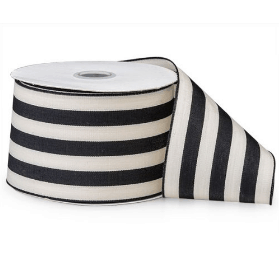
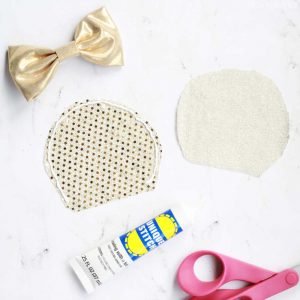
You start off by making bows. (You can also use pre-made bows!) The gold ones I actually already had so I didn't make those new. I made the striped bow out of some 2.5" thick ribbon that I had. I also used hot glue to make it using this method. So easy and quick!
If you want to cover the ears, you'll trace four 4" mickey ear shapes onto the back of the fabric using this template. Cut them out carefully, and then lay them flat with the pretty side facing up. Use unique stitch glue to trace close to the edge of one of the ear shapes.
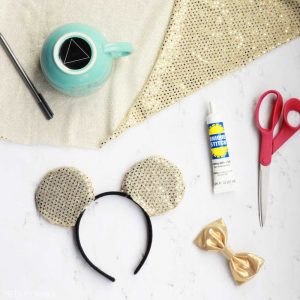
Here are some of the items I used to make these:
 |
 |
 |
 |

Now, take another ear shape and press the pretty side of that onto the glue. You're sticking them together right now so that when it's all dry, you can turn them out and the glue won't be visible! Repeat with the other two ear shapes. Let the glue dry for at least 30 minutes to an hour.
Once your glue is dry, turn the shapes right side out. Push any pointy corners out and to get them as circular as possible. Add some glue to the Mickey ears and slip the fabric over them. Hot glue a bow onto the top of the headband (if you are doing bows.)
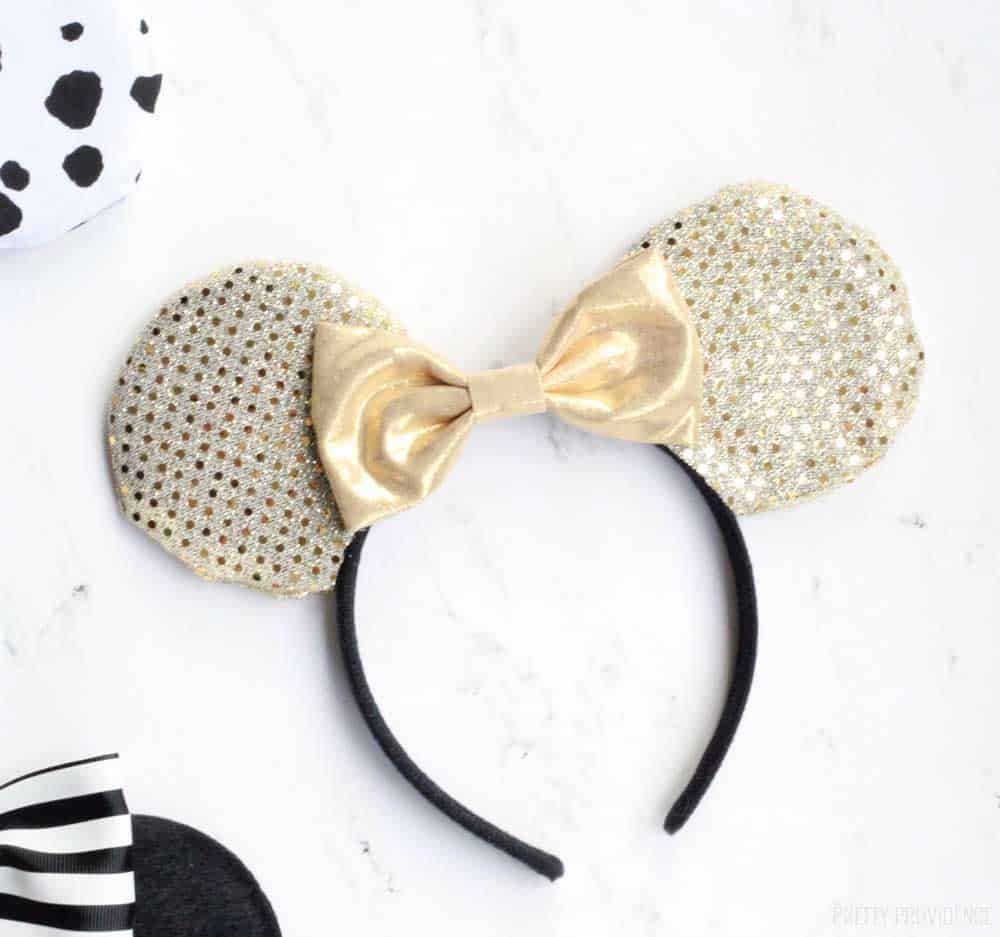
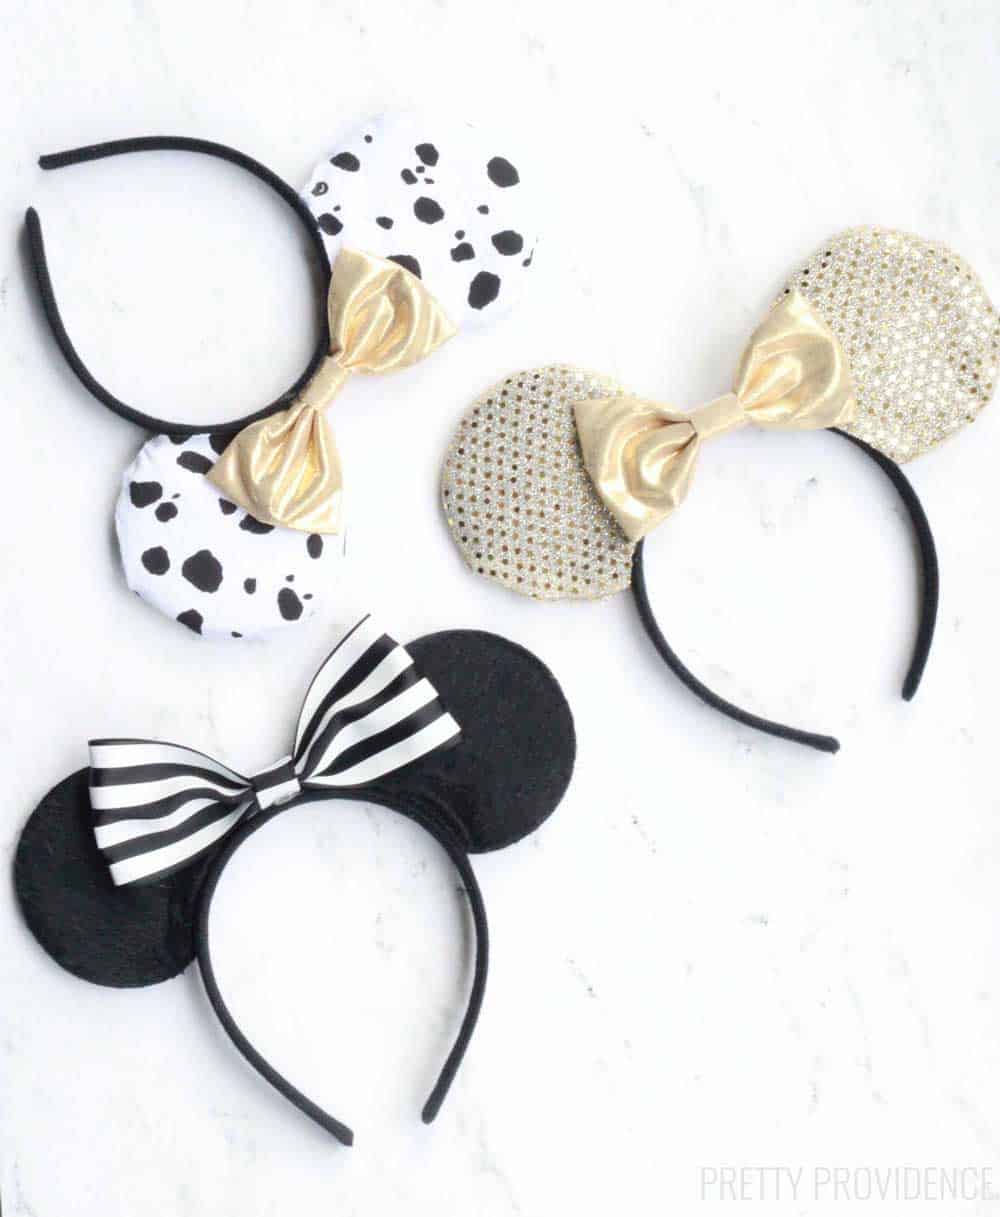
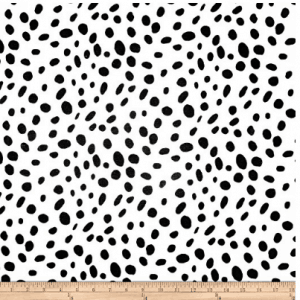
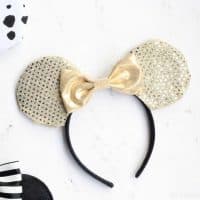
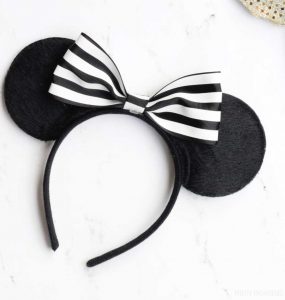
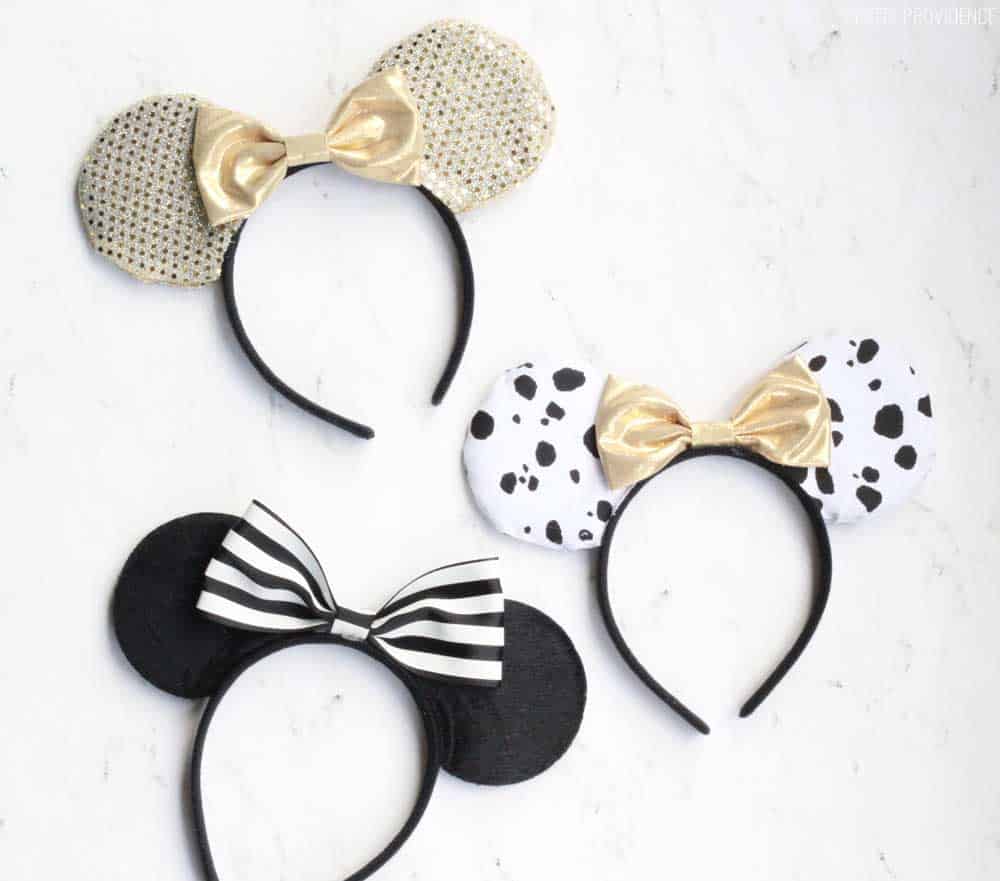
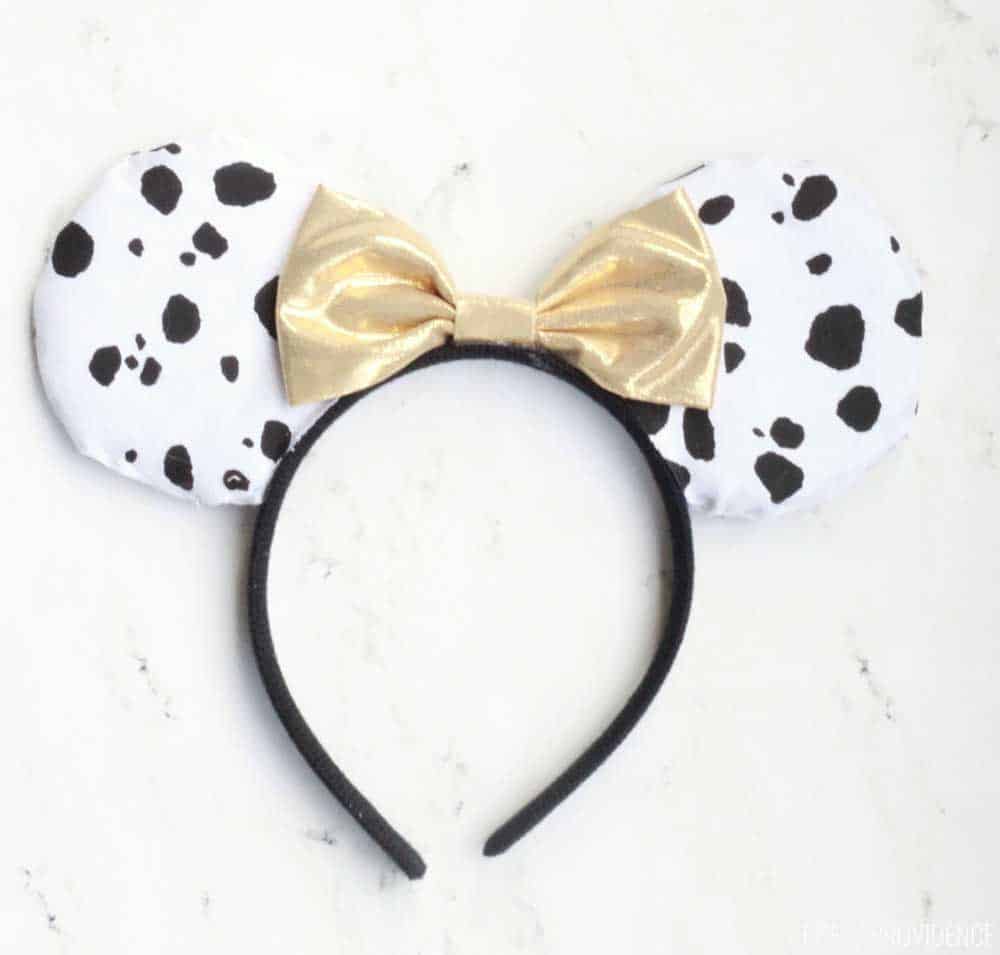
As you can see - I decided to make some gold ears, and then I made a pair with just a black and white striped bow (to match my uniform of black and white t-shirts.) After that I made a pair with Dalmatian pattern for a fun 'Not Today Cruella' t-shirt I made!

Goodness gracious, I just love them so much. The total for these three pairs of ears probably comes out to about $20 if you count the glue, fabric, and ear headbands. Not bad!
Here is a printable version of these instructions in case you need them!
DIY No-Sew Disney Ears
Video
Equipment
- Hot Glue Gun
Materials
- 3 Pairs Disney Ears
- Unique Stitch Glue
- 3 Bows or Ribbon to Make Bows
- Fabric to Cover Ears Optional
- Hot Glue
- Mickey Ear Template
- Fabric Scissors
- Pen or Marker
Instructions
- Start off by making bows if you aren't using pre-made ones. The gold ones I actually already had so I didn’t make those new. I made the striped bow out of some 2.5″ thick ribbon that I had. I also used hot glue to make it using this method. So easy and quick!

- If you want to cover the ears, you’ll trace four 4″ mickey ear shapes onto the back of the fabric using this template. Cut them out carefully, and then lay them flat with the pretty side facing up. Use unique stitch glue to trace close to the edge of one of the ear shapes. Now, take another ear shape and press the pretty side of that onto the glue. You’re sticking them together right now so that when it’s all dry, you can turn them out and the glue won’t be visible! Repeat with the other two ear shapes. Let the glue dry for at least 30 minutes to an hour.

- Once your glue is dry, turn the shapes right side out. Push any pointy corners out and to get them as circular as possible. Add some glue to the Mickey ears and slip the fabric over them. Hot glue a bow onto the top of the headband (if you are doing bows.)
Notes
Here is my full list of sources in case you are interested in finding these exact items to make your own Mickey ears:
Gold bows - Hobby Lobby
Dalmatian Fabric - Hobby Lobby (similar here)
Striped Ribbon - Michael's (similar here)
Gold Sequin Fabric - Joann
Mickey Ears - Amazon
I know this might seem like a weird request, but if you make some Disney ears - I would LOVE to see! Email a picture or DM us on instagram so I can see your creative take on these!


I am regular visitor, how are you everybody? This paragraphposted at this website is actually pleasant.
After you skip the fabric over the ears what do you do with the excess fabric on the bottom?
I don't remember having a lot of excess! I would either fold it up a little bit so it hits where you want and fabric glue it, or trim it with fabric scissors...
How much fabric should i buy fOr the ears and bow?