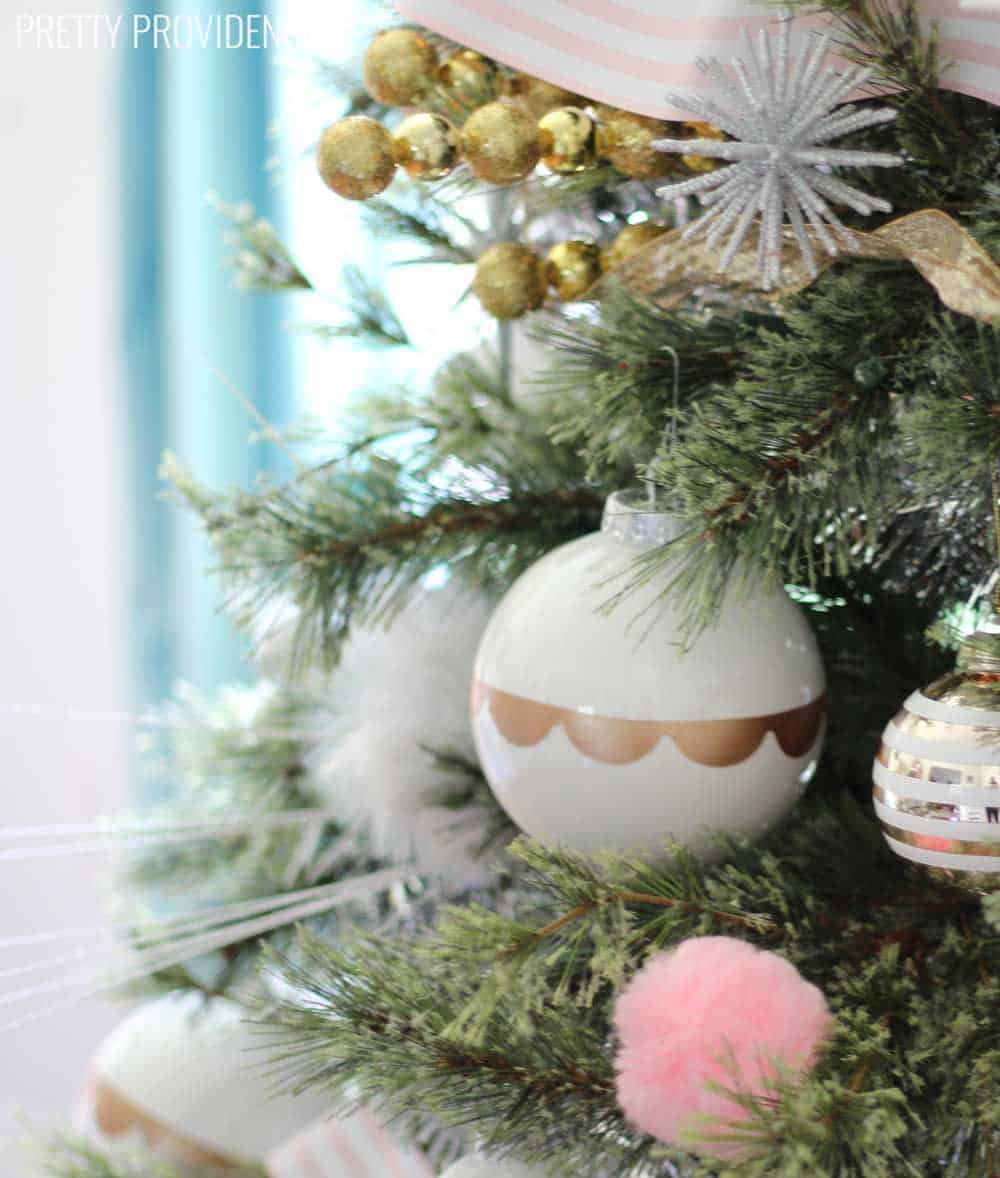
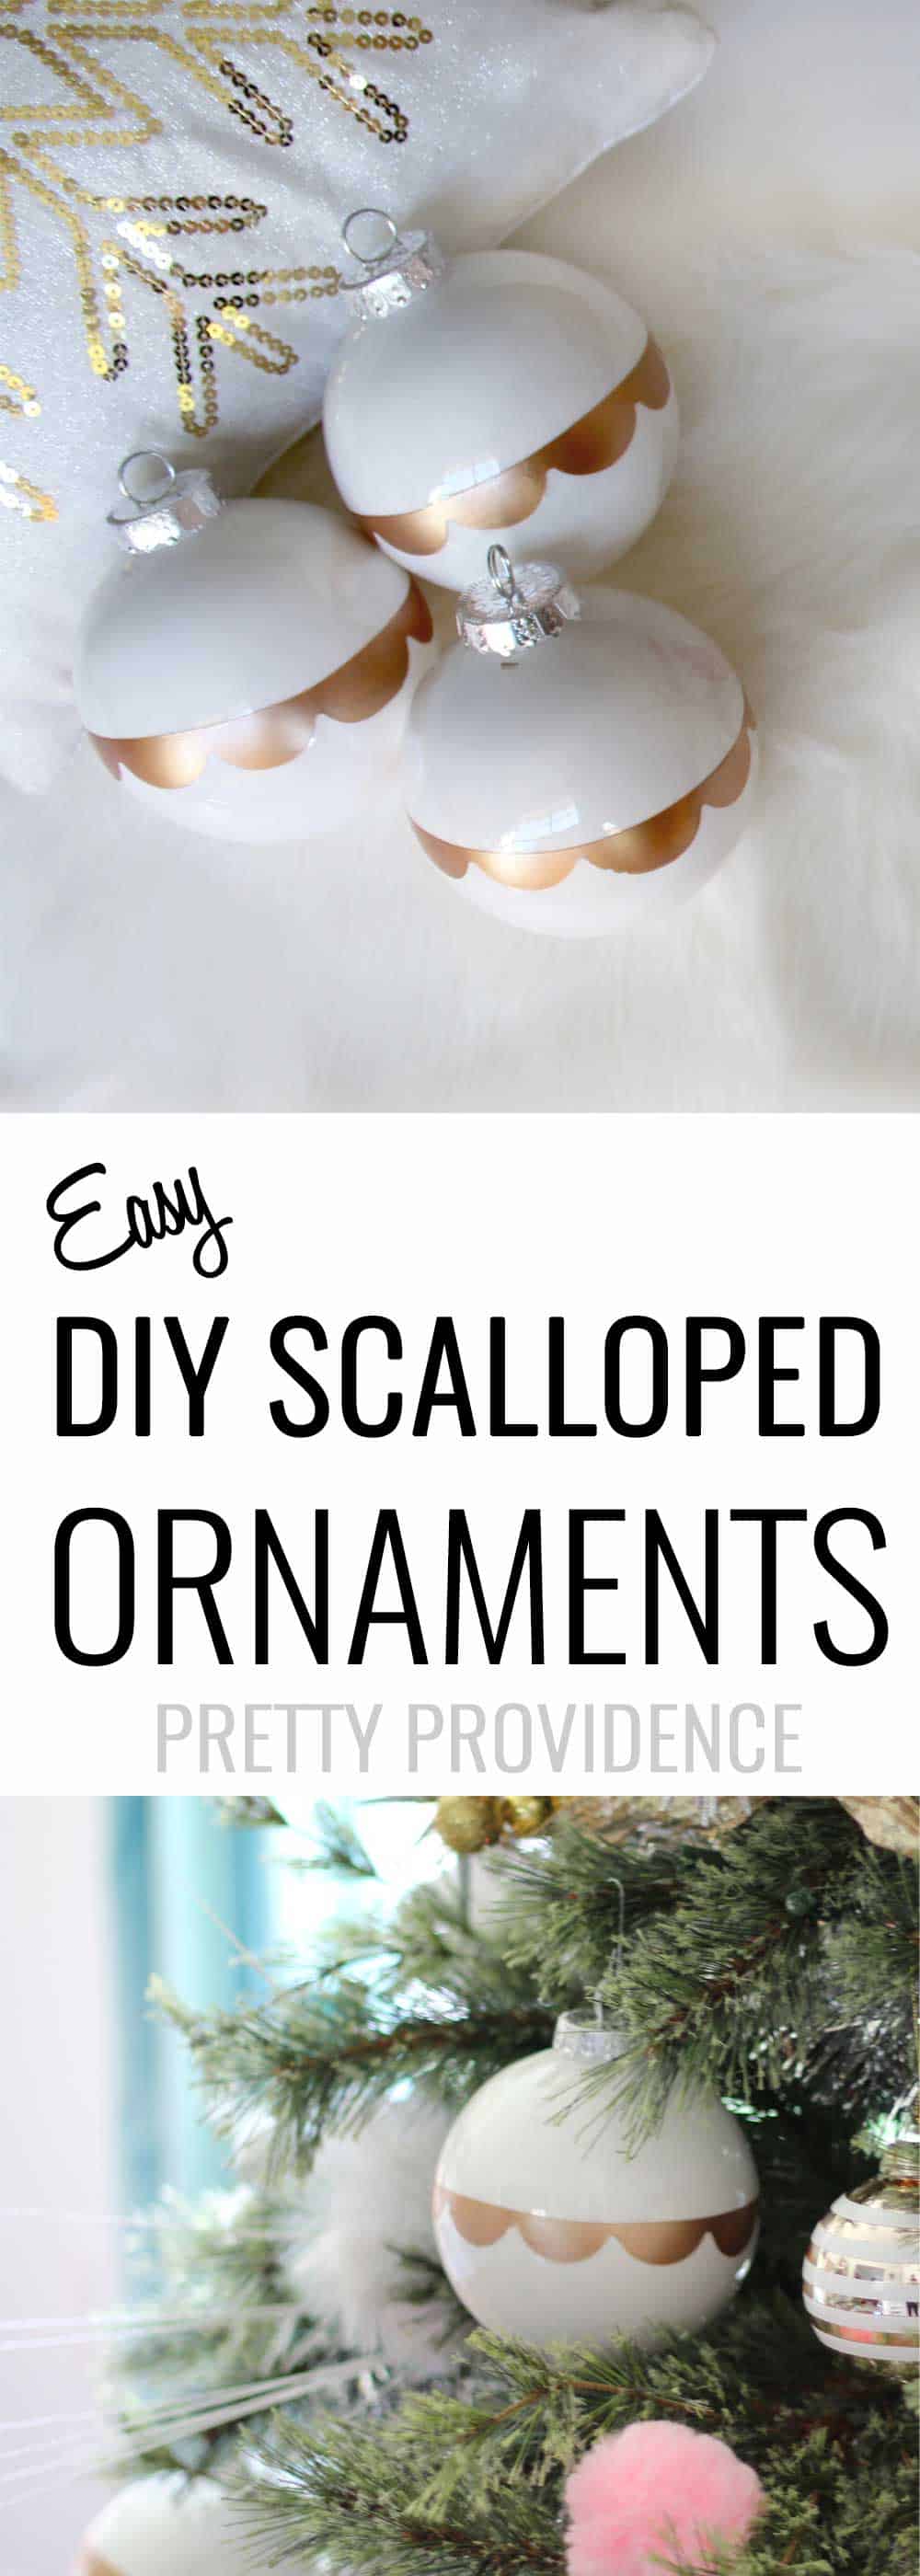
Hey hey you guys! I am so proud of myself for getting this tutorial up for you today. The holidays are CRAZY, right? I made these about a month ago for my Christmas tree and I had good intentions of this being my next post after that, but then it was Thanksgiving and I almost gave up on actually happening. Anyway, I LOVE these gold scalloped ornaments so much that I really wanted to share how I made them for anyone else that might want to! It's honestly SOOO easy!
Here is what you will need:
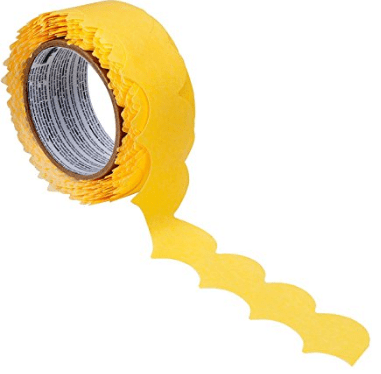
Scallop FrogTape
Regular Painter's Tape
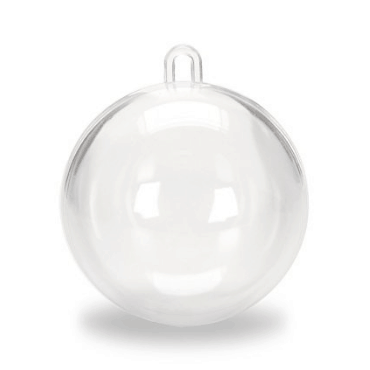
White Plastic or Clear Plastic Ball Ornaments
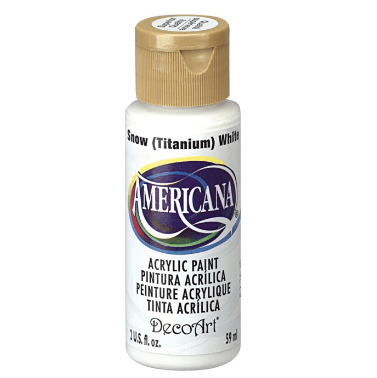
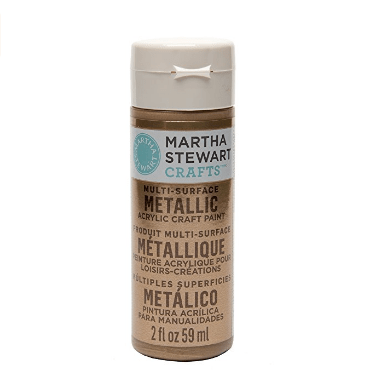
Acrylic Paint
Paint Brush
If your ornament is already white, congratulations! You don't have to do the hard part. Haha. I couldn't find white plastic ornaments and I really needed these to be shatterproof, so decided to buy clear plastic and paint the insides. If yours are clear too, proceed with the next steps:
- Remove the top and squeeze white acrylic paint into your ornament. Cover the opening with painter's tape and SHAKE your ornament like crazy! (Do this outside or in a garage or something, and don't wear clothes you care about. Splashing may occur.)
- Let white paint dry. This can take 1-3 days. I knoooowww.
Next:
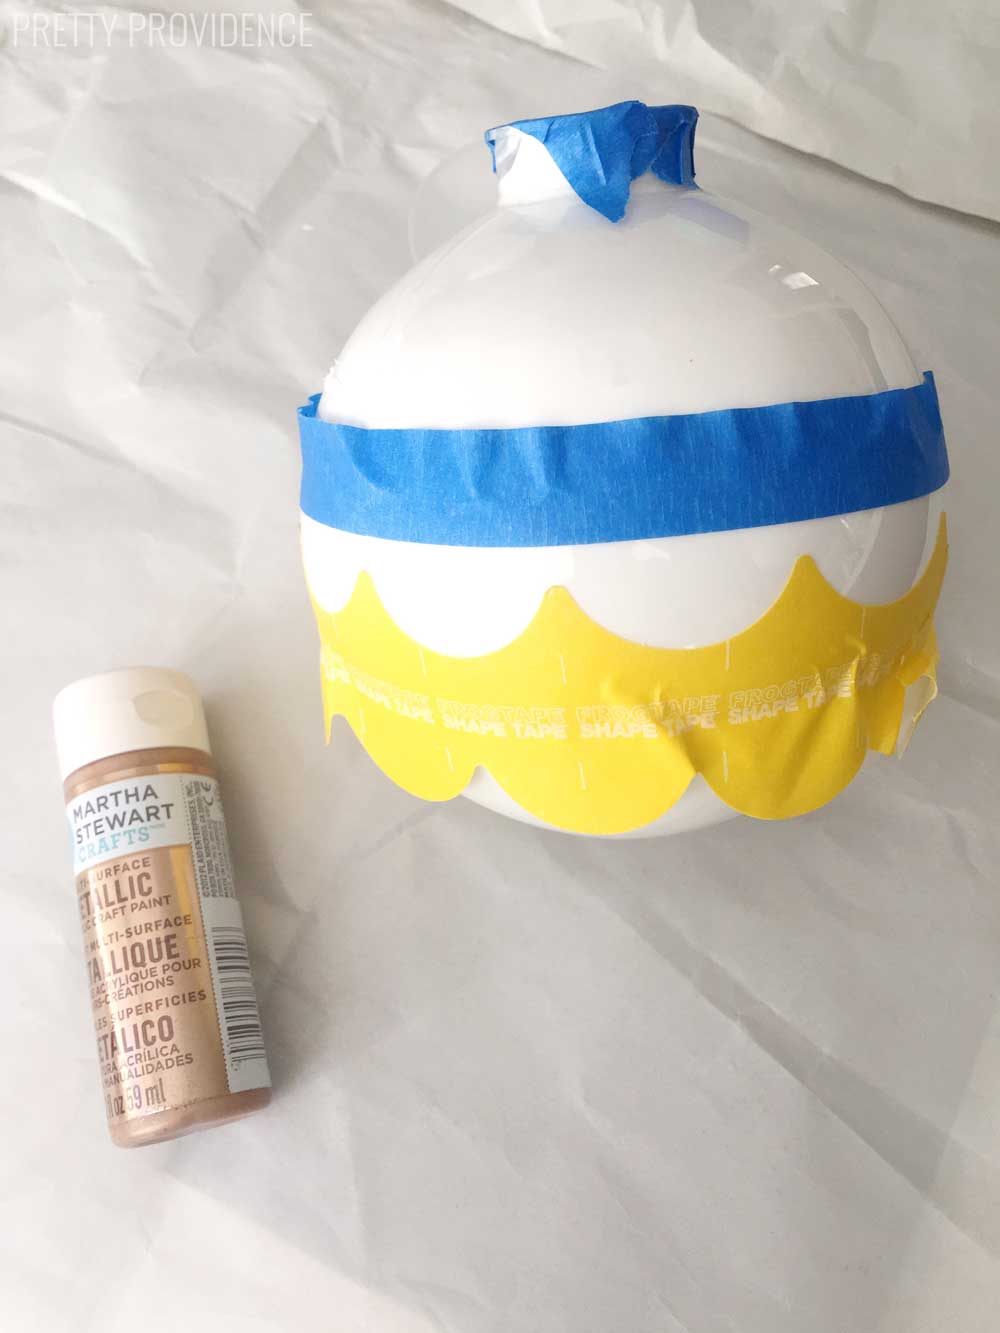
- Tape scalloped FrogTape and straight painter's tape onto your ornament. Paint the exposed part of your ornament (in between the painter's tape.) I did three coats.
- Let paint dry thoroughly.
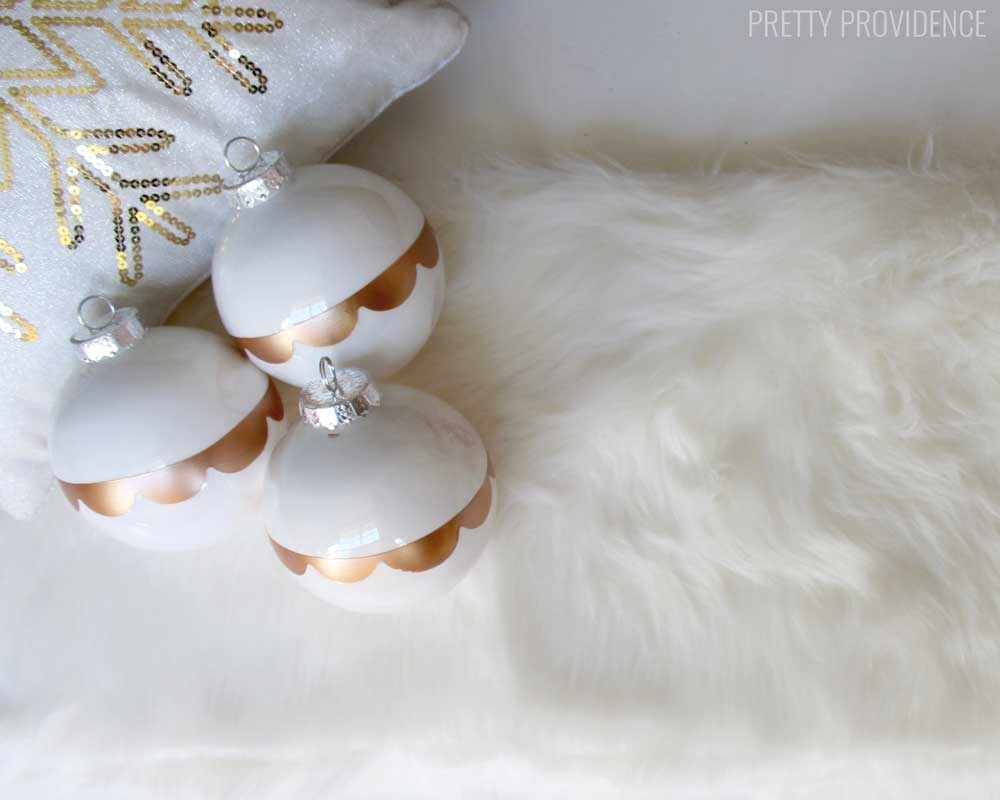
- When everything is dry, remove painter's tape, replace the top to your ornament and hang on your tree!
|
|
|
|
See? It really is SO simple with the scallop tape. I have had this tape for years and I'm glad I found a reason to use it again!
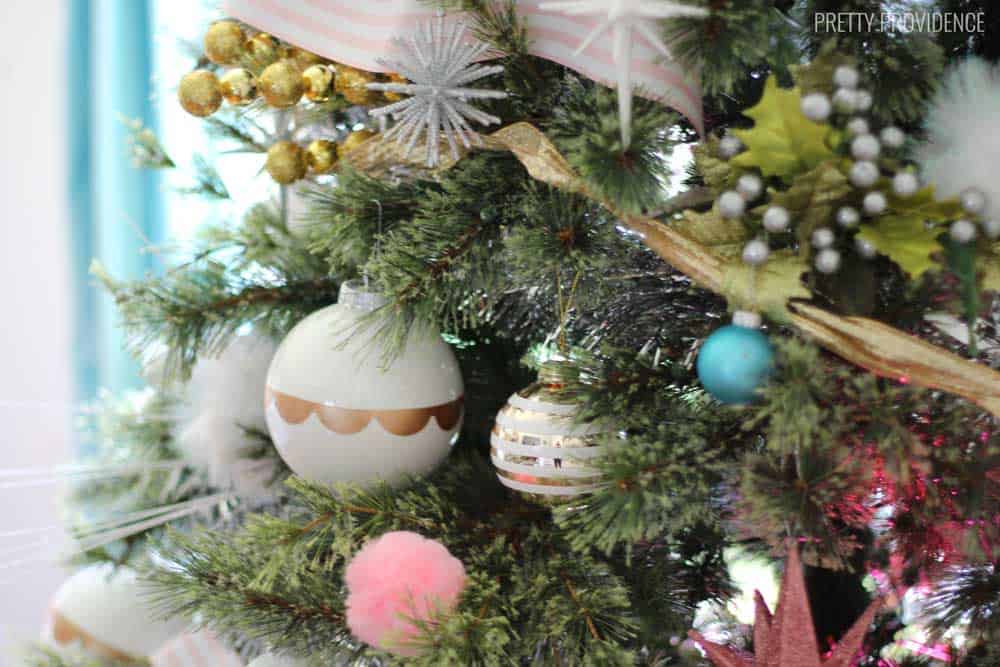
I have been getting tons of compliments on these ornaments and people say they wouldn't have thought they were DIY! (BEST COMPLIMENT EVER.)
LIKE IT? PIN IT!







Leave a Reply