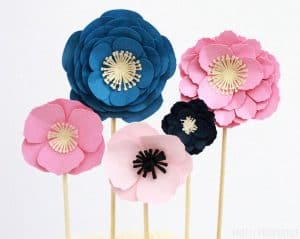
DIY Easy Paper Flowers
You can make gorgeous Cricut paper flowers with this easy step-by-step tutorial.

DIY Easy Paper Flowers
Have you ever wondered how people make the beautiful and intricate paper flowers you sometimes see on Pinterest or in Anthropologie windows, or whatever?! Well, as you know I love my Cricut and I wanted to try using it for something other than making t-shirts. I made a paper gift card wreath and needed some paper flowers to embellish it with. Once I got started making these paper flowers I couldn't stop, so I made more colors so I could make a cake topper too!
The paper flowers are actually easy to make, but they can be time consuming, even with a Cricut. (I can't imagine cutting everything by hand, although I know some people do this.) I recommend finding something awesome on Netflix while you go about this business. I am using poppies as the example for how to make these, but the process is going to be similar for most 3D paper flowers.
First things first!
Materials needed to make Cricut Flowers
- Card Stock - make sure you have the petal colors you want plus black, white, yellow, and green for the pistils and leaves!
- Quick Dry Tacky Glue
- Cricut - I used my Cricut Explore Air 2
- Cricut LightGrip Mat
- Basic Cricut Tool Kit
How to make Cardstock Flowers with the Cricut
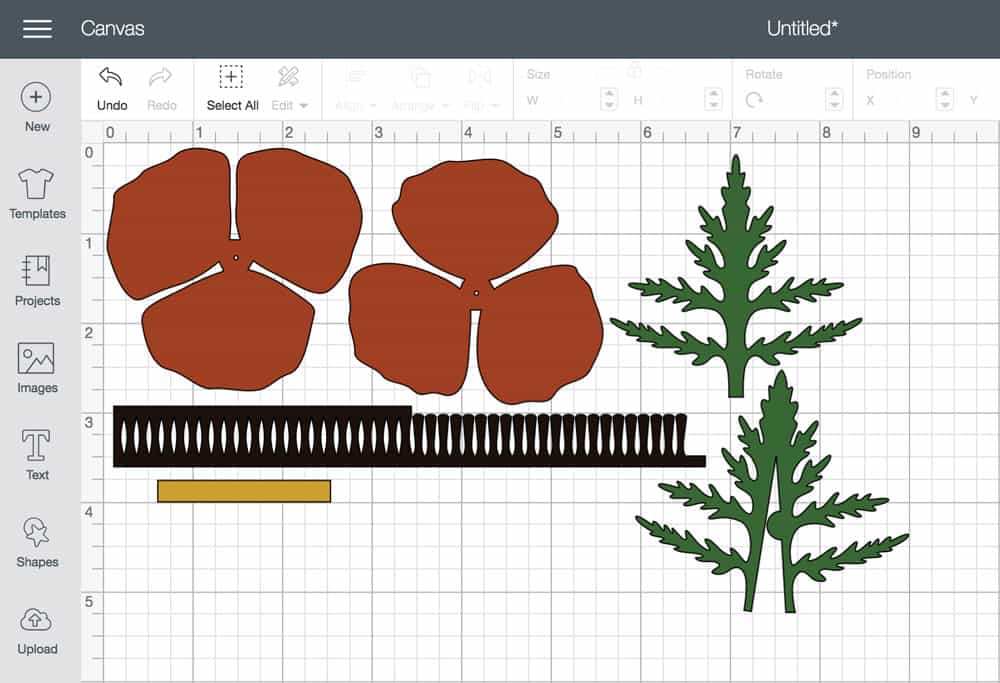
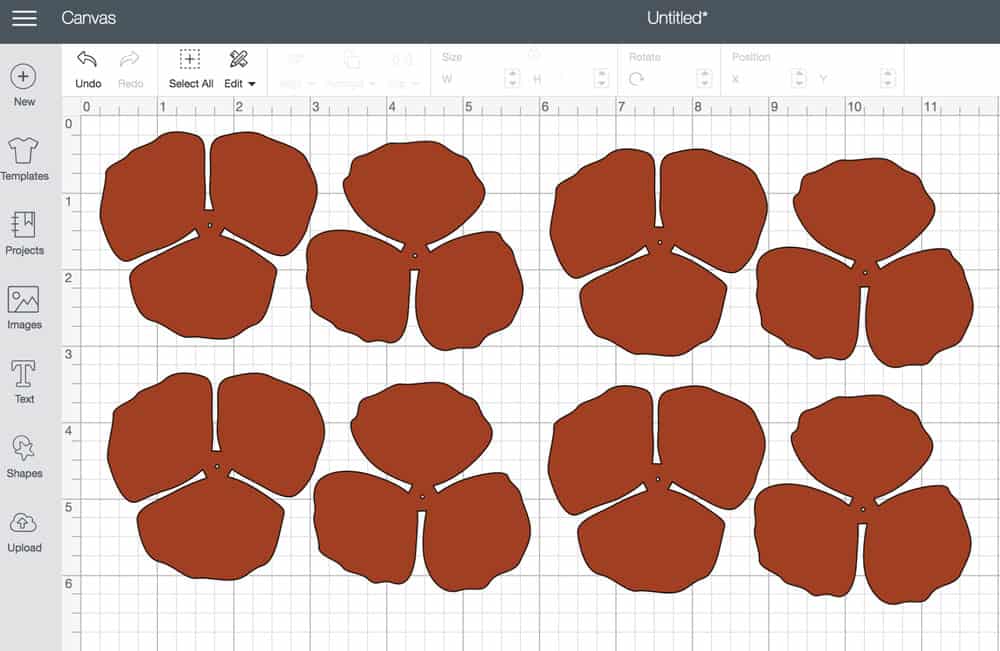
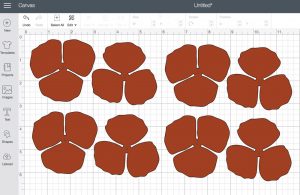
I decided that I wanted to make 3-5 flowers at a time, and I didn't want to have to switch out the colors of my paper between each cut! So I went a different route and cut the petals all together, and then the pistils all together, and then the leaves all together. To do this, I chose 'ungroup' in the far right corner of the canvas. Then I deleted all of the layers except for the petals.
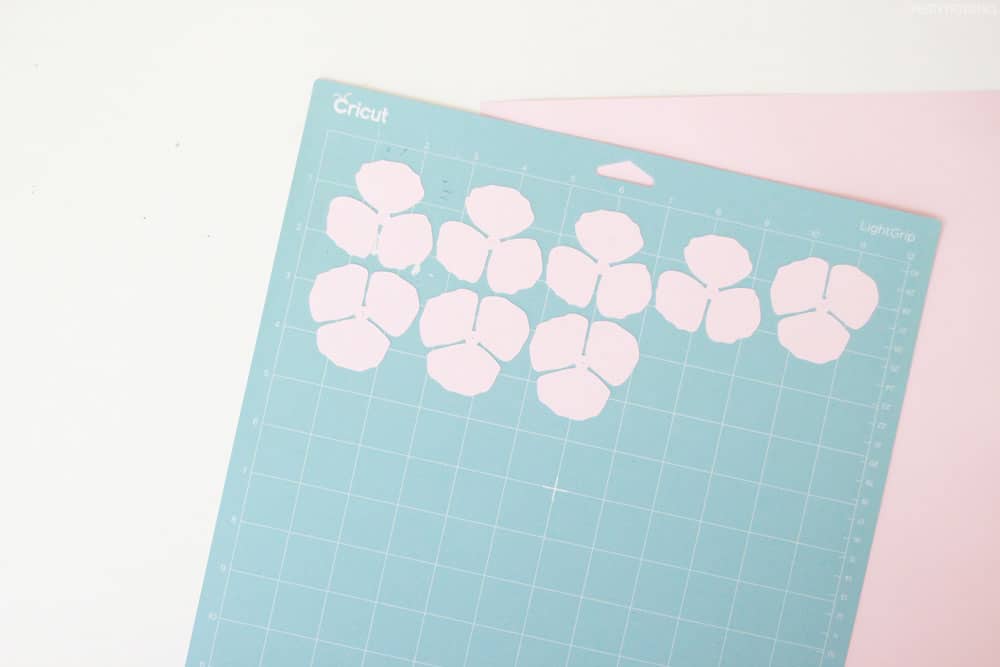
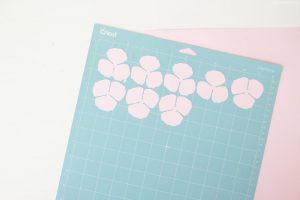
Cut those, and they will come out on the mat like this:
How to assemble Cricut Paper Flowers
- Attach the two flower petals together with Quick Dry Tacky Glue.
- Use your fingers to bend and roll the petals so that they are 3D like real flowers.
- Next, roll the pistils up and bend them out as you go, again, so they resemble real flowers. Use tacky glue to attach it as you roll, and then hold it tight for 30 seconds while it dries.
- Then, use glue to attach the pistil to the center of the flower.
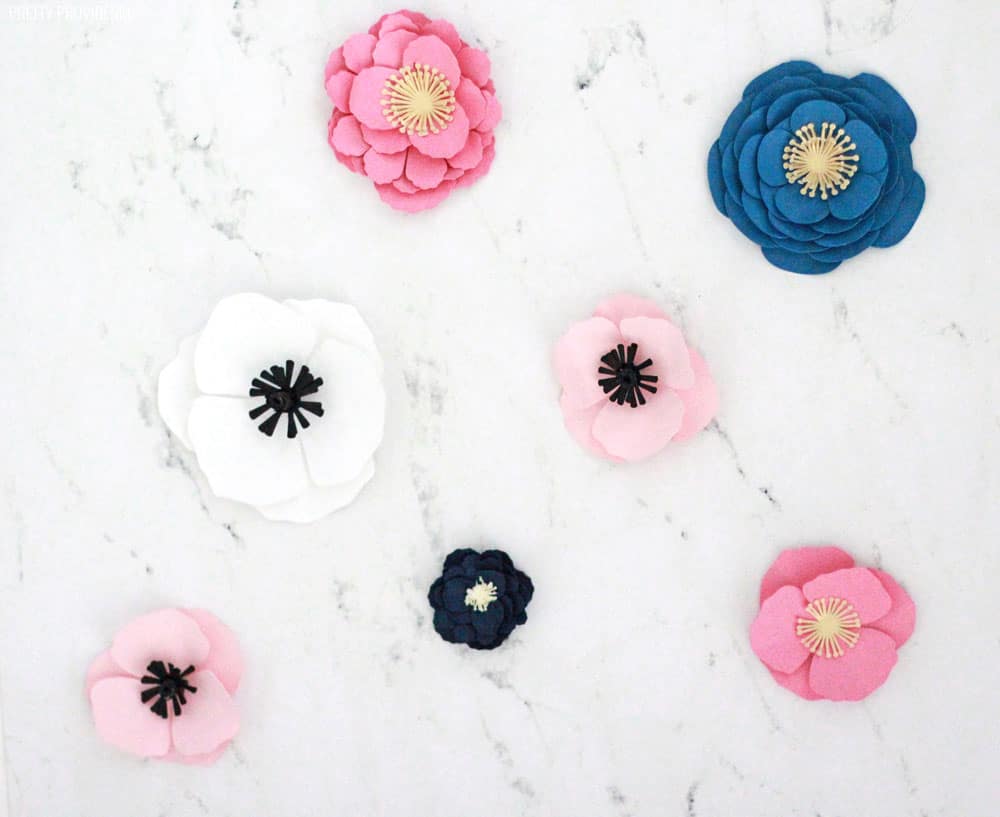
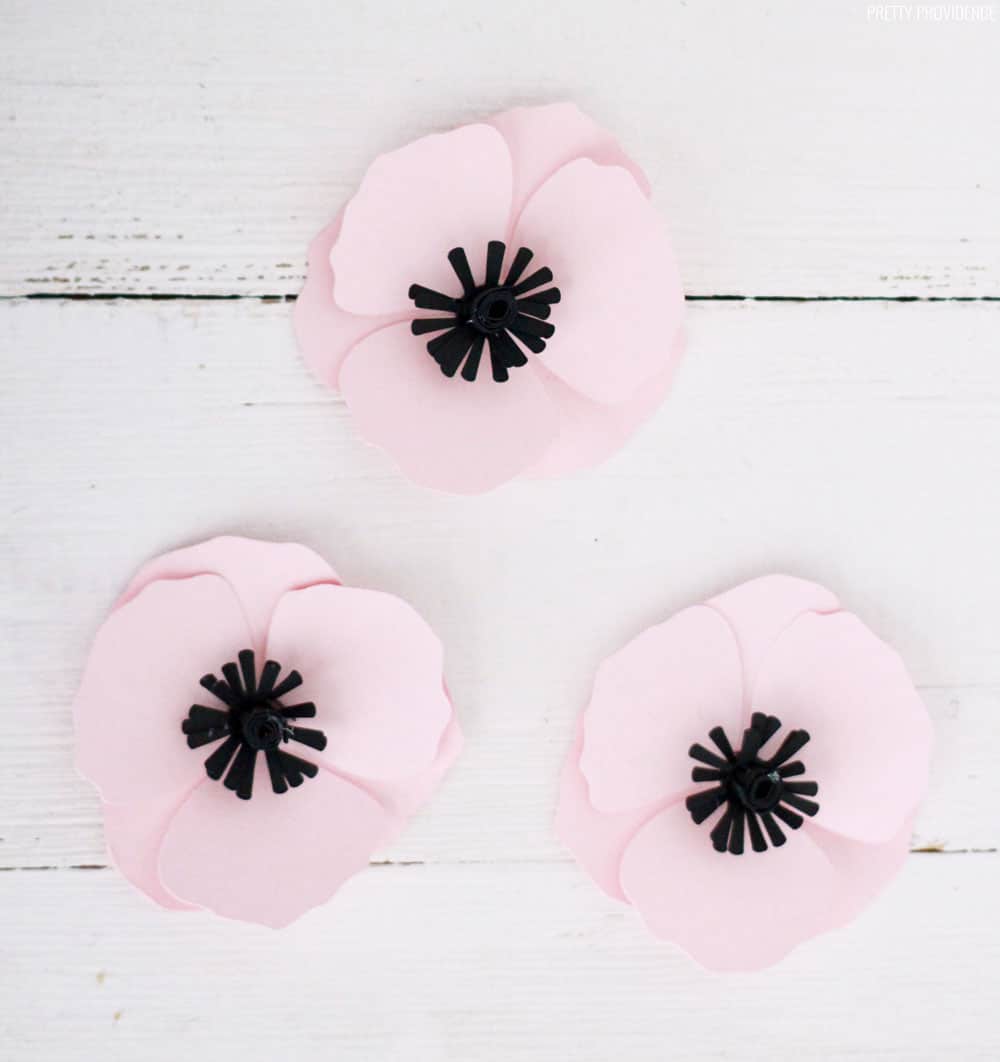
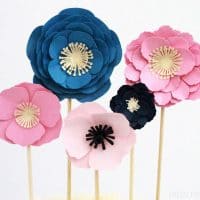
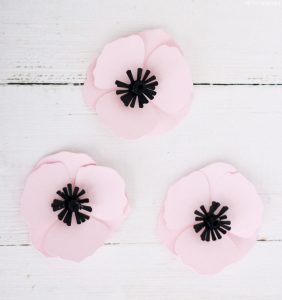
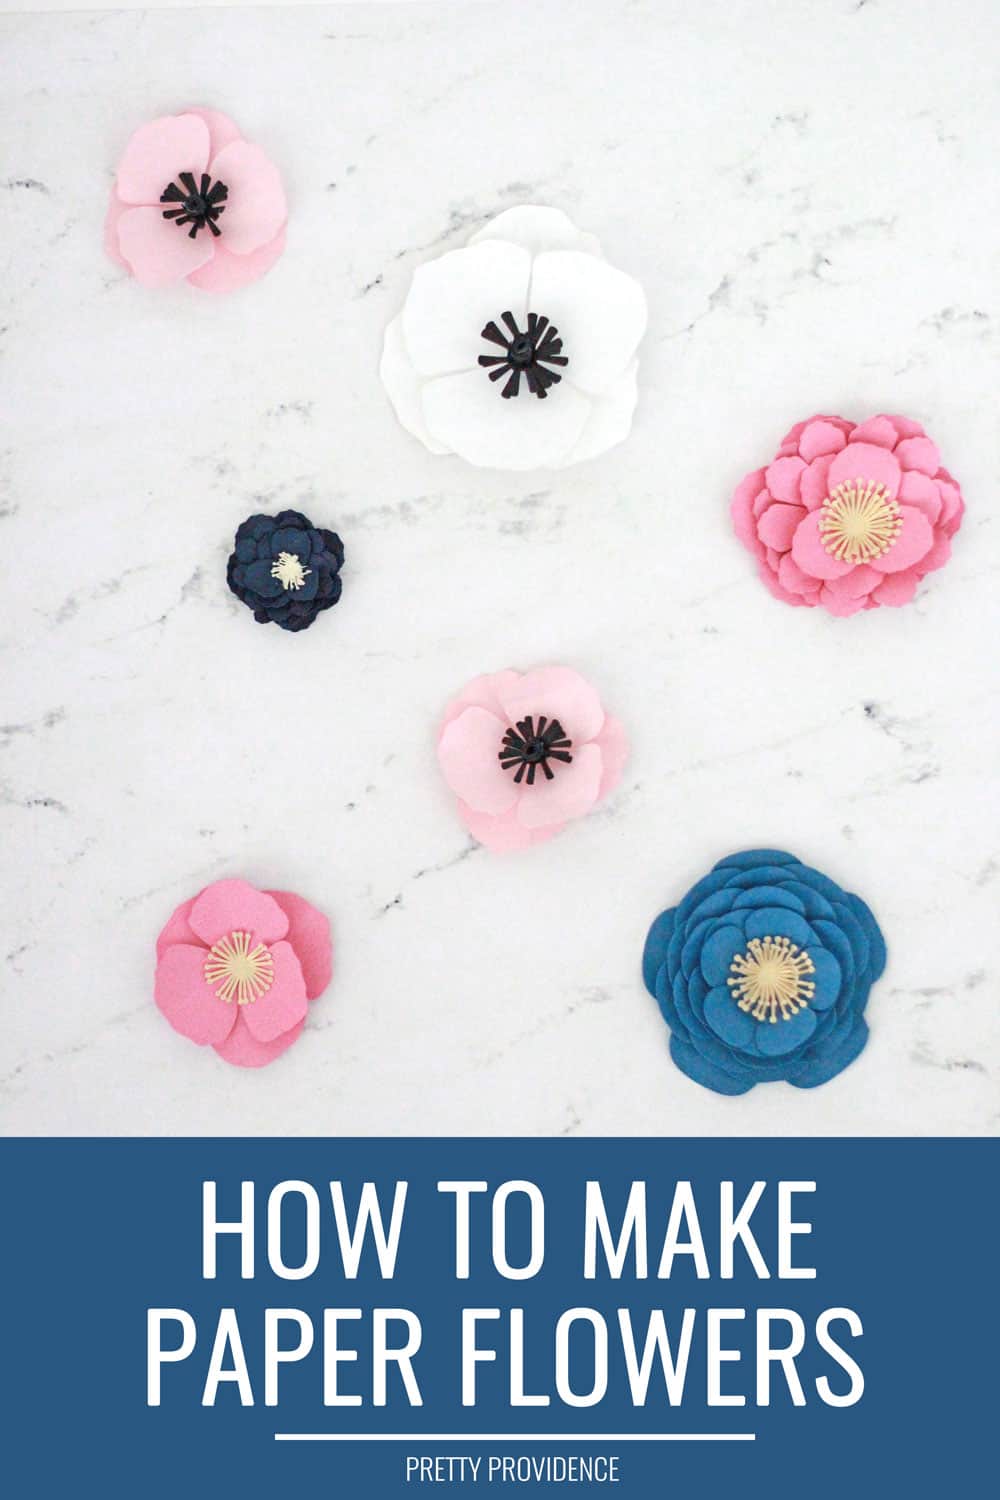
They should look something like this:
See? It's really pretty easy. It takes the Cricut a while to cut all of the little intricate parts of the flower, so plan accordingly and have something to do while you're cutting! I was able to make 12 paper flowers in one afternoon.
Tips for Making Paper Flowers with Cricut:
- It takes the Cricut a while to cut all of the little intricate parts of the flower, so plan accordingly and have something to do while you're cutting!
- I was able to make 12 paper flowers in one afternoon.
Shop everything you need for these Paper Flowers (Cricut):
 |  |  |  |
How to Make Paper Flowers (Cricut)
Video
Equipment
- Cricut Machine - Maker, Cricut Explore Air 2, or Cricut Joy
- Cricut LightGrip Mat
Materials
- Card Stock choose any color for petals, a green for leaves, and black for accents and pistils
- Quick Dry Tacky Glue
Instructions
How to Design Paper Flowers in Cricut Design Space
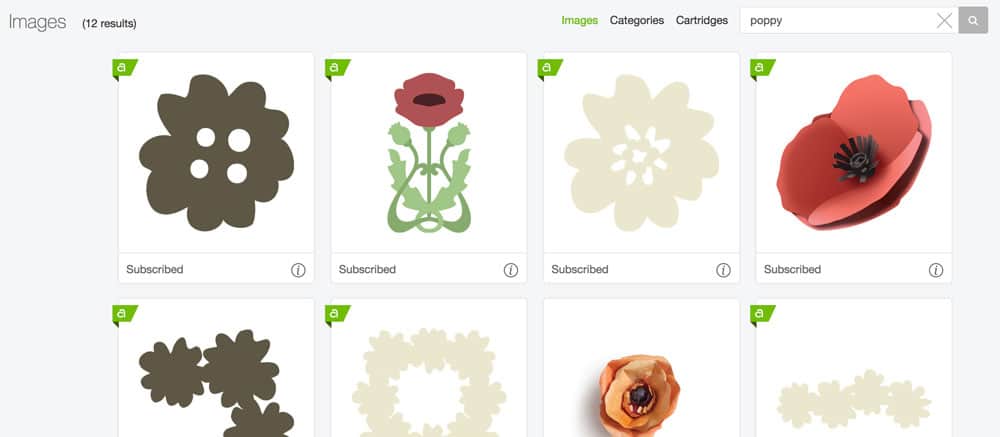
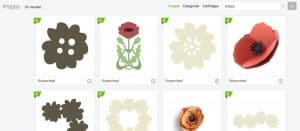
- In Cricut Design Space, go to Images. Search 'flower' and then under 'filters choose '3D objects.' You can also type the name of a specific flower into the search bar.

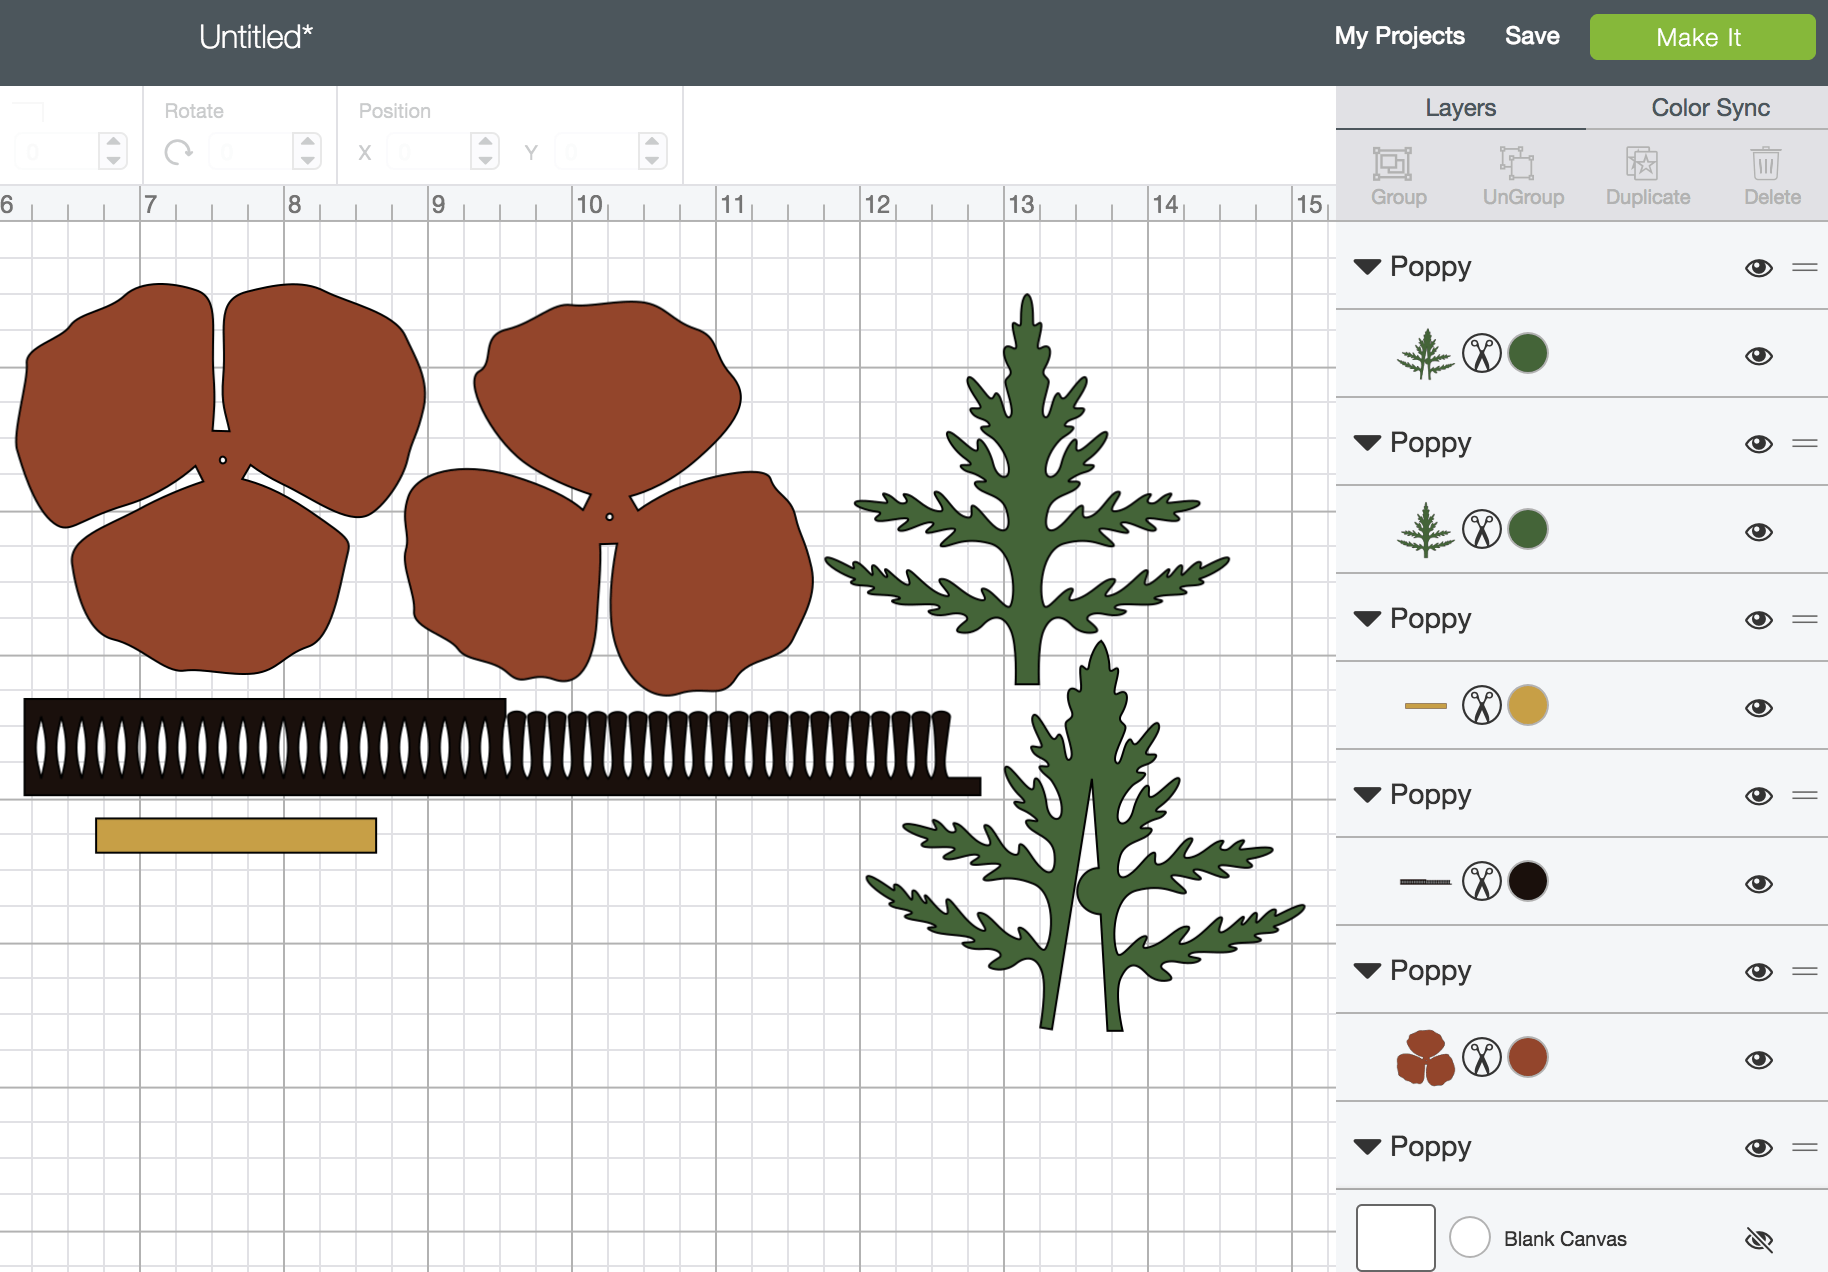
- Select the flower you like the best. All of the elements of the paper flower will come up on the canvas.
- Select the elements of the flower and duplicate them if you want to make more than one.

- Size the flower designs to the how big you want them to be, and click 'make it!'
Cut Paper Flowers
- Add the first color of card stock to a Light grip mat - the color that coordinates with the first canvas in line for cutting.

- Press continue. Once your machine is connected and the correct tools are loaded, load the mat into the machine and click go.
- After the first mat cuts, repeat this until all of the flower pieces are cut. Weed extra paper off of the mat and now it's time to assemble!


How to Assemble and Glue Paper Flowers
- Attach the two flower petals together with Quick Dry Tacky Glue. Use your fingers to bend and roll the petals so that they are 3D like real flowers.
- Next, roll the pistils up and bend them out as you go, again, so they resemble real flowers. Use tacky glue to attach it as you roll, and then hold it tight for 30 seconds while it dries. Then, use glue to attach the pistil to the center of the flower.

- Repeat these steps and assemble all of the paper flowers in a similar fashion.

Notes
Click here to check it out! Or just go to our Cricut project gallery to see ALL of our Cricut projects and tutorials!

If you like this, you should check out these Cricut tutorials too:
Easy Paper Flowers Cake Topper
Gift Card Wreath
How to Use Cricut Transfer Tape
How to Make a Custom T-Shirt with a Cricut
DIY Name Placemat


Do you have a template to print out and cut by hand if you don't have a cricut?
I don't, sorry! I'm sure there are some out there on the web if you search.
What is the rectangle piece for????? I can't find any information on what it is for. Thanks
Hi Diana! You roll the rectangle piece up to put in the middle part of the poppy. I'm sorry I could have been more clear about that!