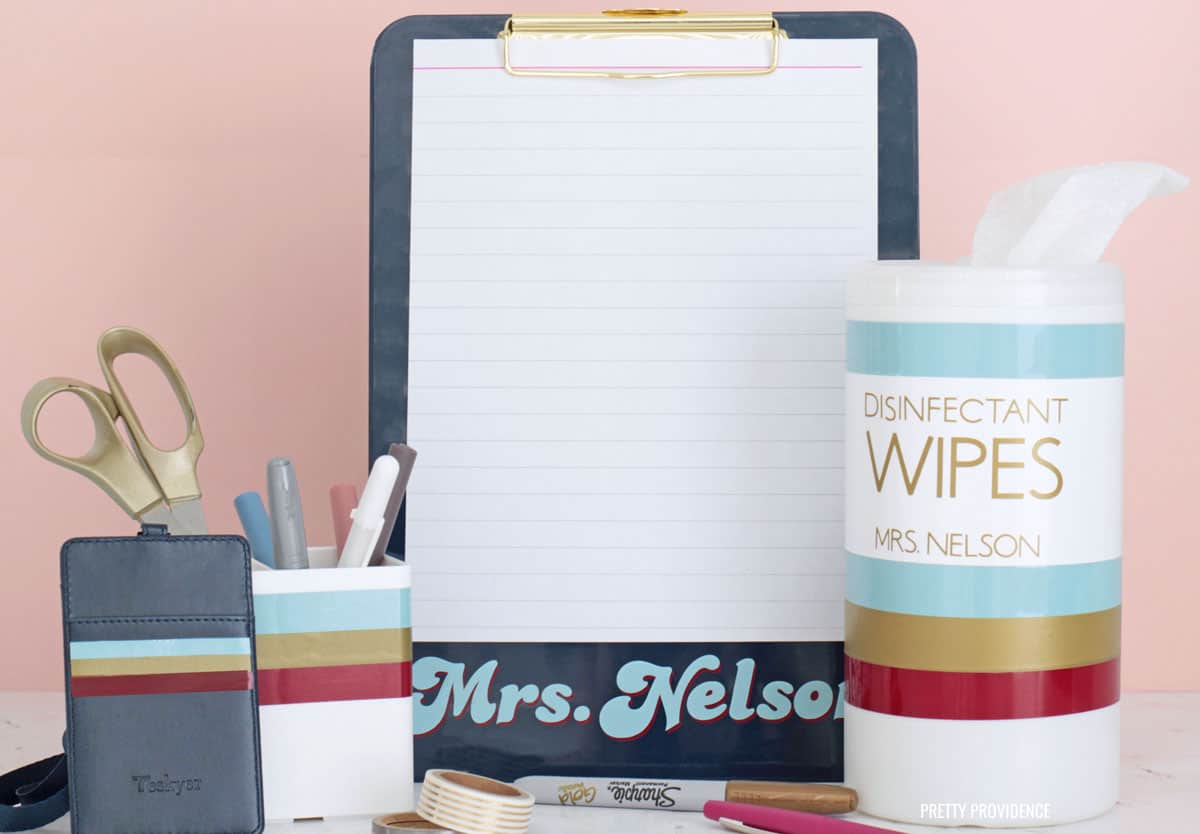
Show your teachers you appreciate them with these fun personalized teacher gifts. Give them the supplies they need, but make them extra special by adding their name and school colors with Cricut vinyl!
I love giving personalized teacher gifts and this year, more than ever, our teachers deserve the BEST! I used my Cricut Maker and vinyl to add some fun details to classroom essentials and it was so easy to do.
*This post contains affiliate links.
Personalized Teacher Gifts
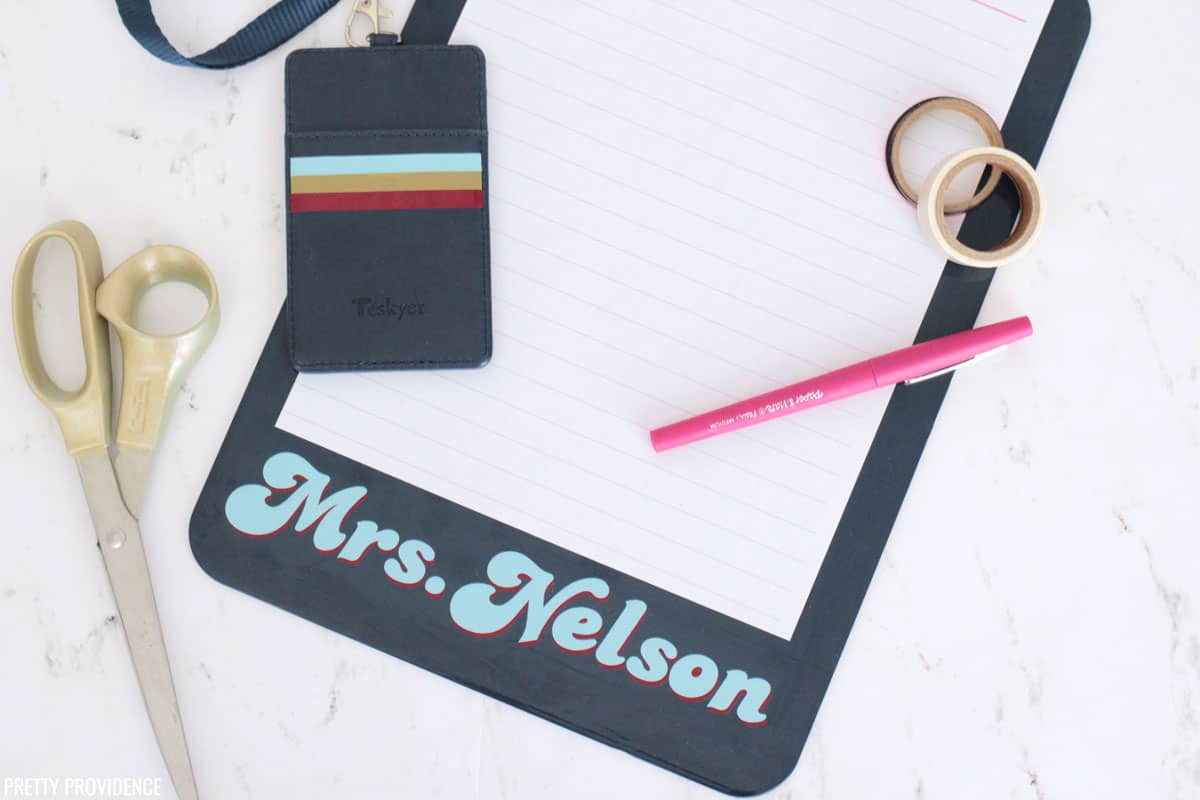
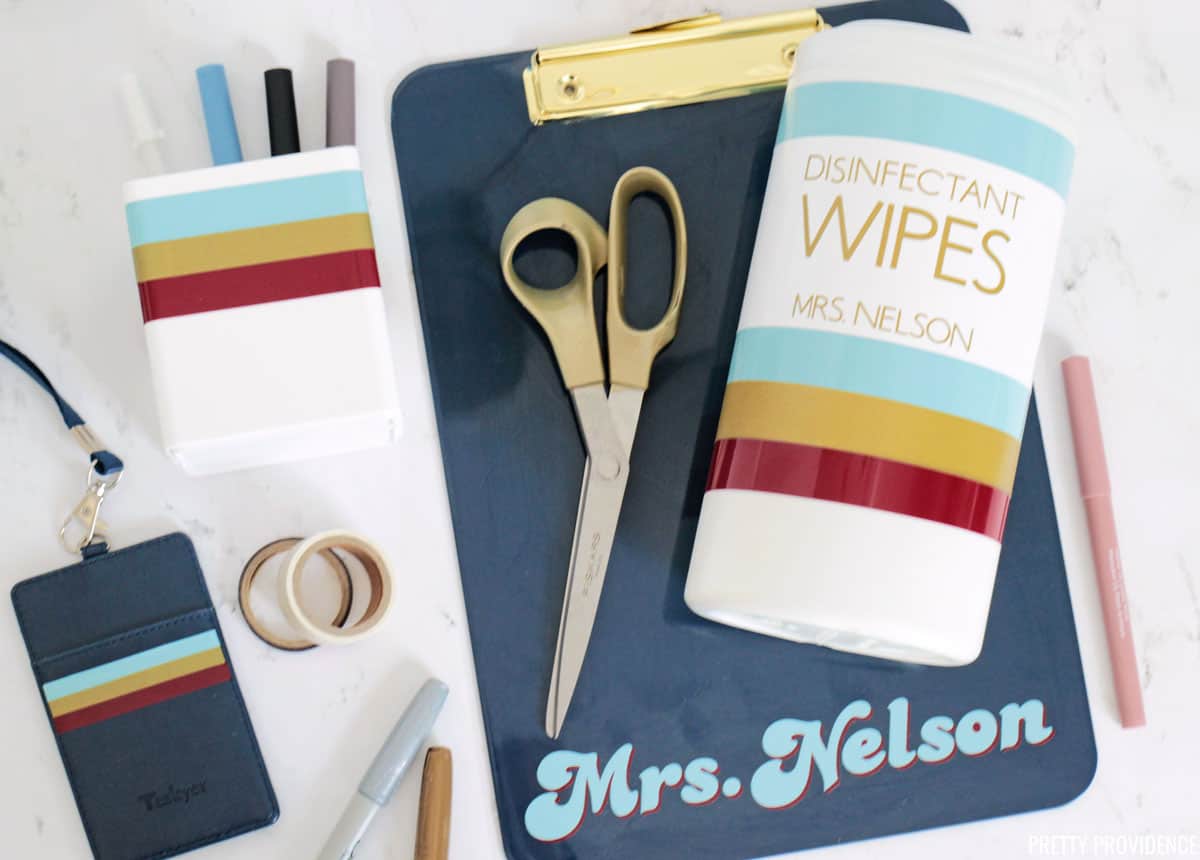
You know I love personalizing everything with my Cricut - remember last year's Back to School Gear?! I asked my friend who is a 5th grade teacher what types of supplies teachers would like to have personalized. Deciding to focus on a few of those that I think are often overlooked, I decided to personalize a container for disinfectant wipes (worth more than GOLD right now) a clipboard, pencil cup and a badge holder.
One of the reasons I love my Cricut machine so much is that I can take inexpensive and basic items and turn them into awesome, unique things that no one else has. I went with a retro theme using school colors and I just love how they turned out.
Here's what you'll need:
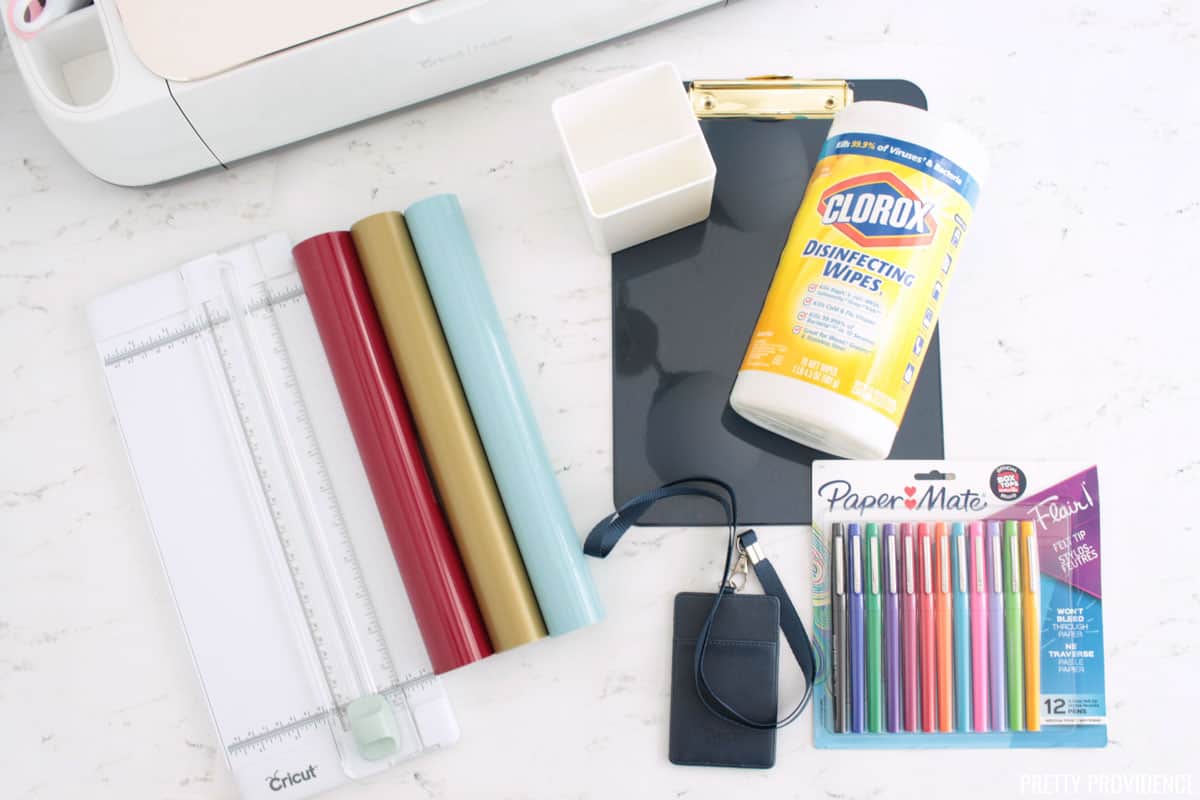
Cricut Supplies
- Cricut Maker (you could also use an Explore Air 2 or Joy machine)
- Paper Trimmer
- Weeding Tool
- Transfer Tape
- Standard Grip Mat
- Permanent Vinyl - I used Powder Blue, Dark Red and Gold
Teacher Gifts to Personalize
- Leather Badge Holder
- Flair Pens (I didn't personalize these but they are part of the gift)
- Pencil Cup
- Clipboard
- Disinfectant Wipes
How to Cut and Apply Cricut Vinyl
First, create your design. I used a retro font called Candace to write "Mrs. Nelson." If you need some help getting started, we have a whole post all about Cricut fonts which includes a list of my favorite fonts in the Cricut Access library!
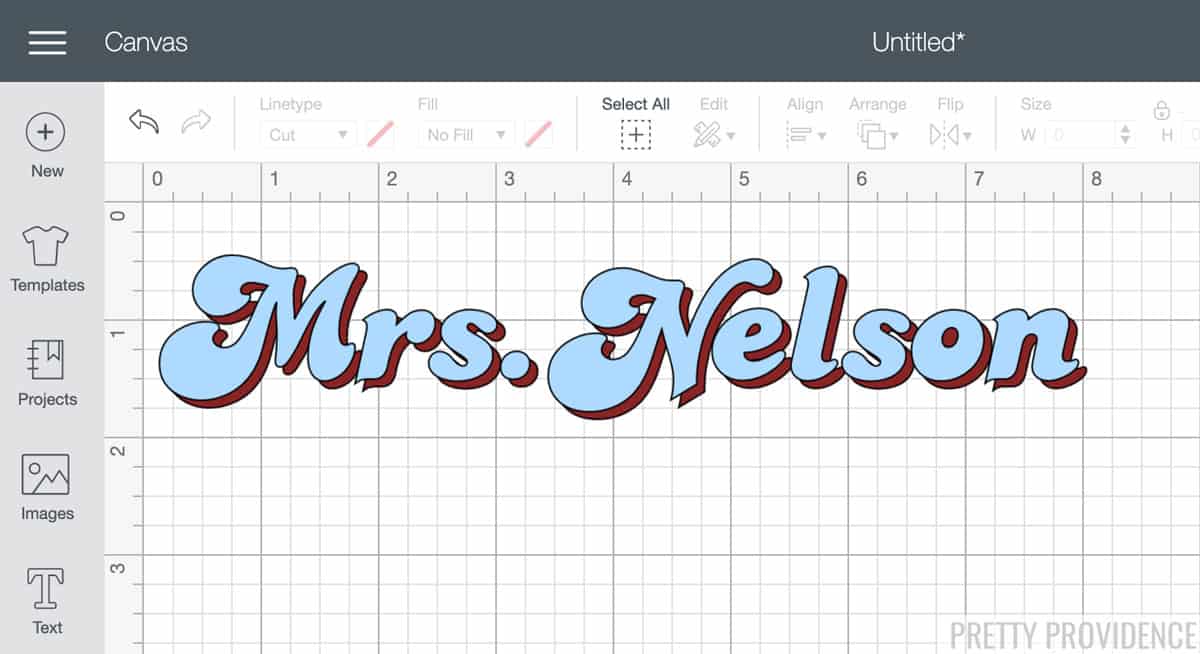
I layered two colors to give it a retro feel.
Measure the surface of the item you're personalizing and size your design in Design Space accordingly.
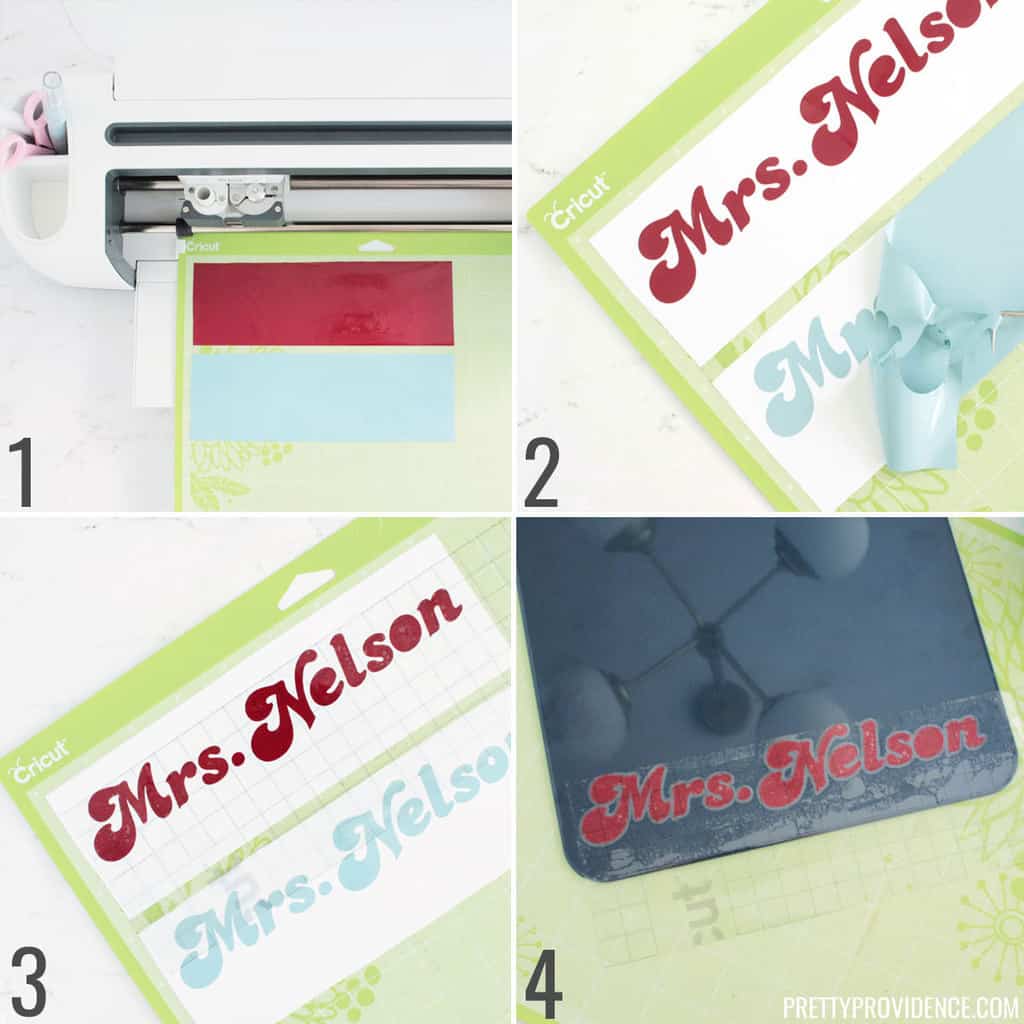
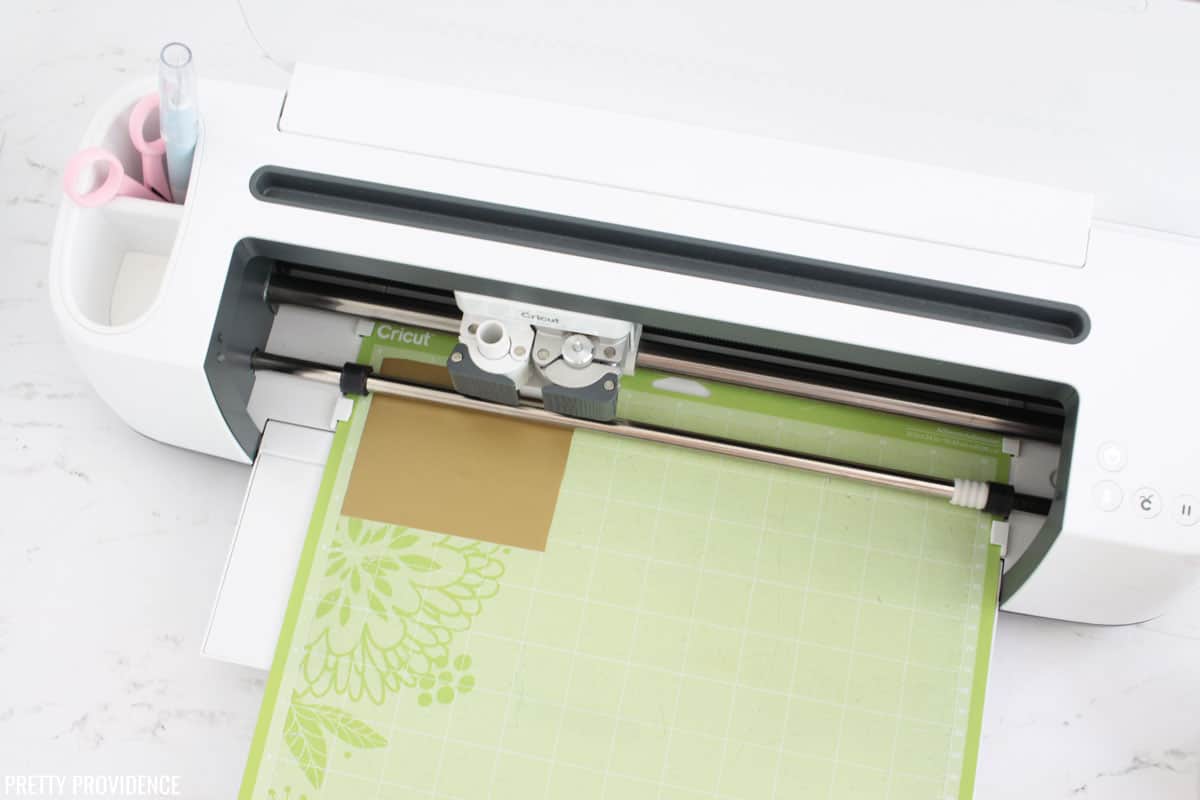
- Follow prompts on your machine and cut vinyl.
- Weed extra vinyl (remove from edges and inside letters.)
- Apply transfer tape to the vinyl and rub until it's stuck. (How to Use Transfer Tape)
- Pick up transfer tape carefully transfer vinyl to the surface you're personalizing. Rub it on well, then slowly peel off the transfer tape from one edge, diagonally.
If you're adding another layer, repeat the process again. Ta da! Hhow cute is that clipboard?
Now to add stripes to our pencil cup, badge holder and disinfectant wipes!
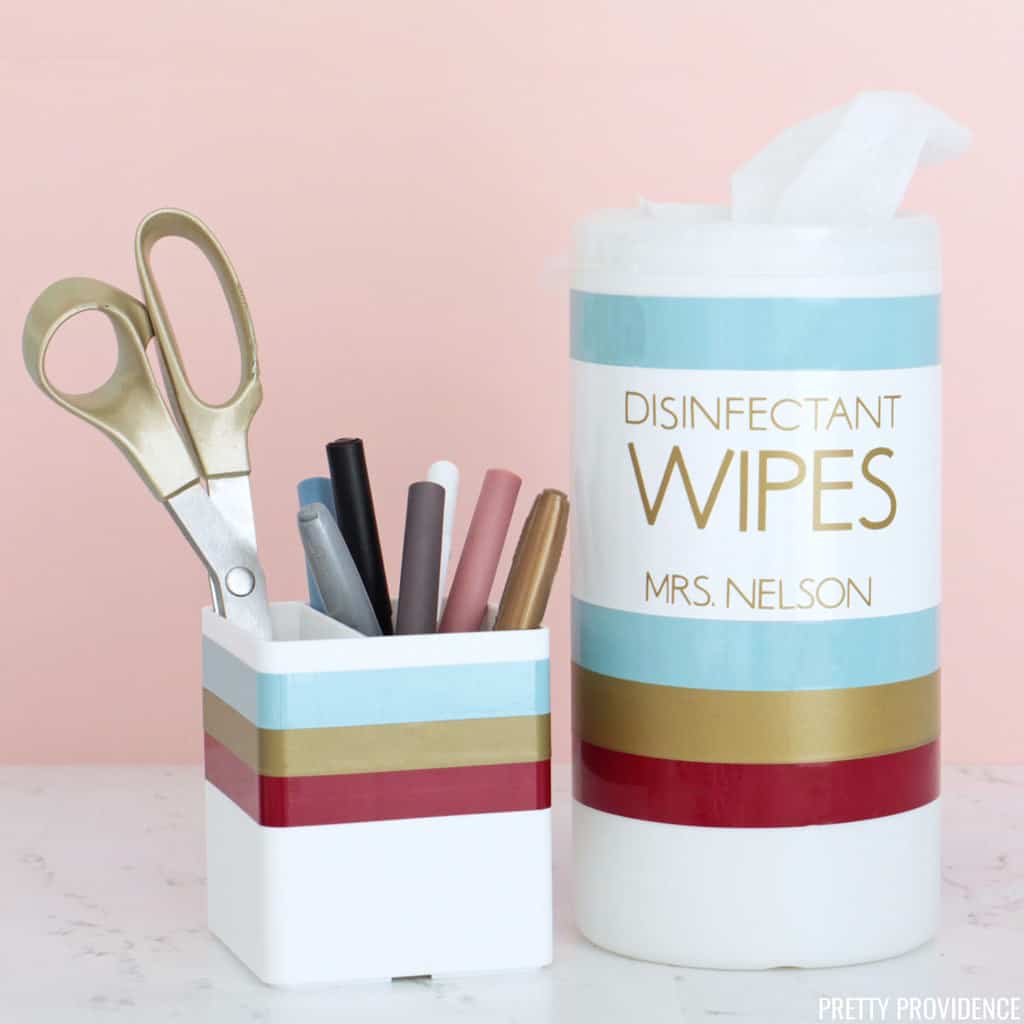
Disinfectant wipes have always been a necessity in classrooms but now they are even harder for teachers to get their hands on! I decided to personalize a wipes container because it will look that much cuter sitting on the teacher's desk. I mean, is this the most useful personalized teacher gift - like, ever? (My vote is yes.)
How to Make Stripes with Cricut Vinyl - Using a Paper Cutter
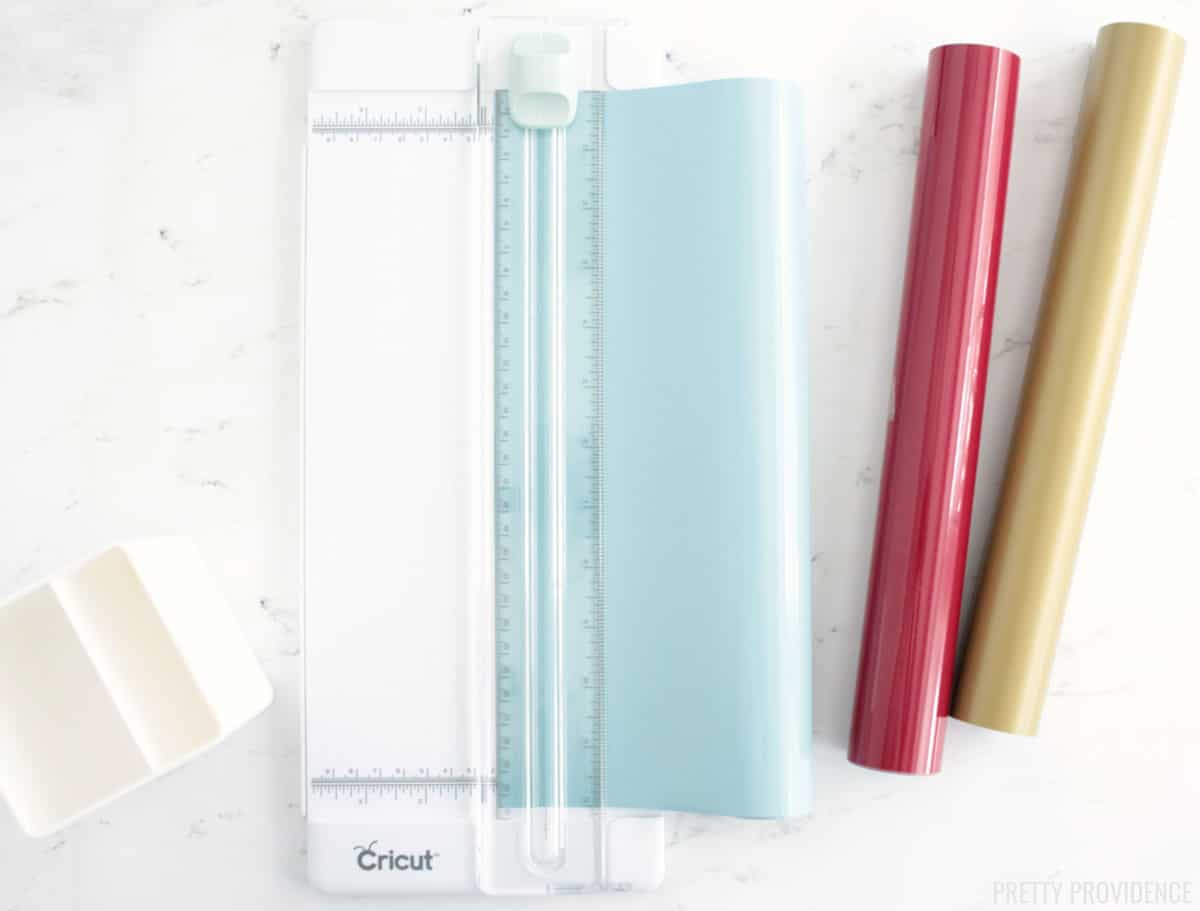
I love my Cricut paper cutter (it comes with the Cricut Essential tool set) and use it all the time! It works so great for cutting pieces of vinyl.
Pretend that you're cutting a piece of card stock. Put the vinyl into the paper cutter and measure how long you want your stripe to be, then cut.
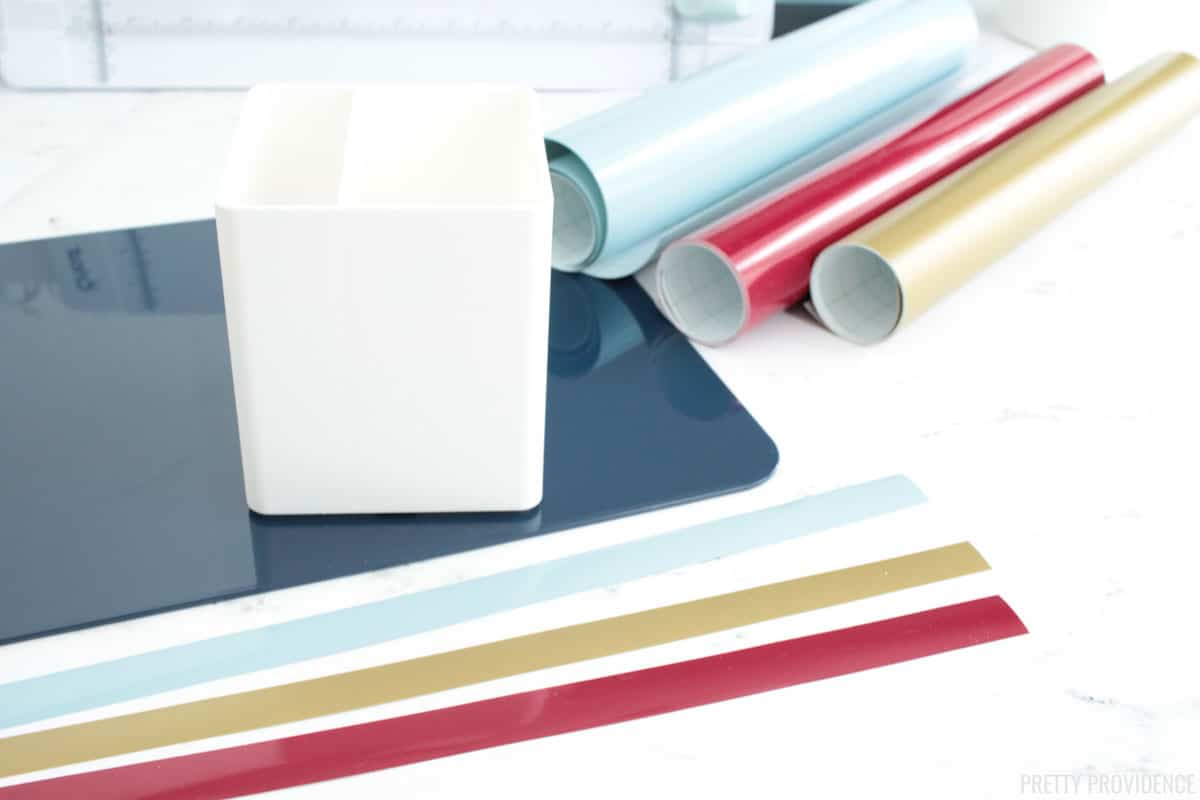
Once you have cut the stripes, peel the backing off of the vinyl and apply it to the items.
For disinfectant wipes, remove the label and make sure there is no sticky stuff left before you apply vinyl.
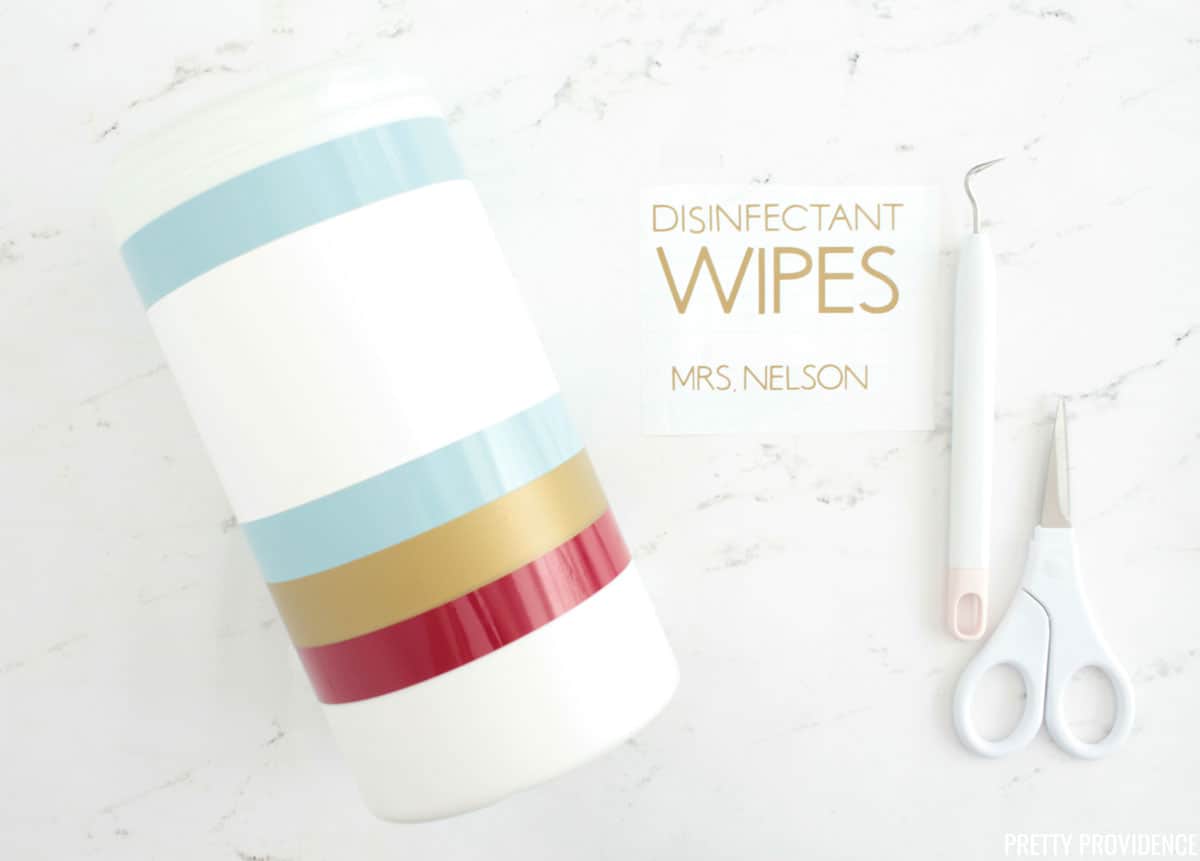
Follow the tutorial for cutting and applying Cricut vinyl (printable version below) to make the label for the disinfectant wipes.
After it is weeded, you can apply it with transfer tape.
Pro Tips:
Weeding and transferring small text, is much more difficult than big text!
My best advice is:
- take your time.
- use small scissors to cut pieces of the excess vinyl from the sides while you weed so that it doesn't stick to letters and pull them up.
Ta da! I love this lot of teacher supplies and I think our new teacher will too!
If you make some personalized teacher gifts, we hope you'll leave a comment and positive review!
Personalized Teacher Gifts
Equipment
- Cricut Paper Cutter
- Weeding Tool
Materials
Instructions
How to Cut and Apply Vinyl
- First, create your design in Cricut Design Space.
- Measure your item and size design to fit it accordingly.
- Click 'Make it' and add vinyl to a Standard Grip mat.
- Load mat and follow prompts to cut vinyl.
- Weed vinyl (remove the extra from edges and inside letters.)
- Apply transfer tape to the vinyl and use the back of a weeding tool or your fingers to rub the transfer tape on well.
- Pick up transfer tape from one corner and carefully transfer vinyl to the item you will be personalizing. Rub it on well, then slowly peel off the transfer tape from one edge, diagonally.
How to Make Stripes with Vinyl
- Put vinyl inside a paper cutter, and measure how big a stripe you want to cut. Exactly how you would if you were cutting card stock.
- Slide the blade across the vinyl.
- Peel backing off of vinyl and apply stripe to item you want to personalize.
Notes
- If you've never used Cricut transfer tape before, there are some tricks to it. See: How to Use Cricut Transfer Tape
- Weeding and transferring small text is much more difficult than big text! Often the small letters want to lift while weeding and can easily get stuck to the sides of the vinyl you are pulling up.
- Take your time.
- Use scissors to cut pieces of the excess vinyl from the sides while you weed so that it doesn't stick to letters and pull them up.


Flora
This website really has all the information I
wanted concerning this subject and didn't know who to ask.
Pam Dana
These turned out so cute! Any teacher would love them!
Sara Welch
These are some really cute ideas! I can't wait to make some of these for when my kids are back in the classroom!
Sarah
Thank you! Yes they will make perfect gifts!
April
So fun! I love an excuse to play with my Cricut and this is perfect.
Sarah
Right!? They're so fun - so many possibilities.
Erin
So cute! Can't wait to give our personalized gifts to my son's teacher!
Sarah
Thank you!!
Anna McNamara
This is DARLING. The color combos are awesome too definitely doing a project along these lines.
Sarah
Thank you so much!!