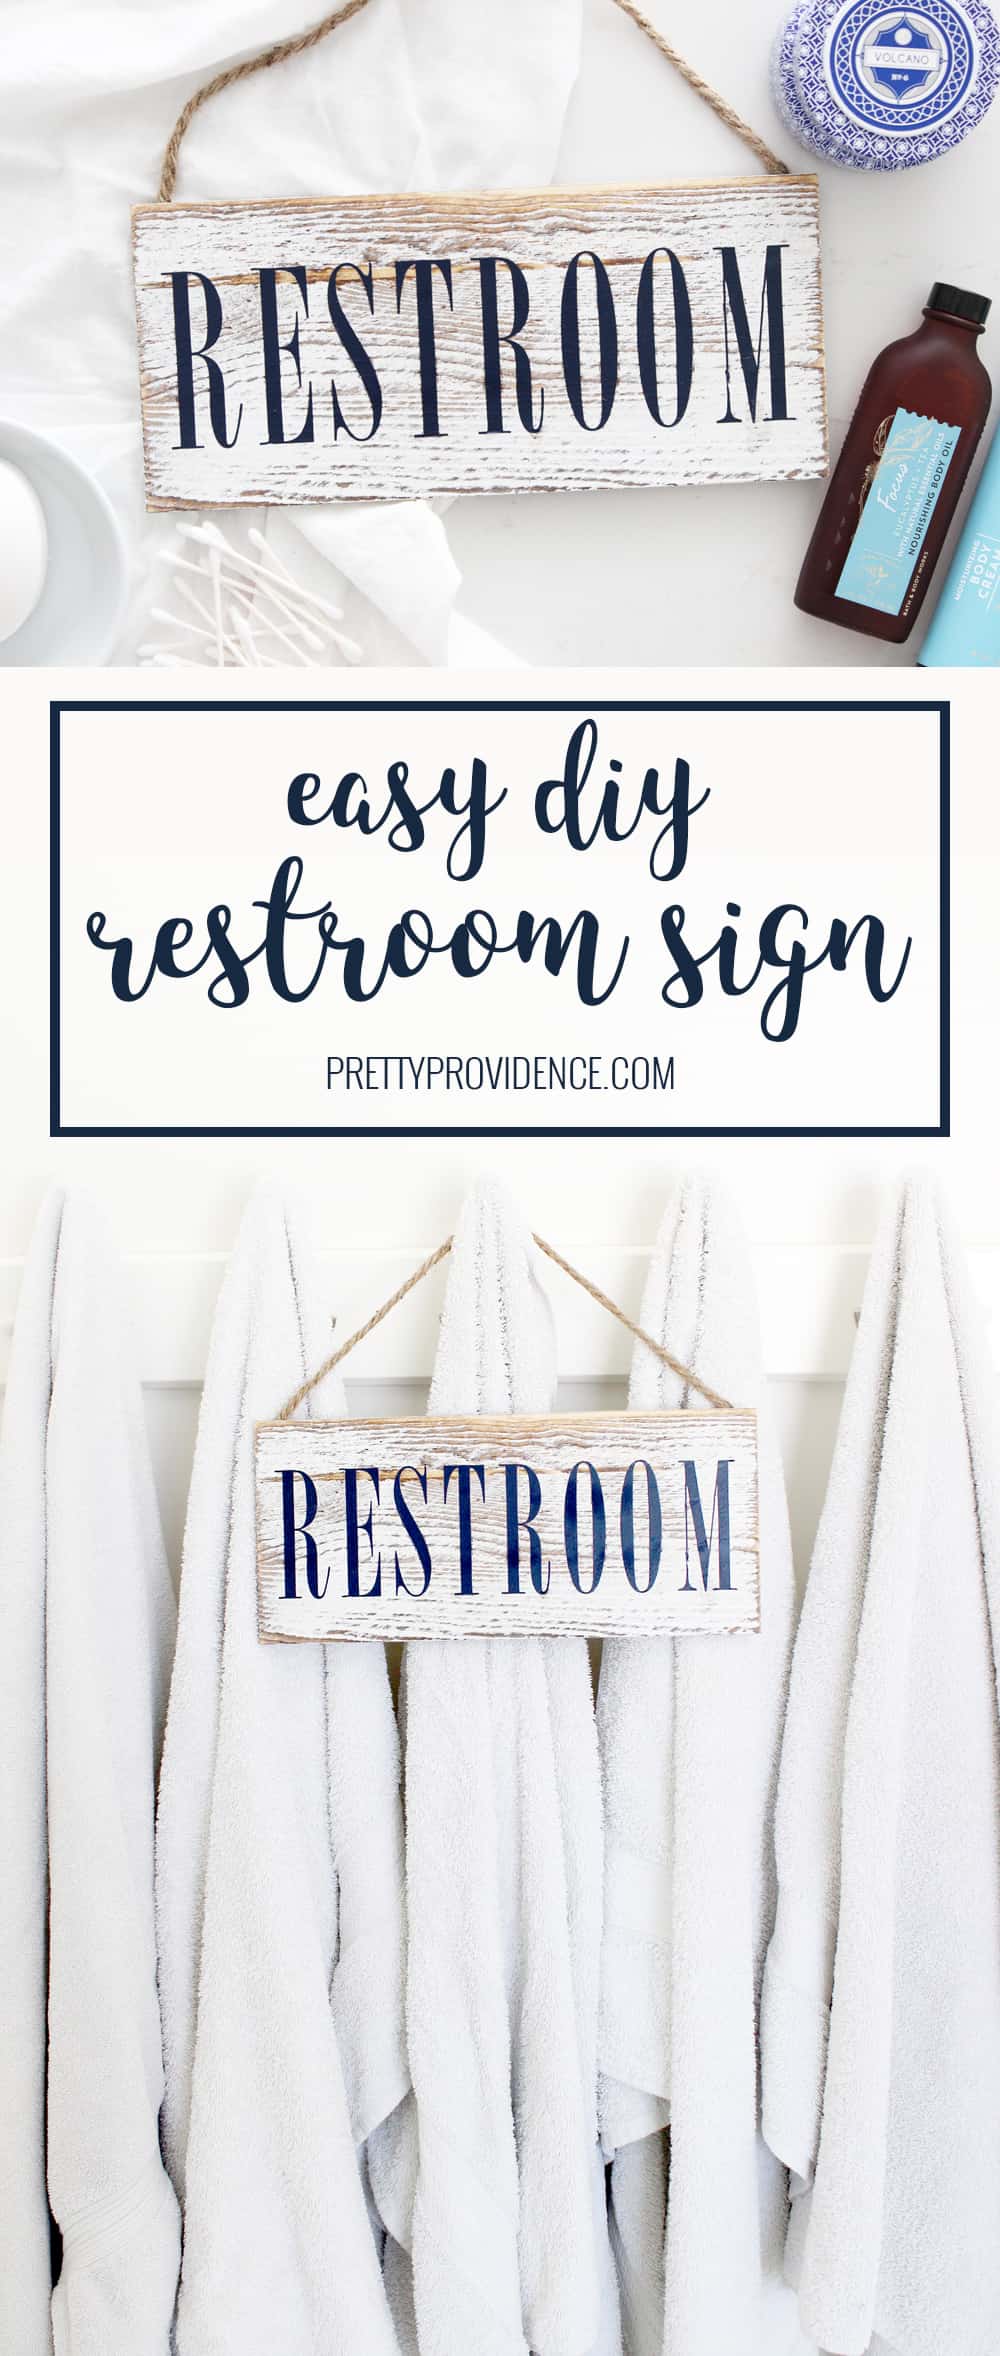
Easy DIY Restroom Sign made using Cricut's Iron-On Vinyl on Wood!
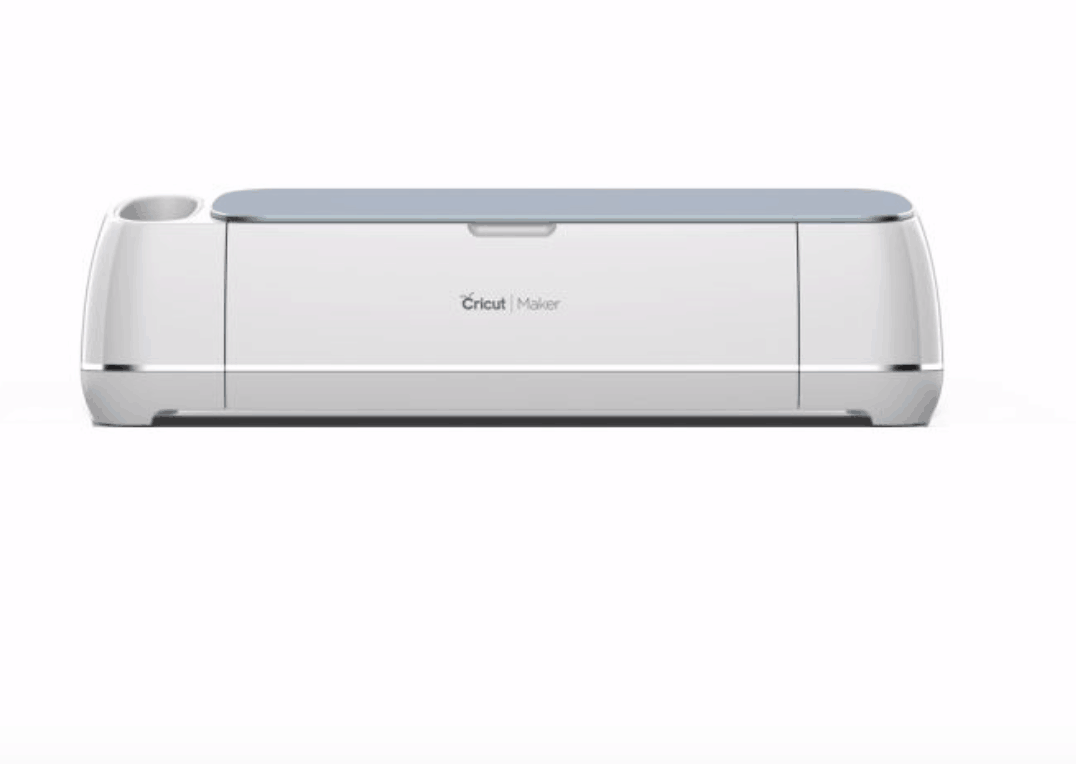
Ever since the Cricut Maker came out it has been pushing my creative boundaries! Because it works with so many materials, it got me thinking. "Can you put heat transfer vinyl on wood?" Well, guess what? I decided to explore this question by making this cute rustic diy restroom sign and it worked like a charm! I'm so excited to share all the details with you today!
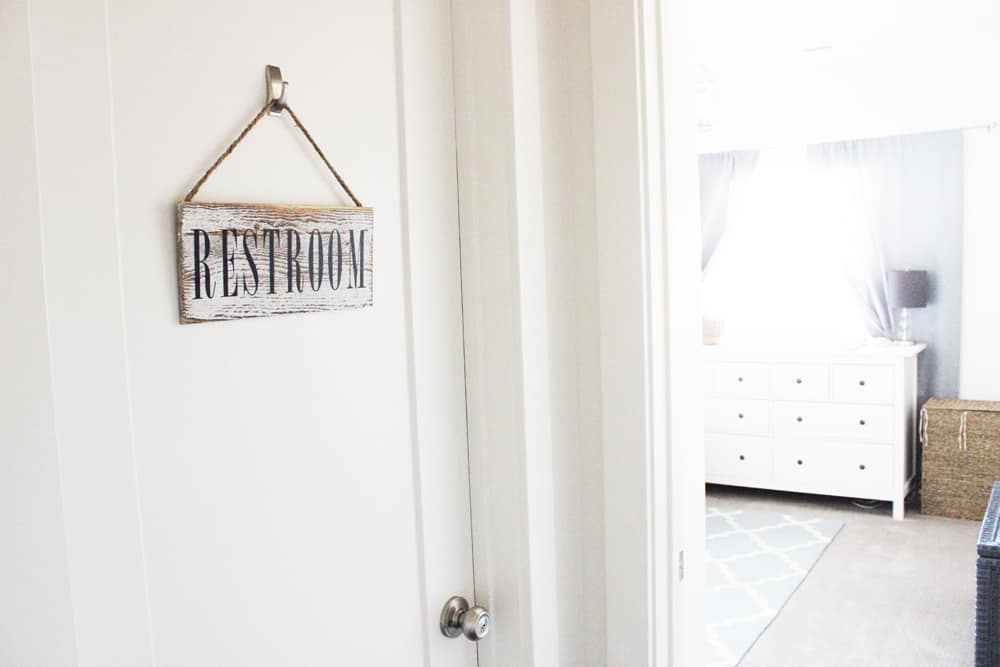
I have a hallway on the main floor of my house that has a whole bunch of doors on the left right in a row. Laundry room, linen closet, bathroom, nursery. I can't even count the amount of times people have asked me which room the bathroom is, or opened every door BUT the bathroom door before they found it, haha!
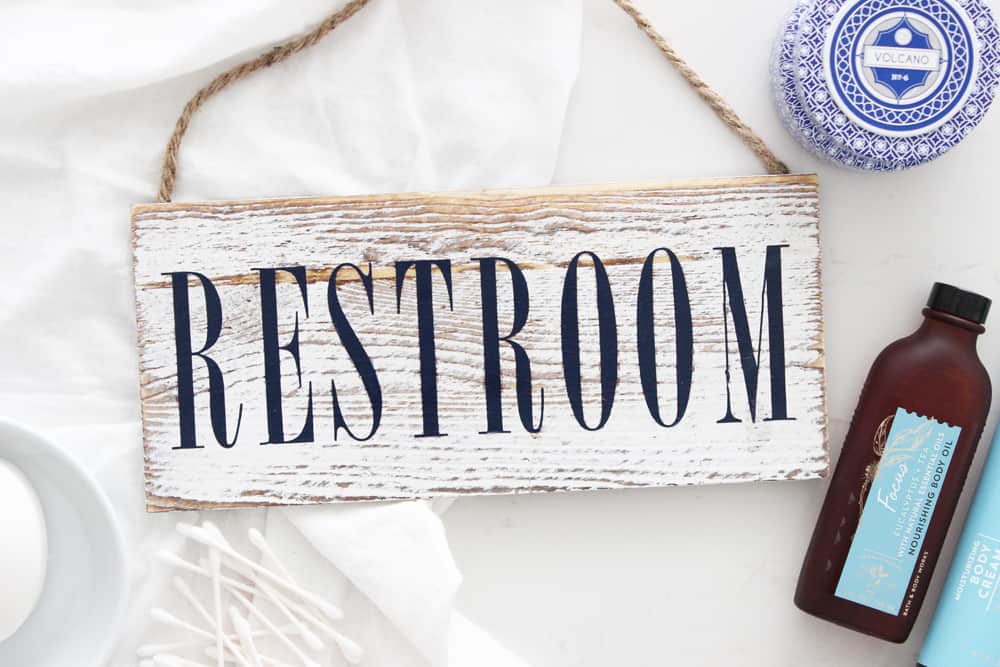
So, I knew I wanted a sign to easily point people in the right direction, but I still wanted it to be tasteful and classy. I found this wooden sign for a few dollars at Walmart distressed and ready to go and knew it would be perfect for my space.
First I'll show you how I made this simple project and then I'll answer a few questions about using iron on vinyl on wood. You ready?
DIY Rustic Bathroom Sign
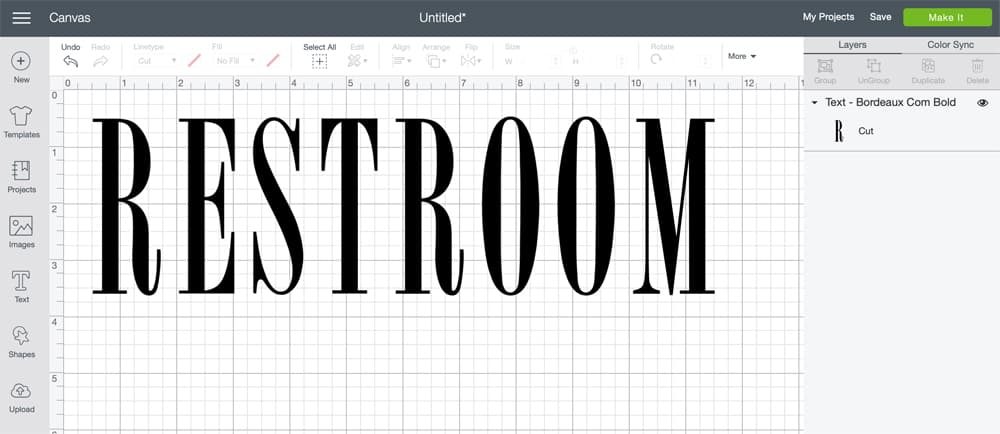
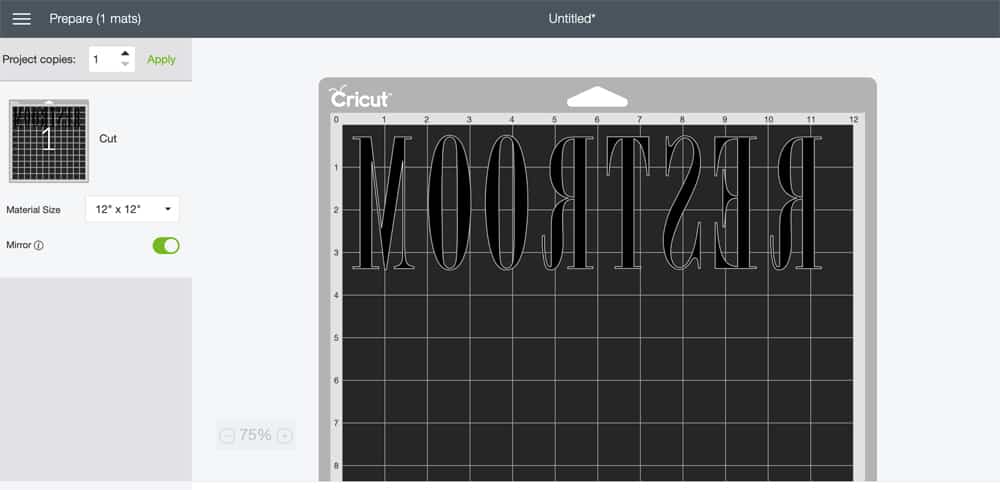
First step, design your sign. I debated between using symbols and using a nice clean font but at the end of the day I decided on the word restroom in the font Bordeux Corn. You can find my Restroom Sign Here.
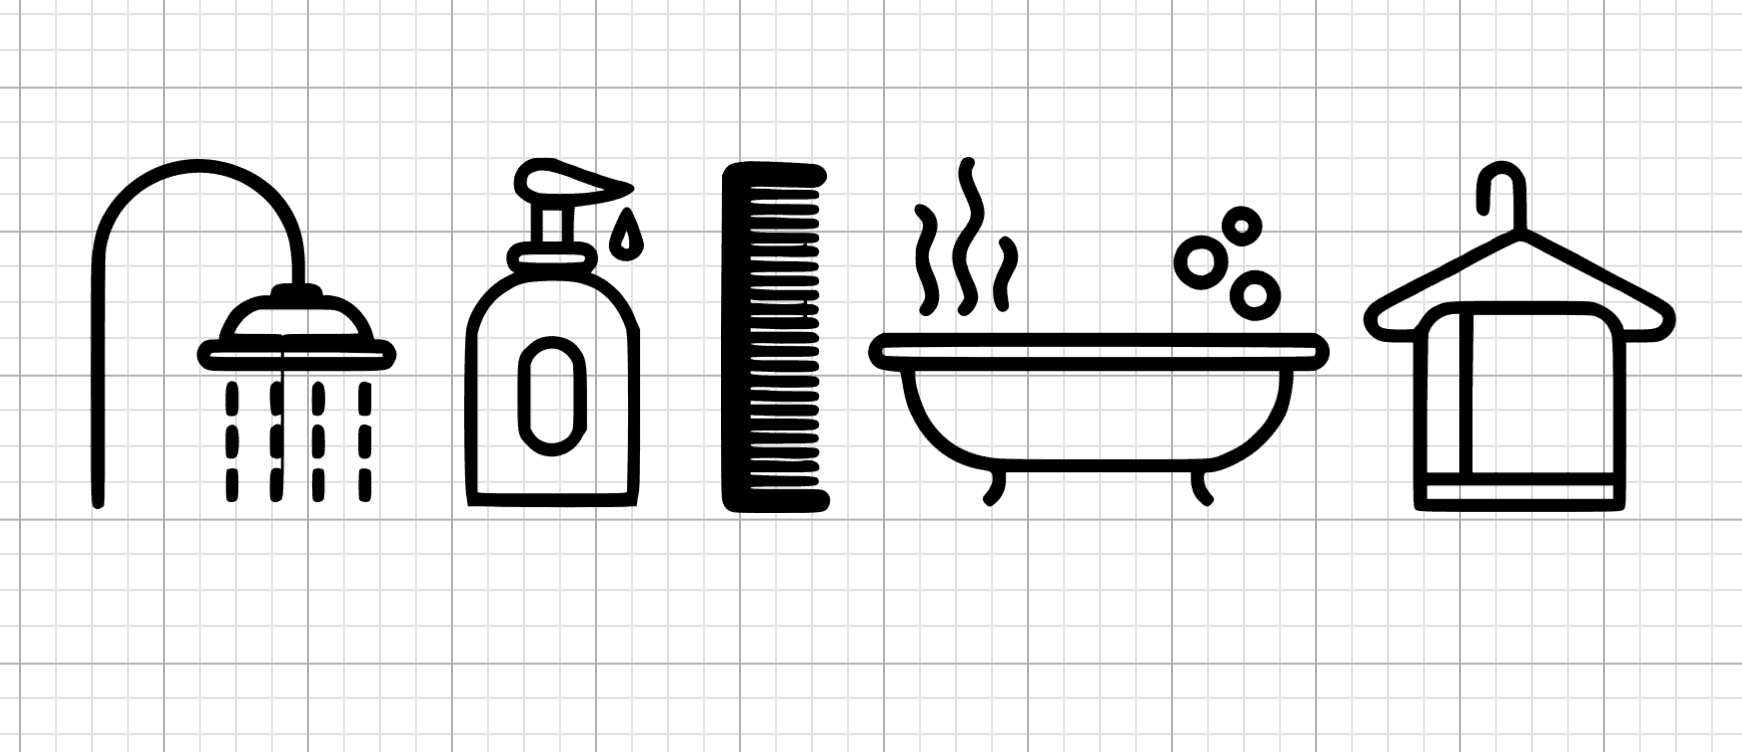
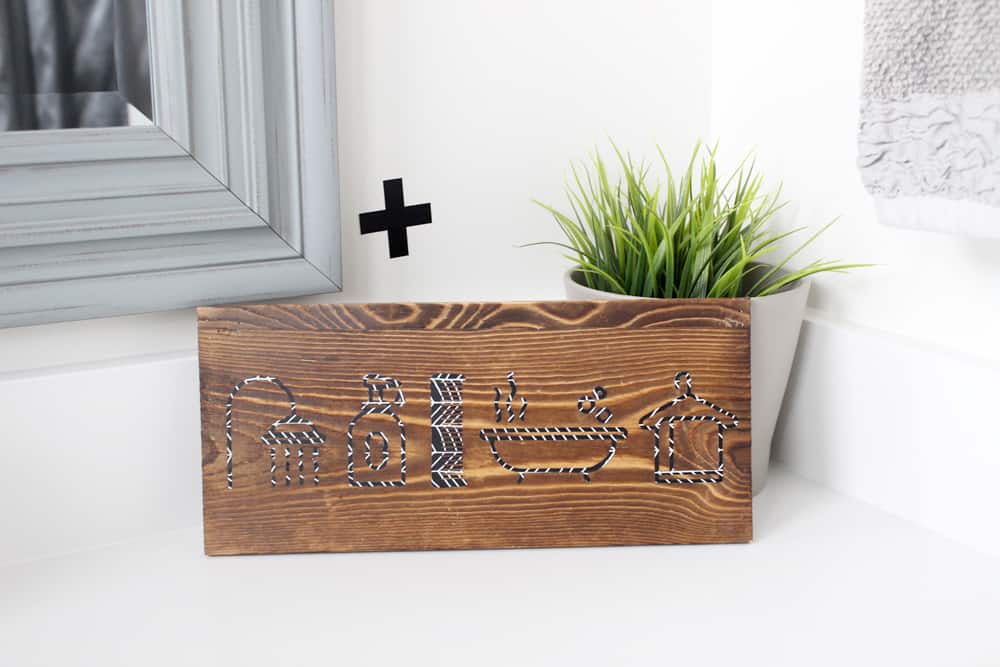
If you like the symbol look, I saved that option for you guys as well! You can see the Bathroom Symbols Sign Here.
Mirror Your Design
Any time you are using iron on you need to make sure you mirror your image. Slide the button until it's green.
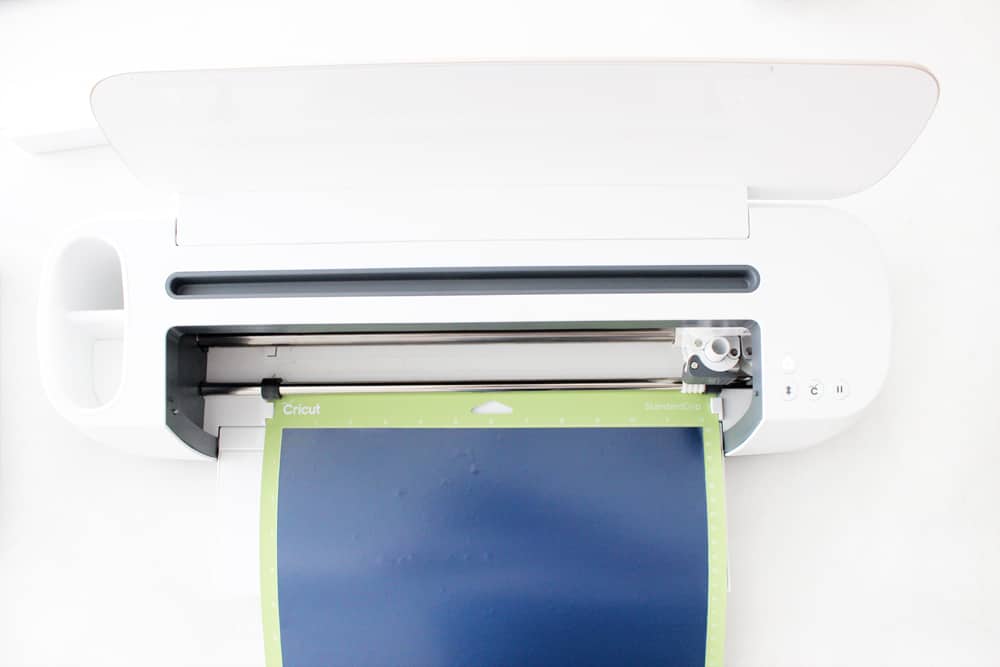
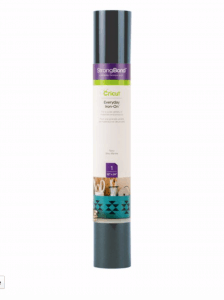
Set your Material to Iron-On
Once you set your material to Iron-On you are ready to load your tools and mat. You should be cutting with a fine point blade and make sure that your iron on is applied to the green mat, shiny side down. Load your mat and press go.

Cut your Restroom Sign
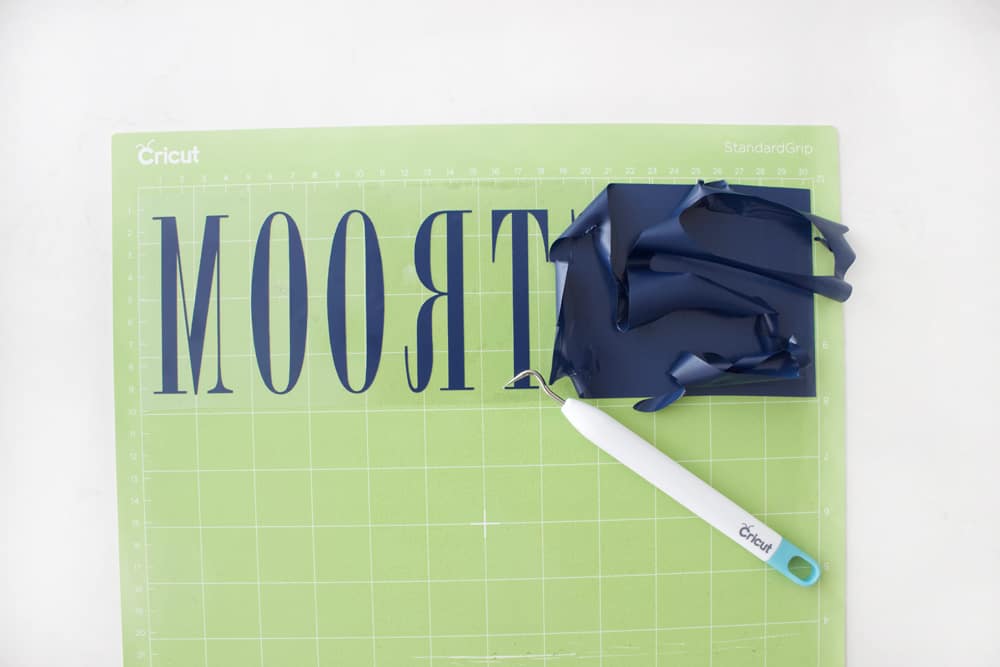
Weed your Design
Once your design has been cut you need to weed away all the excess vinyl, leaving only what you plan to iron on to your sign.
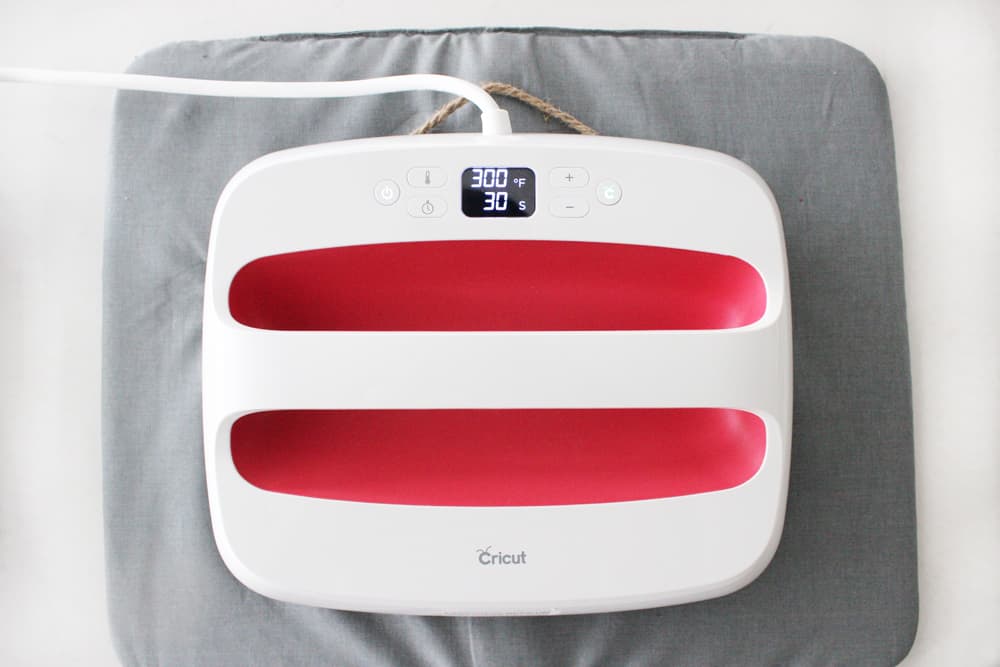
Preheat your Wood and Center Design
Heat your EasyPress 2 to 300 degrees. Once heated place on your wood for five seconds to warm the surface. Then center your design on your wood exactly how you want it to stay.
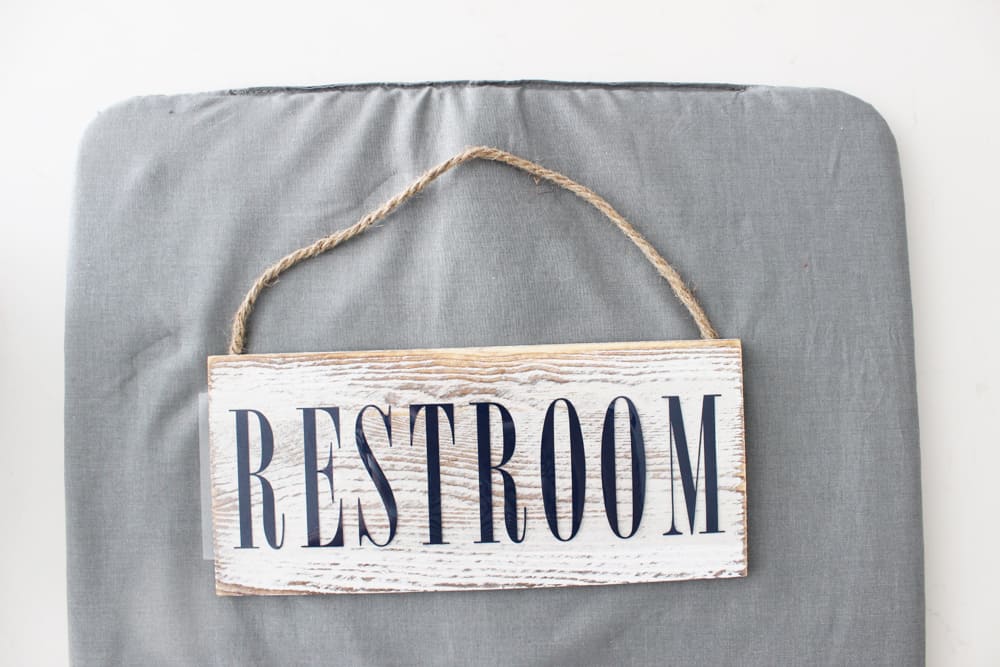
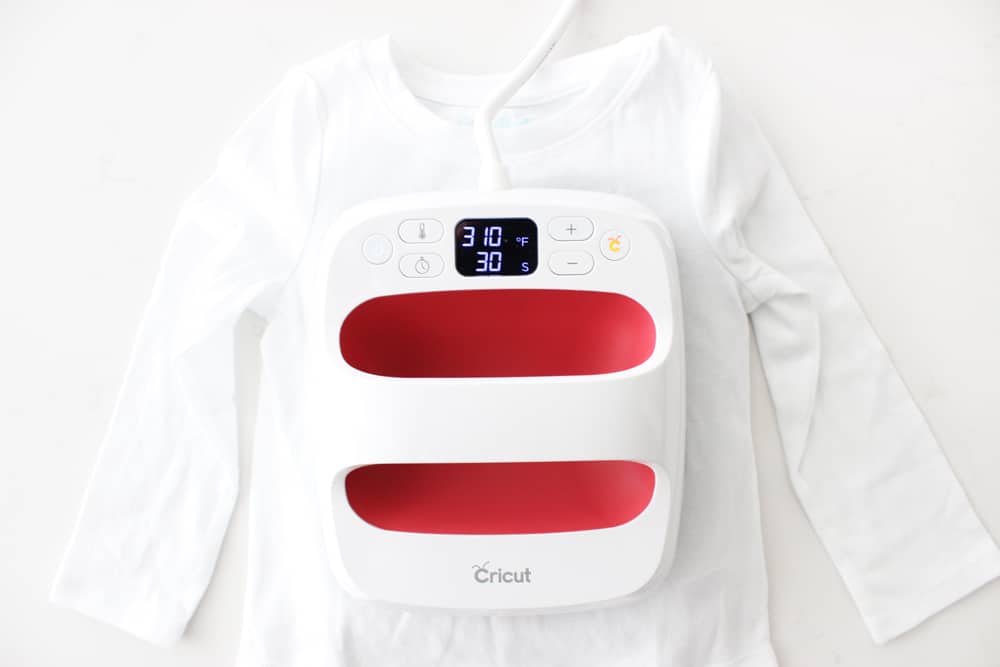
Press your Design
Apply medium/firm pressure at 300 degrees for about one minute and 15 seconds. Slowly peel back your plastic backing a little at a time to make sure the transfer was successful. If letters are peeling up place plastic back down and apply a little more heat/pressure in about ten second increments.
Voila! You're finished! I told you it was easy! Now that we've completed our project who is ready to learn a little more about using HTV on wood?

Why would I want to use heat transfer vinyl on wood?
There are a few reasons why you may want to use Iron-On on wood instead of regular adhesive vinyl. First and foremost in my opinion is the finished look of the Iron-On on wood. Something about the heat transfer almost makes your design melt into the wood and it looks like you bought it that way-- not like you cut a sticker and stuck it on. The finish is also a lot more matte than shiny, so if you are going for something more rustic that can be a big factor as well.
It's faster and easier than cutting a stencil and painting if you are wanting a more "painted on" look. It will also prevent paint leaking or accidental overspray... not that I would know anything about that!
Which types of Iron-On Work on wood?
There are lots of fun Iron-On materials (like glitter, patterned, holographic) that aren't options in regular vinyl, which is another reason why you may want to Iron-on on wood! That being said, some of them are not recommended to use on wood.
Here are the types that CAN be used with wood: Lite, Everyday, Patterned, Holographic and glitter! SO many fun options!
The types that are NOT recommended are Sportflex, Fusible Fabric, and Foil.
I made a symbols version of the restroom sign using patterned iron-on just to test it out and it worked like a charm!
What is the difference between HTV (Heat Transfer Vinyl) and Iron-On Vinyl?
Heat transfer vinyl and Iron-On are the same thing by two different names! Cricut calls their product Iron-On and that is what we use in all of our EasyPress projects.
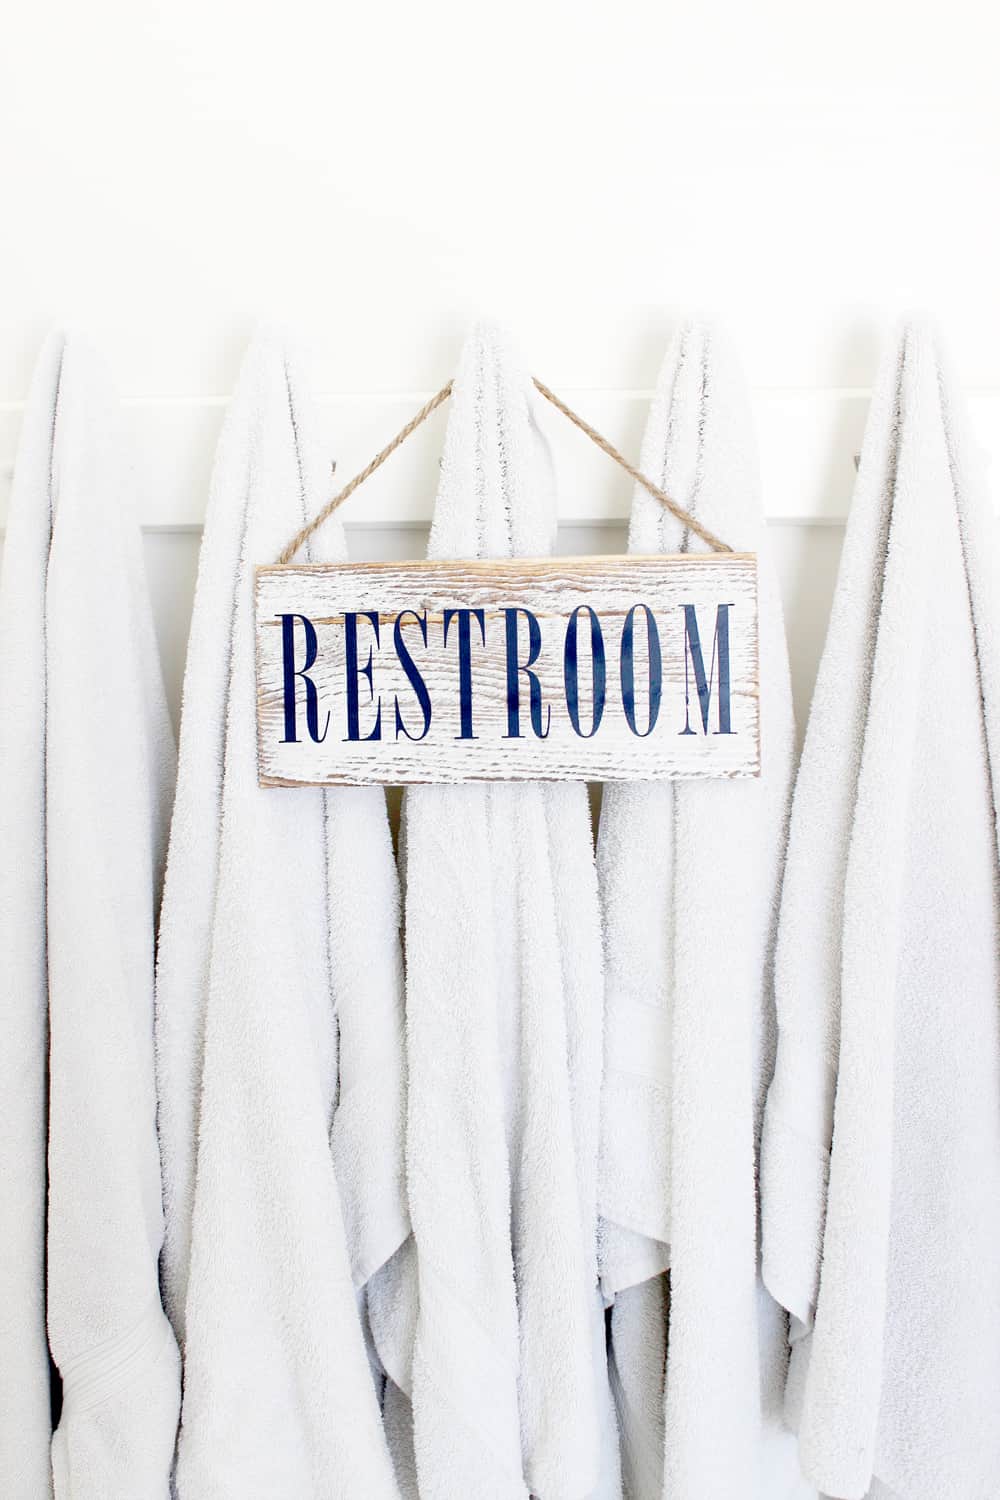
Can you use iron on vinyl onto stained or painted wood?
Yes! You absolutely can. You can see that the sign above is painted, and it worked out great.
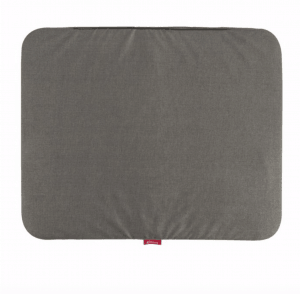
Do I need an Easy Press Mat to Iron-On Wood?
I would highly recommend it. Where your board may not be exactly flat on the back or warp a little to one side, the mat helps a lot when it comes to evening out heat transfer and making sure your design is applied well. If you don't have an easypress mat, fold a cotton towel into a square to use underneath your wood and be sure to press on a flat surface.
Well there you have it friends! Do you have any questions for me about using Iron-On on wood that I missed? If so be sure to drop them in the comments!
Also, if while reading this post you had other questions about the EasyPress 2 (which is honestly probably my favorite Cricut product) then check out my review of the EasyPress 2 where I answer all our frequently asked questions about the EasyPress and explain the reasons why I LOVE IT!
Shop Cricut Materials:
 Iron On Vinyl
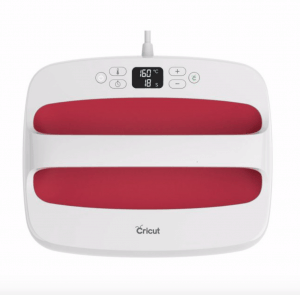 EasyPress
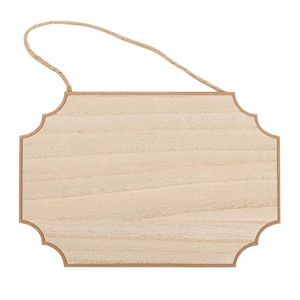
Happy crafting friends!
xo,


Taylor
So cute!! Love the rustic design!
Kristyn
Super cute!! I am all about rustic looking signs!! Love when bathrooms have a sign!
Jessica
Aw, thank you so much!
Bree
I really love this restroom sign! It looks so easy to make, and turned out so cute!
Jessica
Thank you so much!
Sommer
Such a good idea and a fun project!
Jessica
Thank you so much!
Allyson Zea
I really need to get one of these! It is SO cute!
Jessica
Thank you so much!