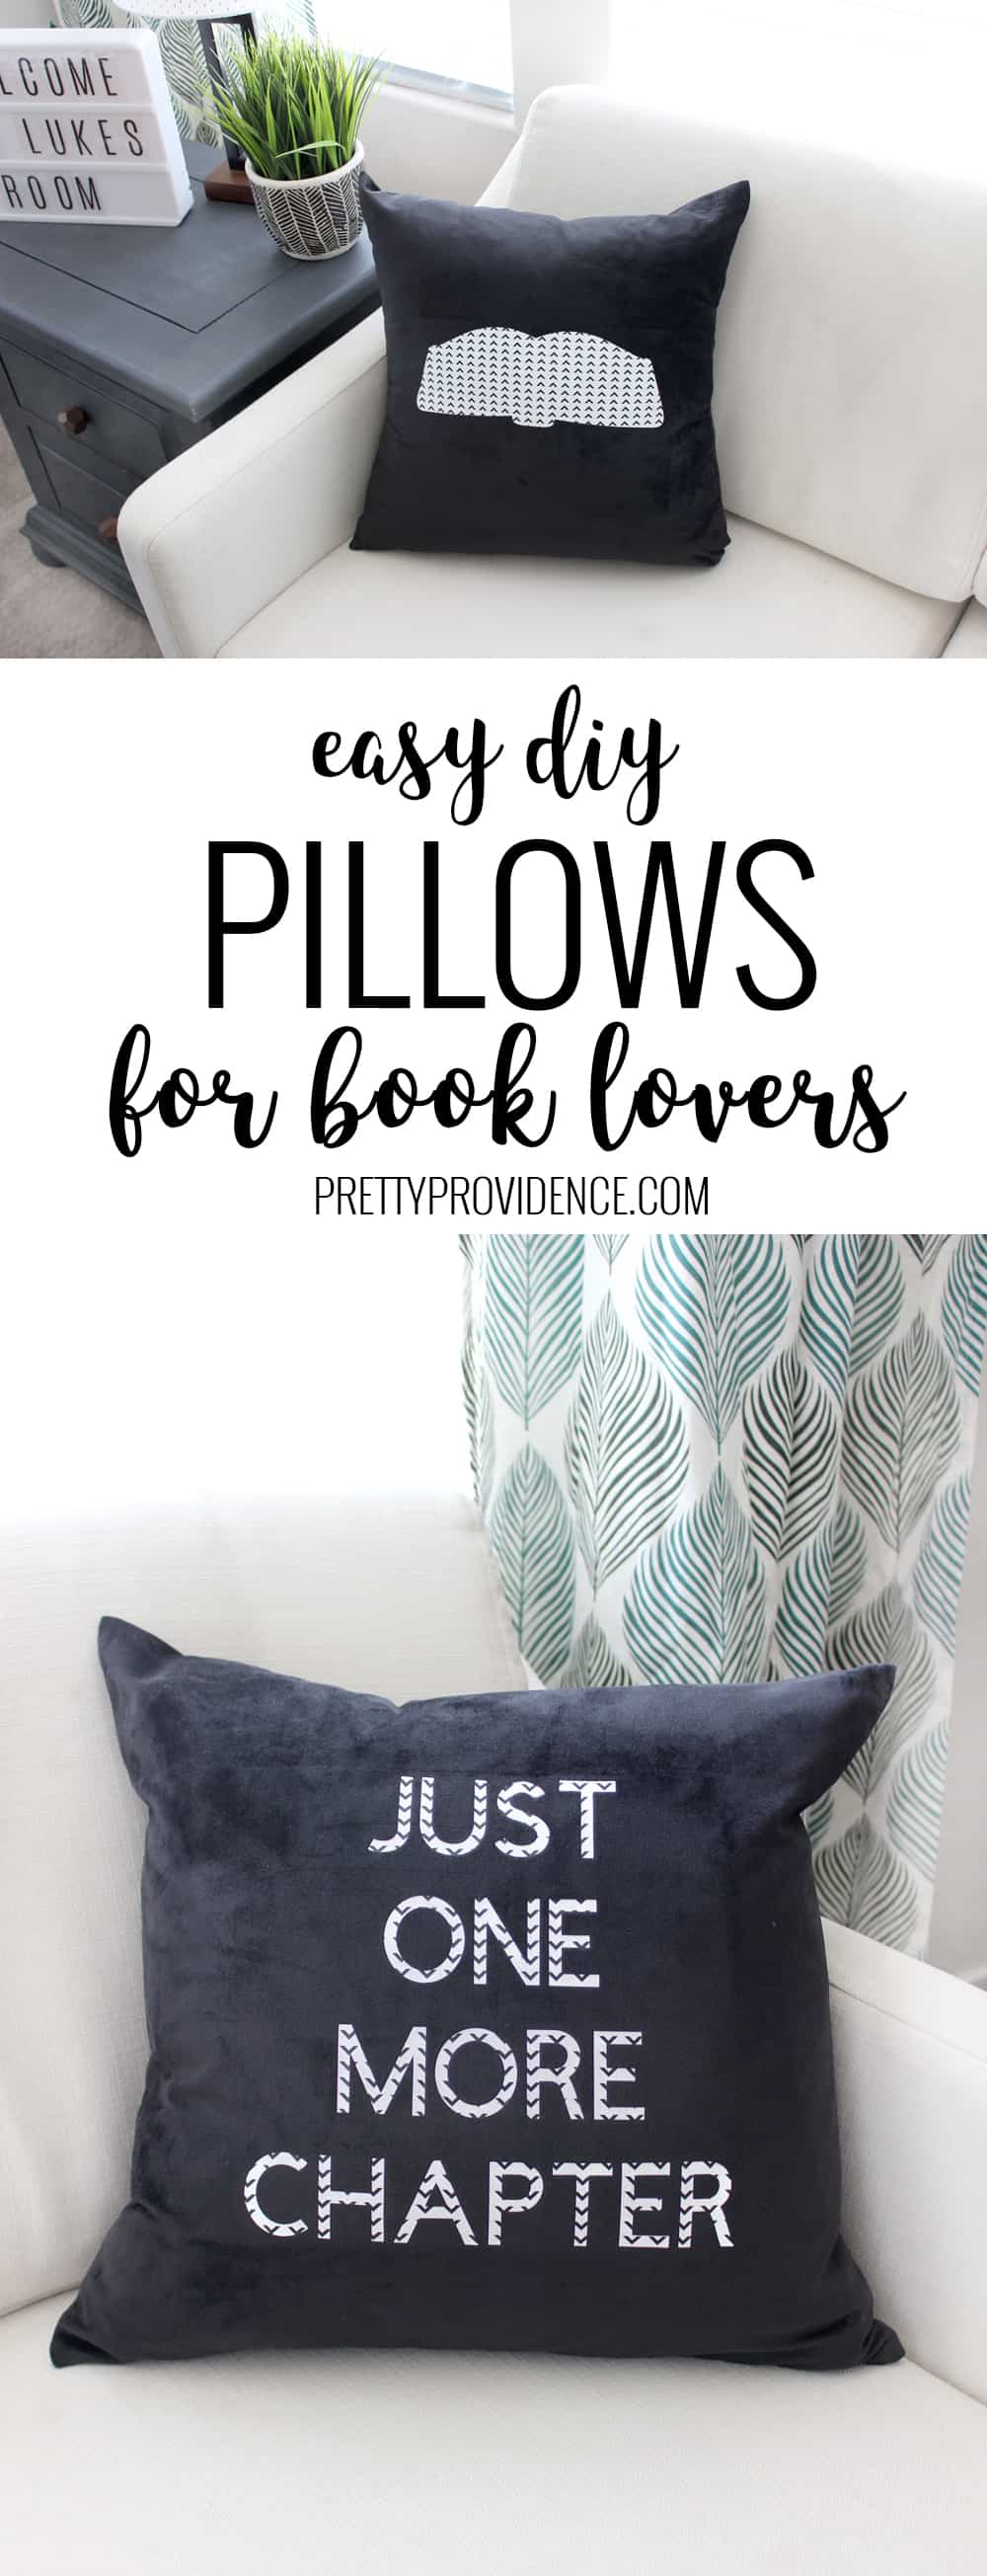
How cute are these DIY book pillows for book lovers? Would be cute in any color or any room!
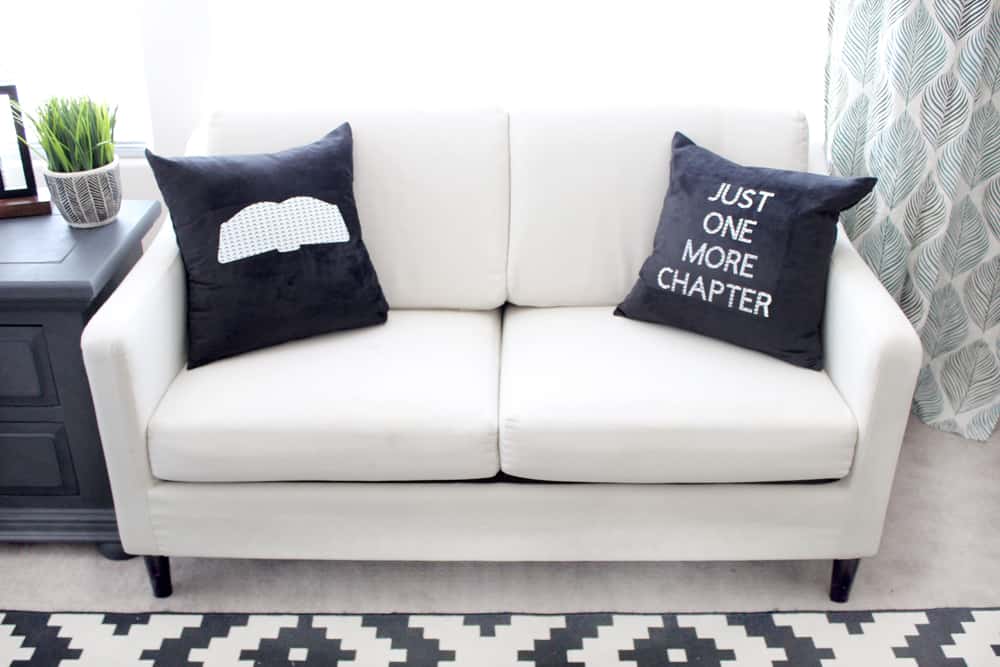
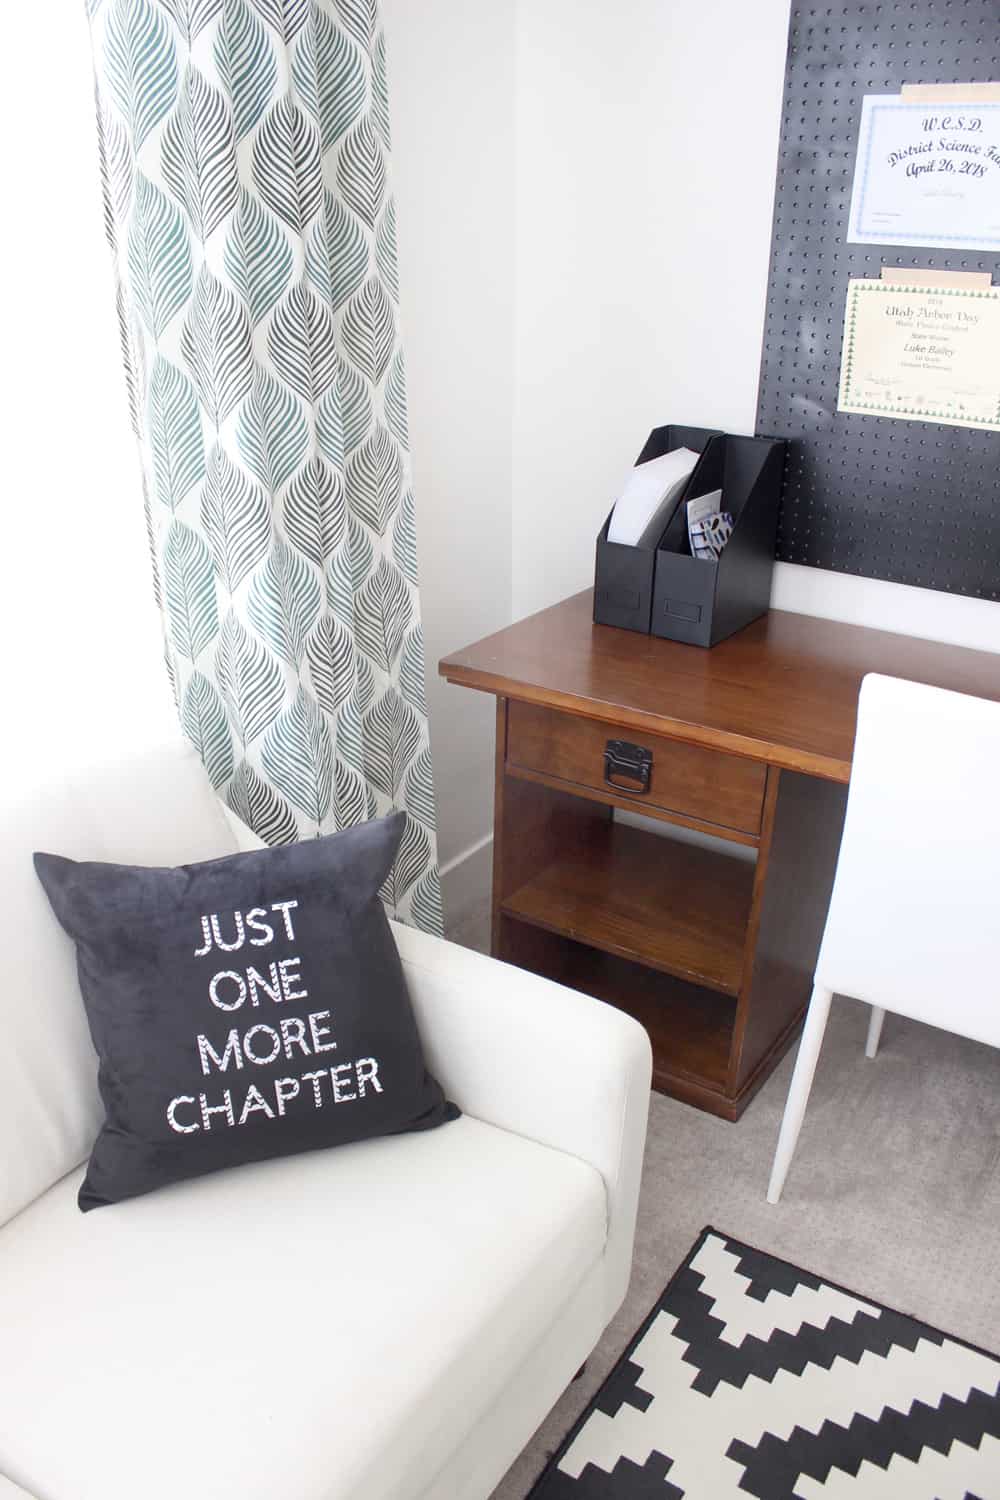
One of my favorite projects I made for Luke's room are these easy and adorable book pillows! Nothing warms my heart more than having a son who loves to read. He reads every night and I knew I wanted something in his room to reflect that part of his personality.
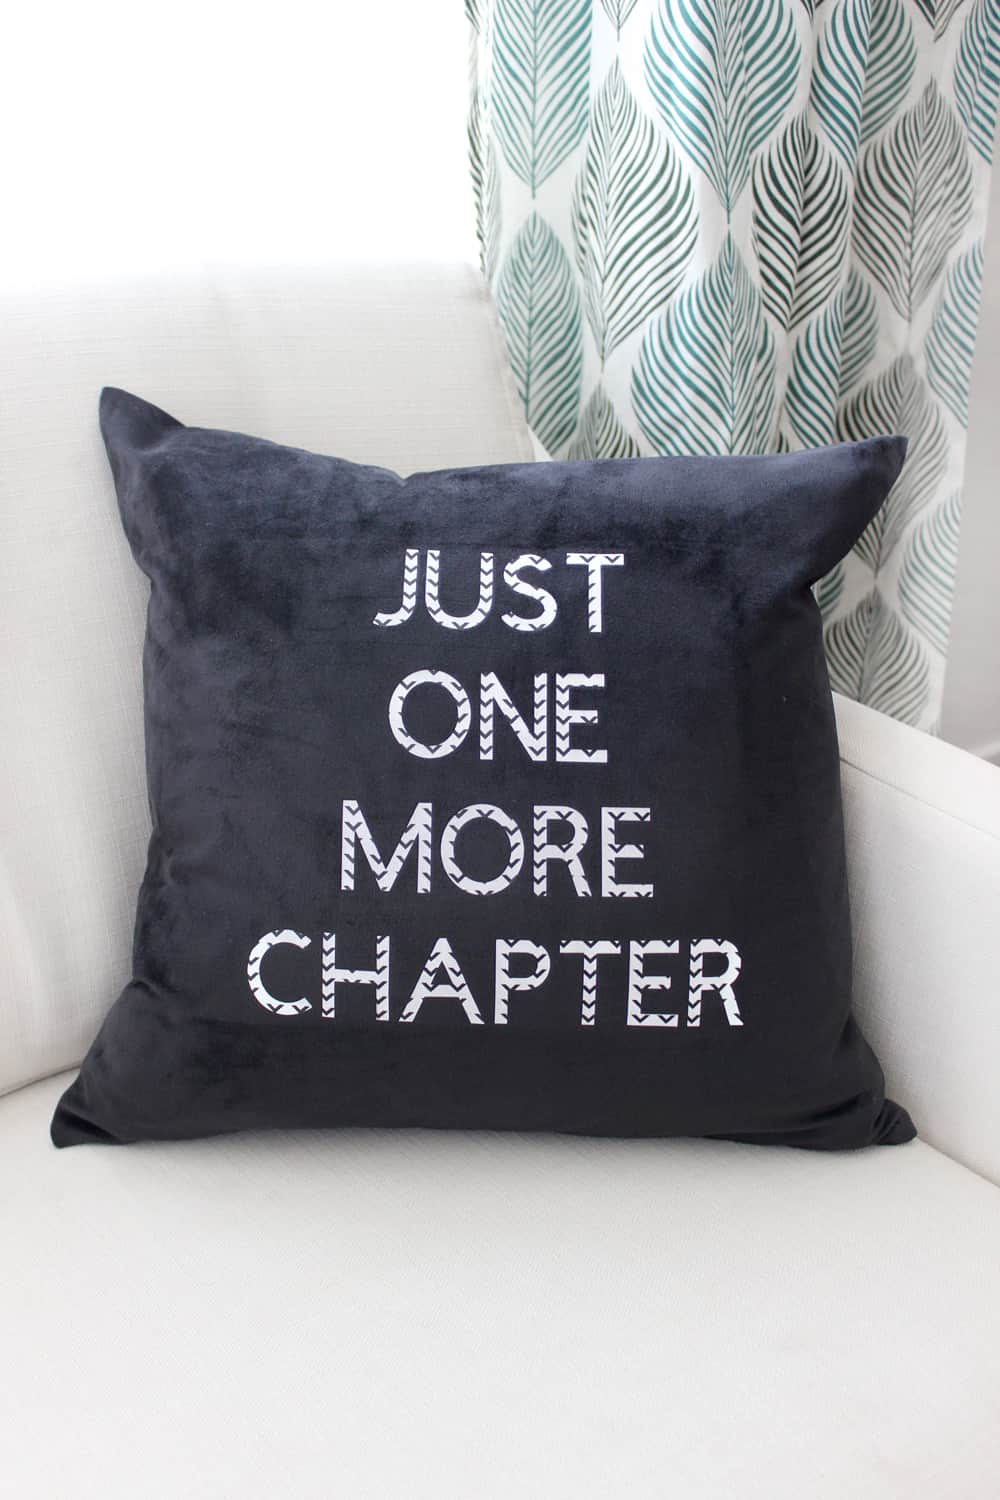
I knew for sure I wanted one of the pillows to say "just one more chapter" because that is what he says to me every night when I say it's time to go to bed, haha! I used the patterned iron on because I thought it added dimension to the design! You can find that design file here.
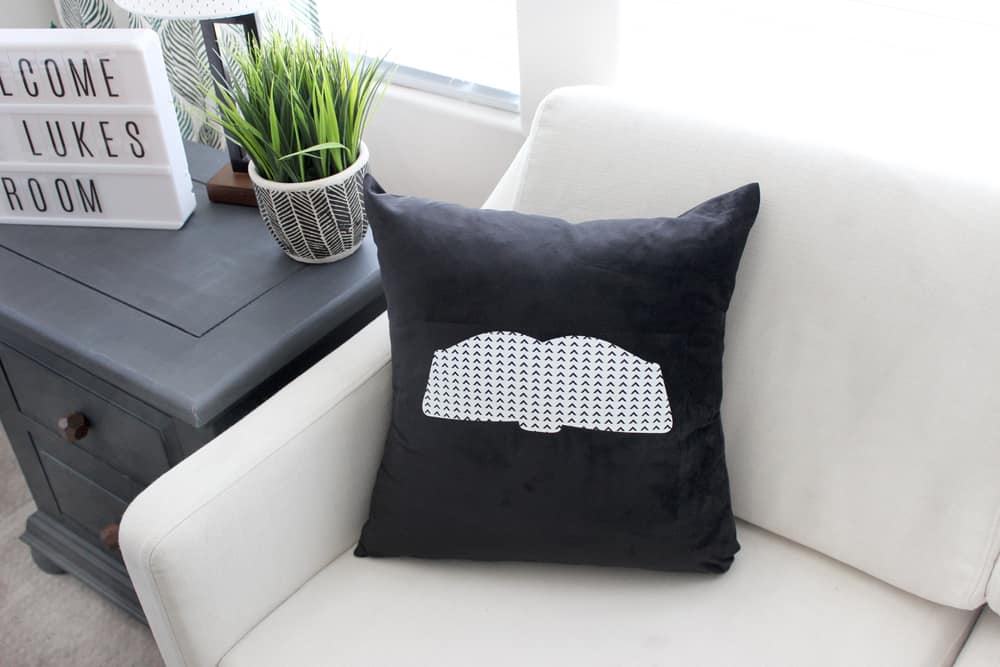
I didn't want the couch to feel too busy so for the second pillow I went with this open book image from Cricut Design Space and I love how it turned out. Find the open book pillow design file here.
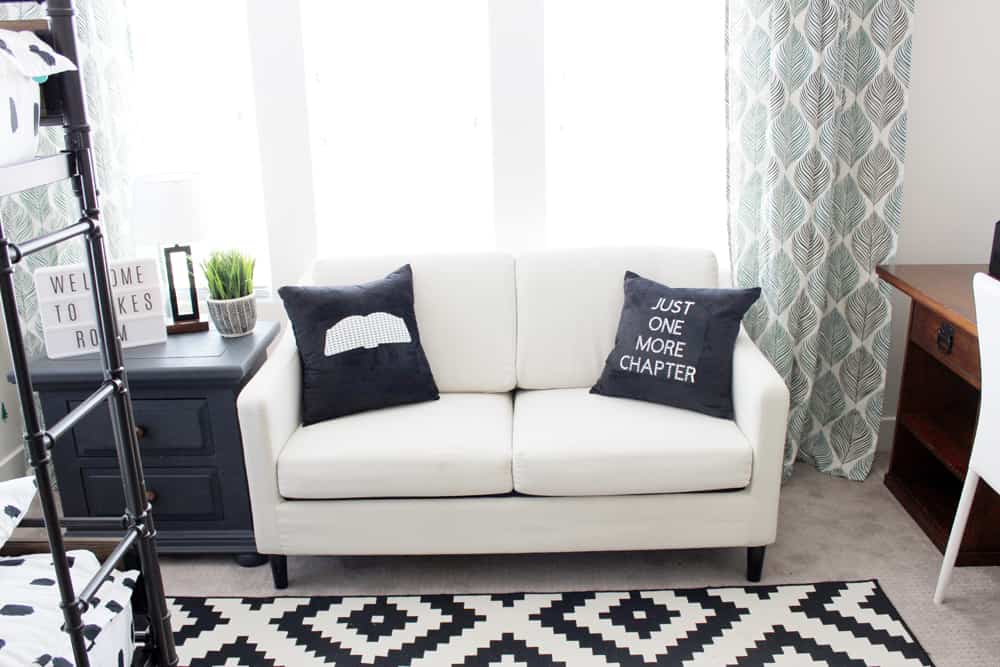
Don't they look so cute in his room? If you have never worked with iron-on before here is what you do to make these pillows:
How to Make a DIY Pillow Using your Cricut
- You’ll start with your image. Click on the links above and then click "make it" when the design opens.
- Click ‘Mirror image’ and make sure the slider turns green before hitting continue.
- Place your iron on vinyl shiny side down on your mat and turn the dial to Iron-on.
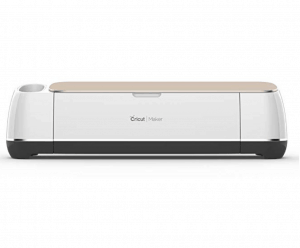
- Set your material to Iron On, load your machine and press go to start your cut.
- After the cut is done, remove the excess vinyl around the edges. Use your weeding tool to take out the little pieces in the letters.
How to Iron your Design on your Pillow:
- Now you get to iron it on! Set your iron to ‘Cotton’ or the hottest setting it will go to. Make sure there is no steam. If you are using an EasyPress then follow Cricut's temperature settings found here.
- Start by getting the material warm. Put the iron on the pillow cover for about 10 seconds.
- Place your vinyl on the pillow where you’d like it. Put a press cloth, or plain cotton cloth, on top of the plastic. This is important so you don’t melt the plastic onto your pillow cover.
- Put the iron or EasyPress on top of the press cloth for about 30 seconds. Flip the pillow cover over, and do the same thing on the opposite side of the pillow.
- Now you will pull off the sticky part and separate it from the vinyl. Do this while it’s hot! It will be a lot easier. If a piece isn’t coming off, place the iron directly on the part you are trying to pull up and it should pull off.
- The plastic should be removed from the vinyl now! Put the press cloth back on and do another run with the iron so you know it’s on there really well.
There you have it! You've made your own DIY pillows!
Shop this Post:
If you want to check out the rest of Luke's room details you can see that whole post here! What other reader designs would you like to see?
Other Posts about Luke's Room:
xo,



Leave a Reply