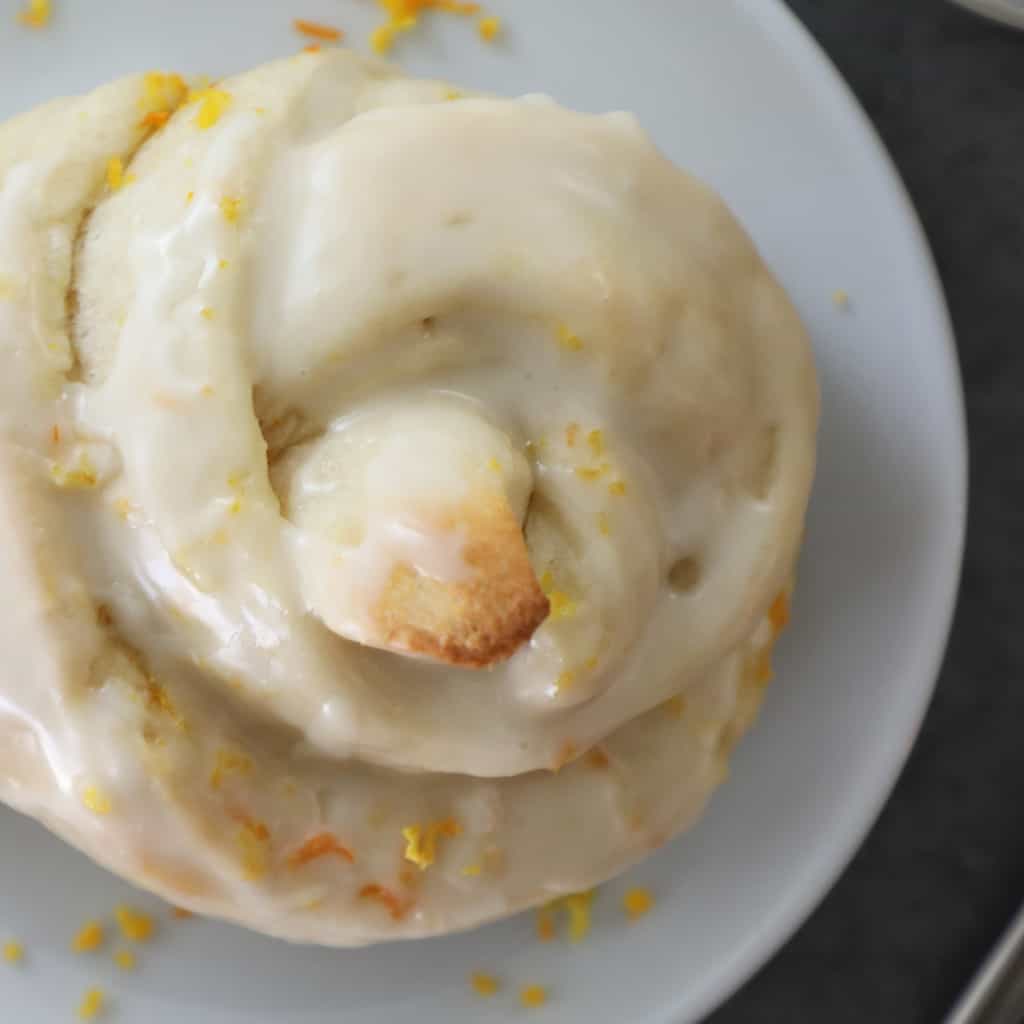
Delicious Orange Rolls
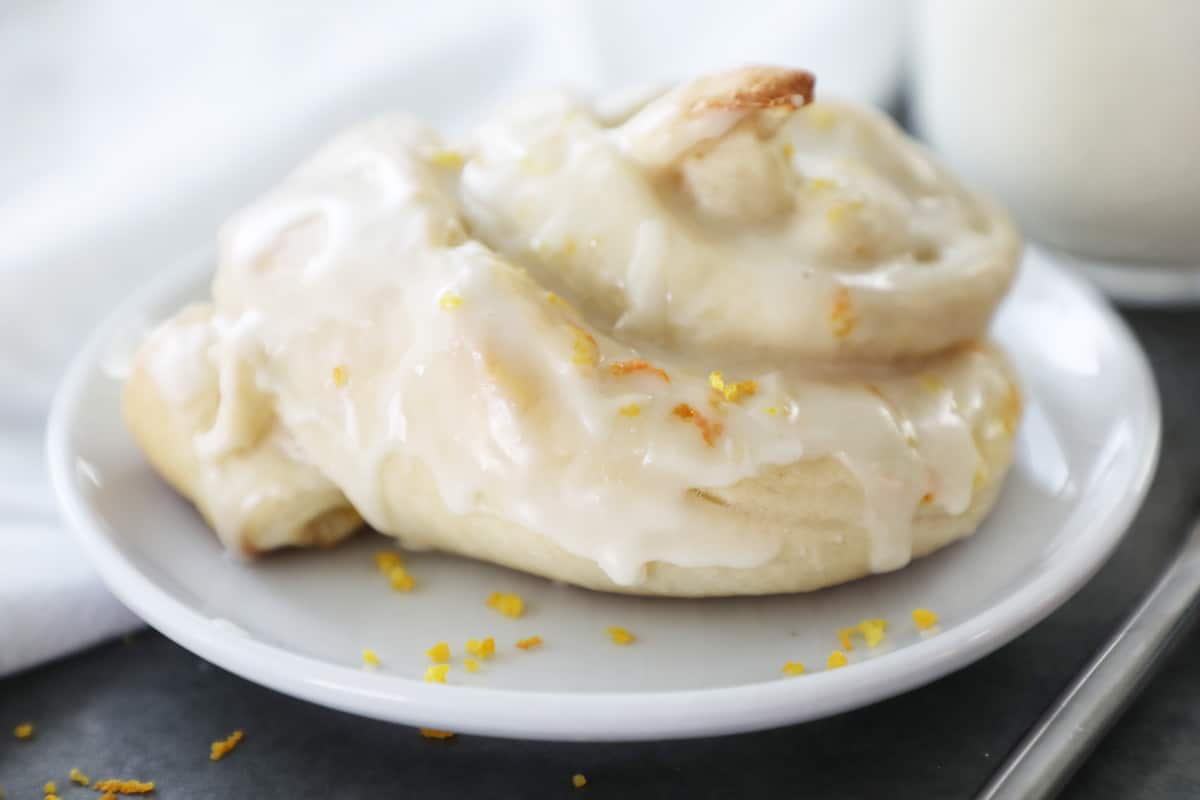
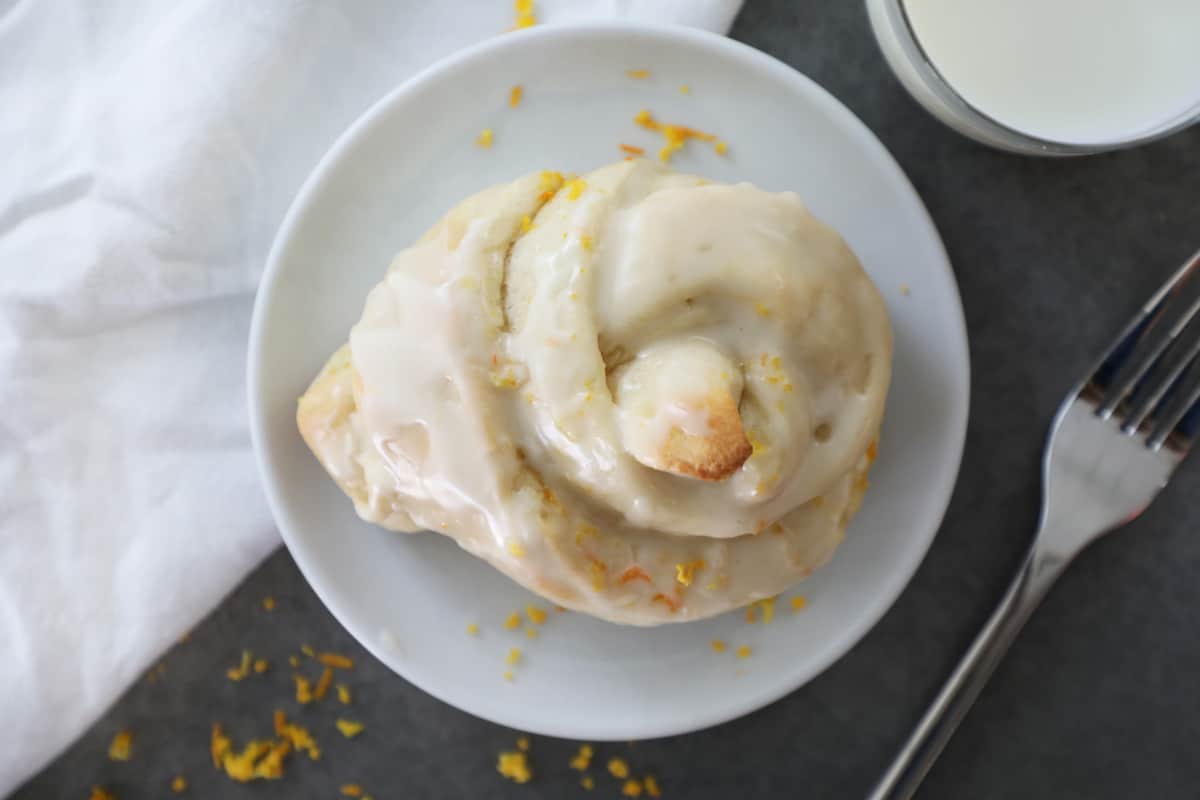
The actual best orange roll recipe, the unique twist shape of these orange rolls ensures the entire roll is soft like a center bite and smothered in delicious icing!

In my home growing up, like so many others, every holiday or special occasion called for Grandma's homemade rolls...soooo yummy! If we got really lucky, my Mom would take half of the dough and make us these mind blowing Orange Rolls. The original rolls are buttery heaven, add in the orange filling and the icing on the top and they are absolute perfection.
Orange Rolls
While these orange sweet rolls can be enjoyed year round, I tend to make these during the spring and summer and our favorite cinnamon rolls during the winter months. Whenever you make them you'll be met with rave reviews, and a line of people asking if you share recipes.
Orange Roll Recipe
I know that a recipe like these orange sweet rolls can be intimidating to some, have no fear! I have broken the entire recipe down in a super simple pictorial with a photo of each step! Read on for all the details.
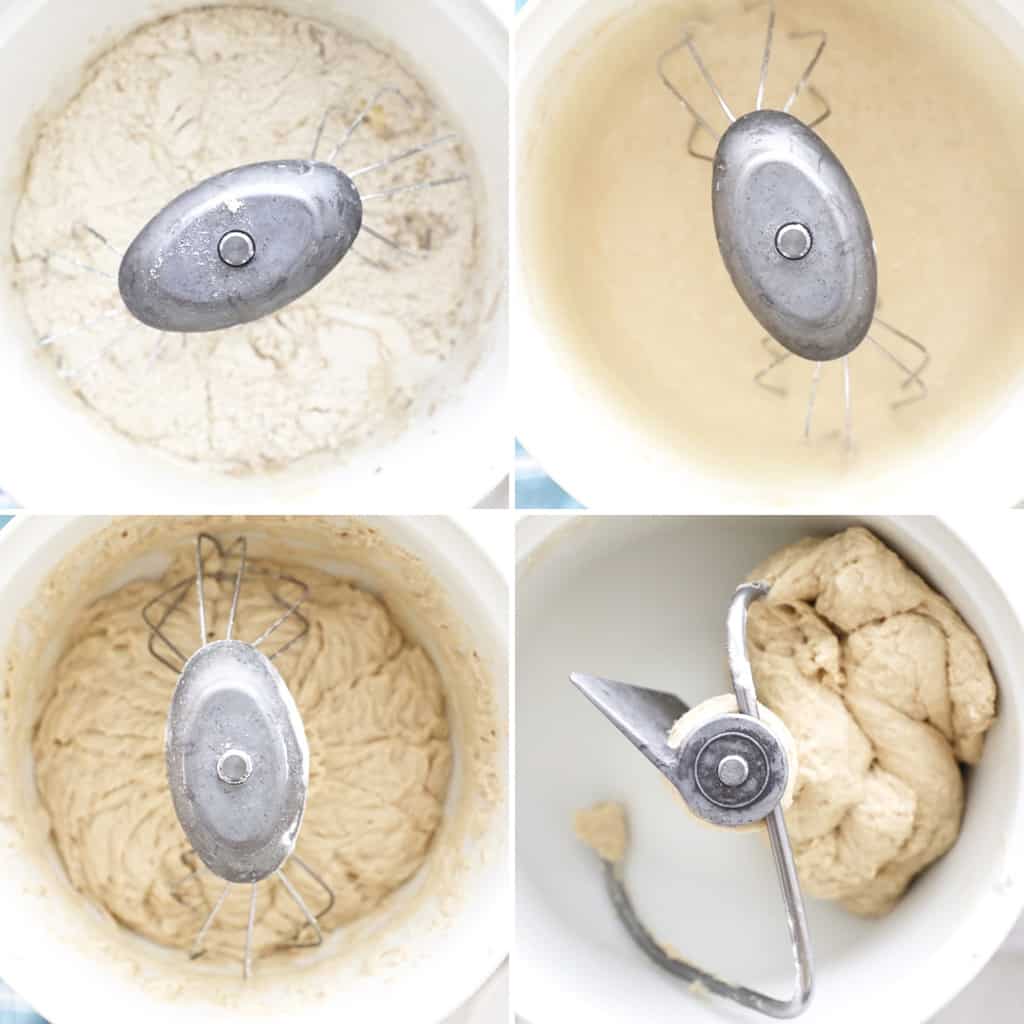
Top Left - In a mixer combine water and dry milk until dissolved.
Top Right - In a mixer combine water and dry milk until dissolved. Add yeast, sugar, salt, butter, egg and 2 cups flour. Mix on low until ingredients are wet, then for 2 minutes on medium speed.
Bottom Left - Add 2 more cups flour and mix on low 'til ingredients are wet and 2 minutes on medium speed. Add remaining flour.
Bottom Right - Once combined, kneed with hands, or turn on kneading hook on mixer. Knead until dough begins to pull away from the mixing bowl, or about ten minutes.
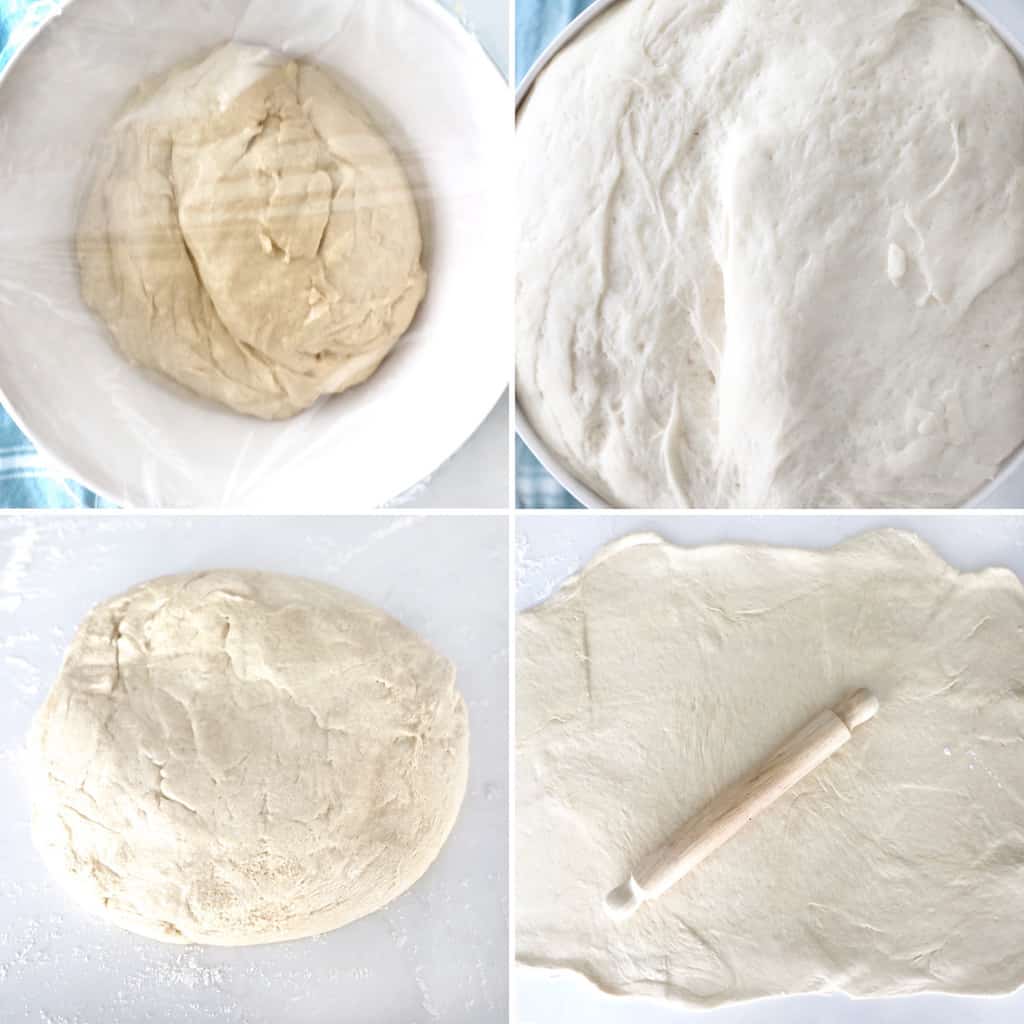
Top Left - Place dough in an oiled bowl and turn to coat with oil.
Top Right - Cover w/plastic and let rise in a warm place until double in size.
Bottom Left - Place dough on floured surface.
Bottom Right - Roll out into a large rectangle.
Orange Roll Filling, Twisting, Baking and Icing:
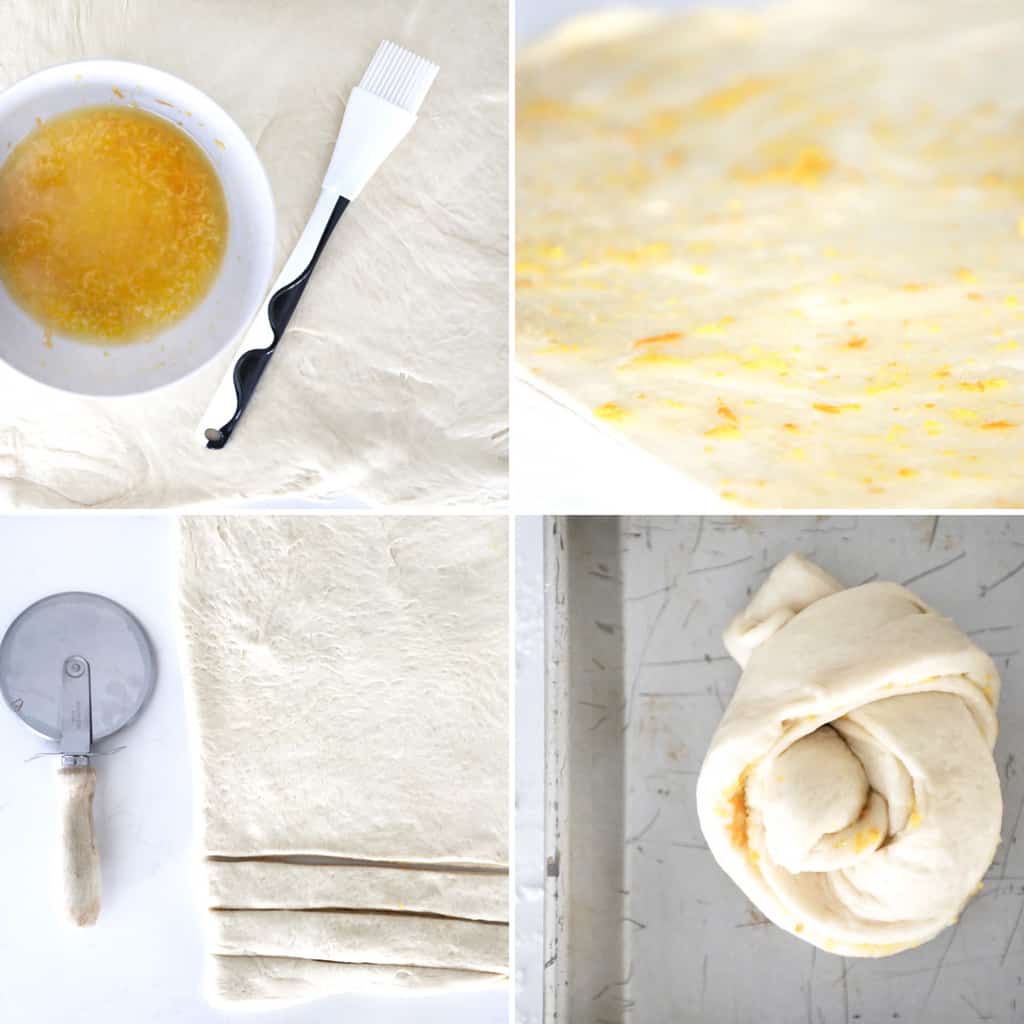
Top Left - In a small bowl mix together your filling.
Top Right - Brush dough with your melted butter and orange zest mixture, then sprinkle with sugar.
Bottom Left - Fold your topped dough rectangle in half, and cut into one inch strips using a pizza cutter or kitchen shears. and roll up into individual rolls.
Bottom Right - Take each strip and gently twist into a knot, and place on a lightly greased baking sheet.
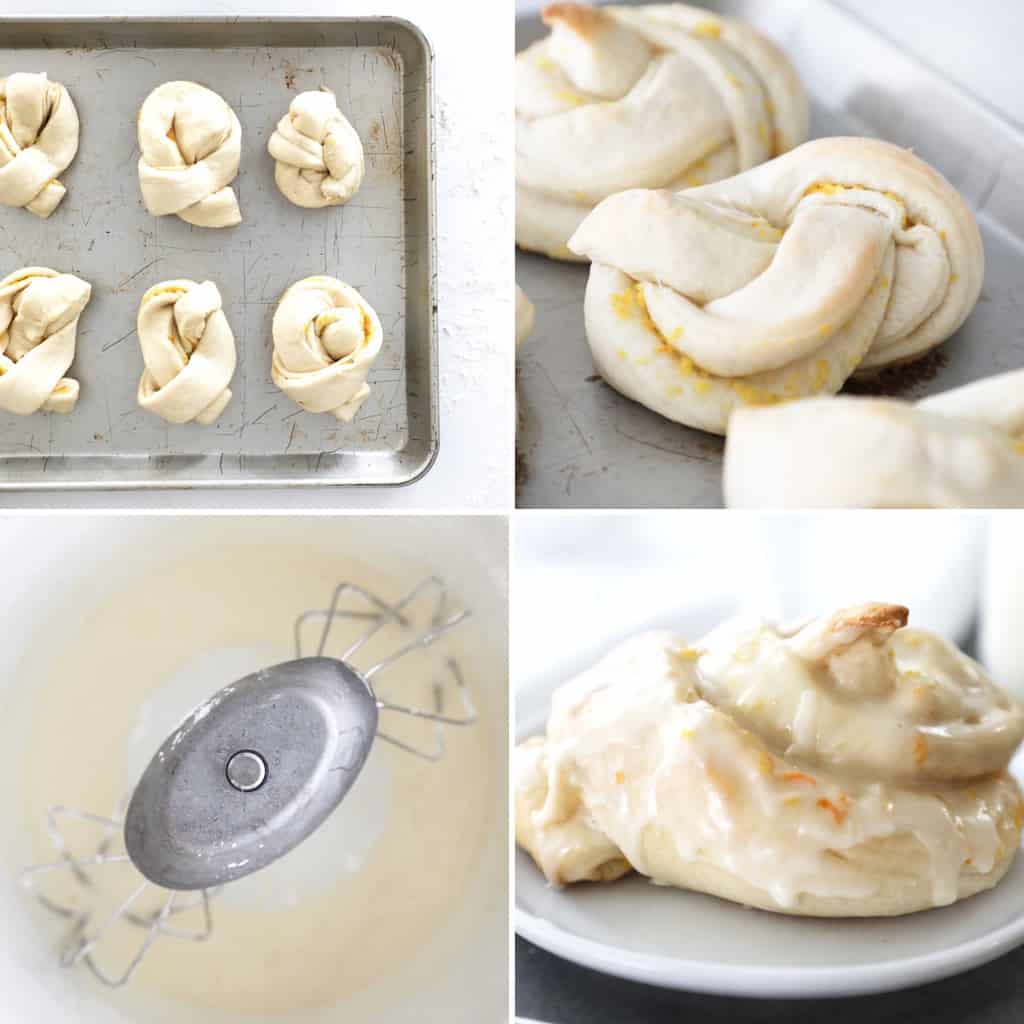
Top Left - Repeat with all strips. The knots do not need to be perfect. If they are loose scrunch them together, or if an end is sticking out too much just fold it up over itself.
Top Right - When rolls come out of the oven brush immediately with butter and allow to cool for 10 minutes.
Bottom Left - Make your orange roll icing.
Bottom Right - Finally, drizzle your rolls with your orange icing mixture and devour a few while they are fresh!
Pro Tips:
- If you don't have heavy cream or half and half, you can substitute regular milk for the icing. The higher the fat content, the creamier the icing will be (so 2% will work better than skim milk).
- After zesting my oranges, I save them to squeeze out the 2 tablespoon of fresh orange juice needed for the icing.
- Rolls may be made the night before. Just stick them in the fridge after assembly, then let them warm to room temperature before baking.
- Orange Rolls can be stored for 5-7 days, but I guarantee they won't last that long.
If you make this recipe and like it we would love if you would leave us a positive comment and review! They mean so much to us.
Orange Rolls
Ingredients
Orange Roll Dough
- 2 Cups Water Warm
- ⅔ Cup Nonfat Dry Milk
- 2 tablespoon Dry Yeast (Or Two Packages)
- ¼ Cup Sugar
- 2 teaspoon Salt
- ⅓ Cup Butter
- 1 Egg
- 5 ½ Cups All Purpose Flour
Orange Roll Icing
- 1 ½ Cups Powdered Sugar
- 2 tablespoon Fresh Orange Juice
- 2-4 tablespoon Heavy Cream or Half and Half
Instructions
- In a mixer combine water and dry milk until dissolved. Add yeast, sugar, salt, butter, egg and 2 cups flour. Mix on low until ingredients are wet, then for 2 minutes on medium speed. Add 2 more cups flour and mix on low 'til ingredients are wet and 2 minutes on medium speed. Add remaining flour. Once combined, kneed with hands, or turn on kneading hook on mixer. Knead until dough starts pulling away from bowl, or for about 10 minutes.
- Place dough in an oiled bowl and turn to coat with oil. Cover w/plastic and let rise in a warm place until double in size.
- Place dough on floured surface. Roll out to a rectangle. After you roll out your dough brush it with your melted butter and orange zest mixture, then sprinkle with sugar.
- Fold your giant rectangle in half, and then using a pizza cutter or kitchen shears and cut into one inch strips. Gently twist your strips into a knot and place on a lightly greased baking sheet. They do not need to be perfect. If roll seems to loose just kind of bunch it together or tuck in loose ends.
- Bake at 375 for 12-15 minutes.
- When rolls come out of the oven brush immediately with butter and allow to cool for 10-15 minutes. Finally, drizzle your rolls with your orange icing mixture and devour a few while they are fresh!
Notes
Pro Tips:
- If you don't have heavy cream or half and half, you can substitute regular milk for the icing. The higher the fat content, the creamier the icing will be (so 2% will work better than skim milk).
- After zesting my oranges, I save them to squeeze out the 2 tablespoon of fresh orange juice needed for the icing.
- Rolls may be made the night before. Just stick them in the fridge after assembly, then let them warm to room temperature before baking.
- Orange Rolls can be stored for 5-7 days, but I guarantee they won't last that long.
Nutrition
I hope you love them as much as we do!
xo,

This recipe was originally published on December 20th, 2012 and has been updated with new photos, and more detailed information.

These were yummier then cinnamon rolls. Thank you for sharing
You made this delicious recipe SO easy! The photos and all the clear instructions make it possible for anyone to make. Thank you!
This is such a great detailed step by step. Thank you for taking the time to do this. It would normally intimidate me to make something like this but with this, I am sure I can do it.
I don’t usually like fruit with my dessert foods but THIS works. So dang good. Thank you!
These rolls look so yummy! Thanks for sharing the recipe. I'm visiting from craft-o-maniac.
Happy New Year,
Dorothy
Hi Jessica! This recipe looks so yummy...I saw it over at "Under the Table and Dreaming" blog party. Hey, when you cut the rolls out to make the individual rolls, about how big of a strip would that be? Thanks.
Of course! I do mine about an inch and a half wide. The important part is that you do them all the same size so they will bake evenly, good luck!!
Thanks for linking up your yummy orange rolls to our Strut Your Stuff Saturday. We are so glad you came! -The Six Sisters