With this easy DIY pumping bra tutorial you can make a few for the same price as buying ONE! 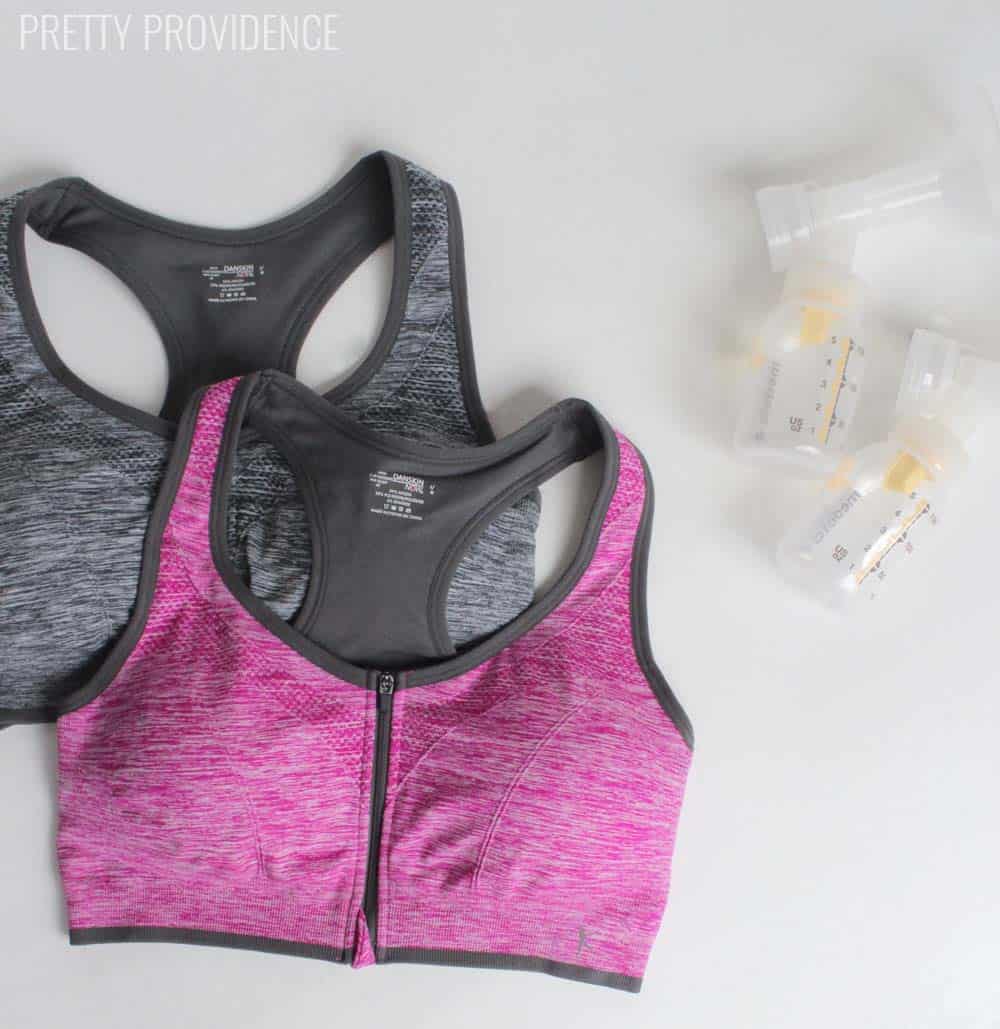
Disclaimer: If you aren't planning to ever pump (or breastfeed for that matter) then this post may not be for you! BUT for those who use a breast pump, this post could be potentially life-changing!
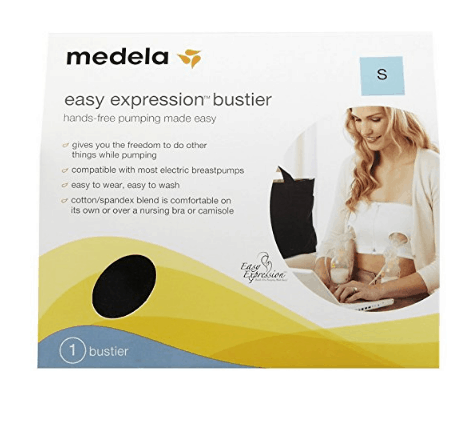
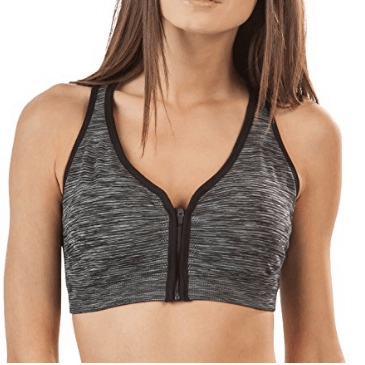
When I had my first babe, I ended up pumping a lot and I bought this hands-free pumping bra. That was a very good purchase and I was so glad I had it, BUT I wished I had two or three of them! However, at that price point I wasn't pumped about buying more, with all of the other baby stuff we had to buy! (PUN INTENDED.) So, when I was at Walmart one day and saw some sports bras that had front zippers, I had a light bulb moment and realized I could totally make some at home, and that they would be even better than the one I already had!
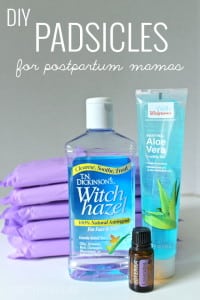
Also-- if you are pregnant or have a pregnant friend PLEASE check out these DIY Padsicles! They will save your life.
So, just for fun I thought I would tell you the reasons that this DIY version is better than the one you can buy.
- It is cheaper, so you can have two or three pumping bras for the same price as one of that one.
(The reason I want more than one is so I can rotate them through the wash. Enough said?!) - It has straps. I didn't love the strapless one to be honest.
- You can throw nursing pads into these and actually still wear them. (If you are waking up in the middle of the night to pump, for instance.)
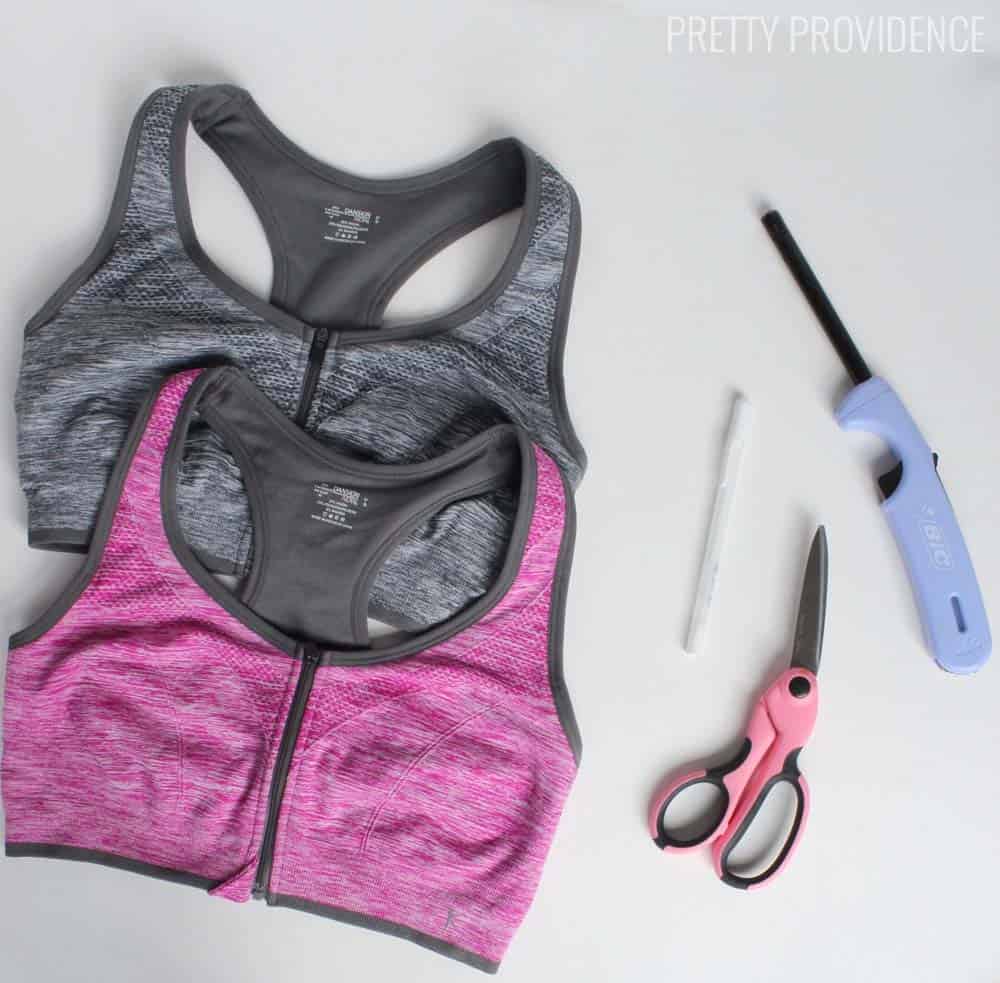
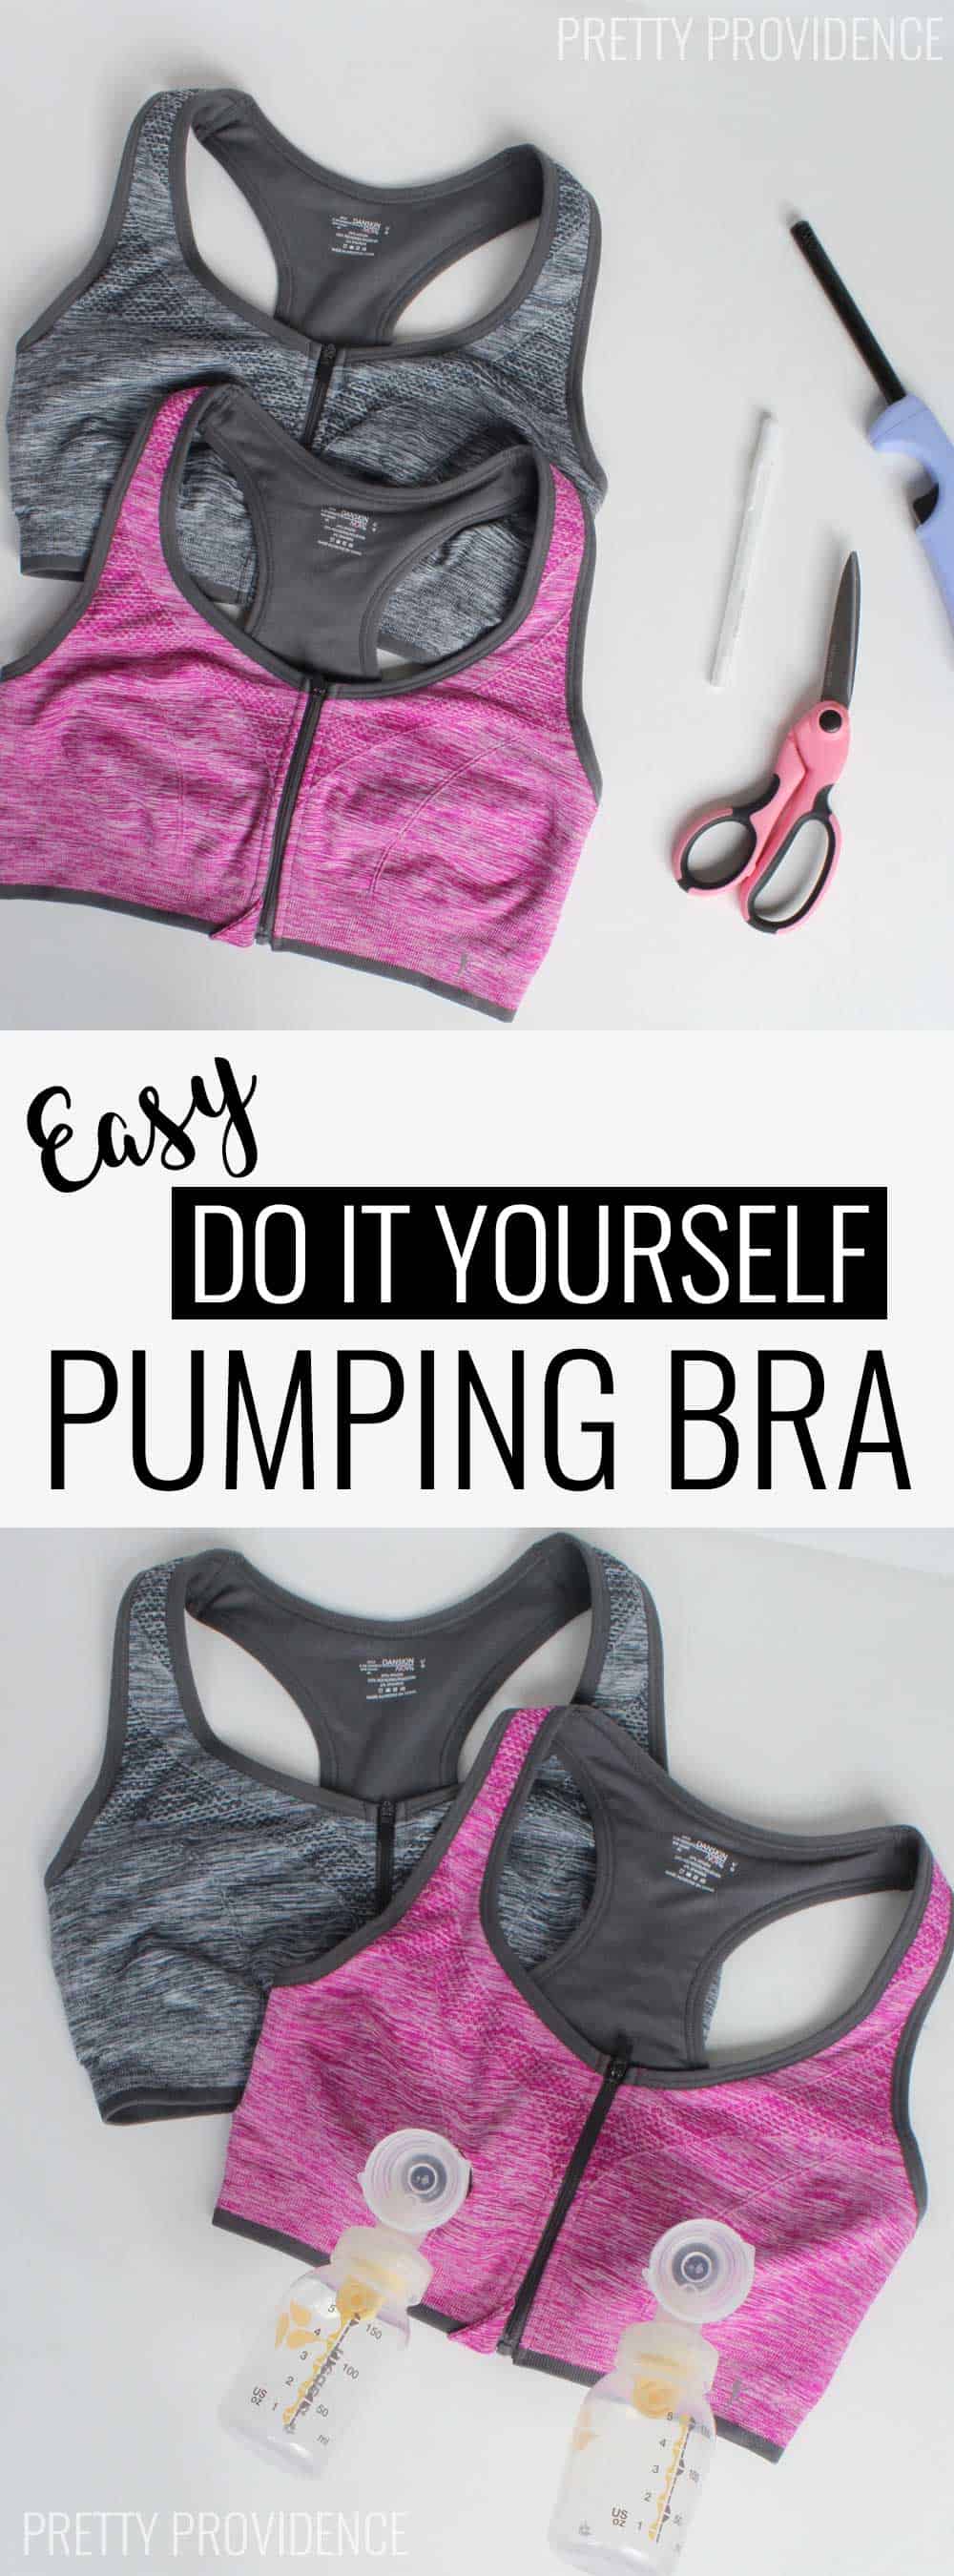
Okay, so if I convinced you, here is what you'll need to make your own!
- Sports bras (these are polyester blend) preferably zipper front and not cotton
- White gel pen
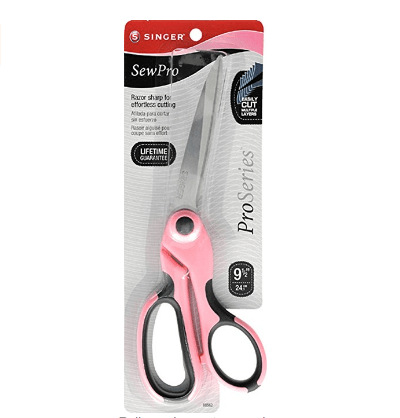
- Fabric Scissors
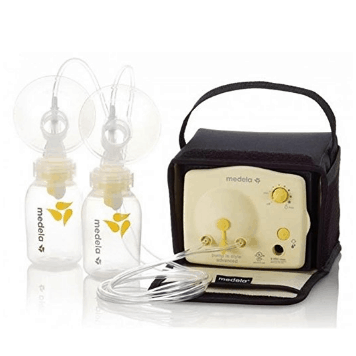
- Breast pump parts (for measuring)
- Lighter

|
|
|
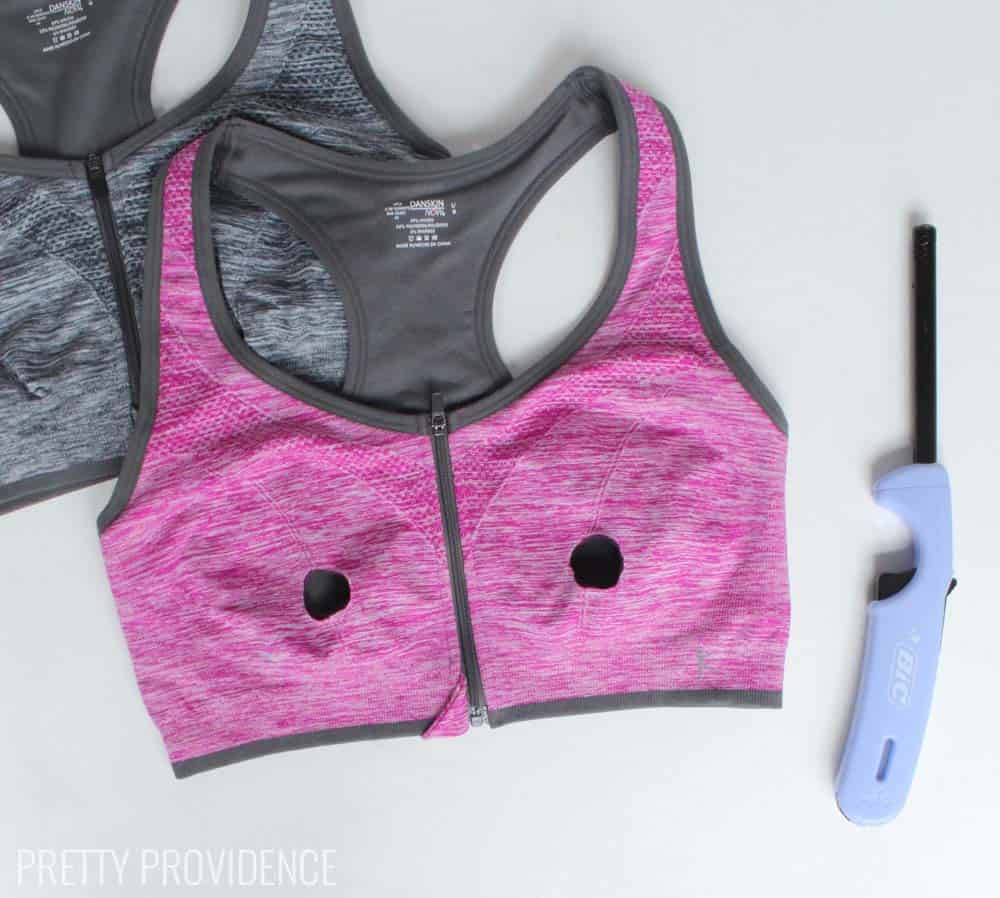
STEP 1: Take out any pads that your sports bra may have in it.
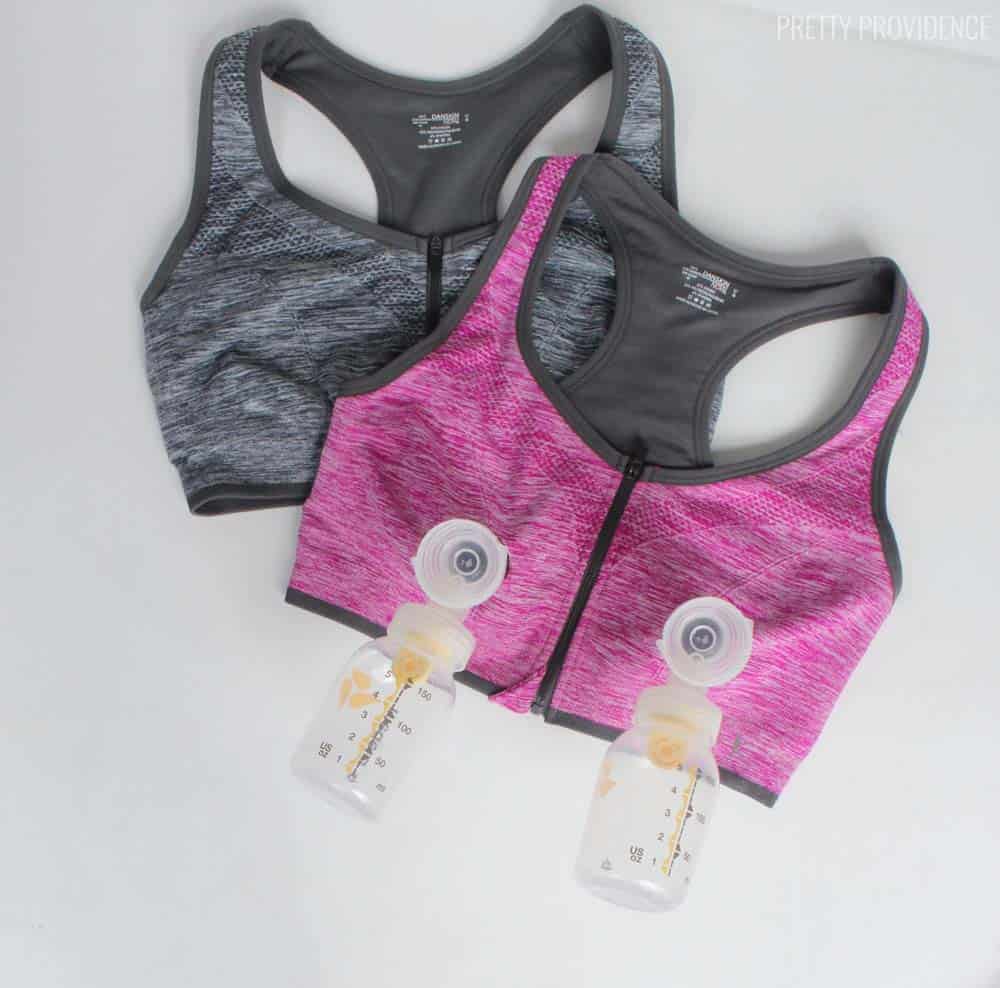
STEP 2: Draw a circle ¾ inch around with your gel pen, about 2 inches above the elastic. Cut out the circle and make sure that your pump parts fit through, but snugly.
STEP 3: This is where it is very important that you have a polyester/nylon blend bra! If you don't, I can't tell you if this next step will work or not. I only know that this has worked with THESE bras. Okay, ready? Take the lighter, and quickly melt the edges of the holes. This seals the edges so it won't stretch or fray any more!
TA-DA! You are done! See how easy that was? I really like how these turned out and I guess I don't need to keep bragging about how I think mine are better than what can be found at the store. Make a few of these and you will be ready to pump all day and all night. (Literally! haha)
PIN THIS FOR LATER:
AND you will want to check these out too:
 |
 |
 |
These padsicles will save your life:


Sharona
I was just thinking a zigzag stitch around the hole could work (perks of a sewing machine) but I would not have thought of a lighter to stop the fraying...great thinking 99 😉
Erin Rock-Ballard
YOU ARE A LIFE SAVER!
I am a big girl with large breasts and they do NOT sell a pumping bra for 44H anywhere! I bought a couple 3x ones but my breasts were too big. I am expecting again in February so this is amazing and you are a lifesaver!
Jessica
Oh my goodness you just made my day! Thank you! And CONGRATULATIONS on your new sweet addition!
Heather
I feel you, trying to breast feed I cant even do because they are so big she gets so frustrated so all I can do is pump and I csnt find one for me either they are all too small. I'm going to try this.
Rachel McGovern
This is genius! I didn't invest in a hands free pumping bra with my first baby (price point was too hard to justify and the reviews were mixed). I had the occasional slip while attempting to do too many things at once while pumping. In the early days I felt like spilling breast milk was the end of the world (I've learned it accumulates pretty quickly). I hated wasting any little bit of it.
I digress, the fit of a sports bra is so logical for this purpose. I can't wait to try it!
Thanks for the idea!!!
Ann
This is great! Just made mine! Thanks!
I didn't have a sports bra with the zipper in the front but it still works pretty well! Thanks for the lighter tip too!
Sarah
Oh yay! I'm so glad it's working for you!
Alice Russell
I don't have access this product or to a sewing machine, so thanks for the lighter tip. I could never bring myself to purchase a pumping bra (too expensive) Mine might not be as pretty but they'll do the job. Thank you so much for sharing :)
Sarah
YAY! You're so welcome! They don't have to be pretty - just functional! haha
Amanda Gold
Have you tried freycheck on the outside of the hole rather than burning it??
Sarah
I haven't, but that's a better idea! haha!
Miranda Cunningham
ALTERNATIVELY just sew a button hole if YOU HAVE a sewing machine.
Jessica
totally! Thanks!