DIY Wooden Letter Cake Topper
 This project, technically, dates back to when I was still pregnant with my second son. My mom and I were roaming the aisles of my local craft store looking for outdoorsy/camping inspiration for the nursery. We stumbled upon this awesome adhesive that looks just like wood and, even though we didn't know what it could be used for, we had to have it! Ever had that happen to you? Happens to me on a weekly basis. As we looked at it some more, we came up with a fun name plaque which I actually used to share his name with everyone.
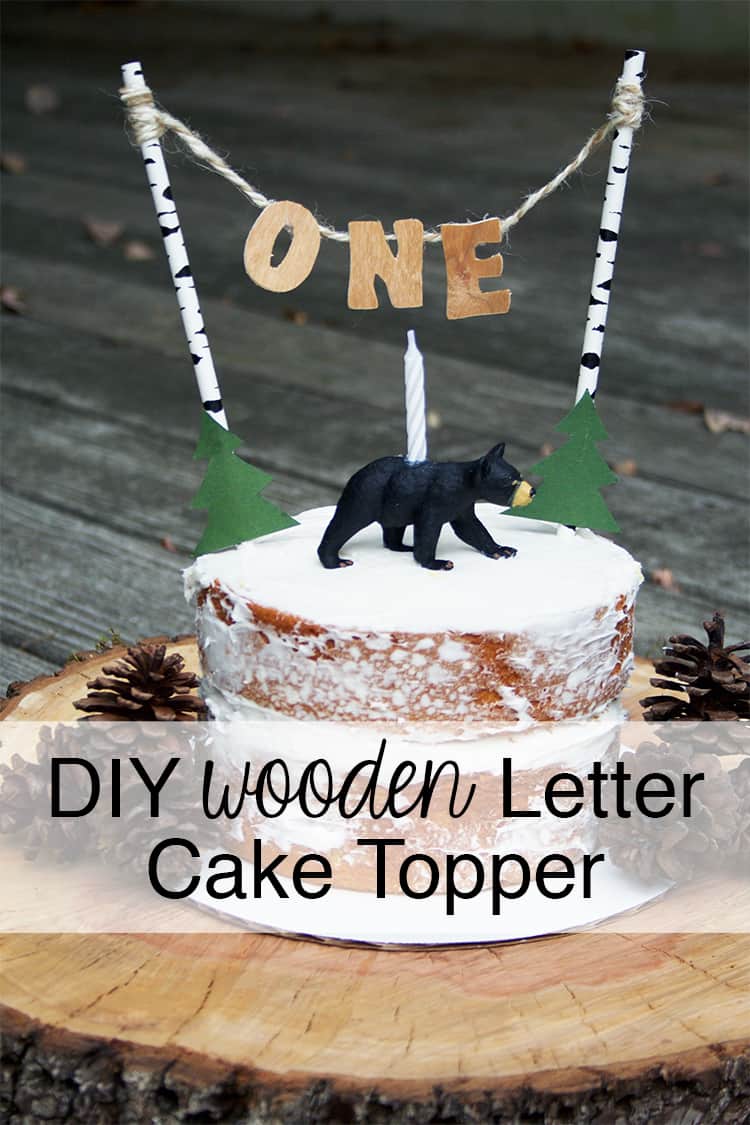
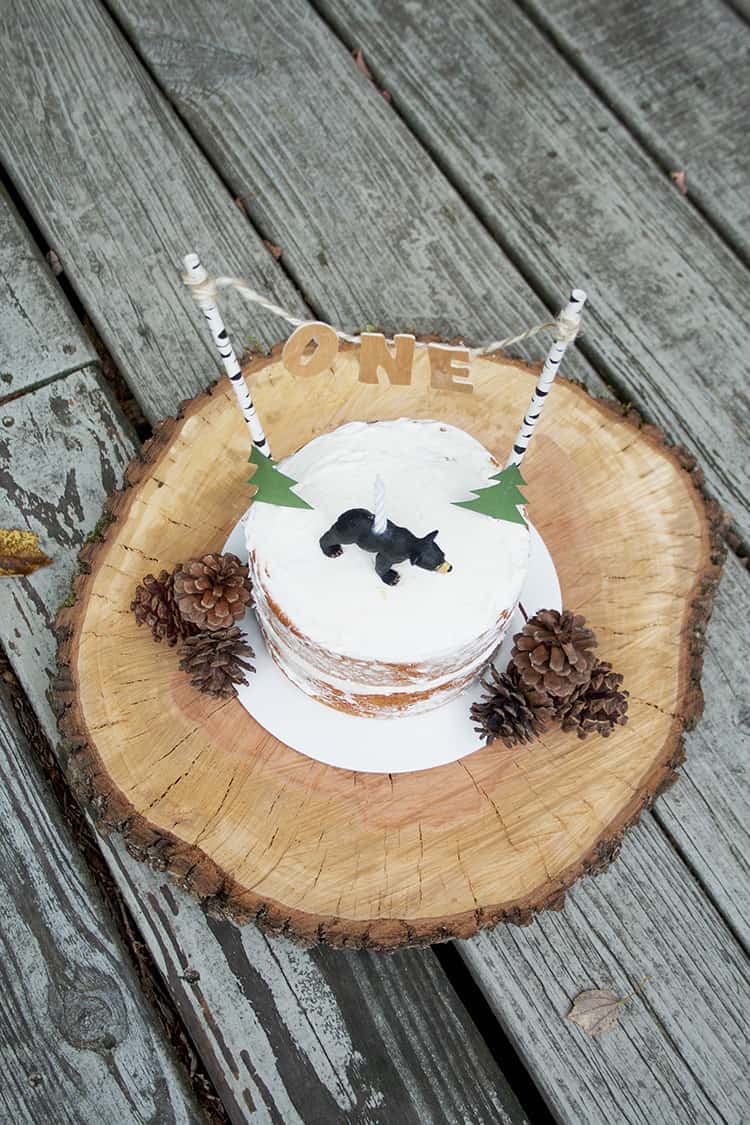
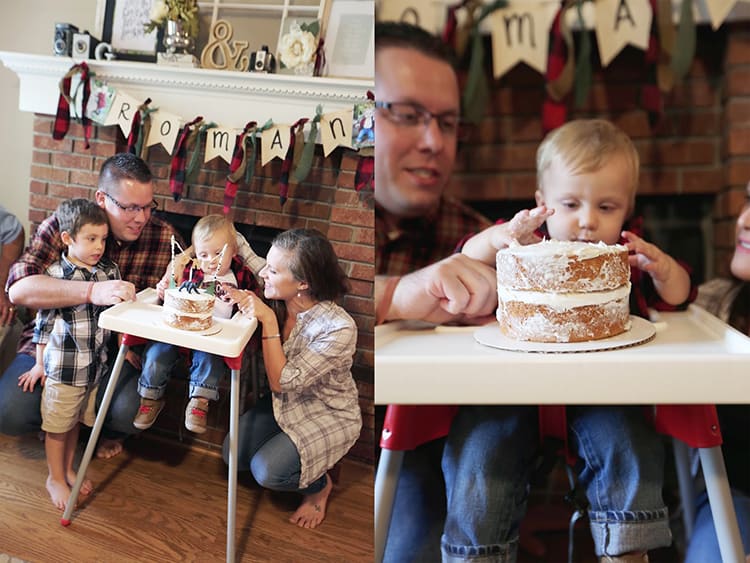
Being the crafting hoarder that I am, I just couldn't let go of the scraps. Again, I had no idea what I was going to use it for but I knew I had to keep it. Cut to a year or so later and my project finally came! Ro's, first birthday was lumberjack themed and it came in very handy. Here's how his cake topper came together using this awesome adhesive wood.
What You'll Need: Wooden Letters, Adhesive Wood Paper, X-Acto Knife, Twine, 2 Paper Straws, Green Card Stock (optional)
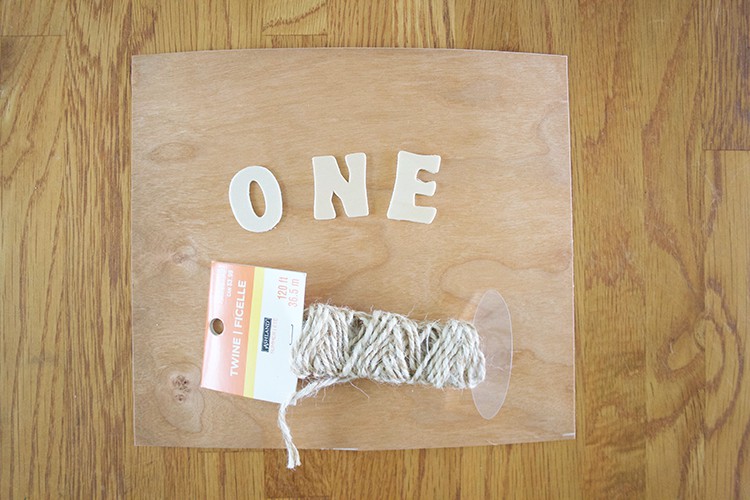
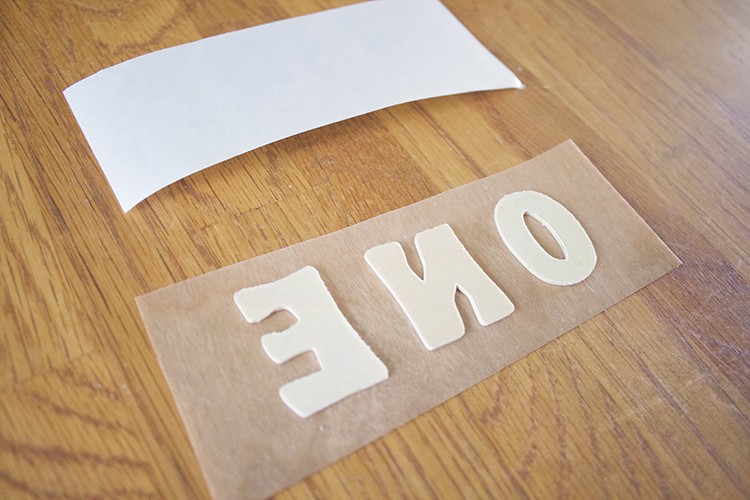
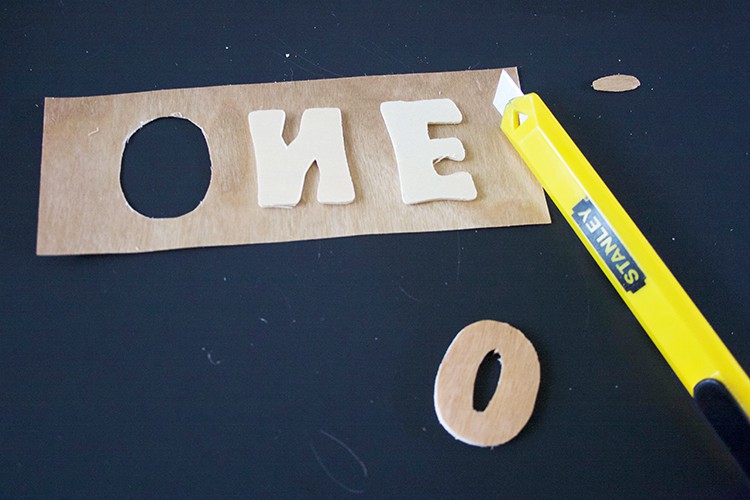
Pick out the letters you need from the pack and lay them upside down on the sticky side of the wood paper. Cut away any excess from around the letters. Using the X-Acto knife, cut around the letters. The adhesive wood cuts super easy! If you end up with any sharp or jagged edges you can clip them with scissors or sand them down.
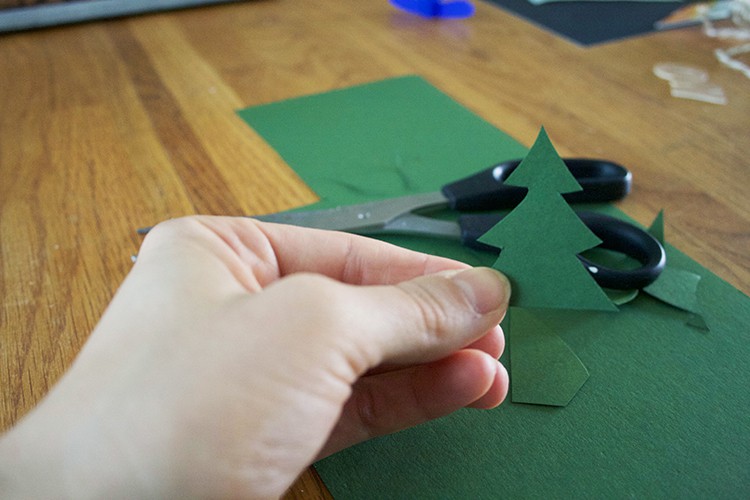
Cut a length of twine to go between the two straws then glue the letters in place. Next, tie/wrap the ends around the straws. You can leave it just like this if you would like or you can add some trees to the bottom from the green card stock. I couldn't leave the trees out since it was a lumberjack theme and all! If you choose to put the trees on your topper, be sure to place them higher up on the ends of the straws to allow room to push into the cake.

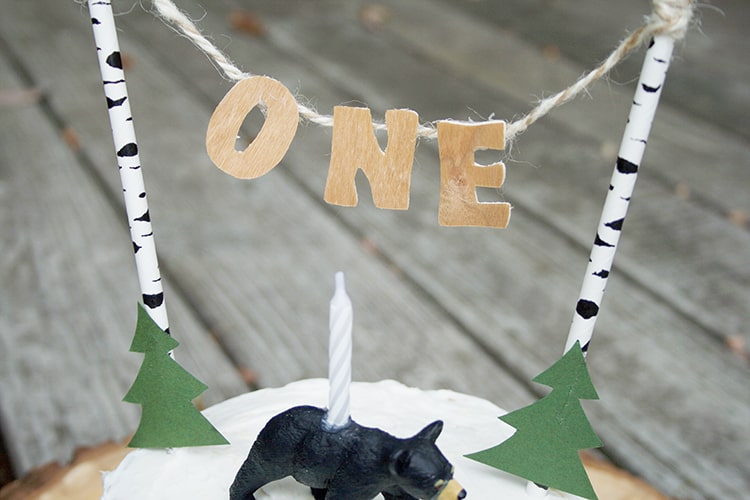
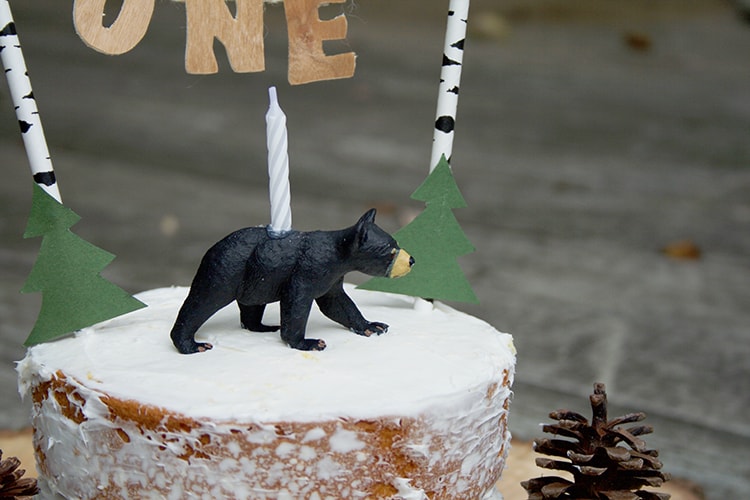
I was thrilled with how the cake came together! It was my first time making a cake that was meant to be presentable and I was so nervous. However, I made sure to pay attention to every little detail and came out happy on the other side. If you're wondering about the bear candle, he's super simple to make. All I did was take a screwdriver to a plastic figurine and hot glued a candle in it.
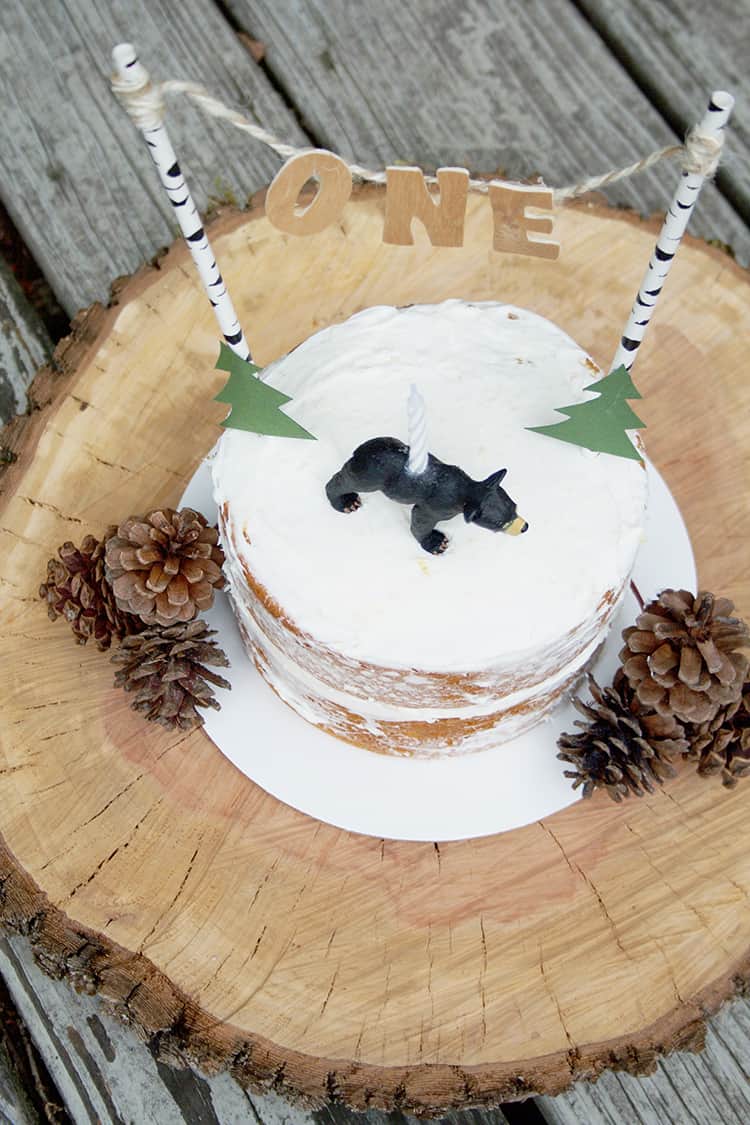
The cake was a huge hit as part of the decor and Ro definitely approved it in the taste department!
If you liked this cake topper, you can check out this cartwheeling one. You can also check out the full lumberjack bash on my blog.
XO, Kelly

Love this idea! Where did you find the bear figurine? Really would love to make one for my son’s 1st birthday! :)
I just found it at the Dollar store! Thank you.