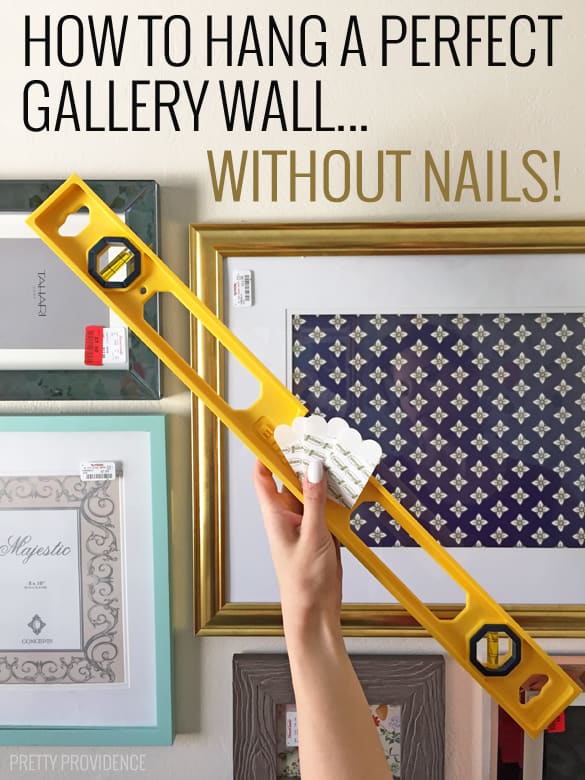
So you guys know how obsessed I am with Nora's big girl room, and one of the best parts of the whole room is the is the gallery wall. It is just such a focal point. We knew from the start we wanted a gallery wall in the room, but I won't lie, I was more than a little overwhelmed by making it happen (thank goodness for Kelsey, from The Wells Collection who is like the design grand master of the world). Tons of work goes into picking the frames, picking the art, pairing them up, and arranging them on the wall, but at least all of those steps are pretty fun... the one step that everybody dreads is the actual hanging and measuring, am I right? Well people, get jazzed up, because today I am solving that problem for you, and you will never stress out about hanging a gallery wall ever again!
If you are interested in a larger scale gallery wall, check out this post.
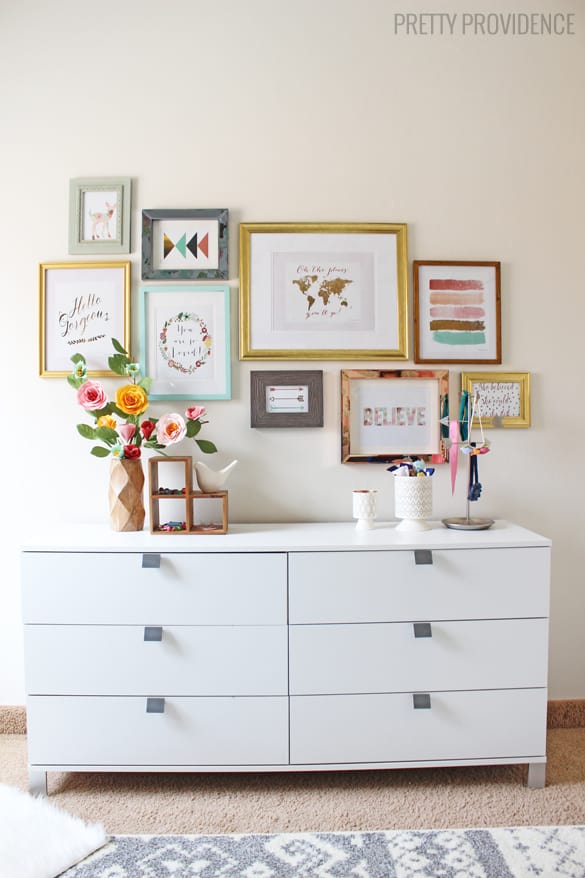
So here is the picture of the finished gallery wall to get you excited!
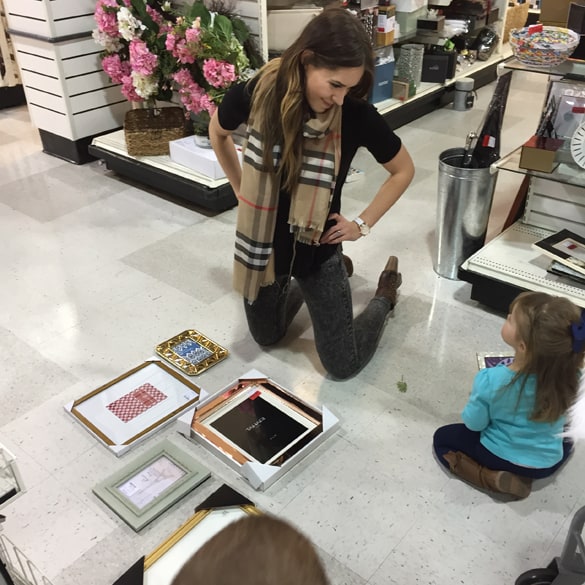
One of the greatest parts about this little trick is that it doesn't matter at all if your frames have hanging brackets or not! So pick out any frames you want, large or small, irregardless of hardware.
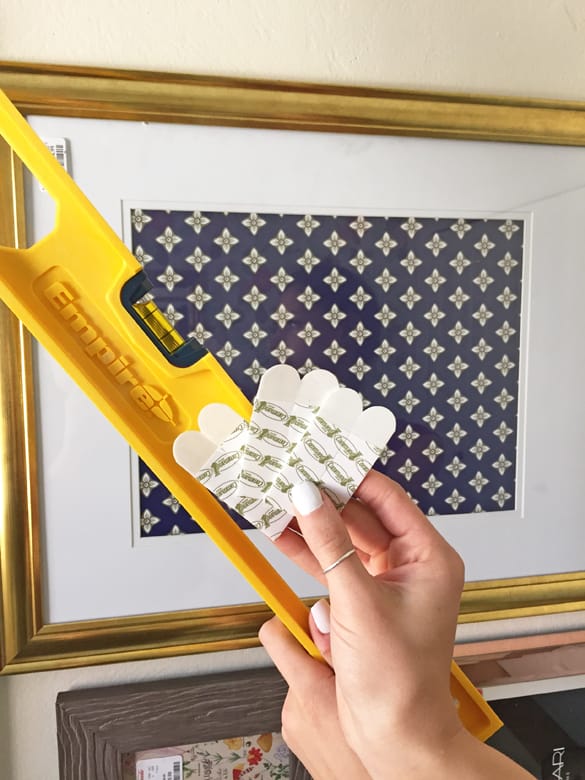
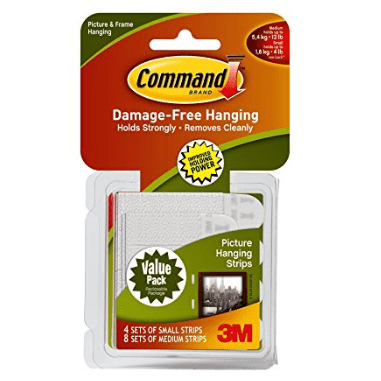
So here's the magic tools, literally all you need is a level (if you are like me and don't know how to hang anything strait on your own, haha) and some 3m command strips! As you can see from the picture above, we had some pretty big frames, and some heavy metal frames as well, and these strips worked like a champ! For the smaller frames, we only used one strip and cut them in half (hotdog style) down the middle and put half on each side of the frame. Below I will illustrate the process in photos for all you visual people. :)
Here are the exact command strips I used:
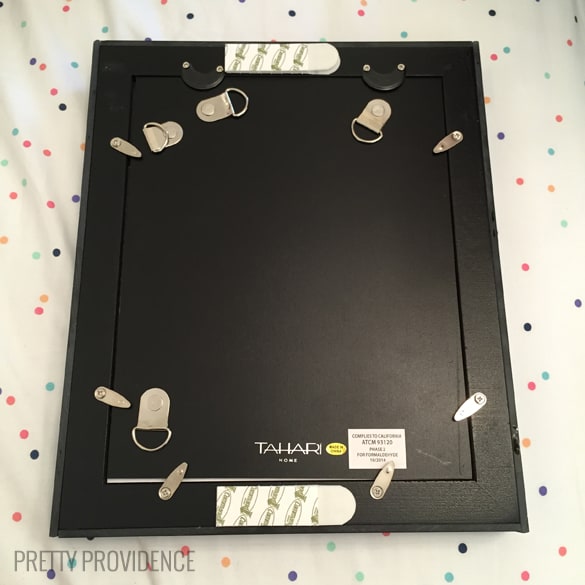
So the first step is to stick one side of the command strips to the frame like you see above.
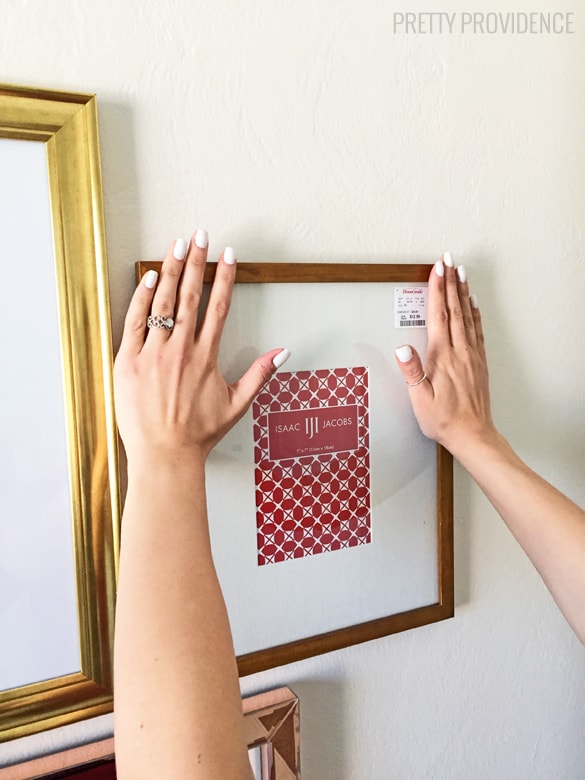
Then just peel the command strip sticker off the other side and hold the frame up to where you think you'd like to place it, but before you stick it to the wall, have a helper place the level on top of the frame to be sure you are completely strait before you stick it to the wall. This initial binding is what will stick the back velcro to the wall, you will still be able to remove the frames, but the back tape will stay on the wall (see below).
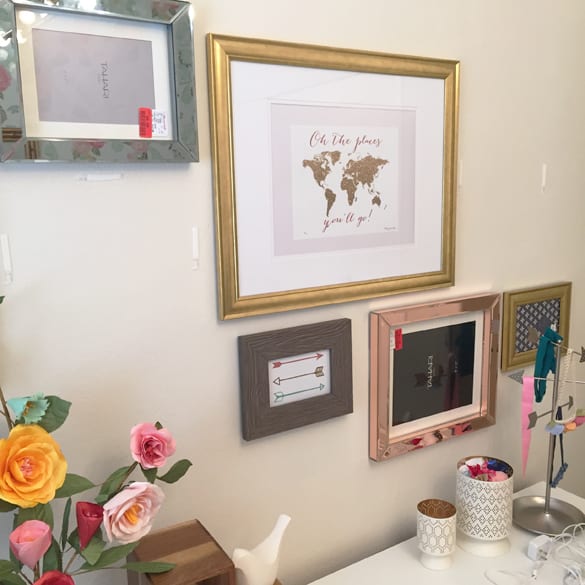
So, when we were hanging our wall we hung all the empty frames first, and then decided after which art we wanted where, because it was easier to visualize that way. In this picture you can see two spots where we had removed the frames to fill them with art, (in the empty spot on the left you can see that those strips were the half strips I mentioned earlier) once your frame is filled you just line it up again and press the velcros securely back together!
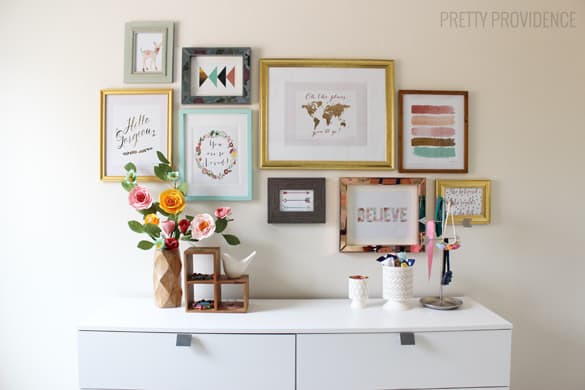
Step back and admire your finished product!
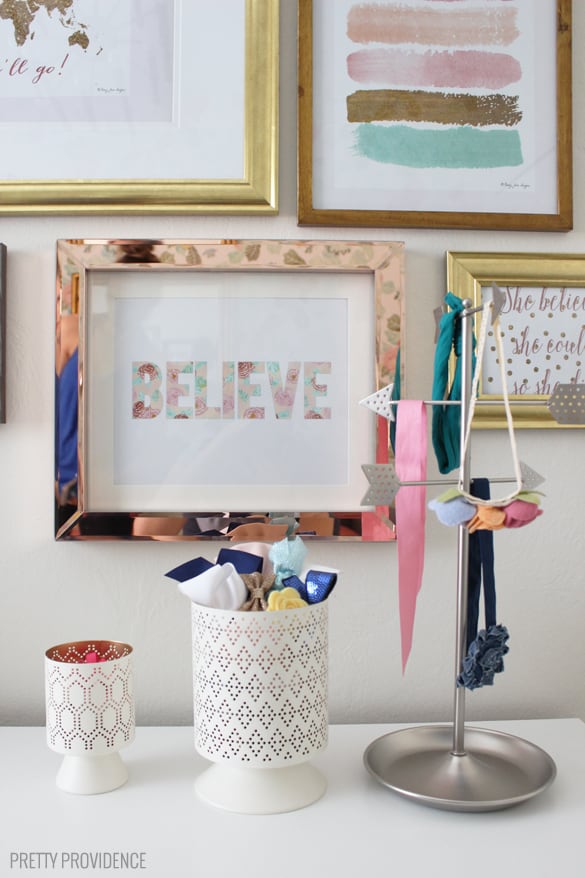
A couple of up close pictures, how cute are those prints?
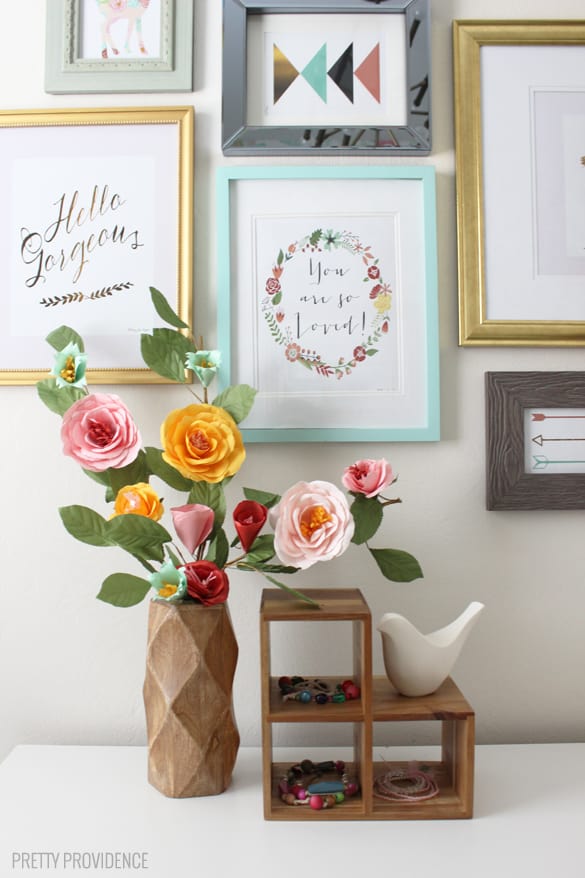
Welp, is your life changed, or what?! Happy gallery making friends!
xo,

Also, if you love frugal and AMAZING DIY projects as much as we do, check out our awesome DIY Sliding Barn Door video tutorial!

|

|
|




Bullfrog
I would add....after a couple years, check to be sure everything is still tight. We also had a favorite small clock hung and it fell after 2 1/2 years. The command strip lasted but the paint separated and also took some drywall. Very weird. Like it was stronger than the wall.
Sarah @ Pretty Providence
They are all from Home Goods :)
Sarah @ Pretty Providence
They are all from Home Goods :)
Danielle
Love the frames! Where did you purchase them?
jeanettera
Those totally pulled the paint AND drywall paper off my walls
jeanettera
Those totally pulled the paint AND drywall paper off my walls
Jessica VanDrunen
Where did you get your prints from?
Jessica VanDrunen
Where did you get your prints from?
Jessica @ Pretty Providence
If you click through to Noras whimsical eclectic little girls room post I have all the links there!
Jessica @ Pretty Providence
If you click through to Noras whimsical eclectic little girls room post I have all the links there!
Elise Lotz
Could I ask where the dresser is from? It's so clean and sleek.
Jessica @ Pretty Providence
Yes! Follow the link in the post to Noras whimsical eclectic bedroom and there is a link to the dresser in there! Sorry I don't know off the top of my head!
DharmaL
Excellent tip! One point of note: It should be spelled "straight" not "strait."
Ashley
Gorgeous! Do you have links to purchase the prints? Thanks so much.
Fliss
just wondering if you could send links to where you got these frames from and the quotes too because these look gorgeous thanks x
Jessica @ Pretty Providence
I got them all from tj max clearance! They didn't have any links online though, so sorry!
Pamela Bills
Soo something we do at work is use the command strips w Velcro so if you ever want to change out the picture or frame it's easily taken down and the strip easily removed.
Jessica @ Pretty Providence
Yes! That's exactly the kind I'm talking about here!
Daša Drapáková
Great idea. I did something similar when making my Polka Dot Pinboard using double sided tape - also on my blog: http://thedreamchasersnotebook.blogspot.com/2015/06/postup-bodkovana-nastenka-diy-golden.html
But I'd like to ask you where did you get that jewellery arrow stand? It's perfect! It's exactly what I need for my necklaces :)
Jessica @ Pretty Providence
Got it at a target!! Isn't it the best?!
Daša Drapáková
It's fantastic! :) What a pity that Target doesn't allow for international shipping :(
And the command strips are great idea too. I've been wondering for a long time on how to hang something on the walls in my rented room. The owners of the apartment didn't advise me to nail anything on the wall, since the building has probably been made of inferior panels that even with a small intervention crumble and fall off. And eventually I ended up with the double sided tape I used for my pinboard project. But the strips you used seem even better than my tape :) And are available on Amazon! :) Great! Thank you for the idea ;)
Jessica @ Pretty Providence
Ah that is so crappy about targets shipping, but yes the command strips are seriously amazing!!! I love them so much!
shonee
love it!! Such an easy way for anyone to hang a gallery wall!!
Meg O.
That's exactly how my gallery wall was done a few years back! Those command strips are the best!!! I did a post on mine (before my blog photos were all that great, lol) a few years back: http://megoonthego.com/2012/02/pinterest-inspired-gallery-wall/
Inese Bokisa
I didn't believe that command strips will work, but they worked.
And I love 3rd photo where you are at the shop. Now I know that I'm not the only who is crawling around the floor to sort out a new look of frames.
Jessica @ Pretty Providence
Haha it's amazing right?!! And I'm so glad we're not the only ones who do that either!!
Laura Welch
Command Strips are the best!!! I love that they make it easy to change things out without any damage.
Jessica @ Pretty Providence
Exactly!! Totally one of those, "how did I not think of this before?" Things!
Cassidy Woodbury
Best trick in the book!
Jessica @ Pretty Providence
Seriously though!! You are a freakin genius!
Ann
Love this! Definitely going to try this! Also, where is that dresser from?