Personalized Luggage Tags
Always wanted personalized luggage tags? Then these easy no sew DIY luggage tags are for you!
Hey guys! I can't wait to share my easy tutorial for these personalized luggage tags today. If you haven't heard, Cricut came out with four new tools for their expanding adaptive tool set, and I couldn't wait to try them out. First project, DIY luggage tags!
Cricut's New Tools
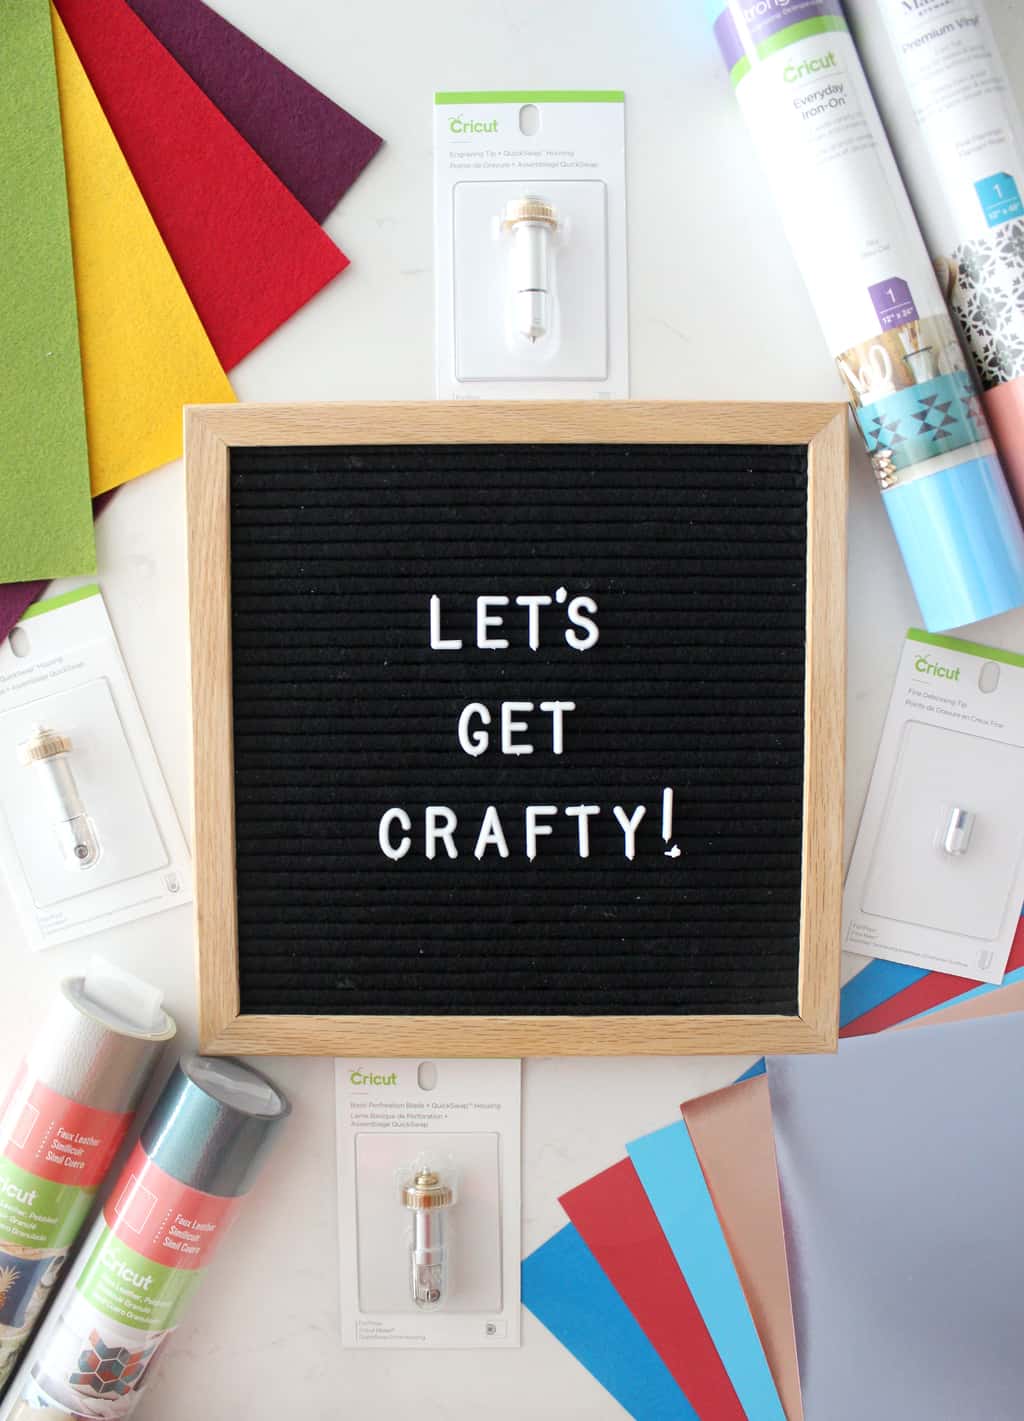
Before I get down to the easy DIY luggage tag tutorial I just want to give you a quick introduction to the four new tools: The Perforation Blade, the Wavy Blade, the Engraving Tip and the Fine Debossing Tip!
- Perforation Blade: Create perfect tear-offs and easy peel-always using paper, cardstock, acetate, poster board, and more. I can't wait to make a fun chore chart with this, or maybe a flier with numbers you can tear off at the bottom.
- Wavy Blade: Back off wavy scissors, the wavy blade is here! Add a fun decorative edge to any project, card, or banner! Works on a variety of favorite fun materials.
- Engraving Tip: You no longer need special tools to engrave your projects! Engrave in leather, wood, etc. Easy way to personalize any project.
- Fine Debossing Tip: Customize projects with crisp, detailed debossed designs - no folders necessary! I can't wait to make fun cards with this one! Wouldn't debossed business cards be so fun to?
For this project I used the Engraving Tip and also the Wavy Blade! You ready for the tutorial?
Personalized Luggage Tags
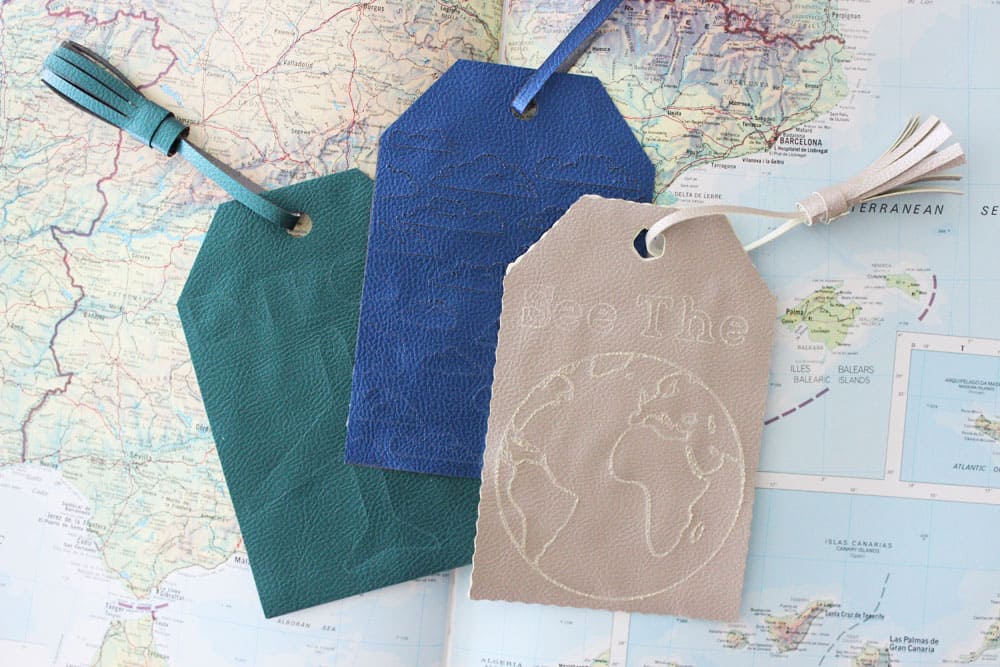
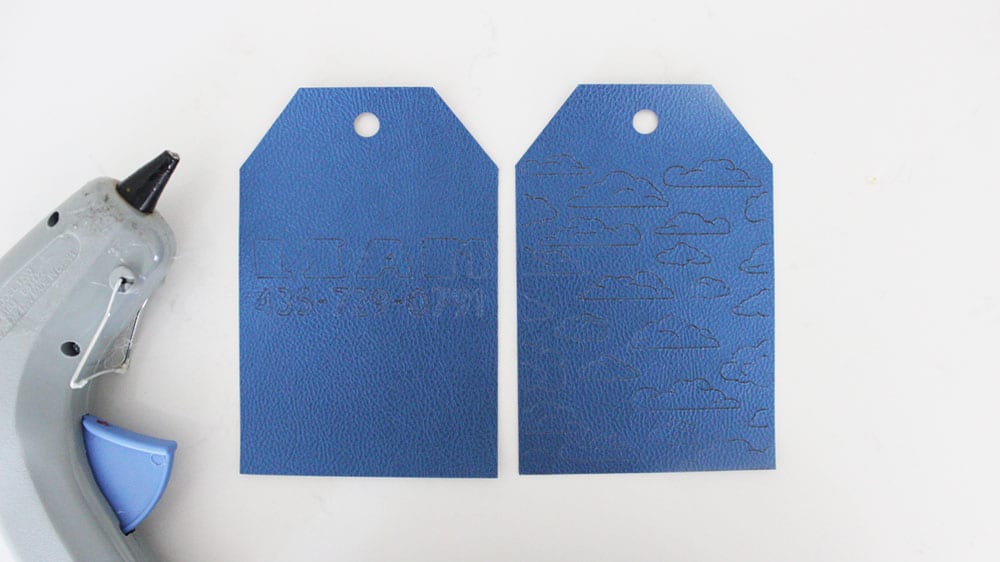
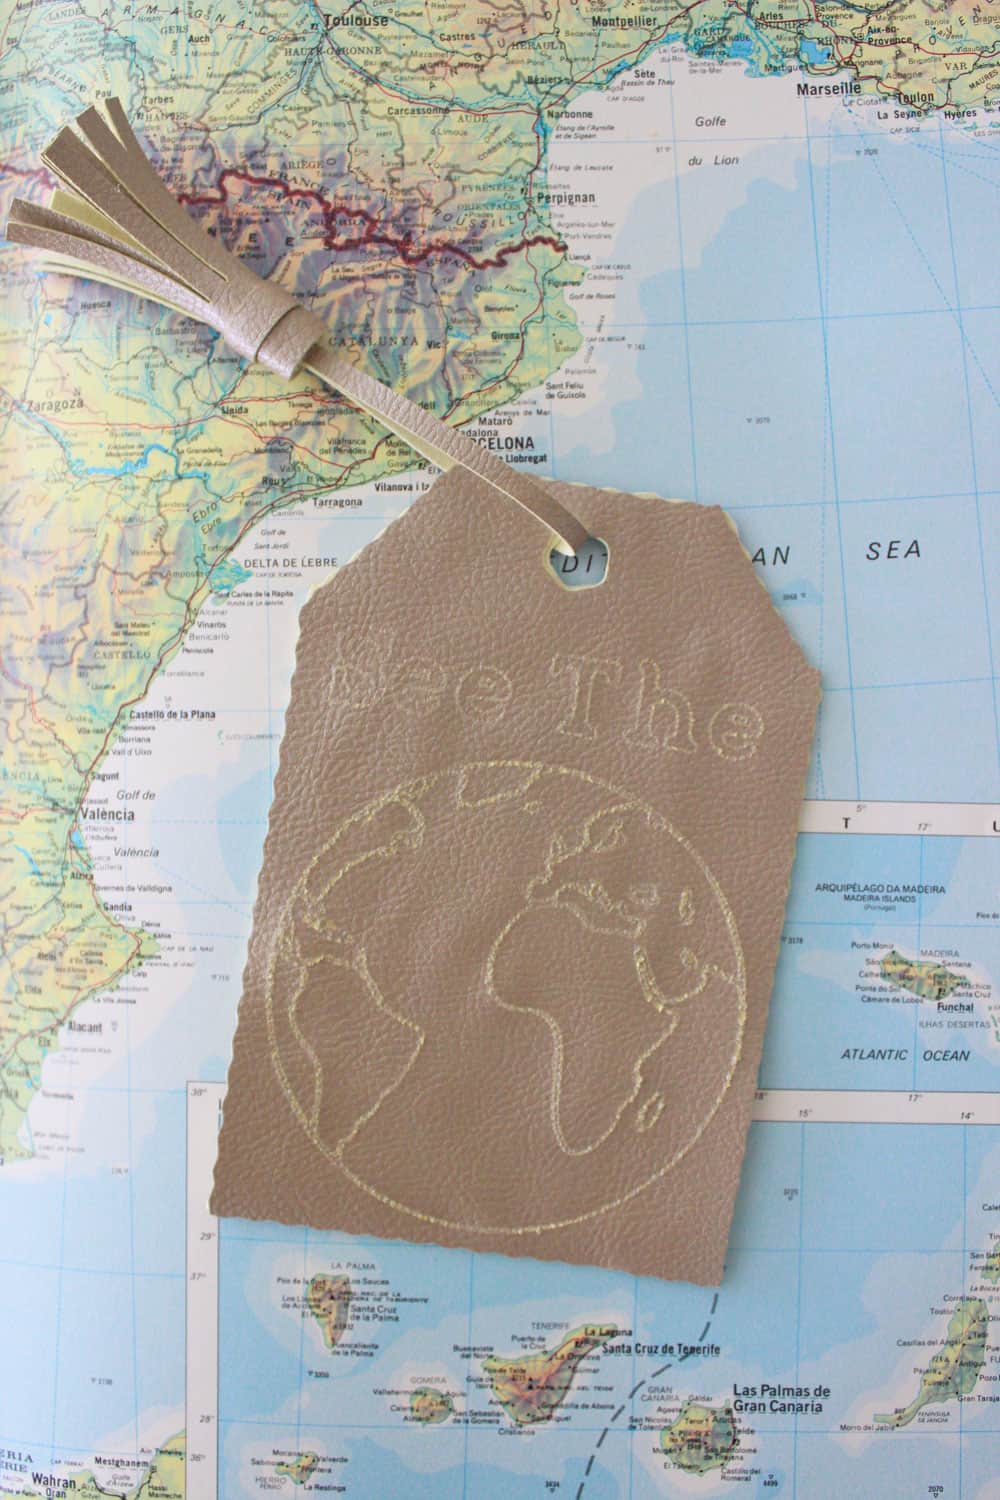
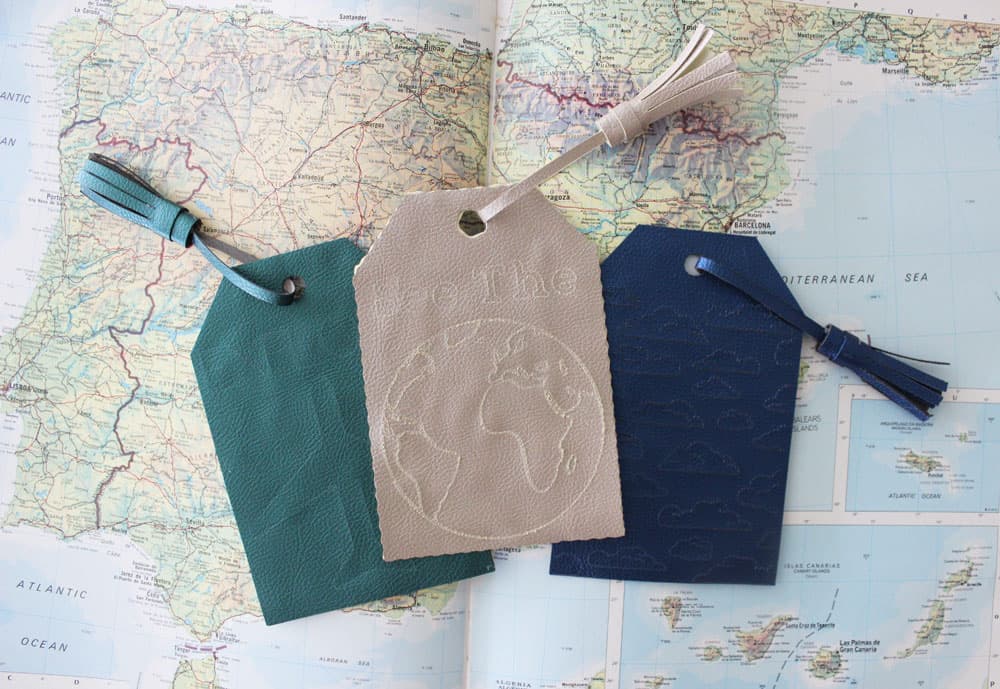
I made three different versions of the tags for you to choose from! The See The World Tag, The Explore Tag, and The Cloud Tag. Click each link to be taken to the file in Design Space!
DIY Luggage Tag Supplies Needed:
Design Your DIY Luggage Tag In Design Space
(Top Left) Make sure to select your tag in layers, then go to Linetype and click the drop down menu and select cut. Then go to your image/text layers and select them, then go to Linetype and make sure to select engrave. This lets your maker know what to do with each layer.
(Top Right) After you've told your Maker what to do with each layer, highlight the left side of the tag and everything on it and click attach. Then do the same with the right side of your tag.
(Bottom Left) Then click "Make It." This is what your screen should look like. If the design is not on top of the tag then you probably forgot to attach layers.
(Bottom Right) Make sure it says Engrave and Cut next to your mat icon, and set your materials to faux leather.
Now we are ready to get cutting!
(Top Left) Put your faux leather on your cutting mat right side up and load your mat into your Maker.
(Top Right) Make sure your engrave tool into your B clamp.

(Bottom Left) Press the blinking "C" button to start your machine cutting. It will prompt you when to switch that out for your fine point blade. I love how easy it is to toggle between tools! This QuickSwap Maker Suite is amazing.
(Bottom Right) Weed your design.
Glue Tag Together
If you like to sew you could totally sew your tag together, but it's not my favorite so I opted for hot glue and they have held up great!
Make Your Tassel
(Top Left) Gather supplies. You'll need a piece of faux leather to cut your fringe (if you wan't to use your Cricut to cut it I like this tassel in Design Space), a hot glue gun, a stapler, and your tag.
(Top Right) Cut a thin strip to attach your tassel to your fringe. Loop it through your tag and staple both ends to the bottom of your open tassel.
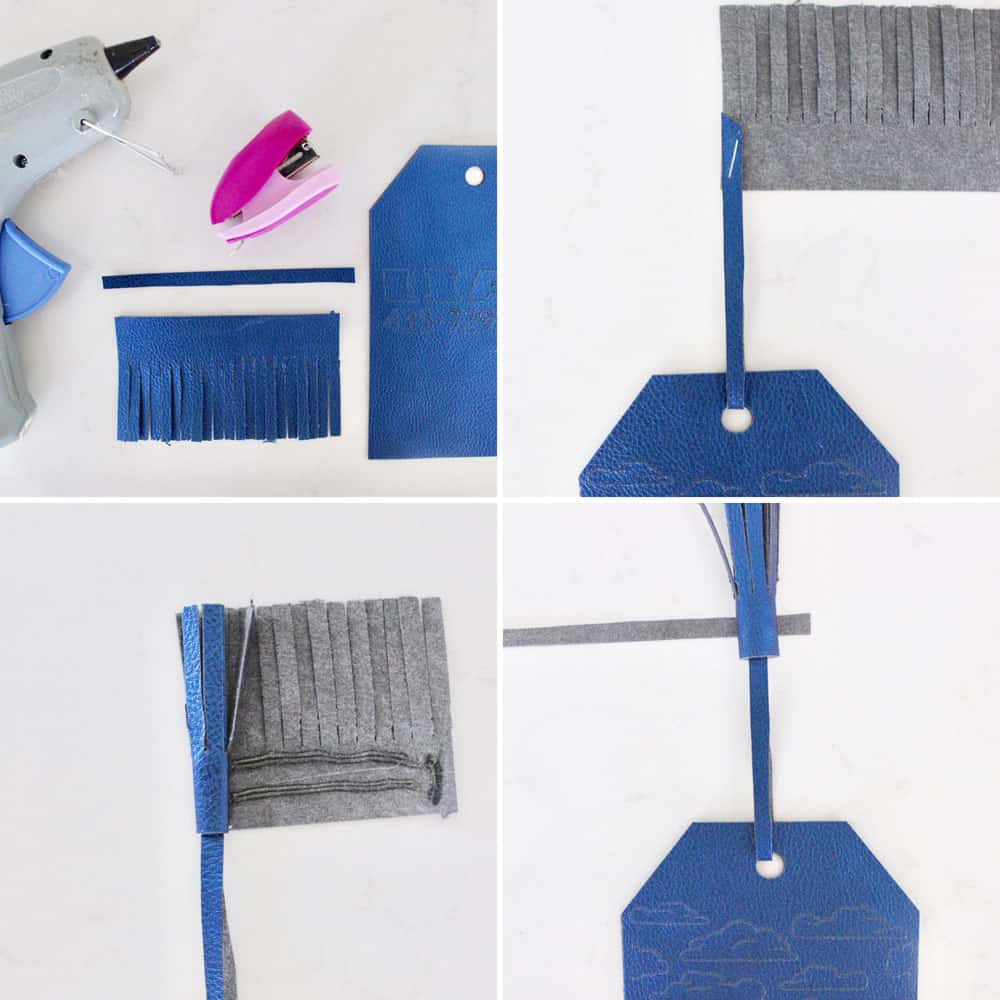
(Bottom Left) Add some hot glue to the bottom of your tassel and quickly wrap it.
(Bottom Right) Cut another thin strip and glue it around the base of your tassel to embellish it.
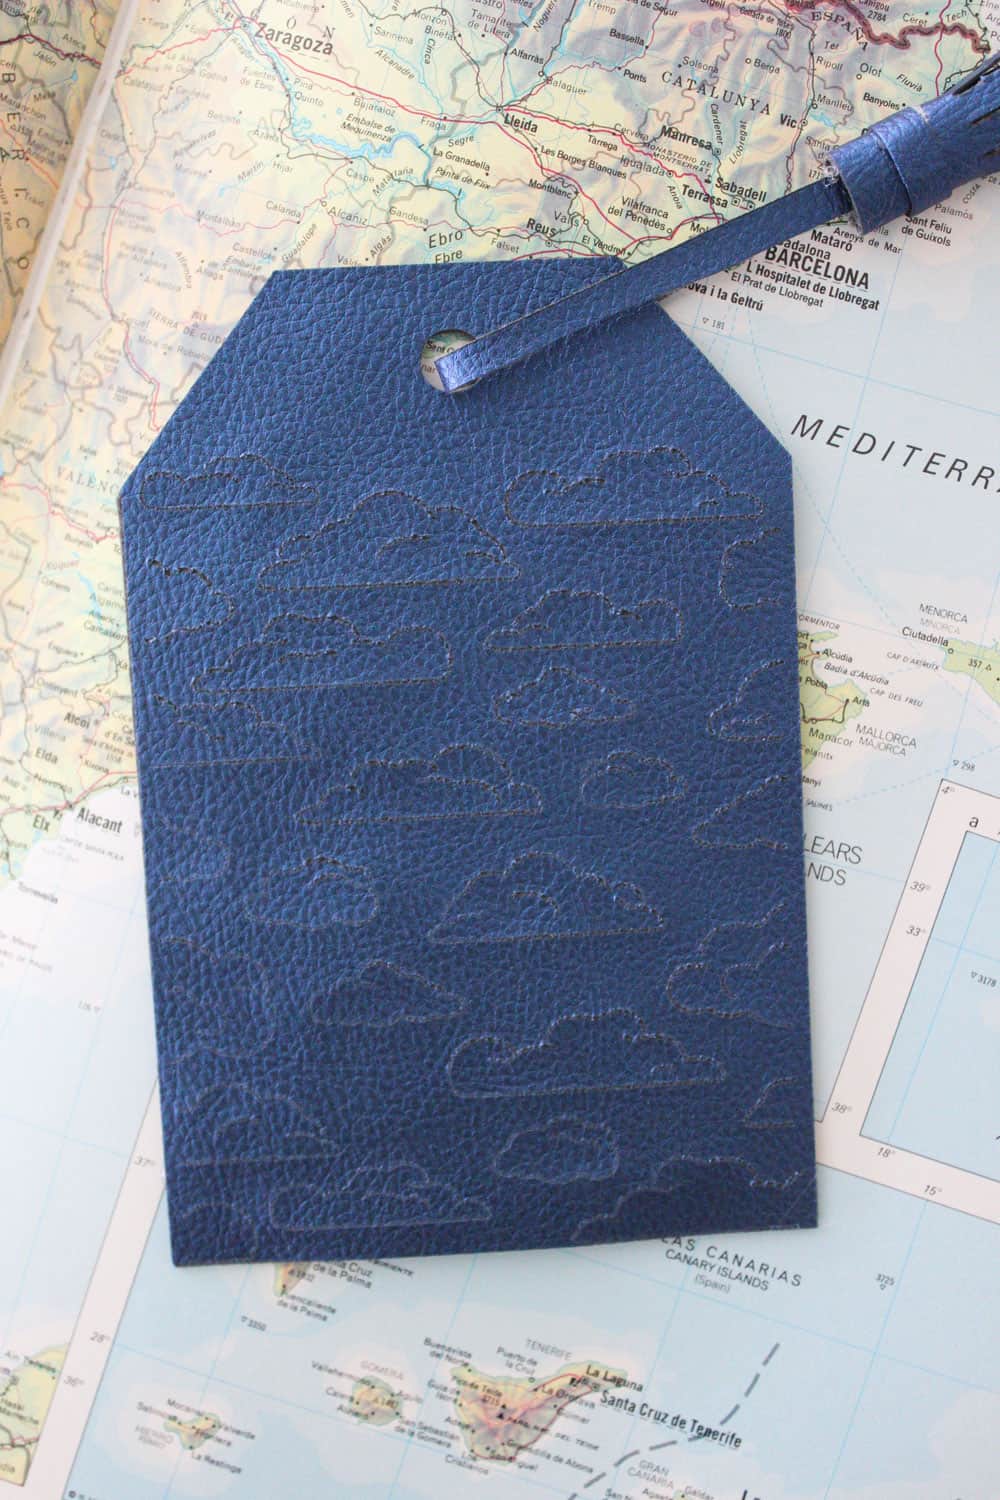
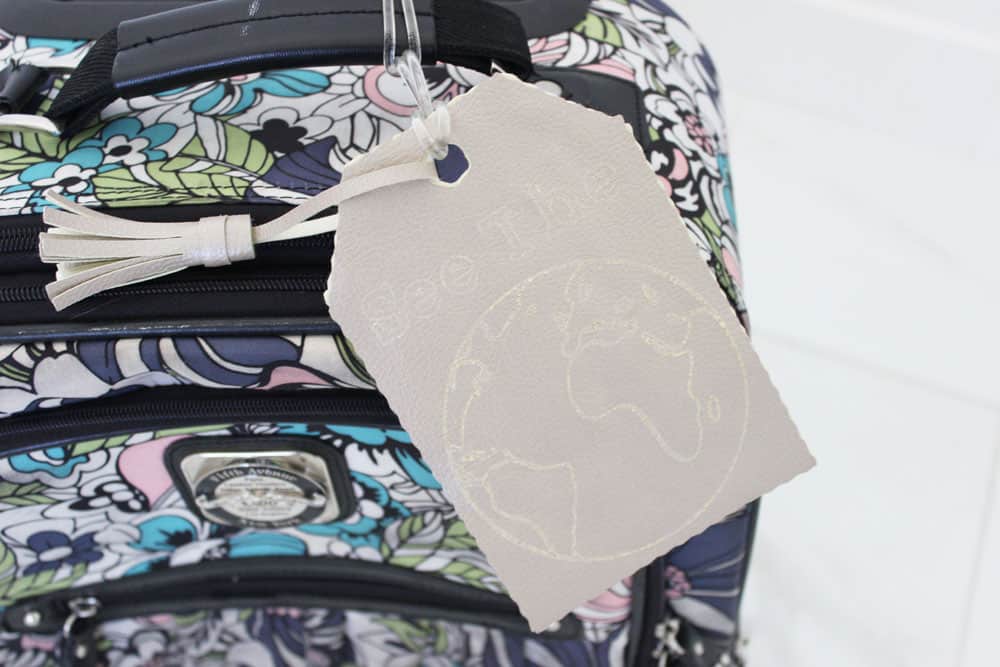
Voila! You have a finished DIY luggage tag! I love these cute little cloud buddies!
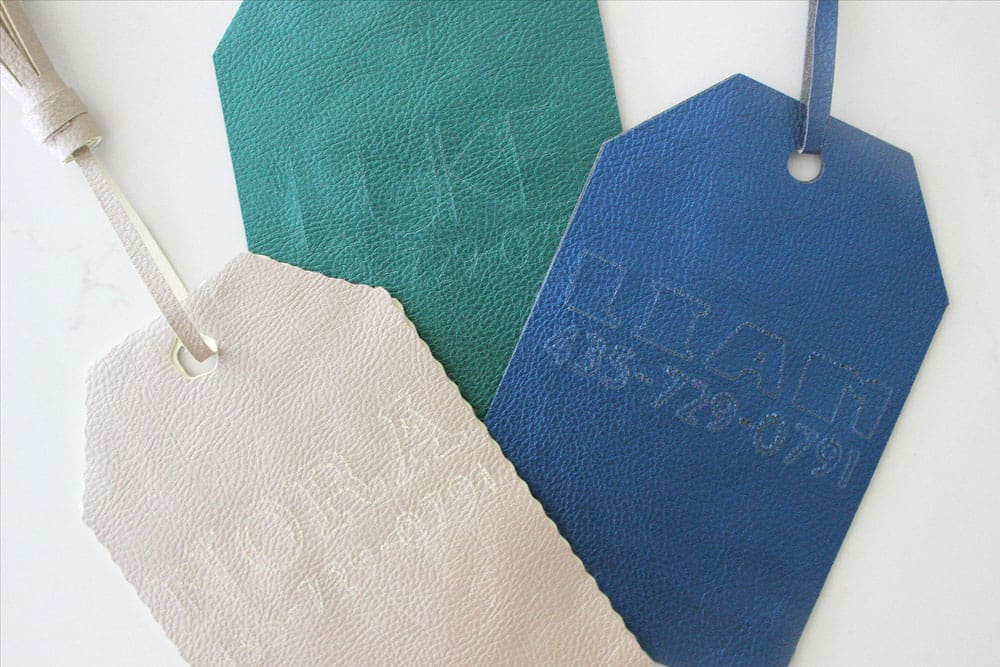
I put my kids names and phone number on the back of each tag in case of lost luggage. Of course this is my kids favorite part, haha.
I used the Wavy tip on my daughters tag to make hers a little more girly and fun! She loved how it turned out. Just make sure when you are selecting the linetype to select "wave" instead of "cut" if you are wanting to wave your edges.
 Explore Tag
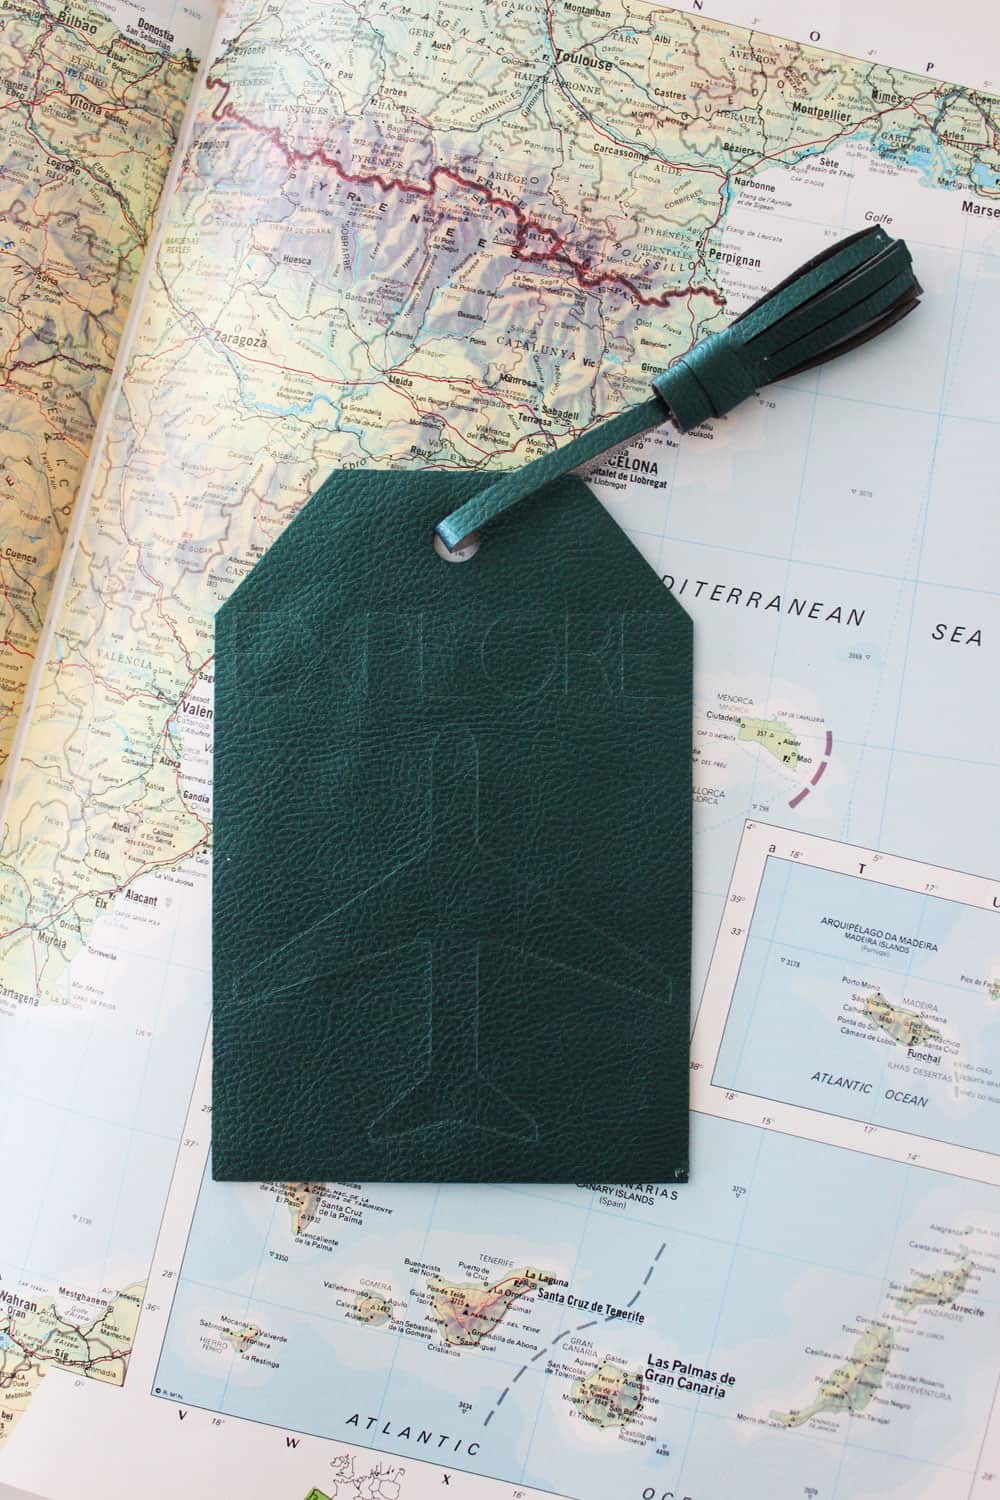 Explore Tag
If you chose a writing font it will turn out very thin and subtle like the explore tag.
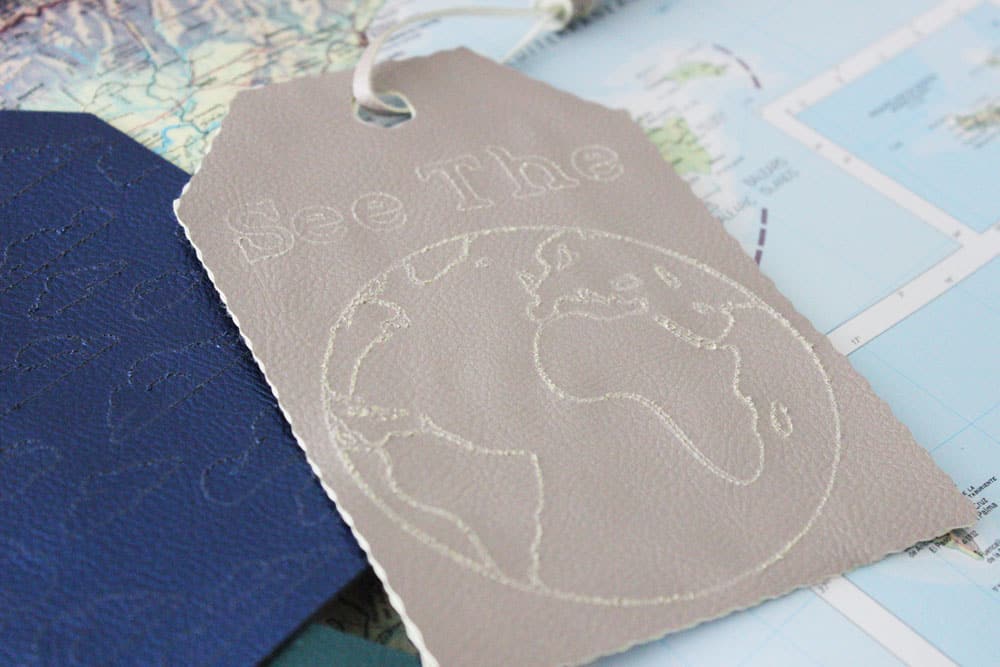
If you choose a regular font it will show an outline of the font like in the "See The World" tag above.
Well, there you have it! Which tag is your favorite?
xo,


