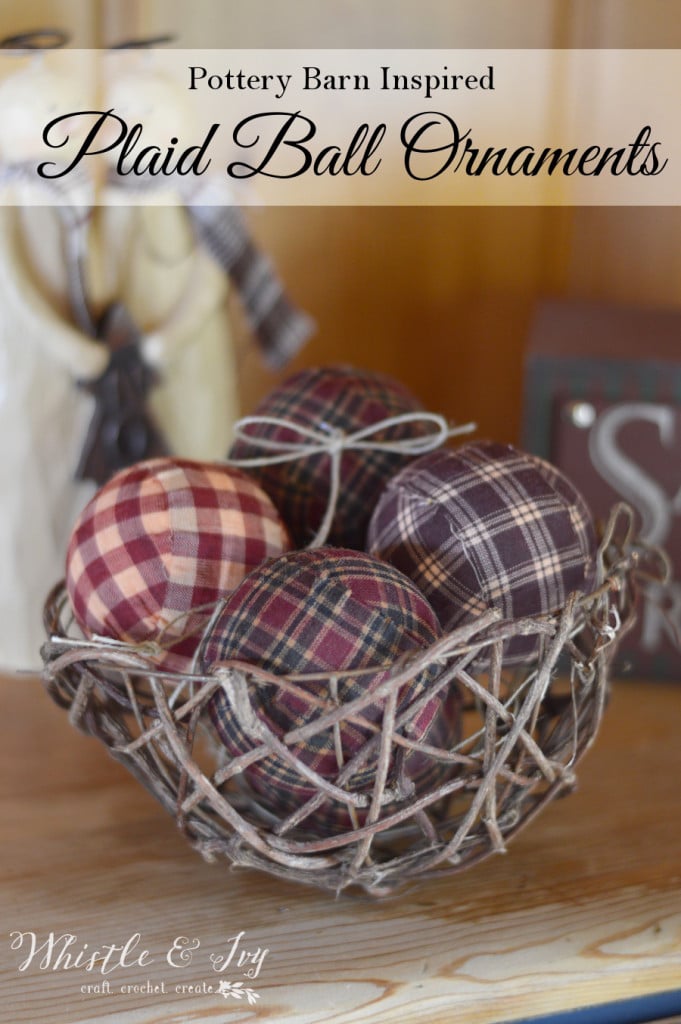
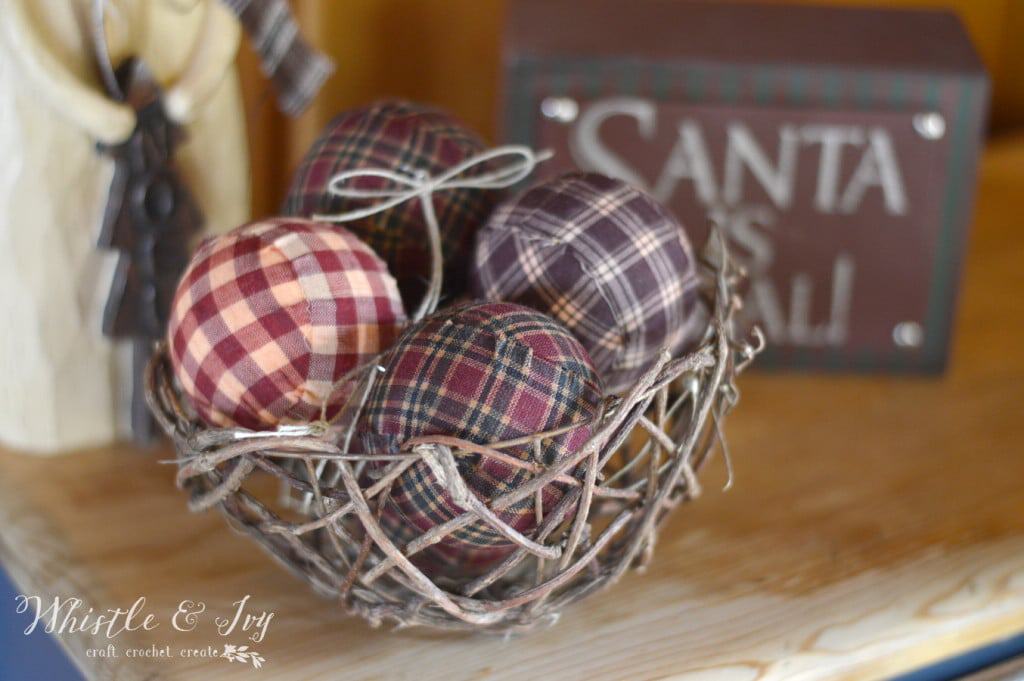
Hello! I'm Bethany, and I am so excited to share these cute plaid ball ornaments with you today!
Christmas is in full swing in our house. The Christmas wax melts are filling our home with cheery and rustic smells, and we are beginning to deck the halls with greenery and decor. I am hesitant to put up the tree due to Sis's mobility and curiosity, so maybe we can do a test run and see how she does. Christmas won't be the same without a twinkling tree!
Since we moved to our 50's home last year, I have been going with the current theme of the house: retro 50's cabin (that's a thing, right?) The walls and ceiling are covering with gorgeous pine planks. And while I intend on changing the color of the walls (vintage-orange), this year we are going with a rustic, mountain-esqe Christmas theme. Plaid fits perfectly, in fact the cabin-y feel of the walls almost makes decorating for the holidays more fun. These super easy plaid ball ornaments come together in a snap, and they are so cute in a bowl or on the tree.
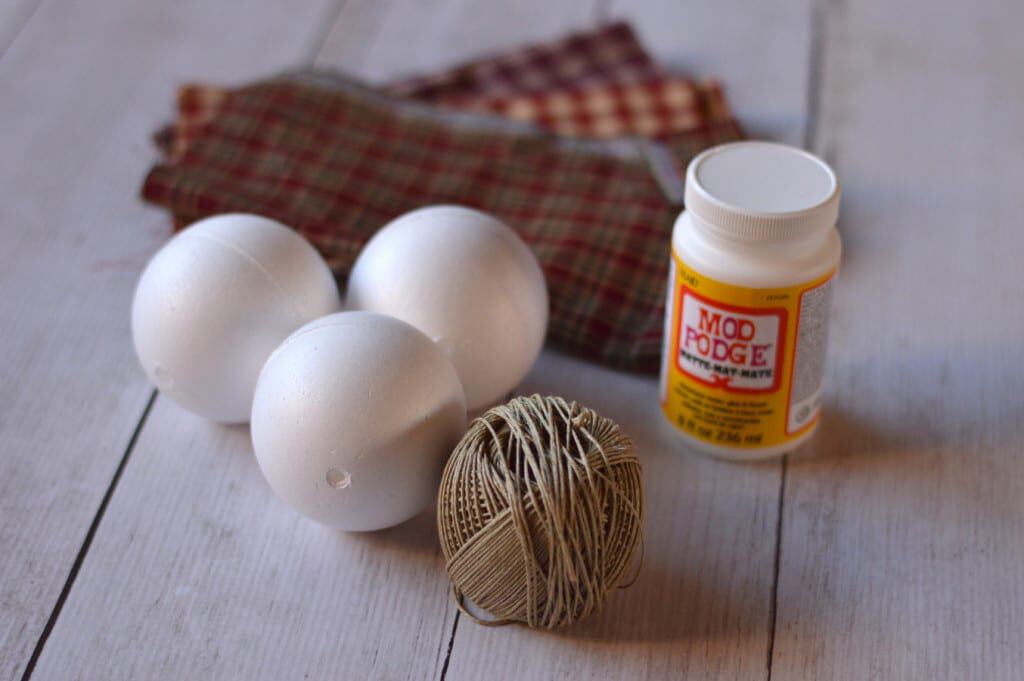
What you need:
- Plaid fabric
- Matte Modpodge
- Foam Brush
- Smooth Foam Balls
- Hemp or Twine
- Scissors
- Paper Clip
- Needle Nose Pliers
- Paper
Step one:
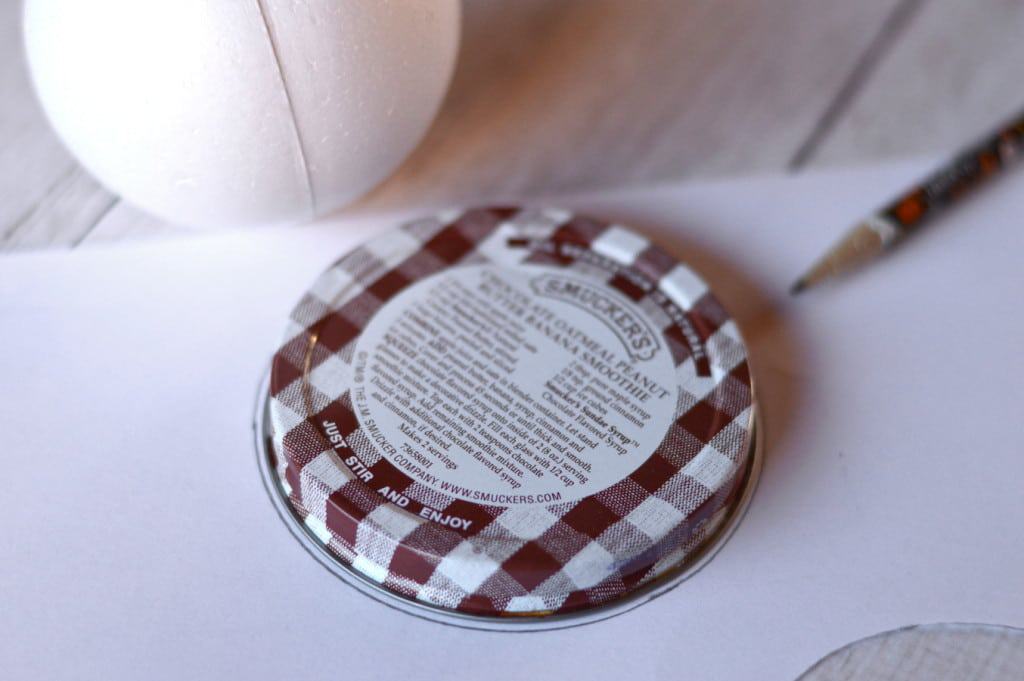
Cut a pattern for your balls. Find any flat circular shape. It needs to be almost twice as wide as your balls. Lay it on a piece of paper and trace around it, creating a template.
Step two:
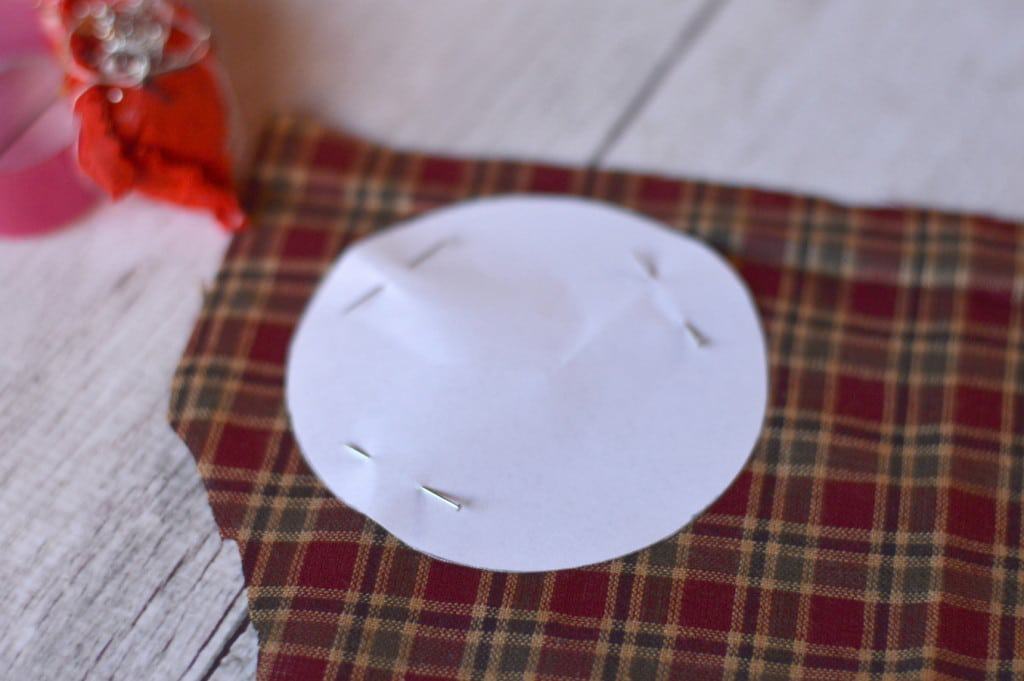
Cut out the template and lay it on your fabric. Be sure to fold the fabric so you are cutting two circles at once.
Step three:
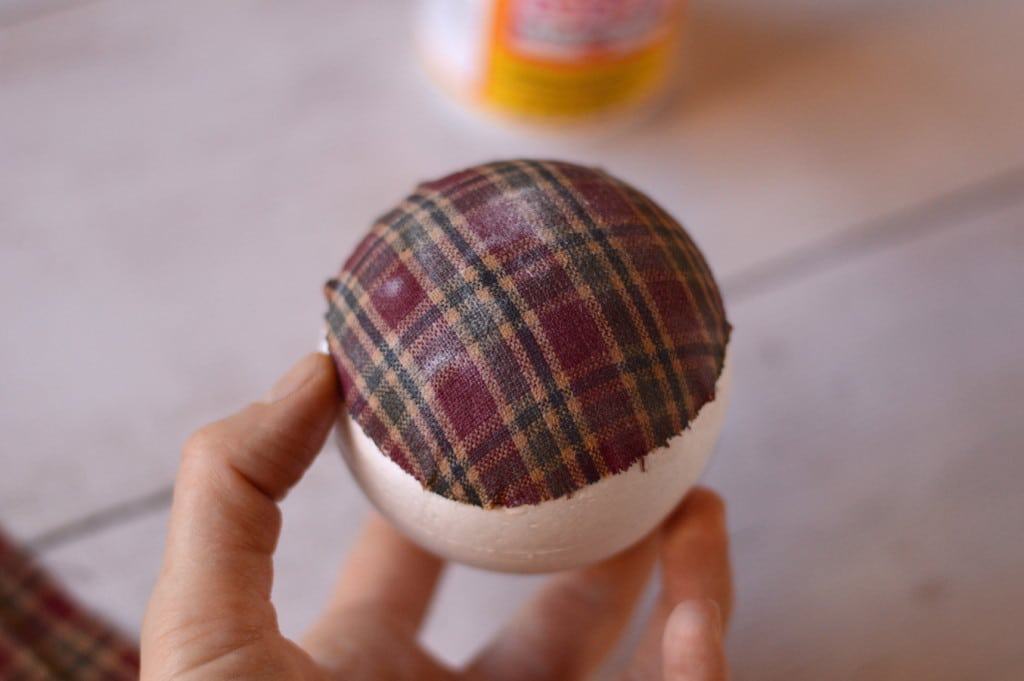
Pour out some Modpodge in a bowl, and lay out a bit of newspaper or wax paper to work on. Apply Modpodge generously to one fabric circle. Be sure it's saturated. Next, apply Modpodge to the foam ball and decoupage the fabric to it. Work it with your fingers until it lays flush, without too many wrinkles.Repeat with the other circle. You can allow it to dry, or you can move on to the next step.
Step four:
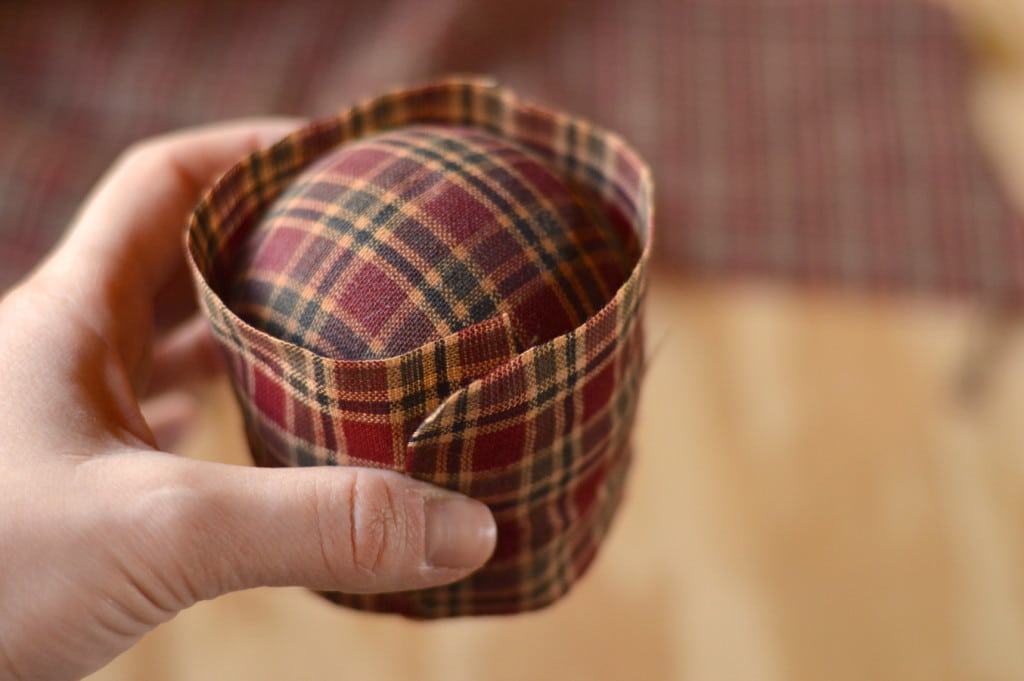
Next, you need to make the middle piece. The measurements don't need to be exact, so you can use the ball as a guide. Put a piece of fabric around the ball and make sure it covers the middle with a bit of excess on the ends and edges.You can tim it down in need be. You want it to be wide enough to cover the middle, but not so wide that you have lots of wrinkles.
Step five:
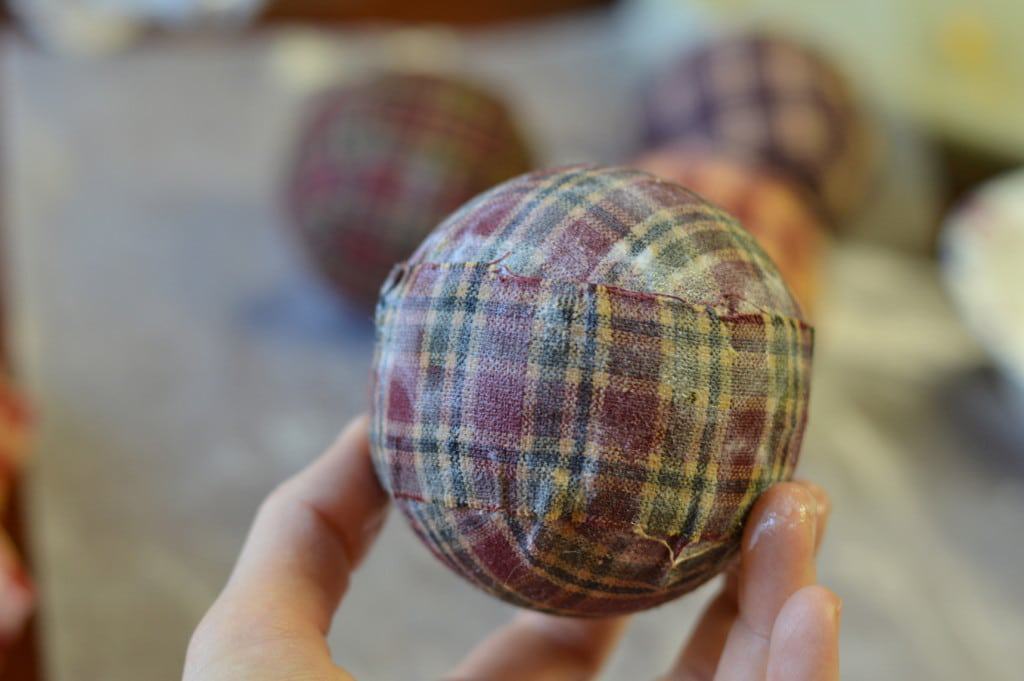
Apply the middle strip using the same method as before. If the edges begin to wrinkle, you can saturate them further with more Modpodge. There will be some wrinkles, but you should be able to work most of them out. Fold over one end of the middle strip so you have a neat edge.
Let it dry completely on wax paper.
Step six:
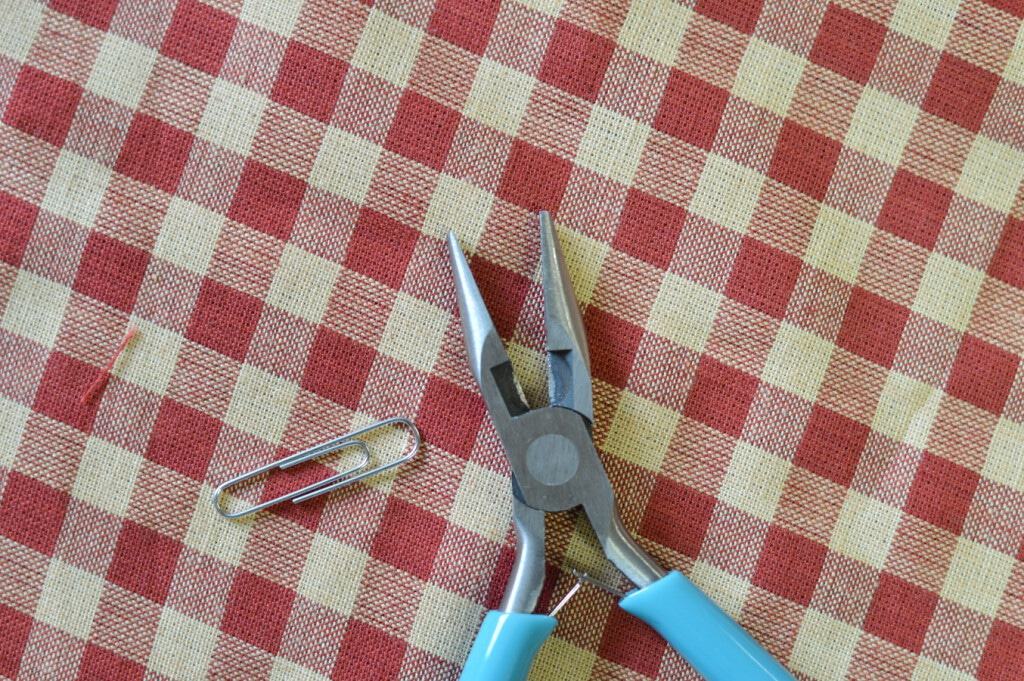
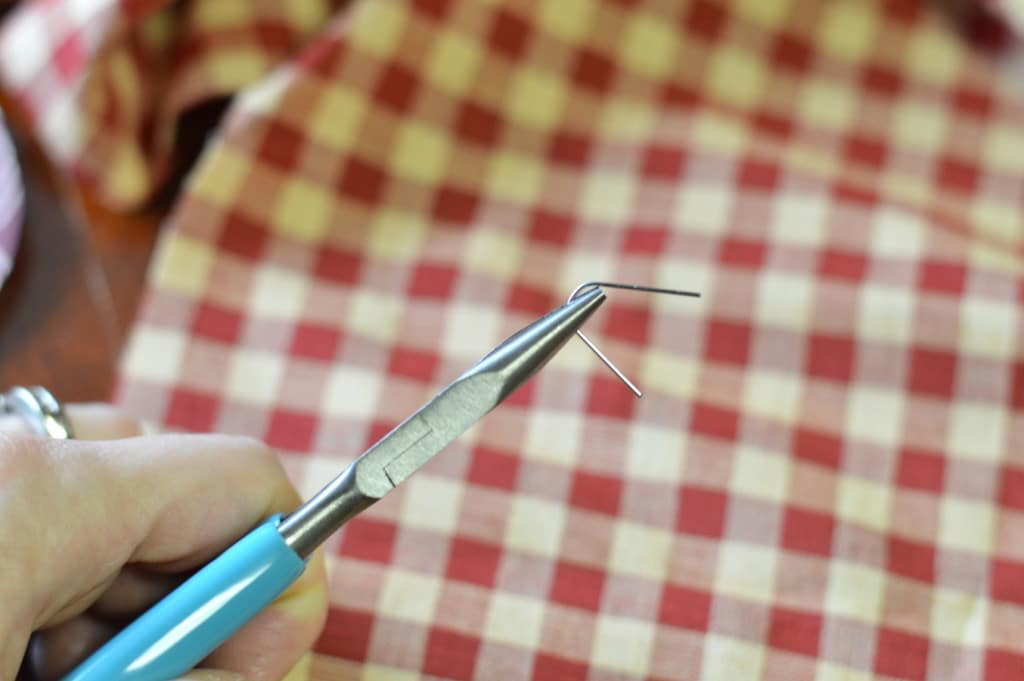
Get your paperclip and needle nose pliers.
Clip off the end of the paperclip.
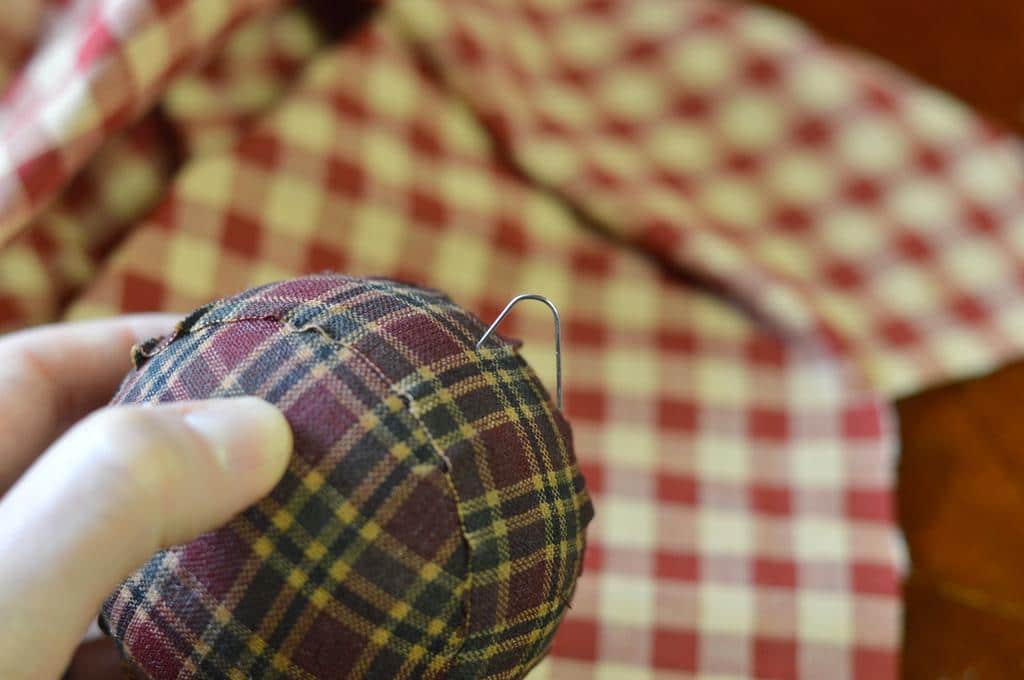
Poke one end of the paperclip into the top of the plaid ball ornament.
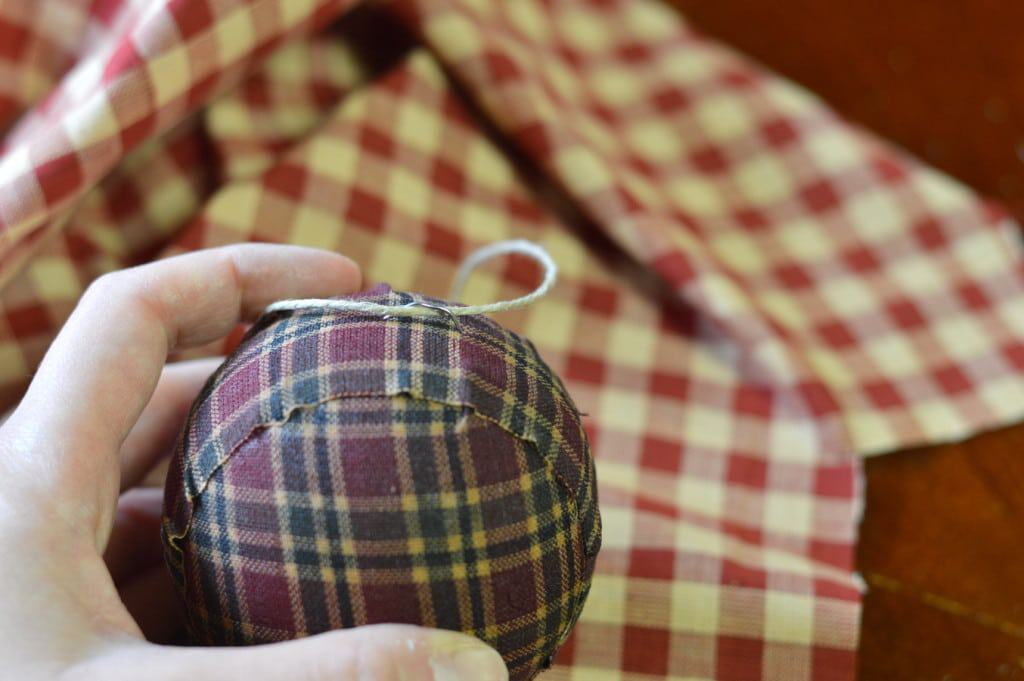
Take a length of twine and tie the ends together. Slip the twine under the paper clip, then push the other end of the paperclip into the ball, securing the twine.
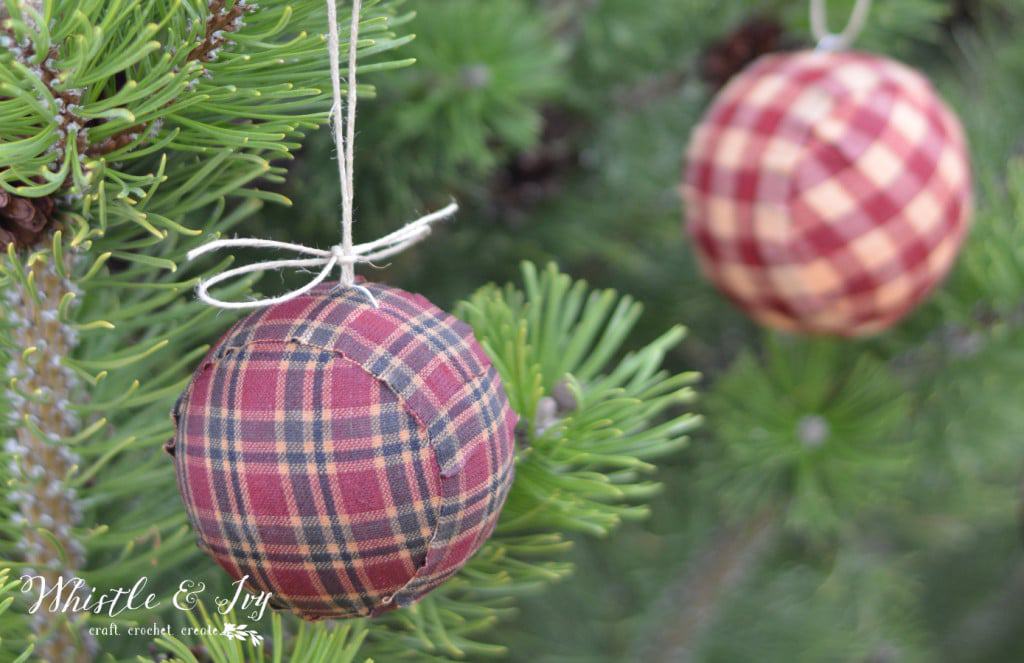
All done! You can hang your plaid ball ornaments on a tree or display them in a bowl. I like both, so I think I have a few more ornaments to make!
Want more Christmas cheer?
You may like this Holiday Doily Garland,
or this Mini Stocking Advent Calendar.
Thanks for reading! Follow me on Facebook or subscribe here.


 Step one:





Leave a Reply