If you need Cricut EasyPress Reviews look no further! Below is everything you need to know about the Cricut EasyPress 2 and Cricut Iron on Vinyl.
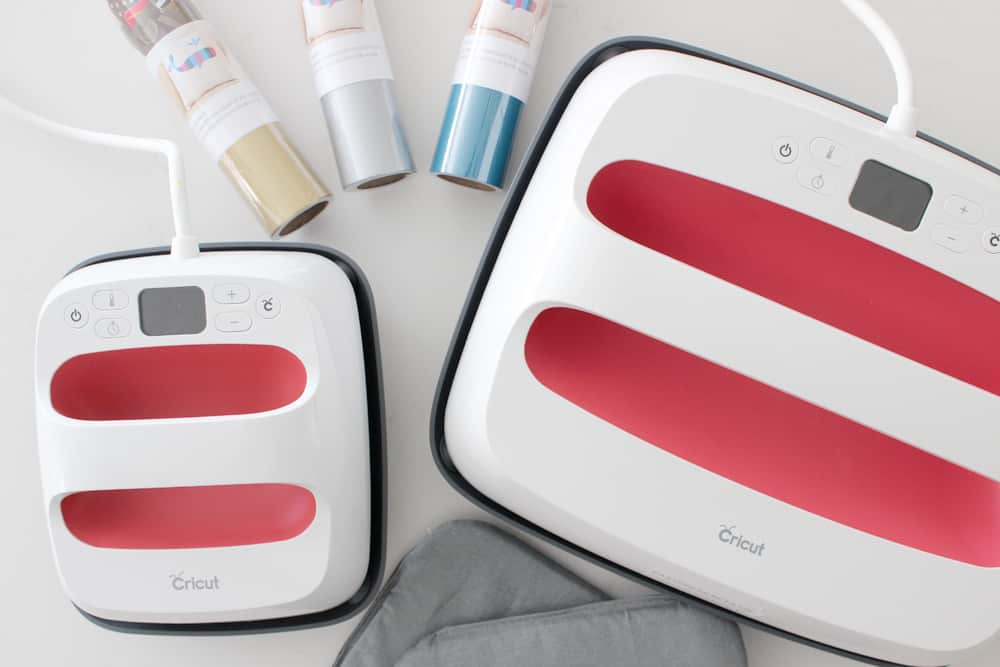
Hello friends! If you've been around here long then you know that we are obsessed with our Cricut machines! On of our favorite things to use our Cricut's for is working with iron on vinyl! Well, recently Cricut upped their iron on game significantly by introducing their new Cricut EasyPress 2!
We've been doing tons of projects using our Easypresses (like these funny socks or these cute tote bags) and we have gotten a lot of great questions about the Cricut EasyPress 2 and Cricut vinyl! So, we thought we would go ahead and do a Cricut Easy Press review so we could answer all your FAQ's in one spot. You ready for this?
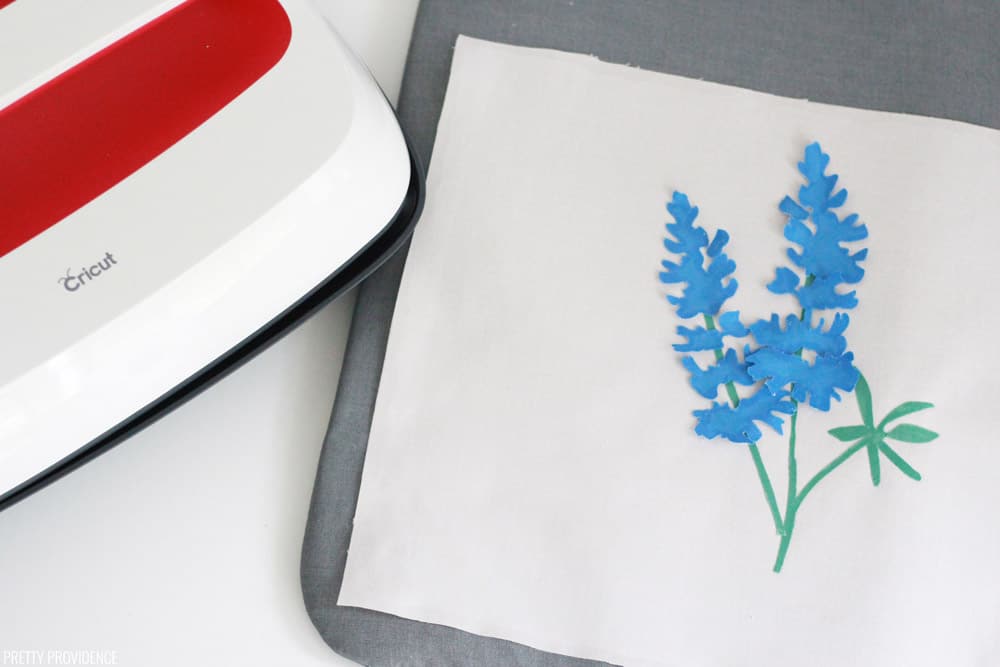
What is the difference between the EasyPress 2 and standard iron?
While you can do iron-on projects with standard irons, it is definitely convenient. The shape and smaller size of the iron makes it difficult to apply heat and pressure evenly. You may have to do multiple passes and overlap could upset your design. While a regular iron may be a good place for beginners to start, a Cricut EasyPress or a heat press will allow you a wider range of projects and a higher standard of professionally.
What is the difference between the EasyPress 2 and a traditional heat press?
Let's start with similarities. Both the Cricut EasyPress and a traditional heat press will heat up to 400 degrees Fahrenheit and have even heating across their plates. They are also both steam free, which is imperative for Iron-On success. Both also have temperature control settings and timers so you know exactly when to start and stop.
Now let's address some differences. For most people (myself included) the size, weight and portability of the EasyPress cannot be beat. While the EasyPress fits on literally any shelf you'd like to store it and is extremely portable, a heat press is heavy, large, and cumbersome in body. A heat press is typically a stable fixture, once you place it in your room you won't want to move it if possible. The easy press can easily accompany you to your girlfriend's house or a baby shower for a fun activity!
I also love the different size options the EasyPress 2 offers... read on for more on that!
Which size of EasyPress 2 is right for me?
First off, if you didn't know already the EasyPress 2 comes in three different sizes! Here they are:
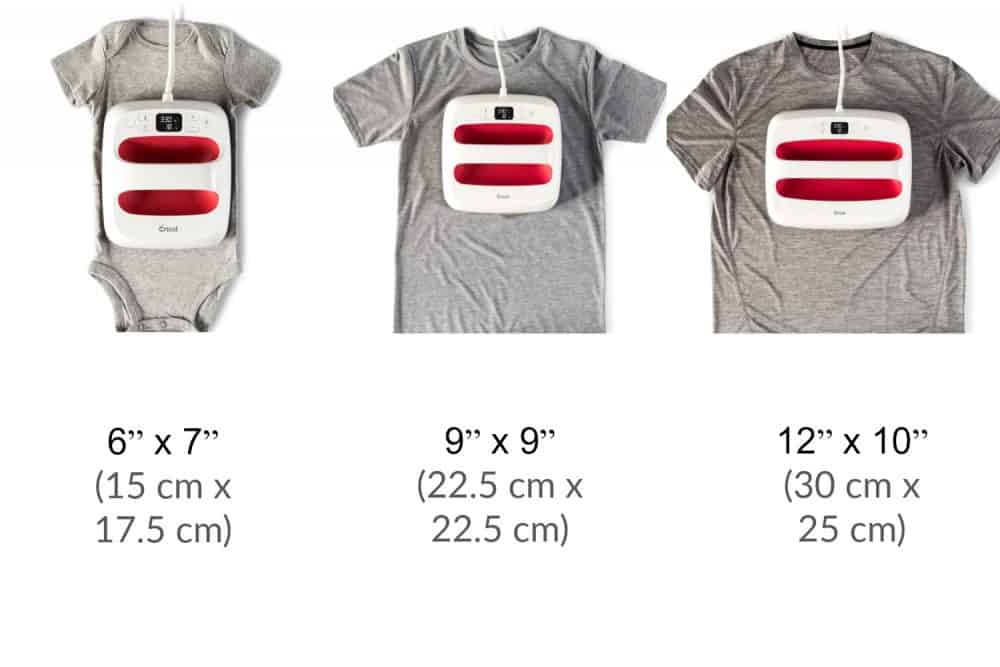
When considering which easy press to purchase, think about what types of projects you will be doing the most of. Here are a few factors to consider:
The EasyPress Mini works amazing for baby onesies, socks, fanny packs, anything that is smaller than 9 x 9. A heat plate that is too large for a project can be awkward to use and make uneven pressing over seams. The smallest EasyPress is also the lightest and easiest to travel with!
The 9 x 9 is a great standard size if you want the best of both worlds. It is great for t-shirts, tote bags, pillows, aprons, towels etc. If you are starting out and only wanting to purchase one EasyPress this is probably the one I would recommend!
The 12x10 EasyPress is fantastic for larger scale projects like tablecloths, curtains, wall art, banners, blankets and larger adult clothing items.
If you frequently make projects larger than 9x9, this will be the machine for you. It will reduce chances of you overexposing your vinyl by accidentally pressing over the same area multiple times. Do note that this machine is larger and heavier.
Make sure you have a flat heat-resistant surface to set your machine on no matter which one you choose!
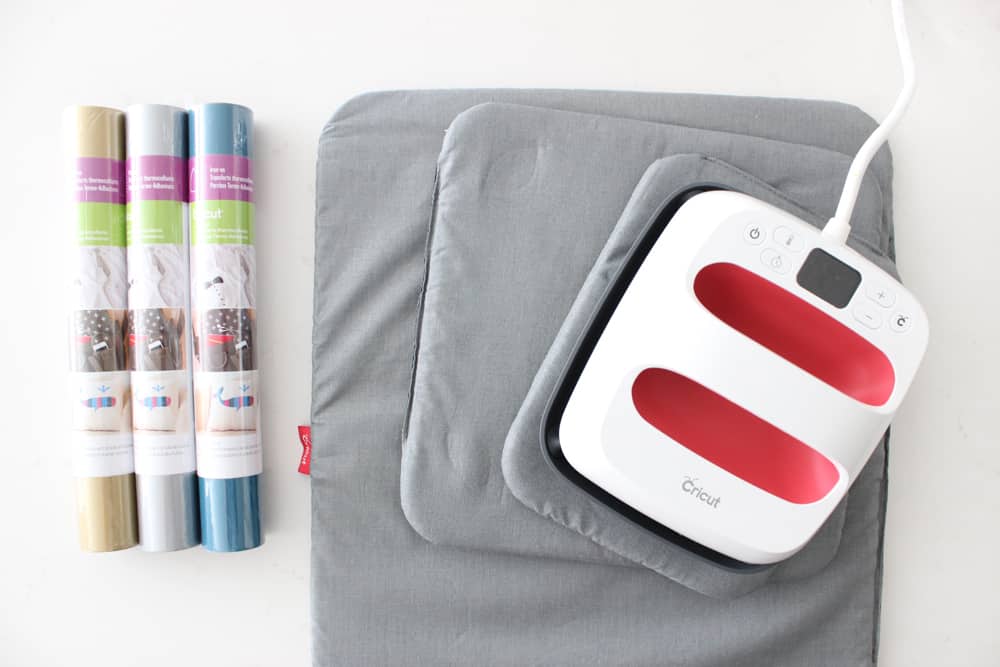
What is the EasyPress mat for? Is it sold with the EasyPress 2?
The EasyPress mat is to allow even application of heat and protect your surface from heat as well. The mat does not come with the EasyPress 2, but if you do not want to buy one you can use a large flat bath towel with even texture instead.
How much pressure should I use with the EP2?
The pressure you apply depends on what project you are doing and what type of vinyl you are using. Some applications call for "gentle" pressure, and some call for "firm" pressure. As per Cricut's website, firm pressure is described as "pressing down with two hands and 15-20 lbs. of body weight" while gentle pressure is described as using "one hand with 5-10 lbs. of body weight".
Whichever pressure you are applying you should be above your project, a waist high table height is recommended.
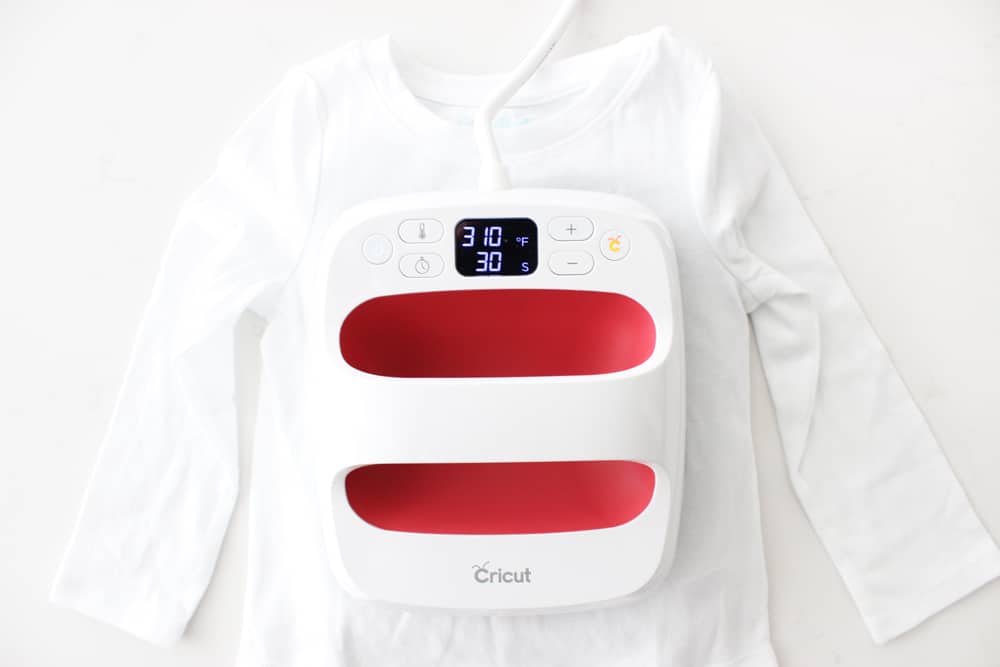
How do I know what temperature to use for different materials/projects?
Cricut has an amazing interactive temperature guide you can find right here! I bookmarked this page on my phone and computer and it is super easy to look up exactly what settings you need for virtually any project!
Cricut Iron On
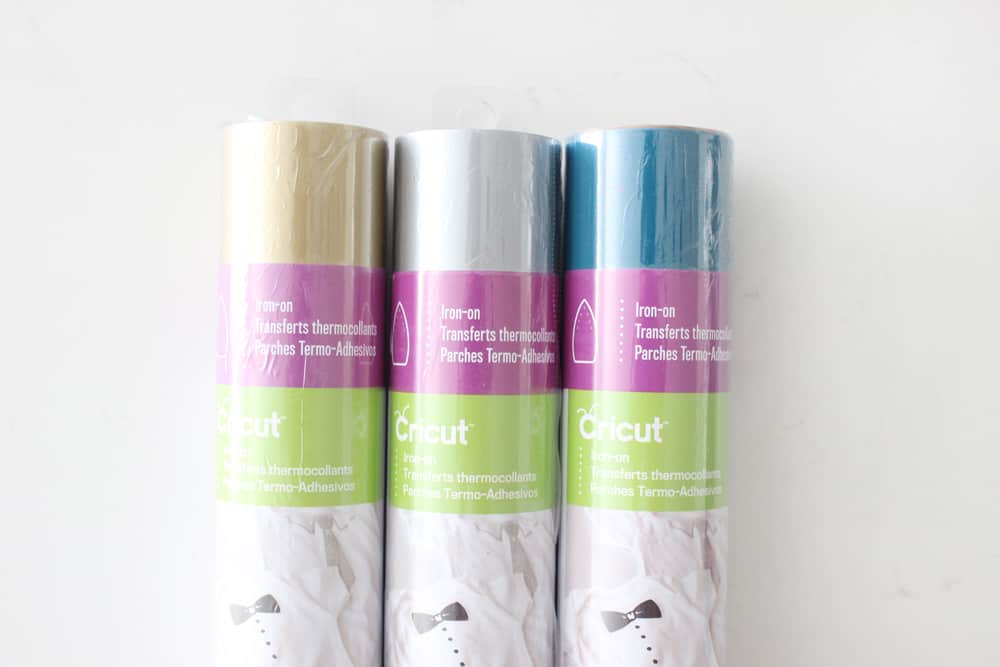
Which Cricut machines can cut iron-on?
All the Cricut machines can cut iron-on! Woo hoo.
Is there an iron-on material for sportswear?
Yes! SportFlex Iron-On is thin, lightweight, and made specifically to stretch well and move with your body! Perfect for fabrics like polyester or nylon.
What is the iron-on protective sheet for?
The iron-on protective sheet can be used to protect your base material from the direct heat. Please note that if you do use the protective sheet you may need to adjust the press time to be longer to compensate.
How do you use Cricut iron on?
The best thing about using Cricut Iron-On is that it is SO EASY! We have a full step by step tutorial of how to make an easy iron on project right here, including a step by step video!
MAKE SURE TO CHECK OUT OUR THESE OTHER FUN IRON-ON CRAFTS:
How to Make a Custom Shirt with Your Cricut
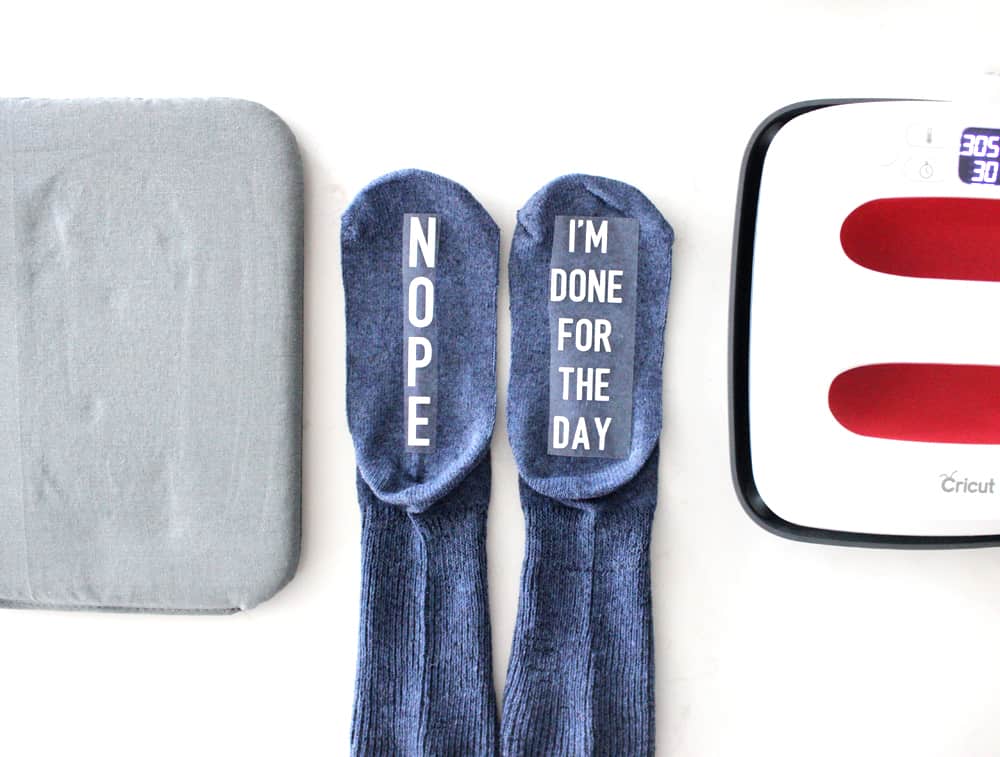
DIY Funny Socks
Custom Fanny Packs
Laundry Organization Bags
How to Make a Custom Shirt with Cricut
Teacher Gift – Tote and Tumbler
Customized Canvas Tote Bags
Modern Quilt Wall Hanging
xo,



Leave a Reply