Modern Quilt - Fabric Wall Art

This fabric wall art is like a modern quilt and is no-sew! A fun and easy wall fabric project that will make a big statement in your home.
Today I am especially excited to share this fabric wall art project I did using my Cricut Rotary Blade. I wanted to make a modern quilt wall hanging ever since watching NBC Making It last summer. Did you watch the show? I loved it! On one episode, there was a challenge for the makers to create a modern heirloom. One contestant named Jo, an interior designer from Arizona, made a 'quilt' (heart-shaped and made with mixed materials) that I immediately fell in love with. Ever since then, I've wanted to make my own version of that, and this week I did it!
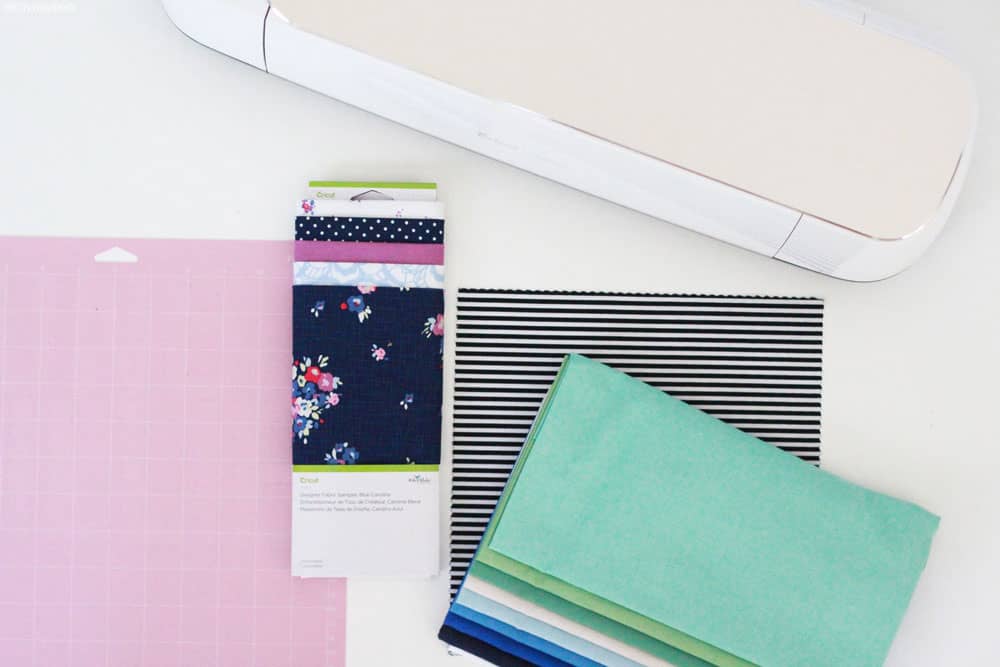
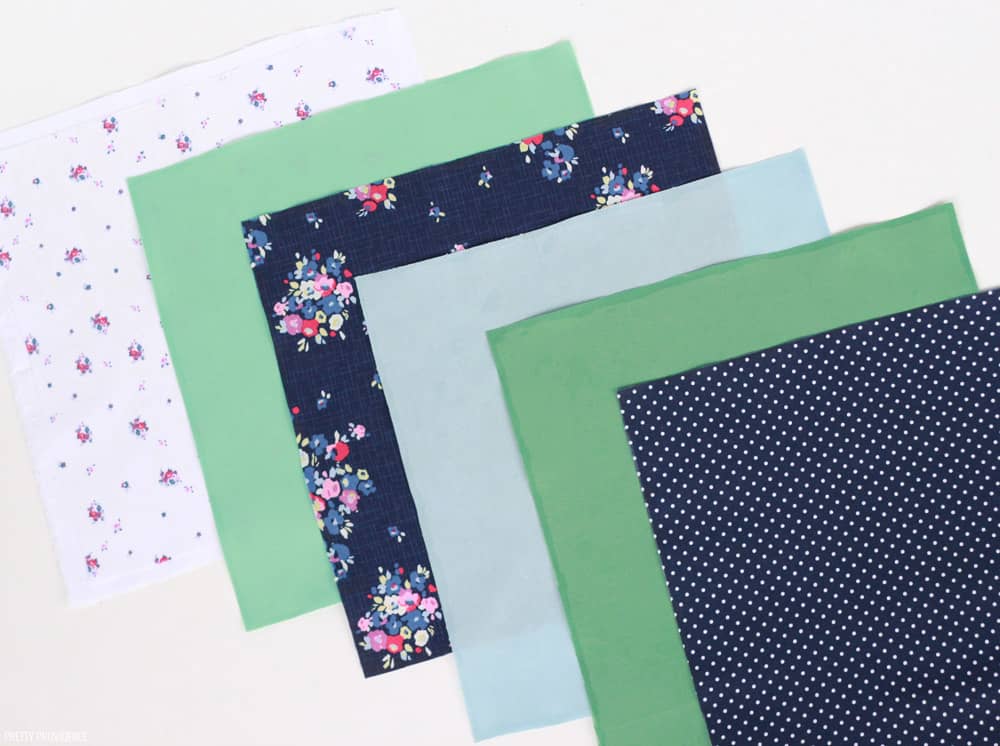
I used my Cricut Rotary Blade and Maker to cut all the fabric for this project. The fabrics for this fabric wall art are a designer from sampler called Blue Carolina and a quilt kit called Ocean Solids. I also added in some striped fabric, because it's not my project if there aren't stripes involved somehow!
Materials:
- Floral Fabric
- Blue Fabric
- Striped Fabric
- White Iron-On
- Chipboard
- Fray Check
- Spray Fusible Adhesive
- Hook & Eye Hardware
Tools:
- Cricut Maker
- Rotary Blade
- FabricGrip™ Mat
- Brayer
- Easypress 2 (or iron)
How to Make this 'Modern Quilt' Fabric Wall Art
Choose fabric and design the quilt. I did this using photoshop but you can also just lay out your fabrics and arrange the samples to find a layout you love.
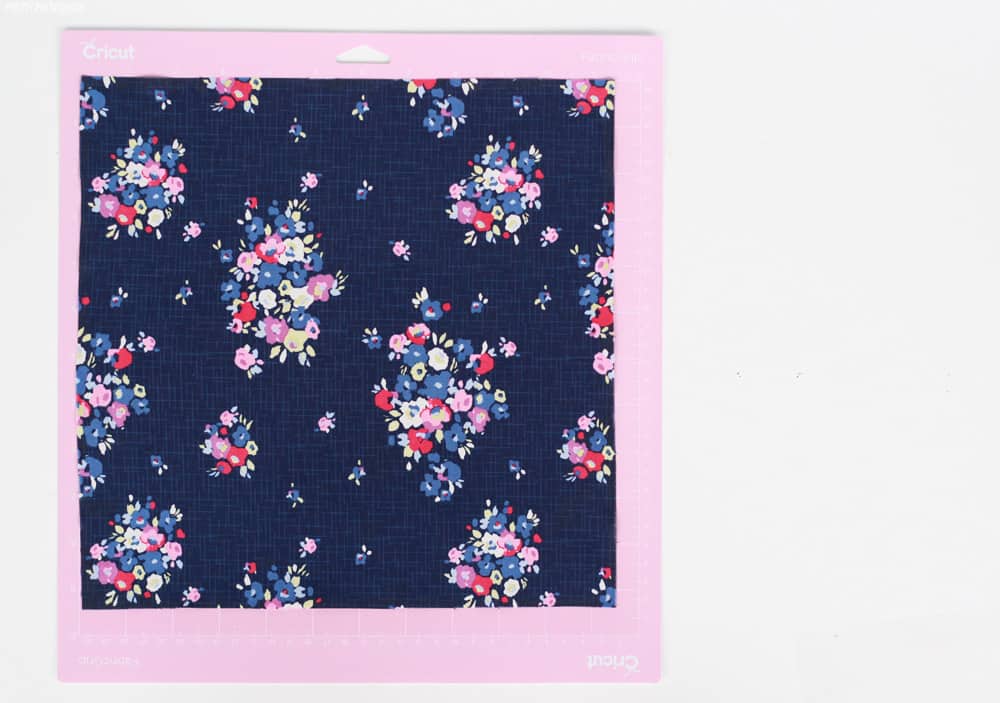
Press fabric onto a FabricGrip mat. Use a brayer to make sure there are no bubbles or wrinkles in the fabric.
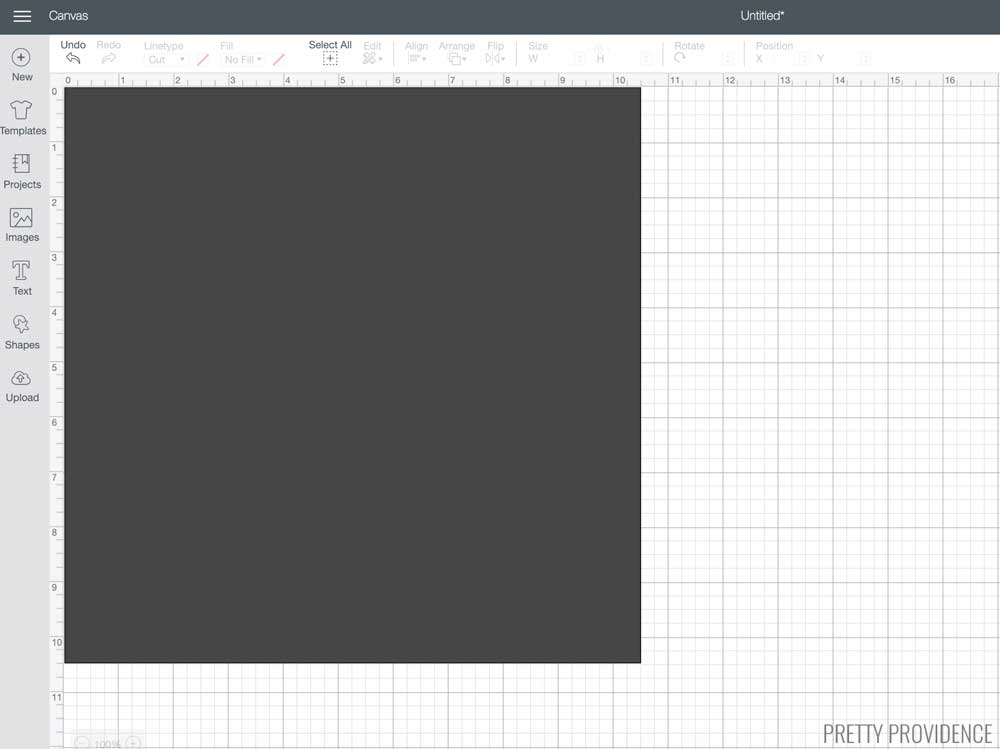
Open a blank canvas in Cricut Design Space. Select Shapes, then choose the square. Make the square the size you want to cut. I made my fabric squares 11.5 inches. I chose that size because I wanted to use Chipboard as the backing, and chipboard comes in 11" squares.
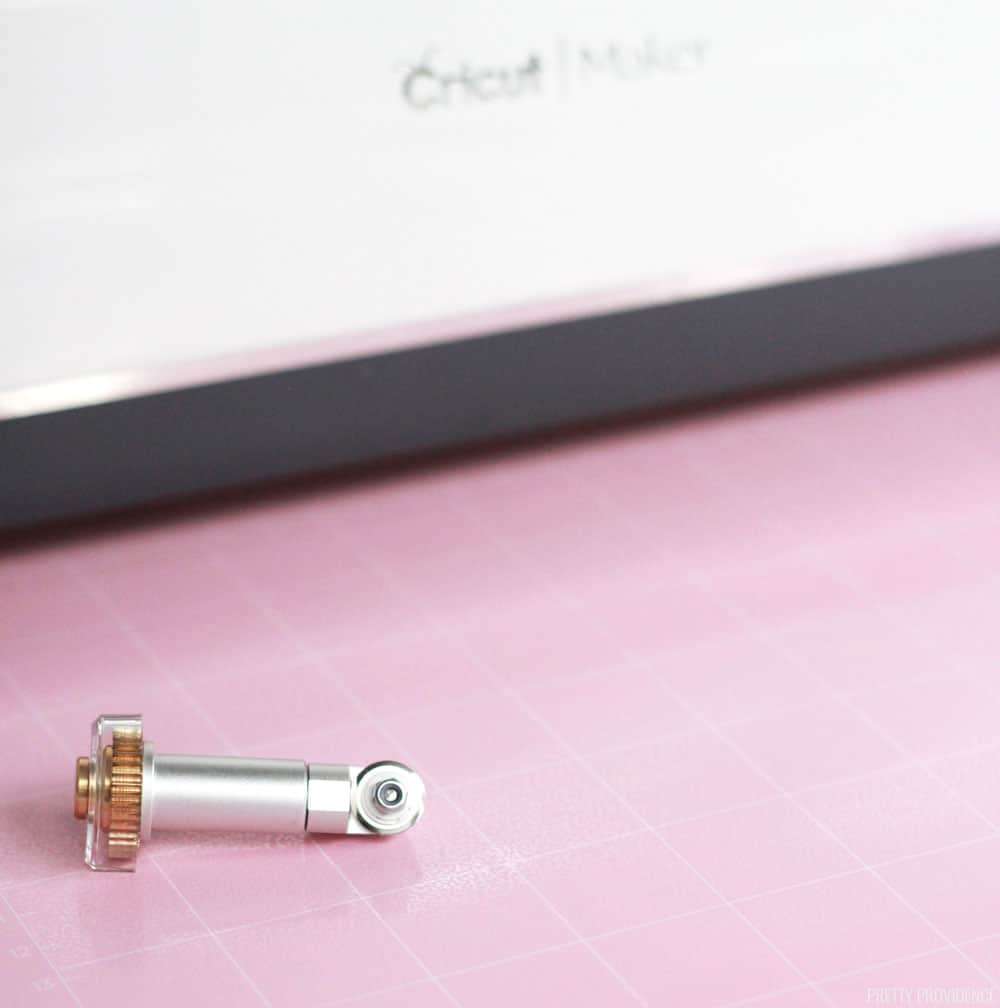
Load the Rotary Blade into your Maker.
Cut fabric squares. The rotary blade made this super quick and easy.
Treat fabric edges with Fray Check.
Once that is done, it's time to make the more intricate cuts!
How to cut Flowers out of fabric with the Cricut rotary blade:
Press fabric onto the FabricGrip mat. Use brayer to smooth it.
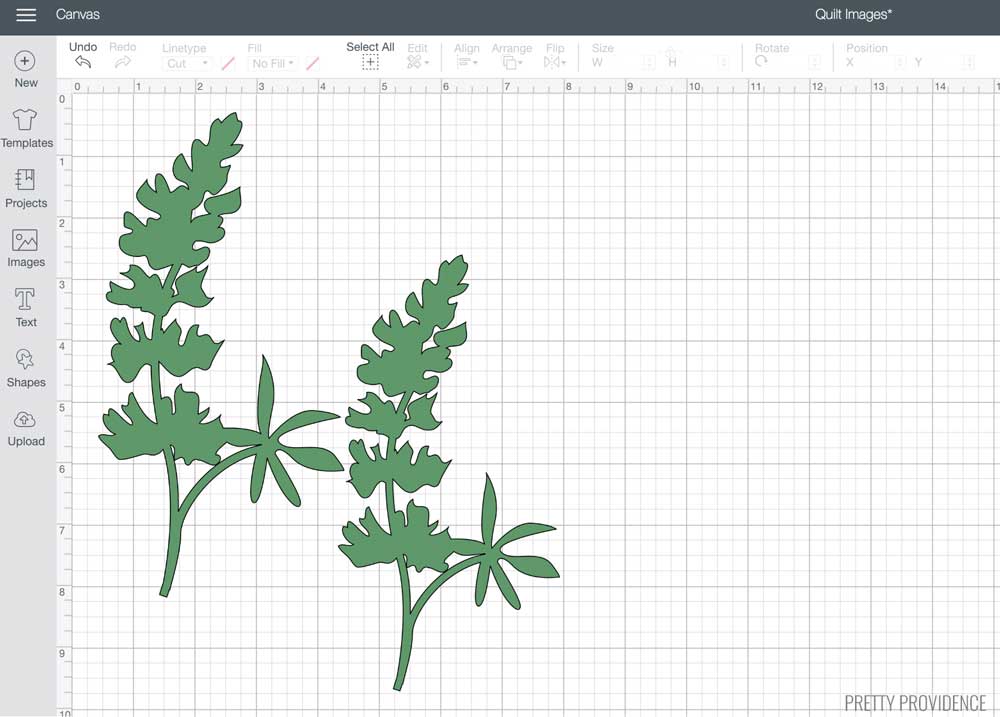
Load images into Cricut Design Space and cut each piece. This can take a while if you have intricate flowers to cut like I did, but it's totally worth the wait!
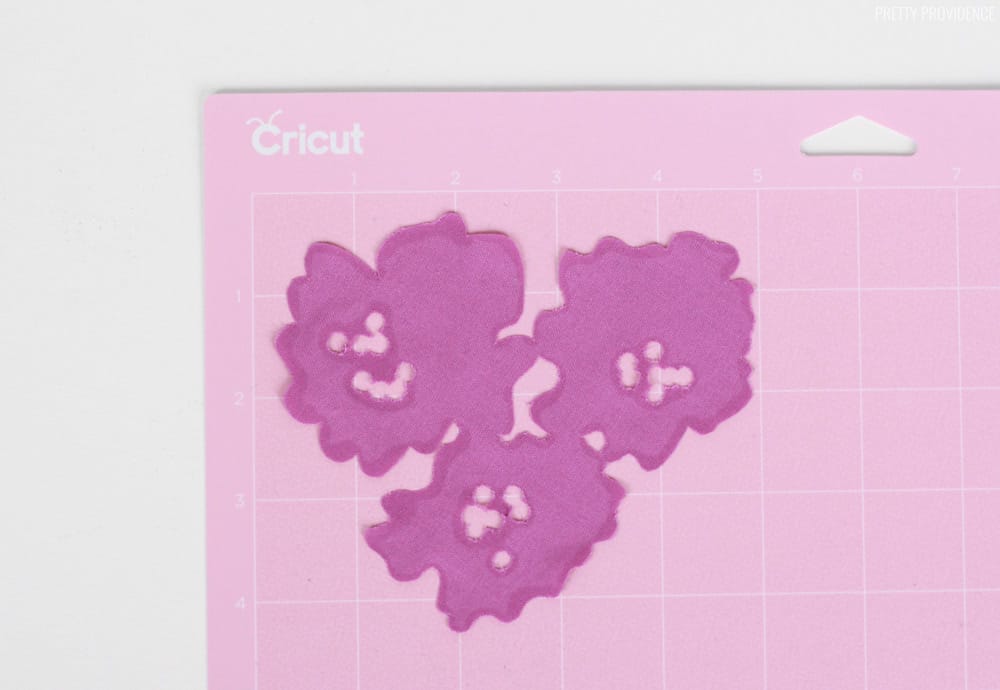
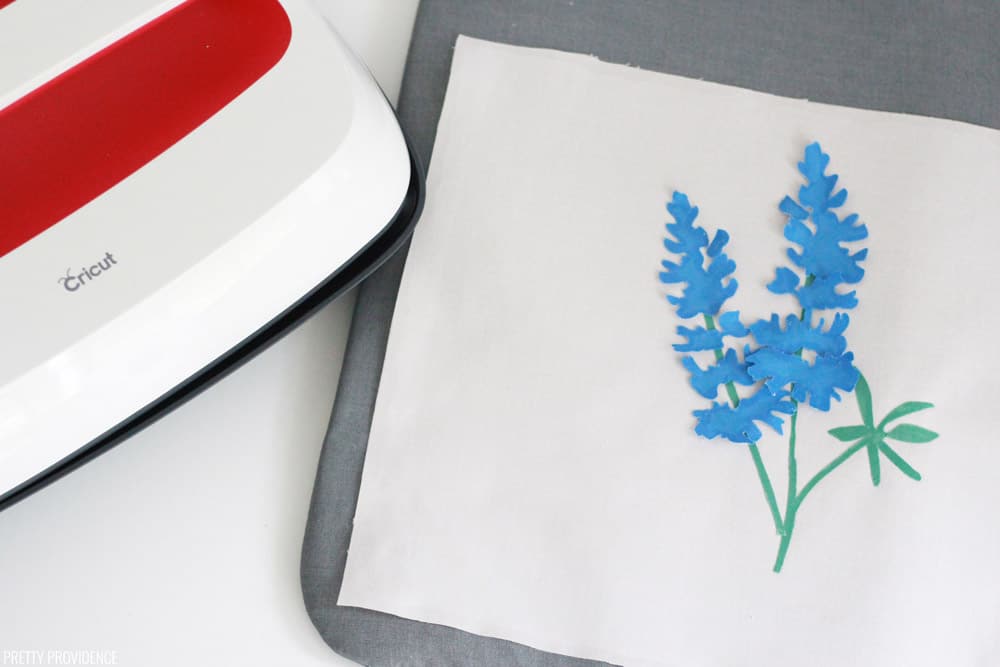
Treat edges with Fray Check. This is very important. The more intricate the cuts, the easier it is for your fabric to fray!
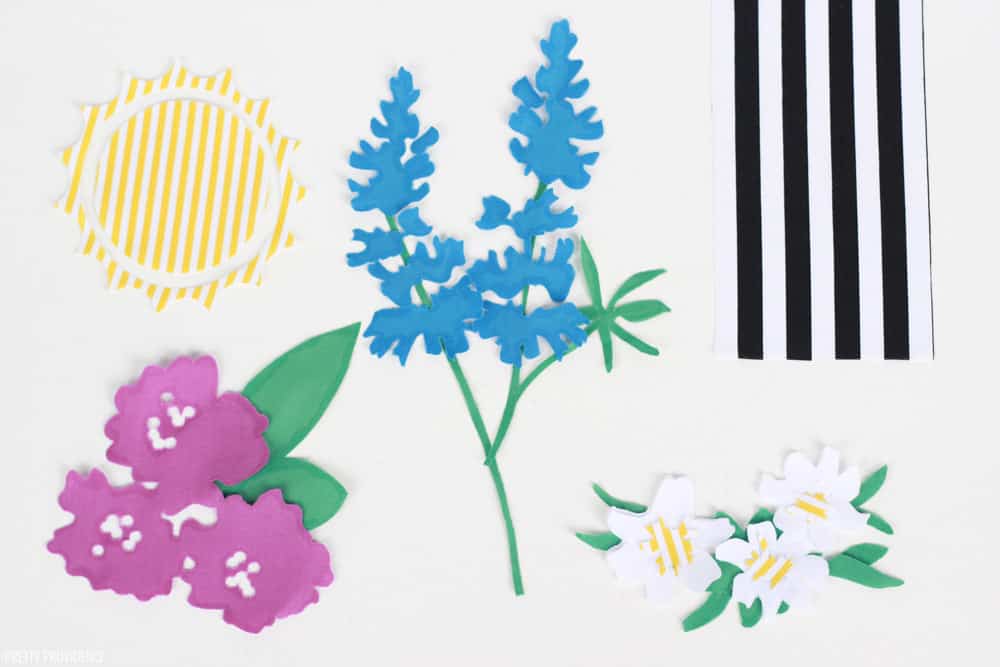
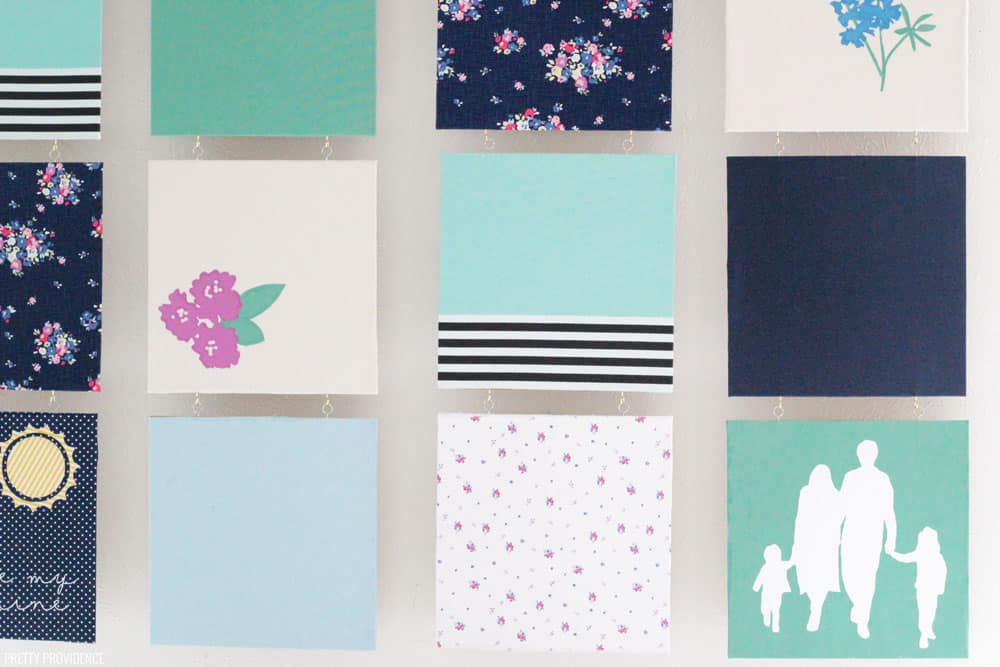
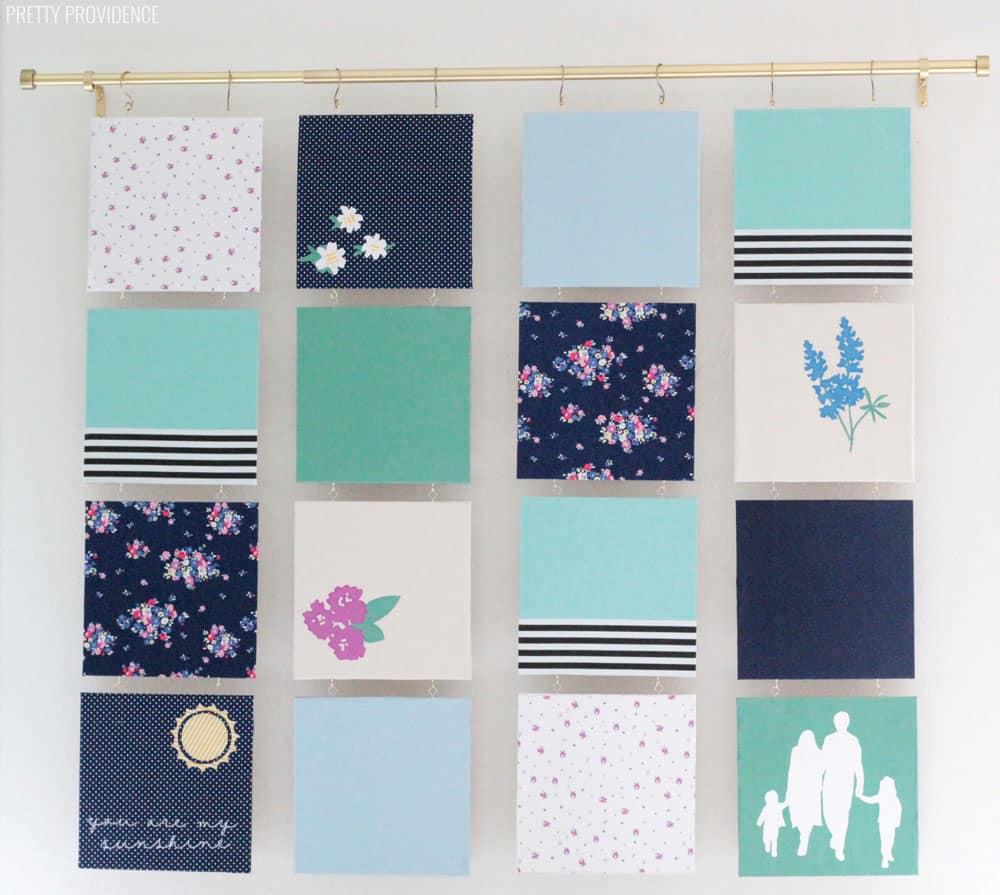
The appliqués I chose to make all have meaning:
Sun: We sing 'You are my sunshine" every night to our girls before bed.
Bluebonnet: the state flower of Texas - where we live and our two sweet girls were born.
Sego Lily: the state flower of Utah, where I was born.
Rhododendron: the state flower of Washington, where my husband was born.
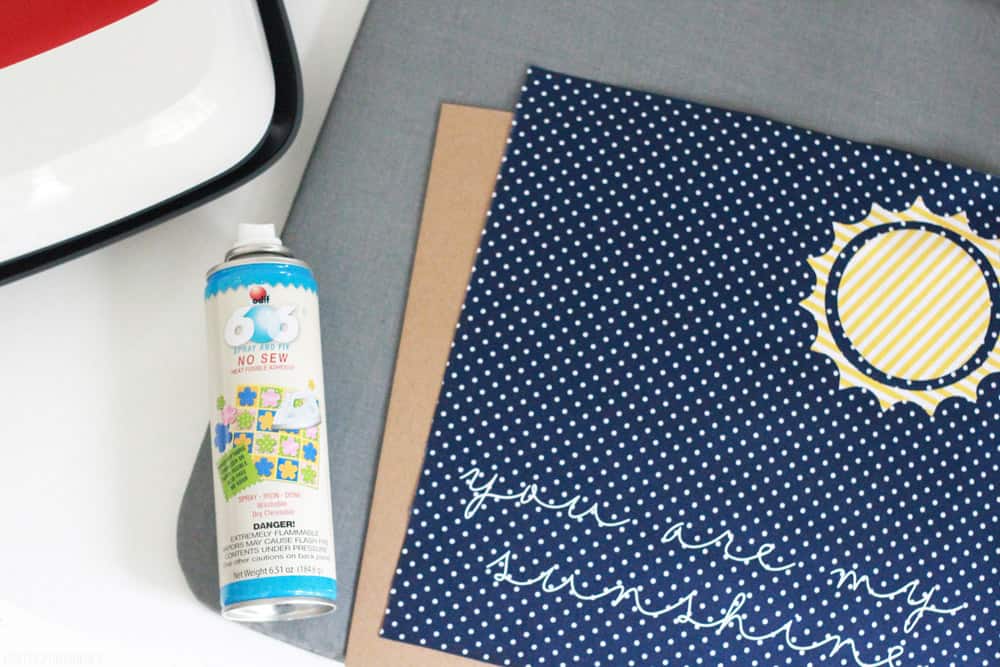
I also used Cricut Iron On to cut out a silhouette of our family, and the words 'you are my sunshine' for that square.
You will want to choose appliqués that are personal to you for your fabric wall art, but hopefully this got your juices flowing!
How to iron fabric appliqués onto quilt squares:
Heat Cricut EasyPress or iron. I used the EasyPress 2!
Spray the back of each piece of fabric with 606 Spray and Fix (it's a no-sew heat fusible adhesive.)
Use EasyPress or iron to fuse the appliqué onto the quilt square. Do this carefully. Keep the iron or EasyPress in motion the whole time.
Spray 606 Spray and Fix onto the back of the fabric square, then place it face up onto a chipboard square. Center it. Use EasyPress or iron for about 15 seconds to fuse the fabric to the chipboard.
Use liquid stitch or other strong craft glue to glue down the edges of the fabric on the back of the chipboard.
Once all of the quilt squares are fray checked, appliqués and details are on them, and they're fused to chipboard, it's time to assemble.
How to Assemble the Wall Hanging:
Lay squares out on the floor or on a table in the way you want them arranged on the wall.
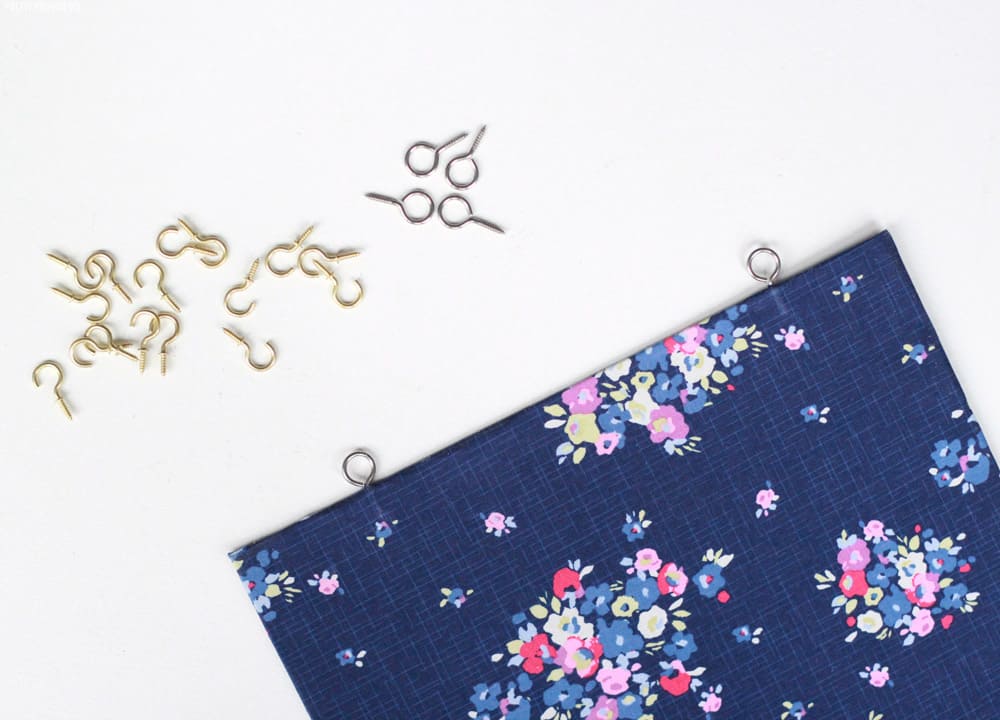
Screw 'hook' hardware to the top of each top row square - 6 cm in from each edge.
These went in through the fabric and chipboard and have been staying well so far!
Use 'eye' hardware for the top of each square that comes in row 2, 3 or 4.
Screw hook hardware to the bottom of each square - except the bottom row - 6 cm in from each edge.
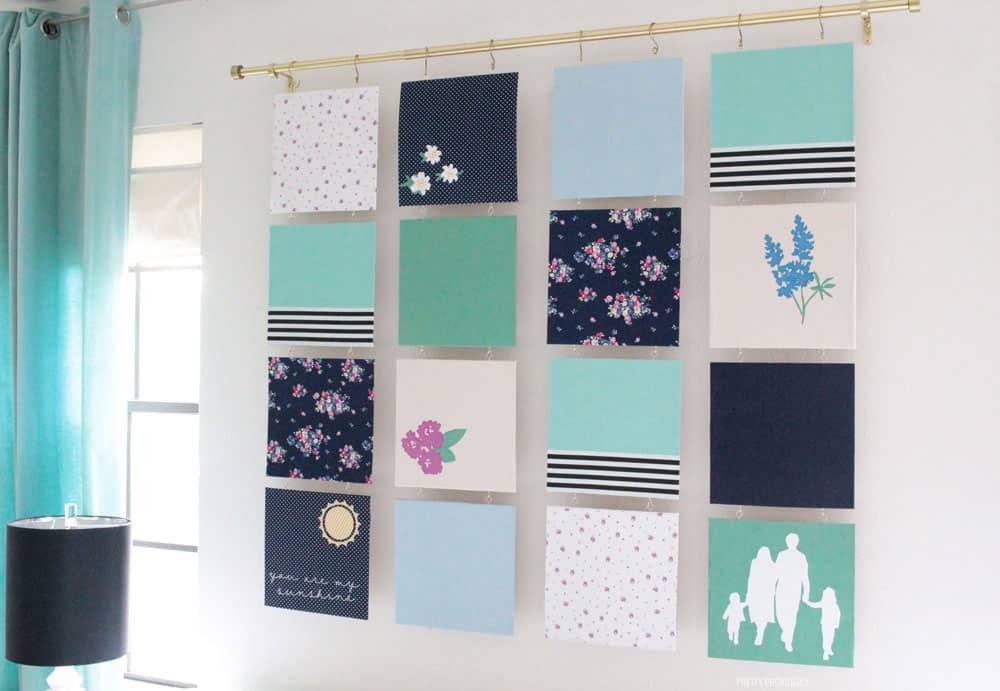
Hang the squares on the wall. I hung mine from a curtain rod with S hooks, I love the way it looks. If you don't want to do that you can just hang the squares from nails.
Fabric Wall Art
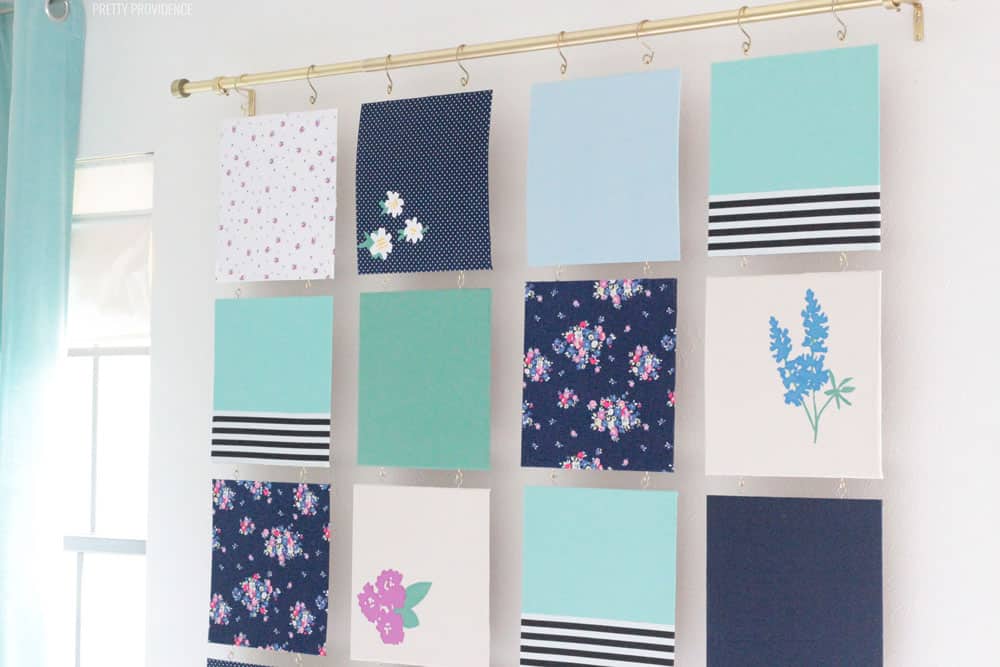
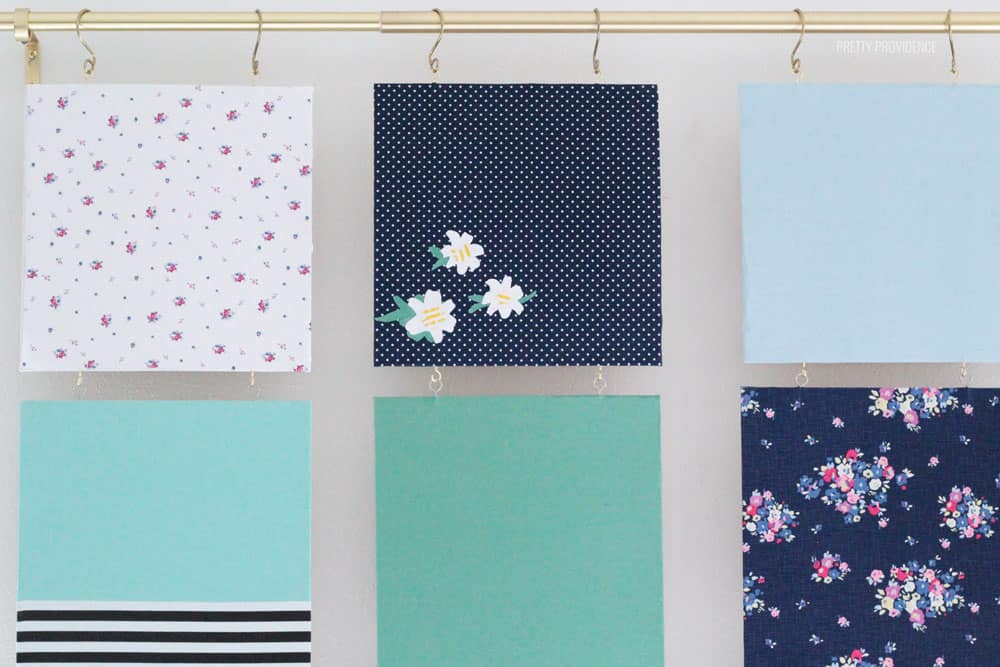
Isn't it so fun? I had a great time making it, but it was kind of a sprint doing it in only two days. Totally worth it. It's making me so happy whenever I walk into our bedroom!
If you want to try more Cricut Maker projects, check out these DIY Princess Costumes (this post includes 9 tutorials - yes, 9!)
Iron-On Funny Socks, or this DIY Wallpaper made with Vinyl Wall Decals!
Modern Quilt - Fabric Wall Art
Equipment
- Brayer
- EasyPress 2 or Iron
Materials
- Floral Fabric Blue Carolina
- Solid Fabric
- Striped Fabric
- White Cricut Iron-On
- Chipboard
- Fray Check
- Spray Fusible Adhesive
- Hook & Eye Hardware
Instructions
- Choose fabric and design the quilt. I did this using photoshop but you can also just lay out your fabrics and arrange the samples to find a layout you love.
- Press fabric onto a FabricGrip mat. Use a brayer to make sure there are no bubbles or wrinkles in the fabric.
- Open a blank canvas in Cricut Design Space. Select Shapes, then choose the square. Make the square the size you want to cut. I made my fabric squares 11.5 inches. I chose that size because I wanted to use Chipboard as the backing, and chipboard comes in 11" squares.
- Load the Rotary Blade into your Maker.
- Cut fabric squares. The rotary blade made this super quick and easy.
- Treat fabric edges with Fray Check.
- Once that is done, it's time to make the more intricate cuts!
- How to cut Flowers out of fabric with the Cricut rotary blade:
- Press fabric onto the FabricGrip mat. Use brayer to smooth it.
- Load images into Cricut Design Space and cut each piece. This can take a while if you have intricate flowers to cut like I did, but it's totally worth the wait!
- Treat edges with Fray Check. This is very important. The more intricate the cuts, the easier it is for your fabric to fray!
How to iron fabric appliqués onto quilt squares:
- Heat Cricut EasyPress or iron. I used the EasyPress 2.
- Spray the back of each piece of fabric with 606 Spray and Fix (it's a no-sew heat fusible adhesive.)
- Use EasyPress or iron to fuse the appliqué onto the quilt square. Do this carefully. Keep the iron or EasyPress in motion the whole time.
- Spray 606 Spray and Fix onto the back of the fabric square, then place it face up onto a chipboard square. Center it. Use EasyPress or iron for about 15 seconds to fuse the fabric to the chipboard.
- Use liquid stitch or other strong craft glue to glue down the edges of the fabric on the back of the chipboard.
- Once all of the quilt squares are fray checked, appliqués and details are on them, and they're fused to chipboard, it's time to assemble.
How to Assemble the Wall Hanging:
- Lay squares out on the floor or on a table in the way you want them arranged on the wall.
- Screw 'hook' hardware to the top of each top row square - 6 cm in from each edge.
- These went in through the fabric and chipboard and have been staying well so far!
- Use 'eye' hardware for the top of each square that comes in row 2, 3 or 4.
- Screw hook hardware to the bottom of each square - except the bottom row - 6 cm in from each edge.
- Hang the squares on the wall. I hung mine from a curtain rod with S hooks, I love the way it looks. If you don't want to do that you can just hang the squares from nails.