DIY Funny Socks
Make these DIY funny socks! They are so fun to make and a super easy Cricut project to start with. Perfect gift idea for friends and teachers!
*This post contains affiliate links.

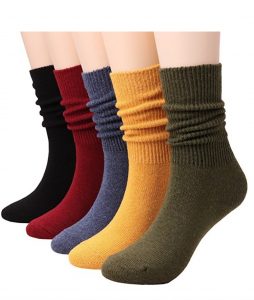
I don't know about you guys but I love wearing socks! To me they are just the epitome of coziness, and I wear them all the time.
I bought some of my friends funny socks last year for Christmas, but I was frustrated about the lack of options available. There were a lot of variations I thought of that would be great, but couldn't find them anywhere.
Making personal gifts with the Cricut, like custom T-shirts, shoes, or tumblers is super easy and fun. I knew I had to make my dream of customized funny socks for everyone come true!
I also like to add these into gift baskets like this Book Lovers Gift Basket.
How to Make DIY Funny Socks
You ready to make your own DIY funny socks?! It is so easy! All you will need is a Cricut Machine (I used my Cricut Maker), an EasyPress or an iron, SportFlex iron-on in your desired color, socks, and scissors!
VIDEO TUTORIAL:
Cricut Materials Needed:
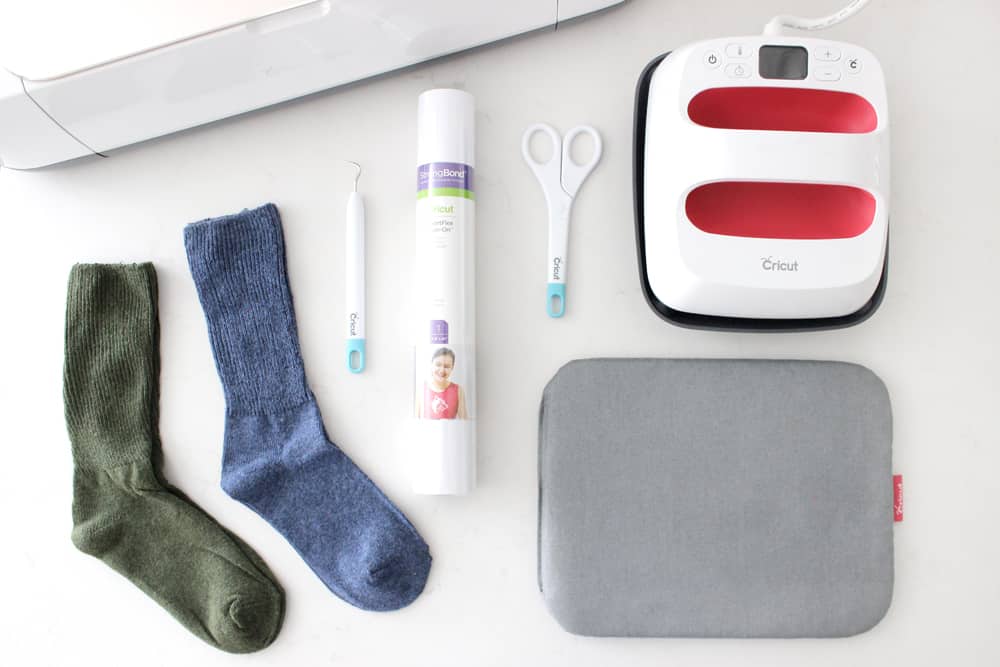
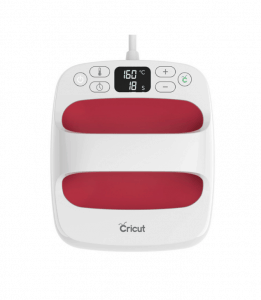
EasyPress 2
If you didn't know yet, the new EasyPress 2 comes in different sizes: 9x9, 12x10 and the Easypress Mini. There is a perfect size fit for any project! Check out this post - Everything You Need to Know About Cricut EasyPress 2.
These EasyPresses are amazing you guys. They are so simple to use, and give you professional looking iron on materials in less than 60 seconds! They heat up to a temperature of 400 degrees and they do it FAST! I used the smallest one for this project and it was a dream to work with.
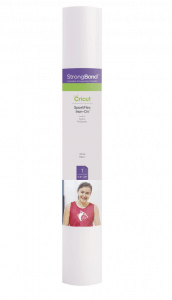
Cricut Sportflex Iron-On
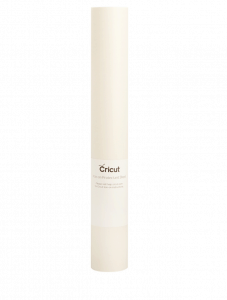
Cricut Sportflex is a super flexible Iron-On that is perfect for using on clothing that is stretchy like socks, swimsuits, or sports spandex.
It is imperative that you use Sportflex on the bottom of socks if you want it to look right and not crack once the socks are on someone's foot!
Load your design in design space.
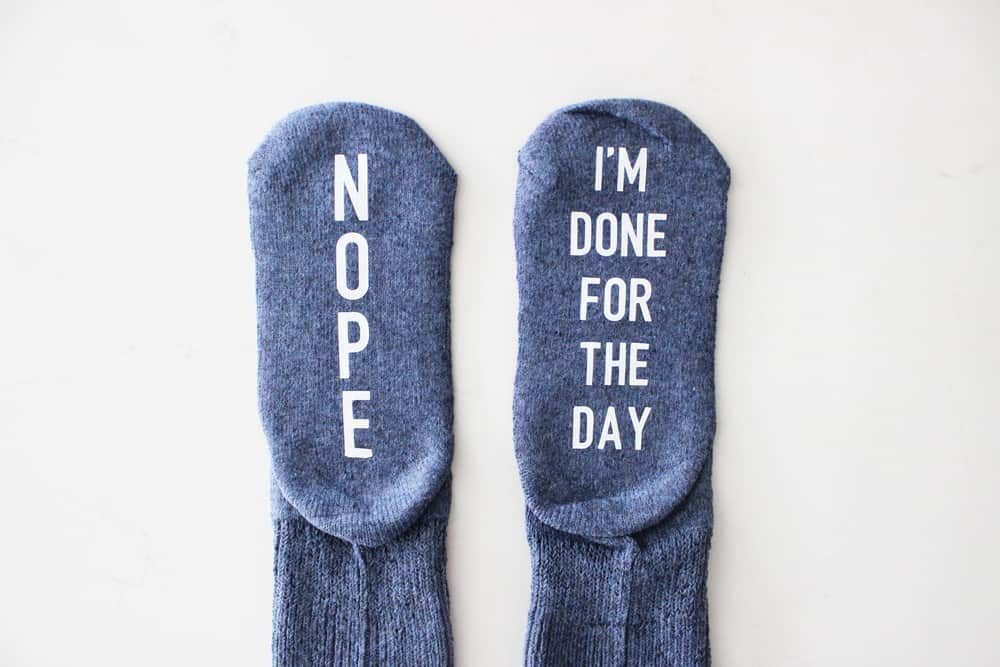
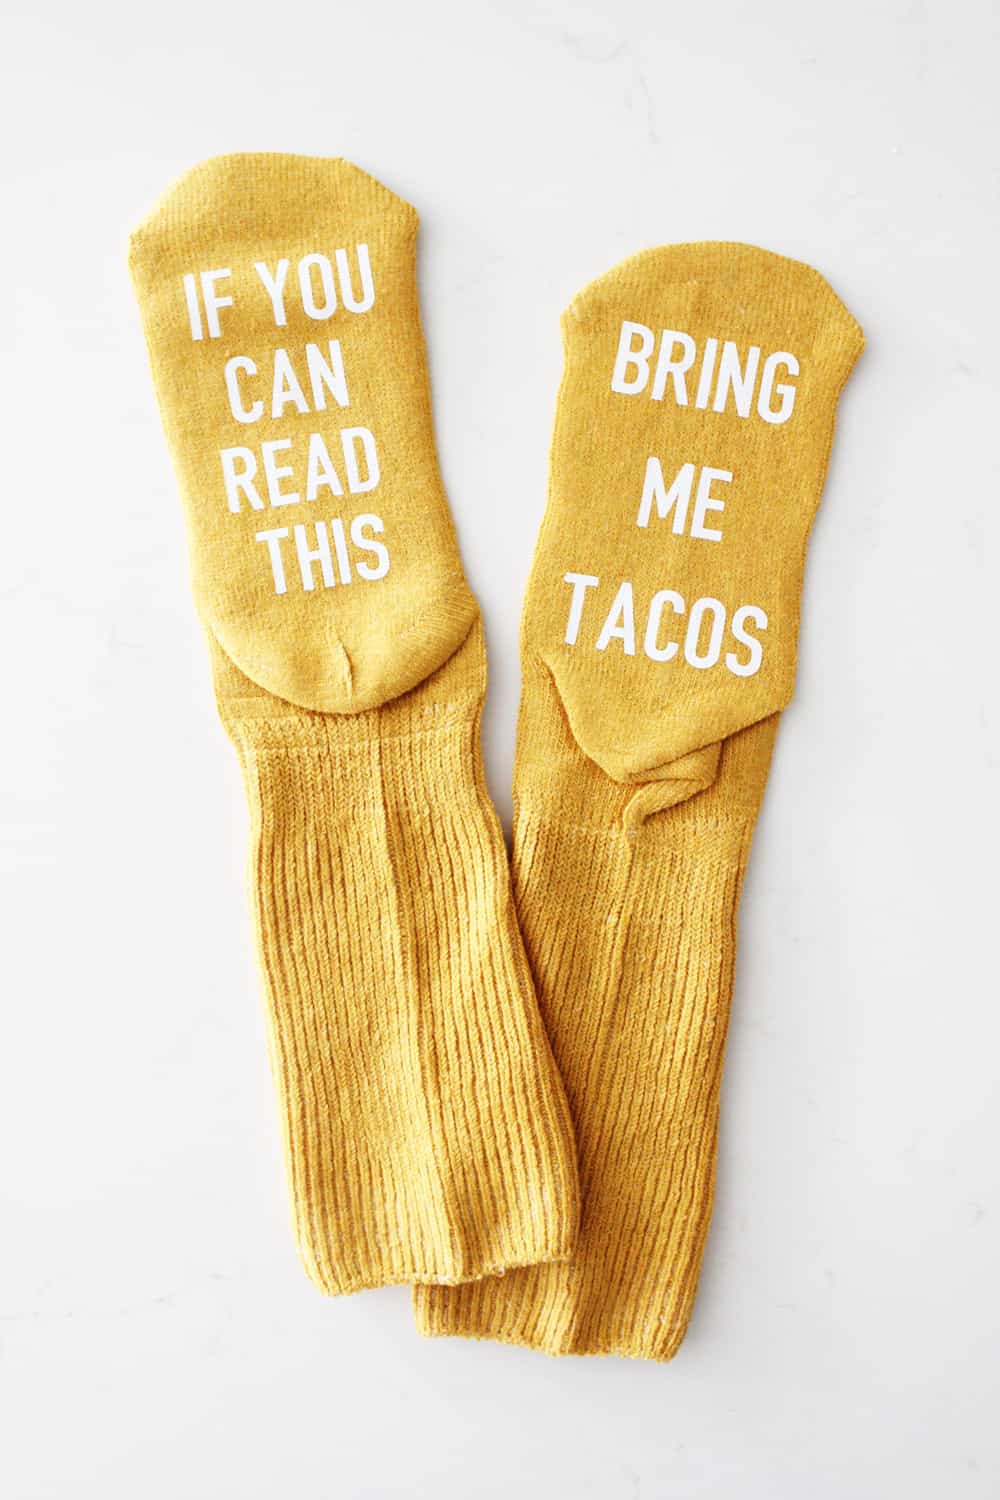
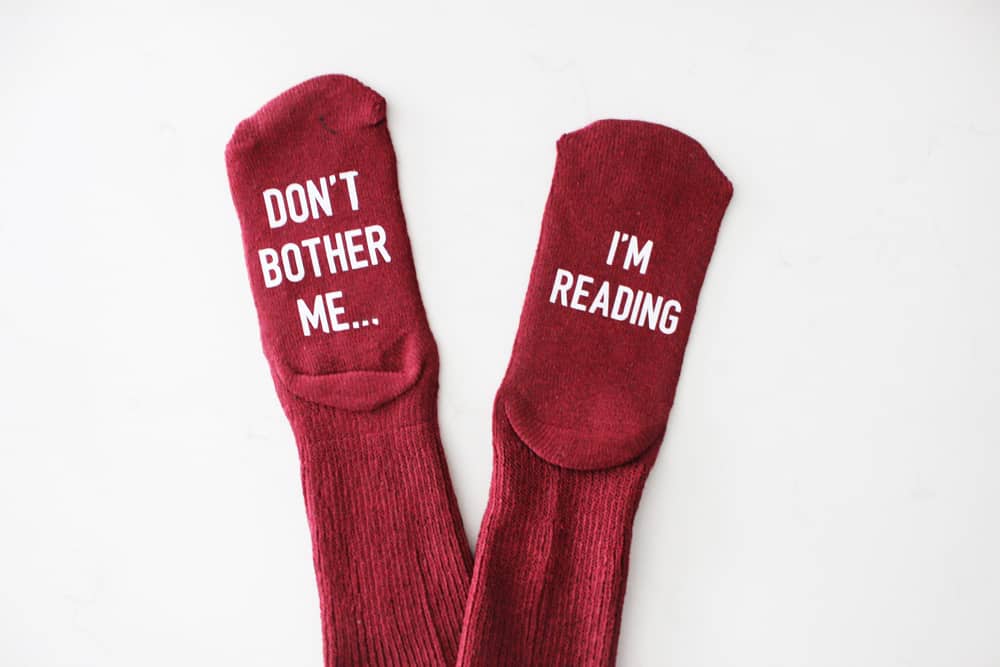
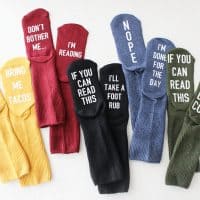
Once you have all your supplies gathered, you need to choose your design! You can choose between one of my five designs linked here, or create your own!
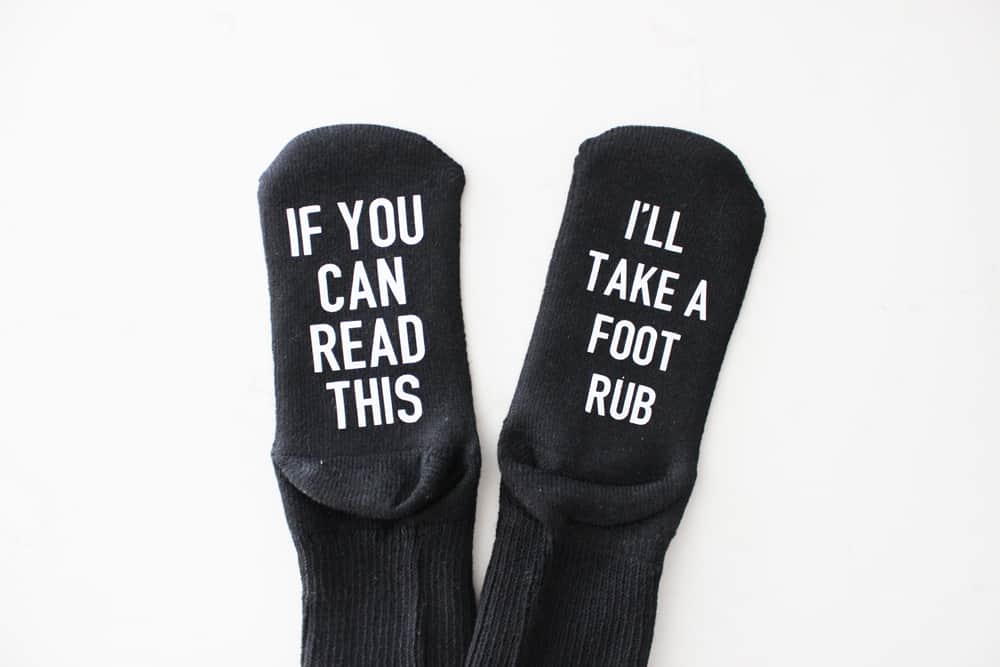
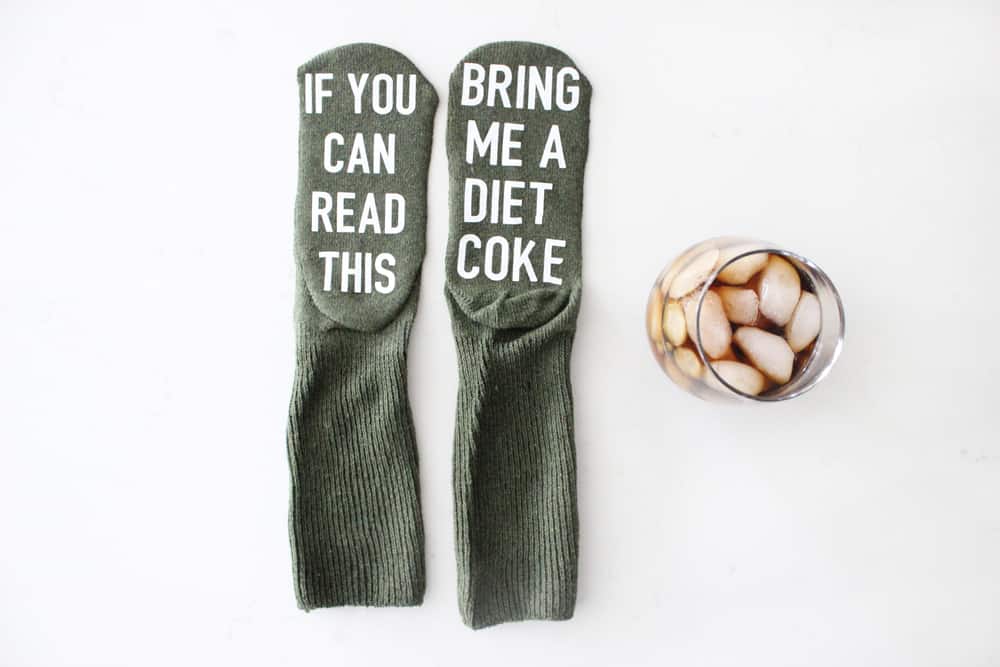
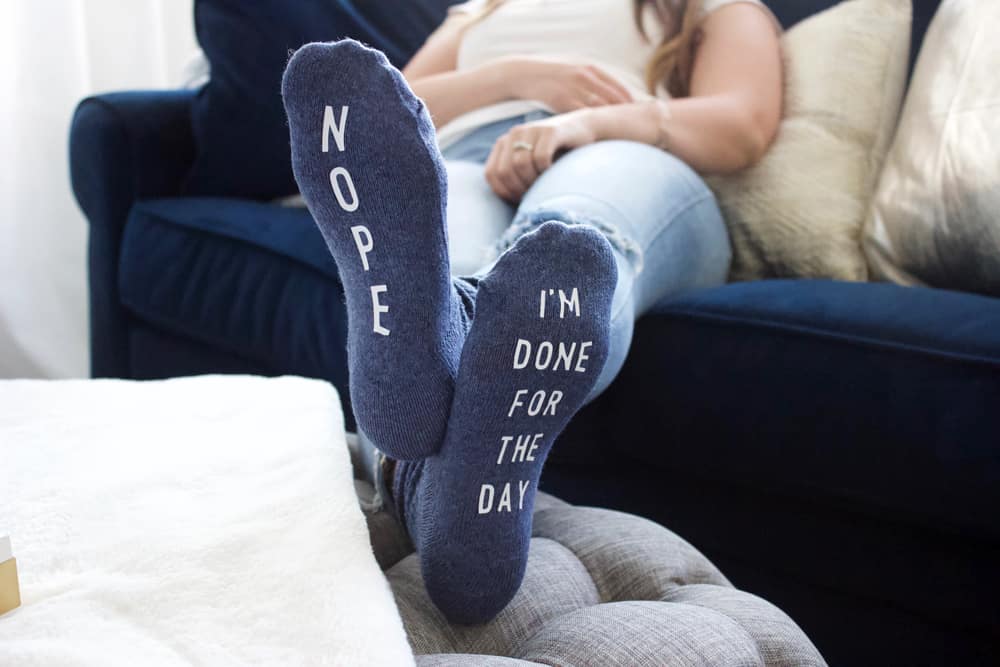
Nope Socks | Diet Coke Socks | I'm Reading Socks | Foot Rub Socks | Tacos Socks
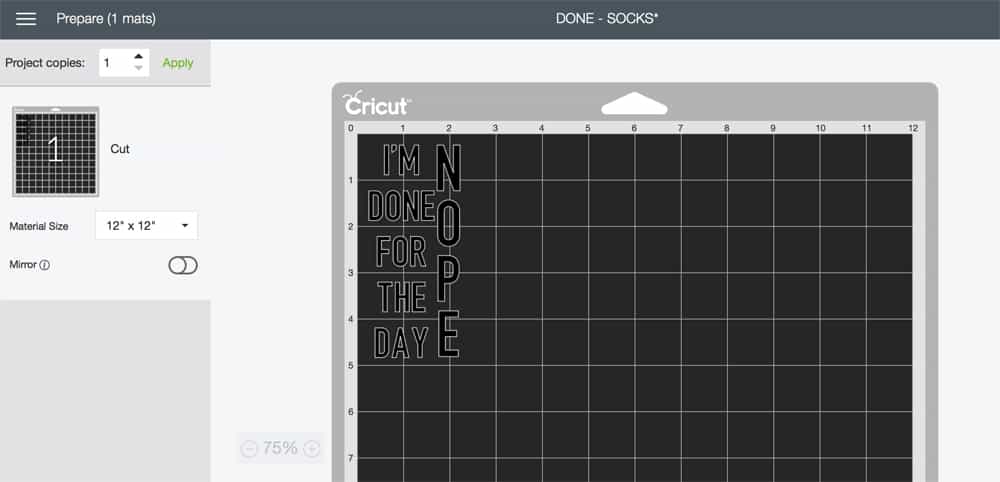
Turn mirror on.
Once your design is loaded make sure to slide your mirror option over so it turns green. If you forget this step your design will end up backwards on your socks!

Select your material.
When you go to select your material you need to click the drop down and select SportFlex Iron-On, not just regular iron on! The SportFlex has a fantastic stretch to it, making it ideal for this project! My socks stretch out over my feet and still look great, and then go back to normal when I take them off. SportFlex for the win!
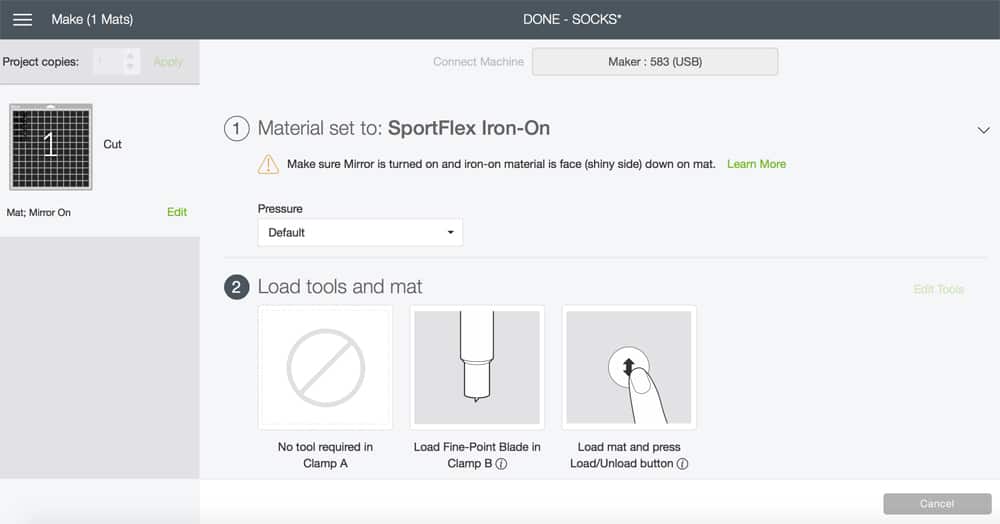
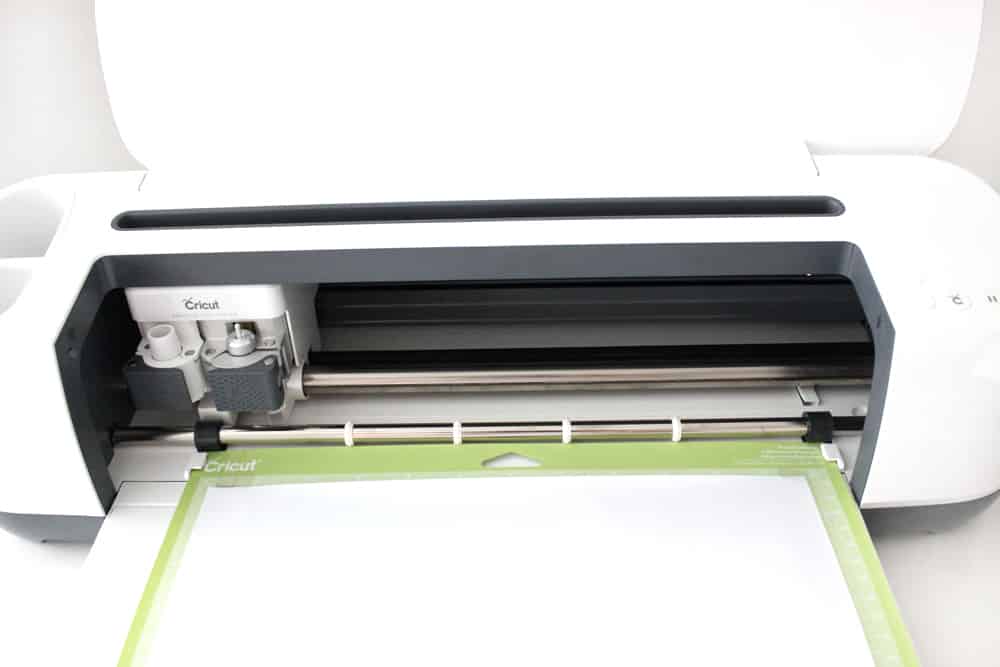
Load machine and make your cut.
After you've selected your material you are going to load your machine! Make sure you've placed your vinyl shiny side DOWN on your mat. Once your mat is in place push the flashing arrow button while gently guiding your mat onto the machine. Then press the lighted c button telling your machine to go ahead and cut your vinyl!
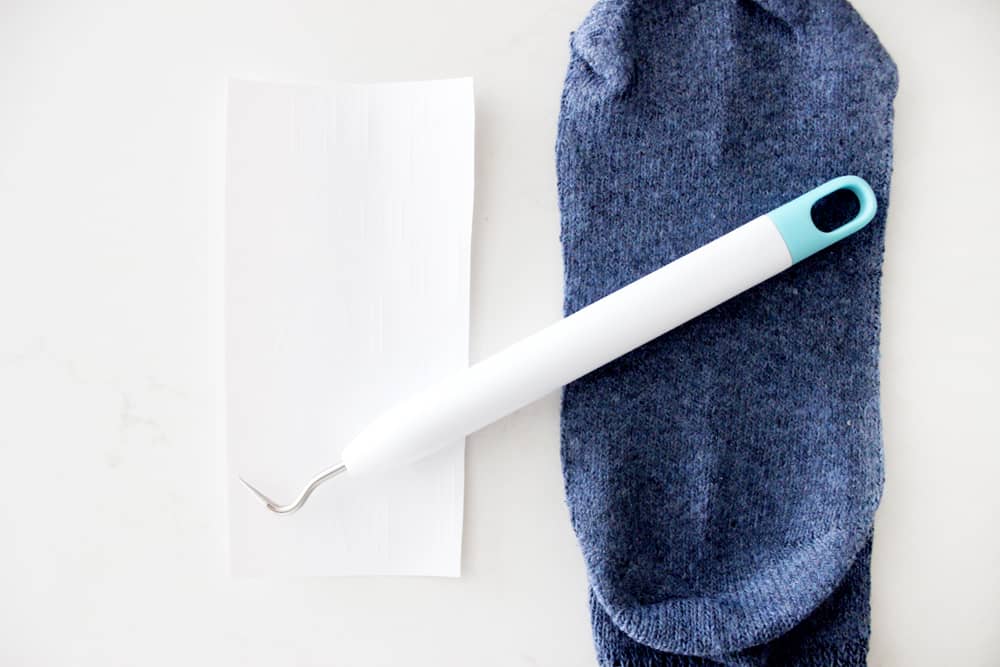
Weed your design.
After your design is cut weed out the excess vinyl so just your design is left on the plastic sheet.
Prepare your EasyPress 2
Heat your EasyPress to 305 degrees. Gently iron out socks so they are warm and pressed flat. Arrange your design where you want them on the socks.
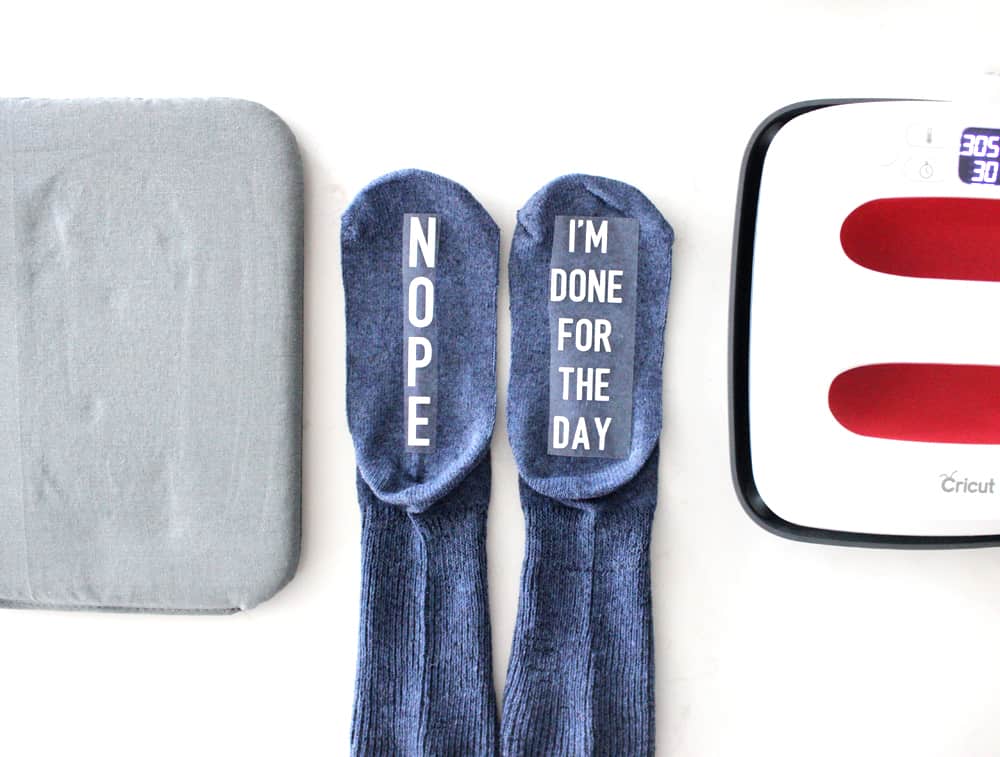
Press your design.
Firmly press your design onto your socks using your EasyPress! If using a protective sheet, press for 60 seconds. If you aren't using a protective sheet press firmly for 30 seconds. Then flip socks over and press for 15 seconds from the back.

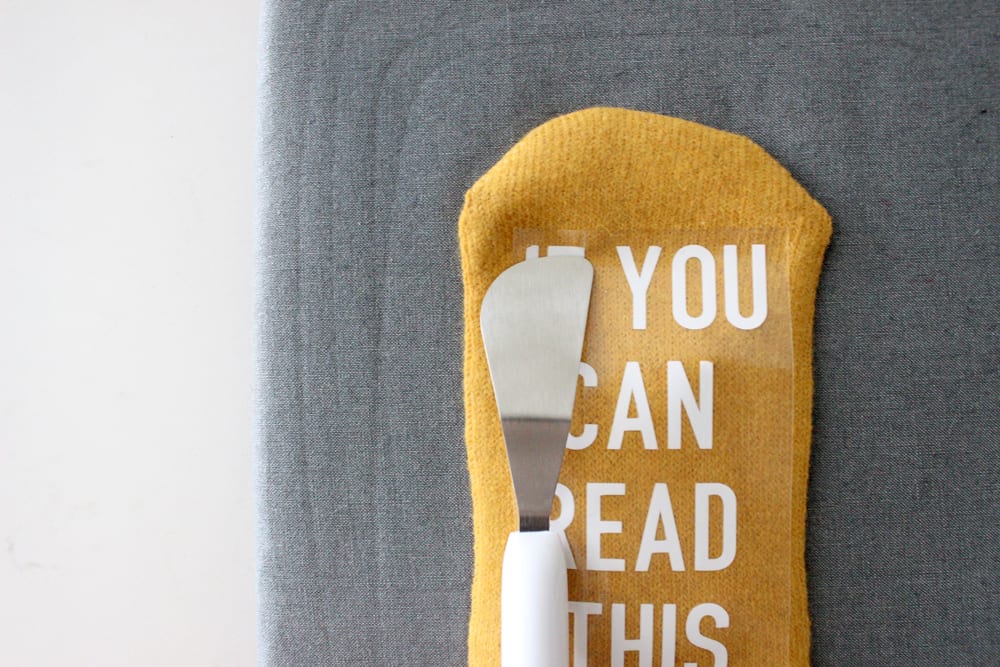
Flatten letters to sock.
After making a few of these, I found that the hardest part is starting your peel. Because of the small letter size and the texture of the sock, it helped SO much to quickly rub the letters down before starting your peel. You can use the little spatula tool, or even just your finger. Do this right after removing the EasyPress, then promptly peel off your plastic sheet.
Congratulations, you're finished!!!! Super easy right? Let's take a little tour of all our finished socks.
So good right?! Which ones are your favorite?
Thanks for reading friends! I hope you'll keep these cute funny socks in mind for gifts for friends and teachers this Christmas, too! If you need me I'll be laying right here on this couch, haha.
DIY Funny Socks
Video
Equipment
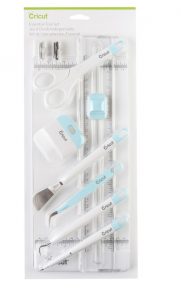
- Cricut Essential Tool Kit
- EasyPress 2, EasyPress Mini or a Regular Iron
Materials
Instructions
- Load design and select 'make it.'
- Slide your mirror option over so it turns green. If you forget this step your design will end up backwards on your socks!
- When you go to select material, select SportFlex Iron-On. The SportFlex has a fantastic stretch to it, making it ideal for this project!
- After selecting the material you are going to load your machine. Press vinyl shiny side DOWN on your mat.
- Once the mat is in place push the flashing arrow button while gently guiding your mat onto the machine. Then press the lighted 'go' button telling your machine to cut.
- After your design is cut weed out the excess vinyl so just your design is left on the plastic sheet.
- Heat EasyPress to 305 degrees. Gently iron out socks so they are warm and pressed flat. Arrange design where you want it on the socks.
- Firmly press your design onto your socks using the EasyPress. If using a protective sheet, press for 60 seconds. If you aren't using a protective sheet press firmly for 30 seconds. Then flip socks over and press for 15 seconds from the back.
- Peel plastic sheet off carefully starting from one corner.
Notes
xo,


These are fun to make! Kids enjoyed a lot! We are planning to do it again with their friends!
I love these! Great idea!
I've used these directions to make multiple pairs of gift socks over the years, for just about every holiday and occasion. They're fun to create, easy to make, and always a hit!
The links for the funny socks files are missing. Is there another link to download them from?
They are working for me? Can you see where they are in the post?
Not sure what I did wrong. These did not work at all. The SportFlex did not want to stick. The spatula helped, but once I put the socks on, the letters got stretched out.
What font did you use for this ? I am new to Cricut
I have a brother scan and cut and I’m trying to download your sock saying. Can you help me
I'm sorry, I'm not familiar with that machine. I wish I could be more help! This design is specifically made for Cricut Design Space and to be cut with a Cricut. You could use a free software like Canva or Gimp to design something similar if you want to use the Brother machine.
Can you use a regular iron or does it have to be an easy press?
Yes, you can totally use a regular iron! Instructions for that can be found here: http://help.cricut.com/sport-flex-iron-on-instructions