Homemade Ice Cream in a Bag is SO easy, you only need 3 ingredients and less than 20 minutes to make it! Just mix, shake and enjoy!
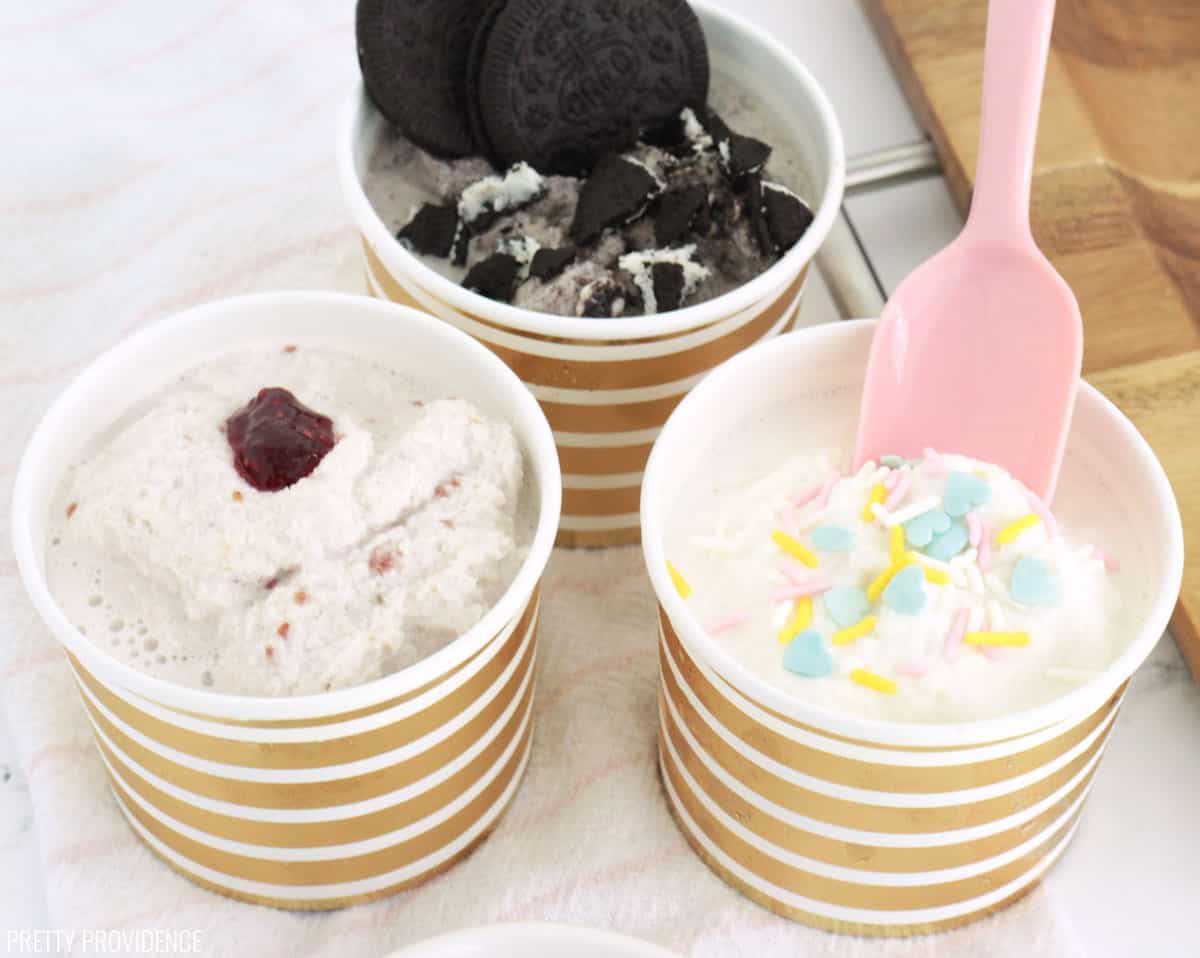
Your family will love this Homemade Ice Cream Recipe in a Bag!
If you have never made Ice Cream in a Bag before, you are in for a serious treat! It is easy, fun and delicious. I have fond memories of making this as a kid, and now it is a joy to make it with my little family every summer.
Homemade Ice Cream in a Bag takes 20 minutes to make. We love to make this when we go camping, on a picnic, for kids birthday parties, and family reunions! It doesn't have to be a special occasion though, it also makes a great boredom buster any day of the week. Need more ideas? Browse all of our Kids Activities.
This recipe is for Vanilla Ice Cream, but you can easily add flavor mix-ins! Everyone can make their own, ends up with just the right serving size. Oh, and did I mention that you don't even have to do any dishes? Mom heaven! I can promise you won't regret trying Ice Cream in a Bag this summer!
If you are looking for more ice cream recipes, Vanilla ice cream, Homemade Blackberry ice cream, and Butter Pecan ice cream are also fan favorites!
*This post contains affiliate links.
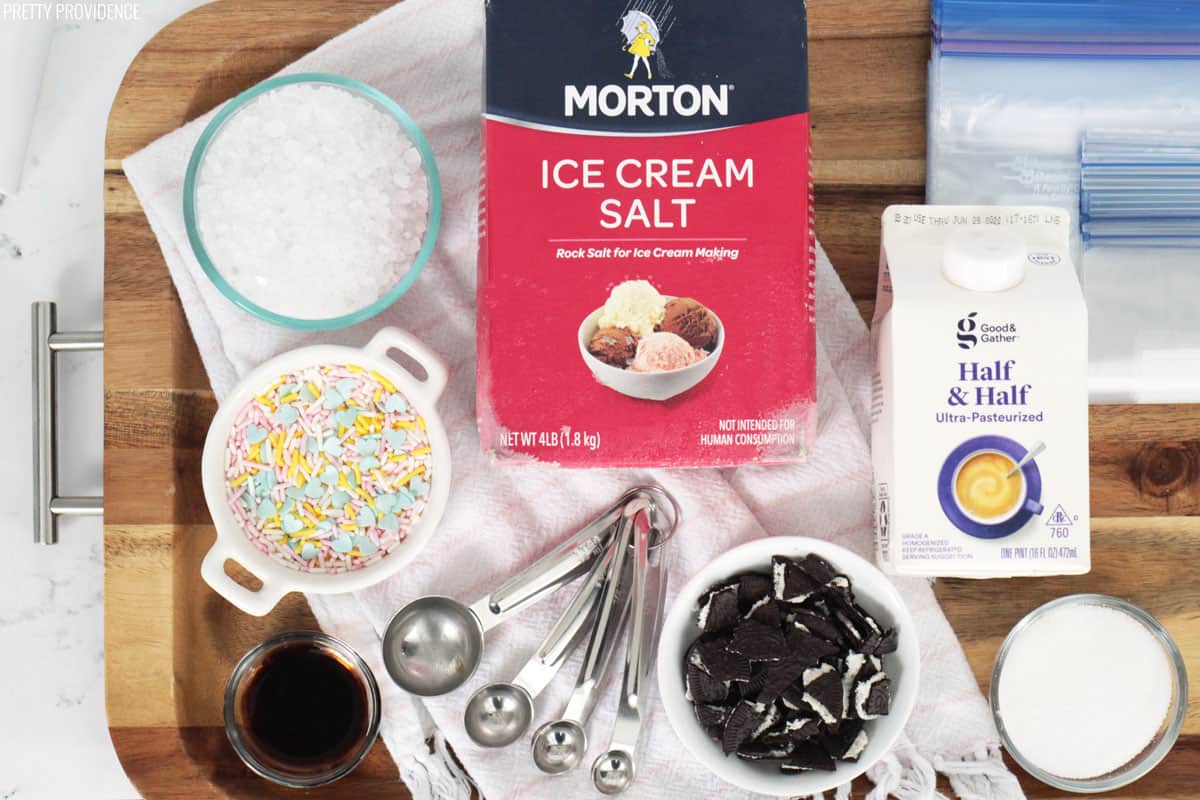
Ice Cream in a Bag ingredients
- Half & Half
- Vanilla Extract
- Sugar
What you need for Making Ice Cream in a Bag:
Optional:
- Mix-Ins
- Paper Towels
- Cups or Bowls
Our Favorite Flavor Mix-Ins are: crushed Oreos, Raspberry or Strawberry Jam, Chocolate Syrup, and Caramel Sauce.
How to Make Ice Cream in a Bag
- Place a small ziploc bag into a cup or glass, folding the edges over so that you can easily pour into it.
- Pour half and half, sugar and vanilla extract into the bag.
- Add any flavor mix-ins you want. I love cookies and cream so I added crushed Oreos to mine.
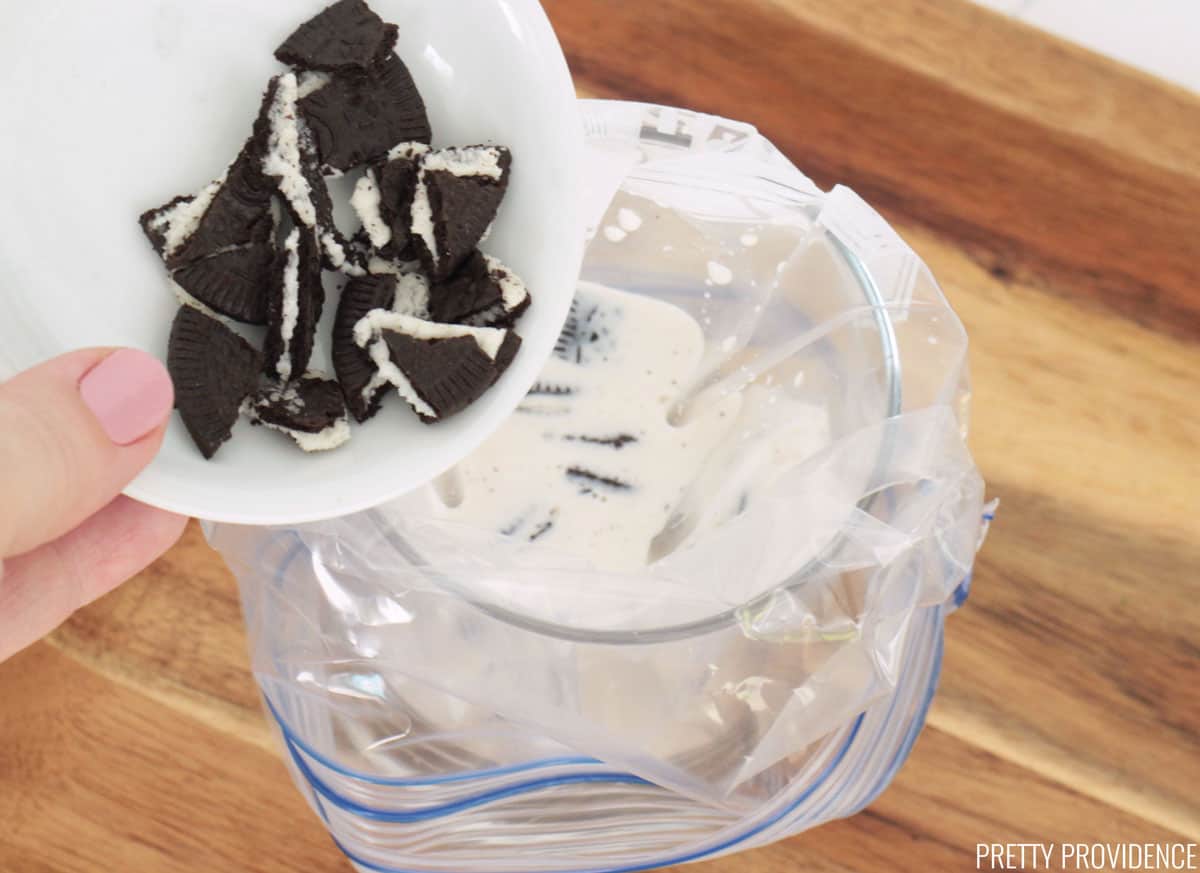
4. Squeeze out extra air and seal the ziplock bag. Put that bag inside another ziplock of the same size and remove air and seal that too.
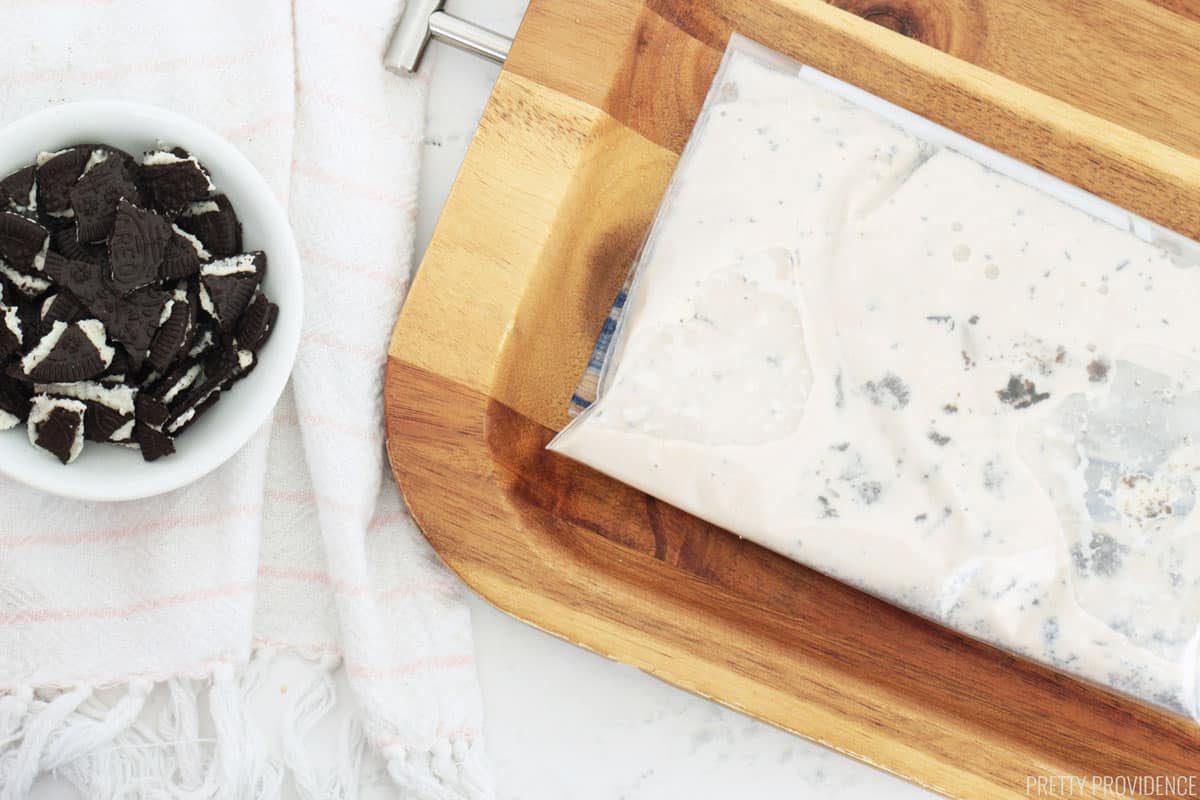
5. Add ice and ice cream salt to the large ziplock bag.
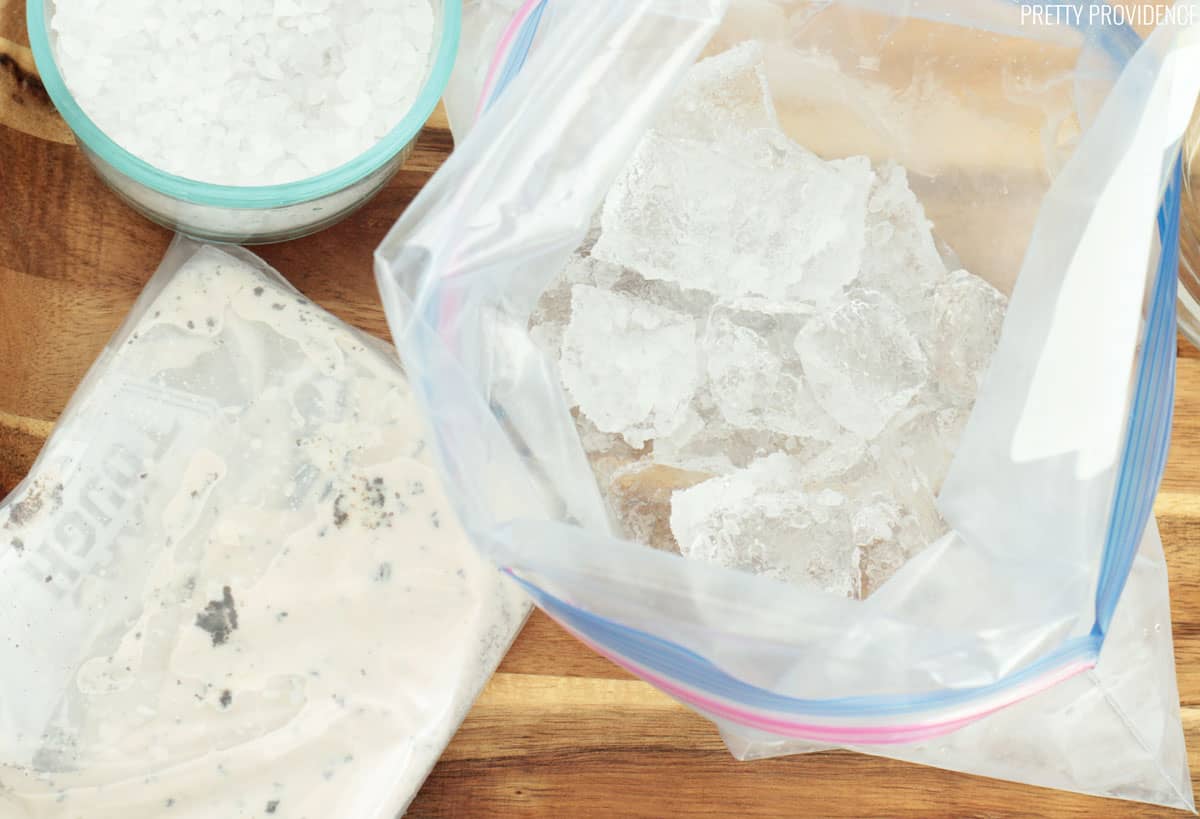
6. Place the little bags into the big bag of ice and salt and then seal it.
7. Shake for 15 minutes.
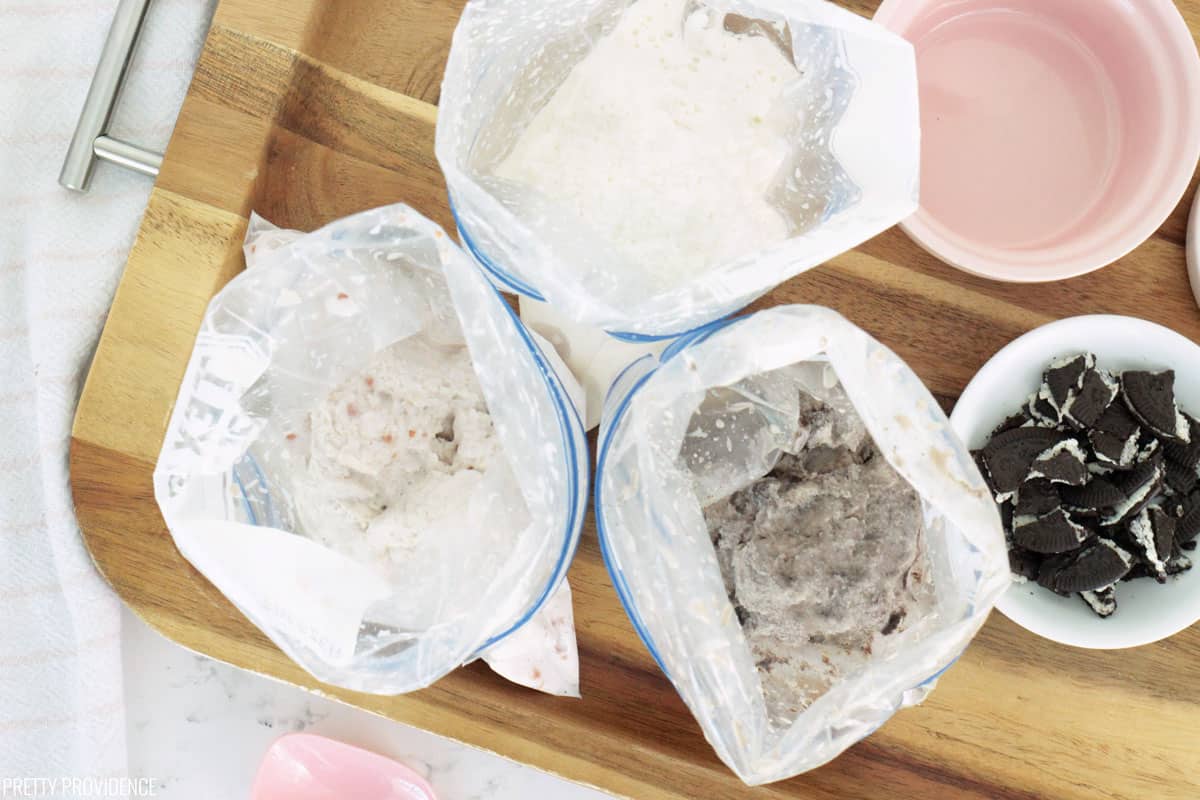
8. All finished! You can eat it straight out of the bag, or put it into bowls and add toppings!
Homemade Ice Cream in a Bag flavors
- Chocolate Chip Cookie Dough: Fold chunks of homemade or store-bought cookie dough into the ice cream base for a delightful combination of creamy ice cream and chunks of sweet cookie dough.
- Coffee Toffee Crunch: Infuse the ice cream base with brewed coffee or espresso, then stir in crushed toffee candy or chocolate-covered espresso beans for a caffeinated twist on classic ice cream flavors.
- Salted Caramel Pretzel: Swirl homemade salted caramel sauce into the ice cream base and mix in crushed pretzels for a sweet and salty combination that's sure to satisfy.
- Peanut Butter Cup: Mix creamy peanut butter into the ice cream base and fold in chopped peanut butter cups for a rich and indulgent treat packed with peanut butter and chocolate flavors.
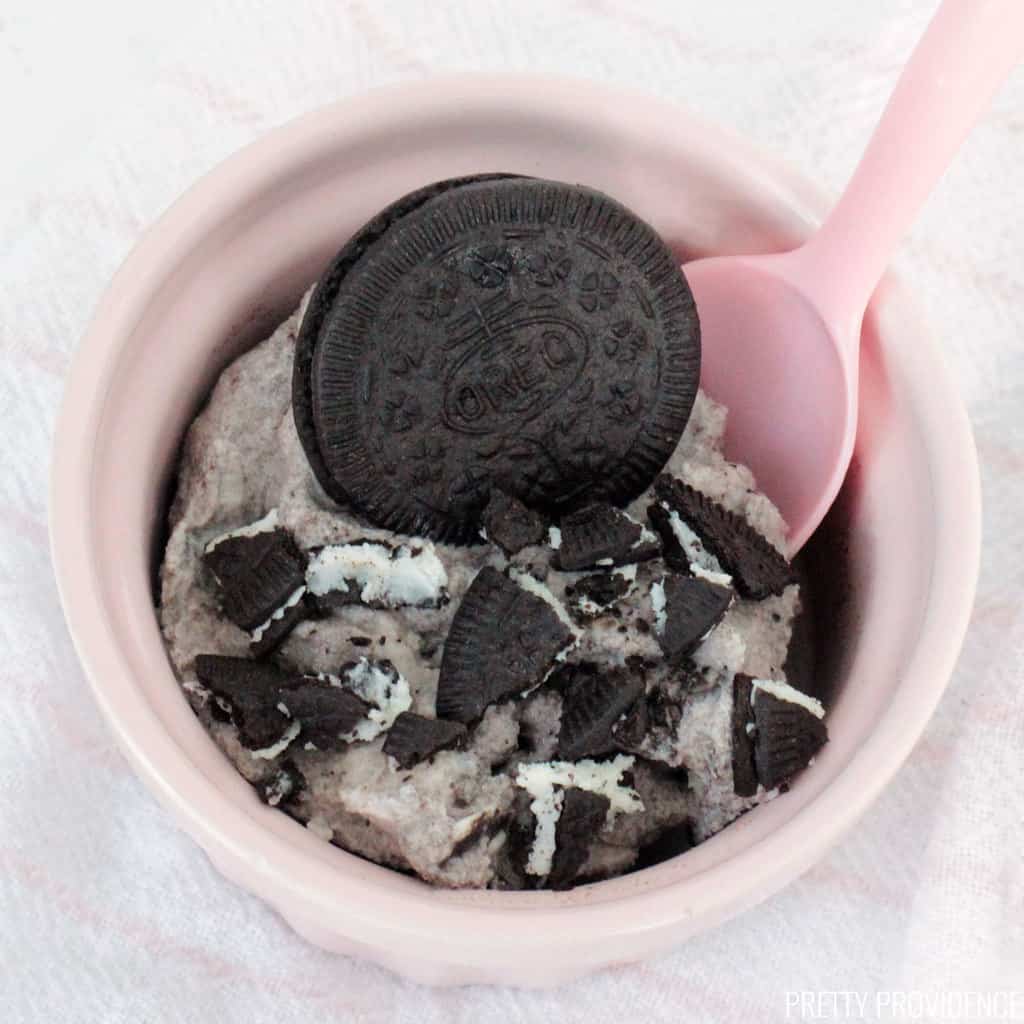
- Cookies and Cream: Crush chocolate sandwich cookies and fold them into the ice cream base for a classic combination of creamy vanilla ice cream and crunchy chocolate cookie pieces.
- Fruity Sorbet: Blend your favorite fruits, such as berries, mangoes, or peaches, with a little lemon juice and sugar to create a refreshing and vibrant fruit sorbet.
- Rocky Road: Mix chopped nuts, such as almonds or walnuts, and mini marshmallows into the ice cream base along with chocolate chips or chunks for a classic rocky road flavor profile.
Ice Cream in a Bag Recipe tips
- Double bag the ice cream mixture before you shake. You don't want any leaking!
- Since our kids are little we like to incorporate games into the shaking process so they don't get bored with it after about thirty seconds! Some great ones to try are hot potato, tag, or our personal favorite option... have a dance party!
- If kids hands are too cold while shaking it, you can wrap the bag in paper towels, or you can use hot pads or winter gloves.
Ice Cream in a Bag storage
- Seal the Bag: After making the ice cream, seal the bag tightly to prevent any air from entering. Make sure the seal is secure to avoid any leaks or spills.
- Place in the Freezer: Transfer the sealed bag of ice cream to the freezer as soon as possible. Lay the bag flat to help evenly distribute the ice cream inside and prevent it from sticking to one side of the bag.
- Use within a Few Hours: Ice cream made in a bag tends to have a softer texture compared to commercially produced ice cream, so it's best to consume it within a few hours of making it for the best taste and texture. If you plan to store it for longer, consider transferring it to a freezer-safe container for better protection against freezer burn.
Homemade Ice Cream in a Bag FAQs
Ice cream in a bag works by utilizing the principles of freezing point depression and heat transfer. The mixture of cream, sugar, and flavorings is placed in a smaller, sealed plastic bag, while a larger bag is filled with ice and salt. The addition of salt lowers the freezing point of the ice, causing it to melt and absorb heat from the ice cream mixture, which lowers its temperature. As a result, the mixture begins to freeze and solidify, eventually transforming into ice cream.
The constant movement of the bag helps distribute the cold temperature evenly, resulting in a creamy texture. This method allows for the creation of homemade ice cream without the need for specialized equipment, making it a fun and accessible activity for all ages.
If you try this recipe, we'd love if you would comment and leave us a positive review! They mean a lot!

Make Ice Cream in a Bag
Video
Equipment
- Sandwich Sized Ziploc Bags
- Gallon Ziploc Bags
- Paper Towels
Ingredients
- ½ Cup Half and Half
- 1 Tablespoon Sugar
- ¼ Teaspoon Vanilla
- 3 Cups Ice
- ⅓ Cup Ice Cream Salt
Instructions
- Pour half and half, vanilla and sugar into a sandwich sized Ziploc bag.
- Optional: Put additional flavors or mix-ins, like chocolate syrup or crushed oreo cookies, into the bag and mix well.
- Eliminate as much air as possible before sealing tightly.
- After sealing, place that inside a second sandwich sized ziplock (we don't want any leaking) and seal tightly.
- Add ice and rock salt to the gallon sized bag, then add the sandwich bags of ice cream mixture.
- Remove air and seal the large bag.
- Squeeze and shake the bag until ice cream forms.
- For a thick milkshake consistency, shake 10 minutes. For a harder ice cream, shake for 15 minutes.
- Remove the filled bag from other bags and enjoy!
Notes
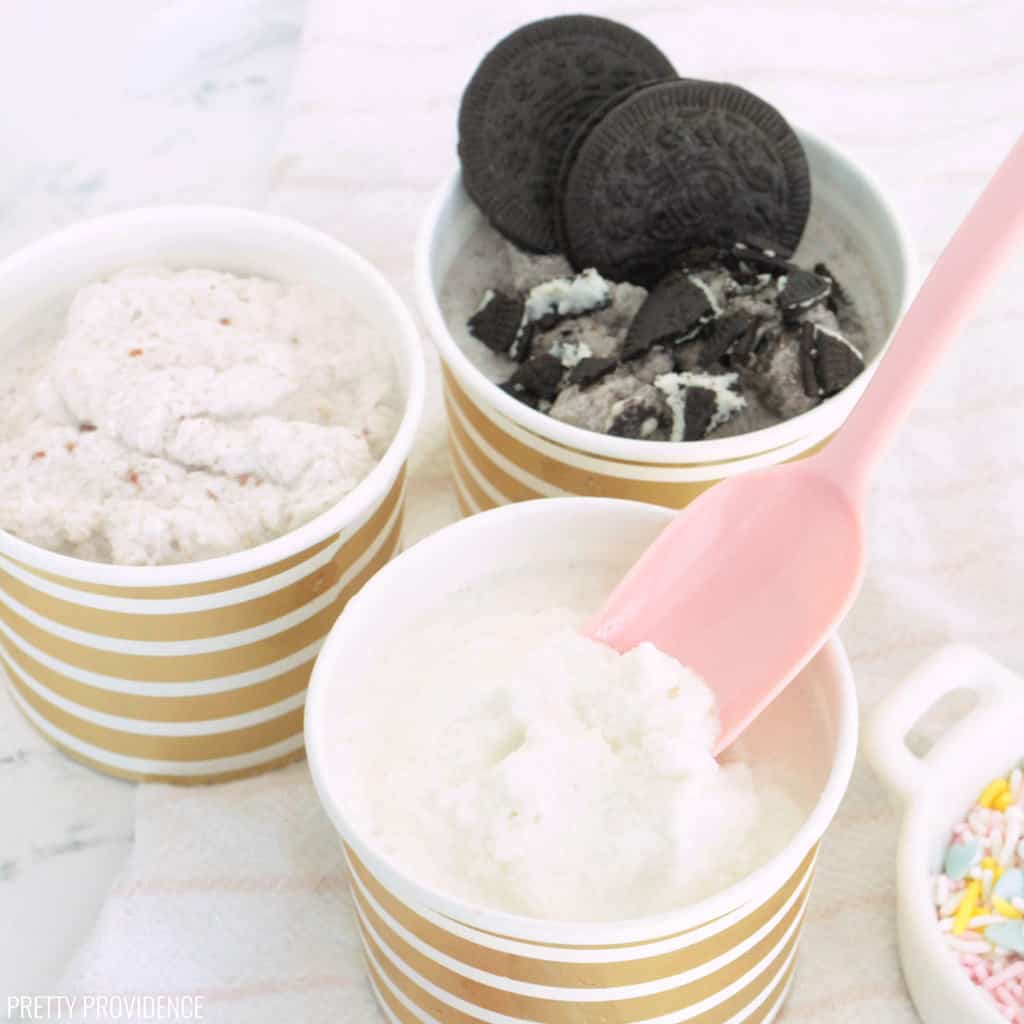
- Strawberry Ice Cream - one heaping tablespoon of Homemade Strawberry Jam.
- Cookies and Cream - 2 to 3 crushed Oreo cookies
- Chocolate - 1 tablespoon Chocolate Syrup
- Caramel - 1 tablespoon Caramel Sauce
Nutrition



jess
Homemade ice cream always seems so daunting, but this was everything that I wanted it to be and more! thank you so much for sharing this amazing recipe!
Isha
Hey! :) I tried this recipe with my kids last weekend and we had a blast making ice cream in Ziploc bags! The vanilla flavor was perfect, and it came out creamy and delicious.
Freida O
This was a fun project to make with my kids- we all were amazed how yummy it turned out too!
G.M
I have made this before. Always fun to try a new recipe though, thanks 🤗
Sharon
I don't know where we could buy ice cream salt around Ontario? Is there another name for it?
Also is there a method to make this using the freezer instead of the ice and salt?
Jessica
It is also called rock salt in some places!
Cindy Caporaso
We did this at summer camp! Worked amazing and so much fun!!!
Jessica
Yay! That makes us so happy! Thanks for sharing Cindy!
Patricia
Can you make this recipe with fruit powders instead to get the desired flavoring instead?
Jessica
Absolutely! You can really flavor with anything you'd like!
Darlene
It seems like fun and. So eady
Jessica
It really is! Thanks Darlene!
Leanna
Can you use heavy cream instead?
Jessica
Yes, absolutely!
Melissa
Such a fun way to make ice cream, we loved it!
Trang
This is so fun! I never made ice cream in a bag. I've done it in a can and rolled it around. This is definitely a fun way for the kids to help out. Love!
Jen
Our new ice cream dance party was such a hit! The kids are already asking if we can make this a nightly thing, haha!
Lynnette Beste
This is such a fun and easy way to make a quick treat. I love that there are no dishes!
Aliza Biorn
This sounds fun! I'm glad you shared how to make it flavored! I'm adding this to my Summer Fun List!
Jessica @ Pretty Providence
Do it! It's so fun! And yes, flavors are the best part!
Meagan
How cool and how fun is this?! It looks so easy too. I'll definitely have to try this out withmy nephews. They would love it. I'll get them all messy and stuffed with sugar and send them back to their parents. ;) I'm the best aunt!
Jessica @ Pretty Providence
Haha sounds like a great aunt for sure!! And yes, SO easy! They will love it. :)
Sydney Andersen
I've heard of ice cream in a bag but never tried it! Definitely adding this to our summer bucket list!!
Jessica @ Pretty Providence
You will LOVE it! We seriously have so much fun every time!