Cornflake wreaths are an easy holiday treat that is fun to make. They are the perfect treat for a Christmas party or for adding to a cookie plate for neighbors. You won't regret trying these delicious Cornflake Christmas wreath cookies!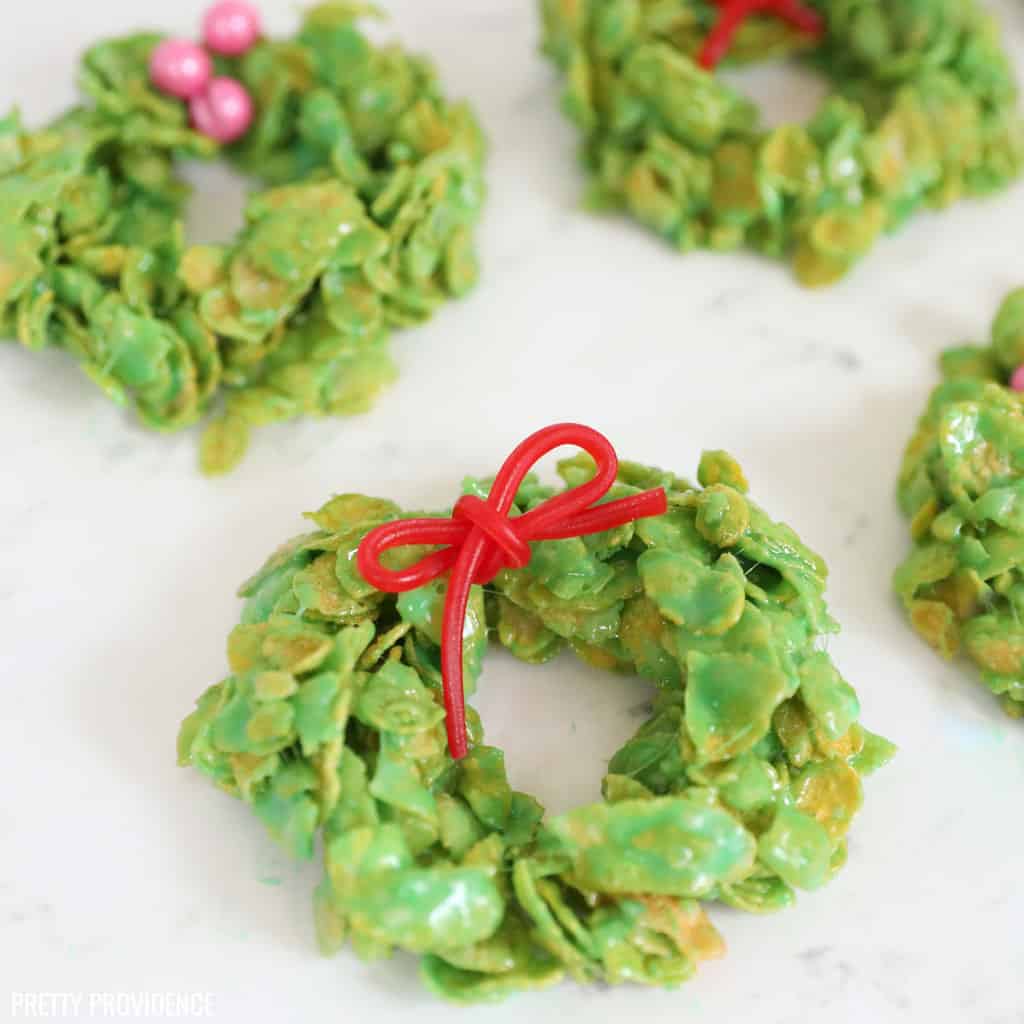
Christmas Cornflake Wreaths
What are Cornflake Wreaths?
These Christmas wreath-shaped treats are made up of just three ingredients: cornflakes, marshmallows, and butter. You can also add some little candies to decorate them with.
They're a lot like Rice Krispie treats, but they taste so much better!
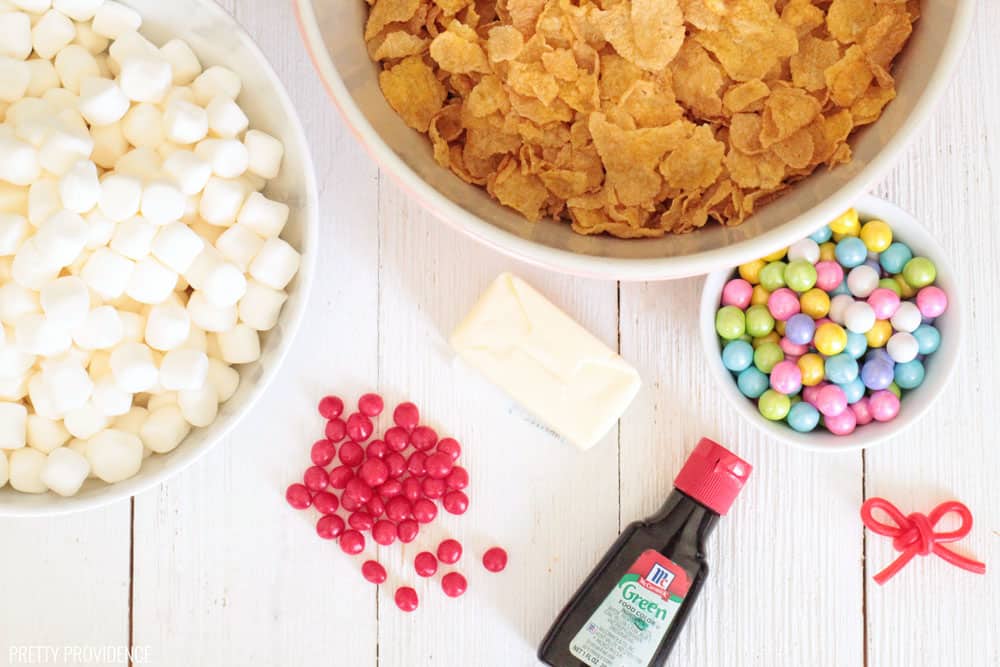
Ingredients:
- Cornflakes cereal (plain, NOT frosted)
- Butter
- Marshmallows
- Green food coloring
- Parchment Paper
- Cinnamon candies (optional)
- Sixlets (optional)
- Pull-and-Peel Licorice, tied into bows (optional)
How to make Cornflake Wreaths:
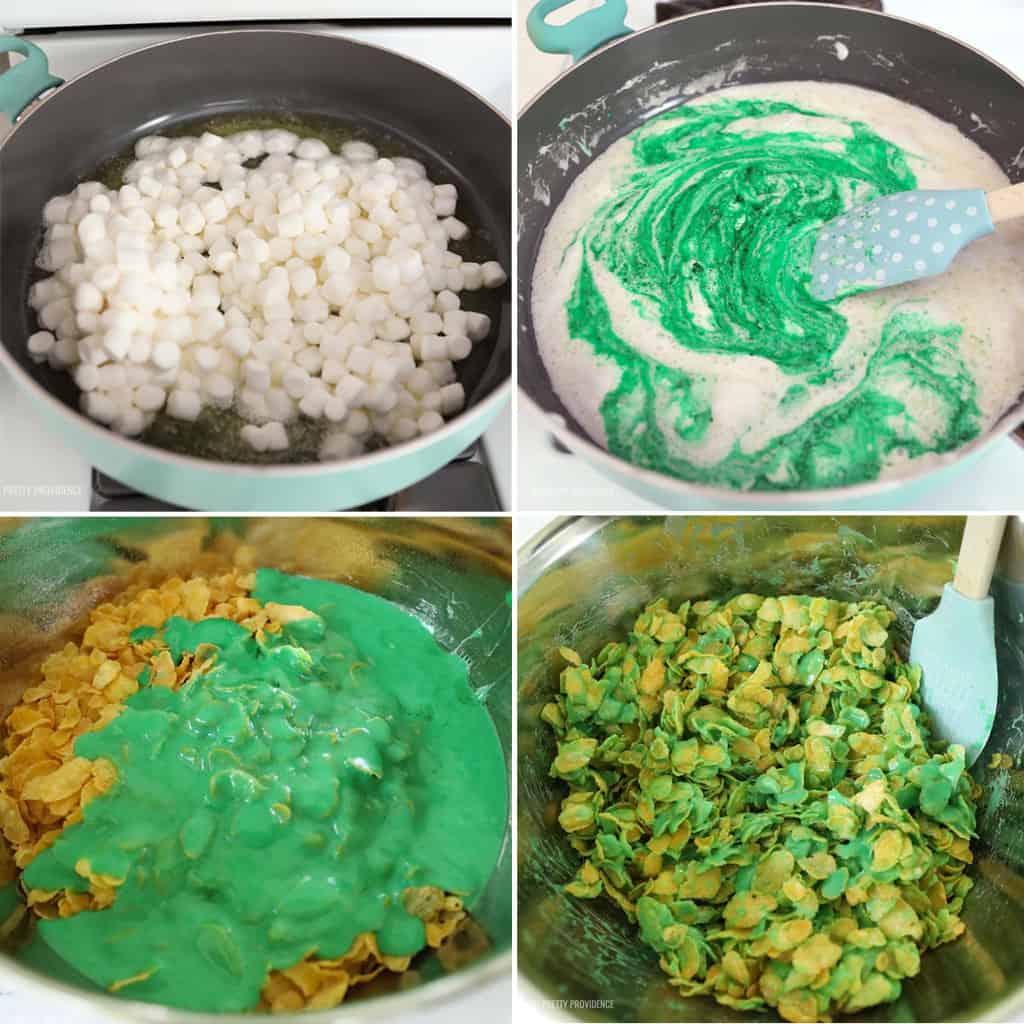
- Melt butter in a large saucepan over low heat. Once melted, add the marshmallows and stir continuously until completely melted.
- Stir in food coloring.
- Measure cornflakes into a large bowl. Pour melted marshmallows into the large bowl with the cornflakes. Stir until well-coated.
- Lay a piece of parchment paper on your kitchen counter. Dollop spoonfuls of the cornflake mixture onto the parchment paper.
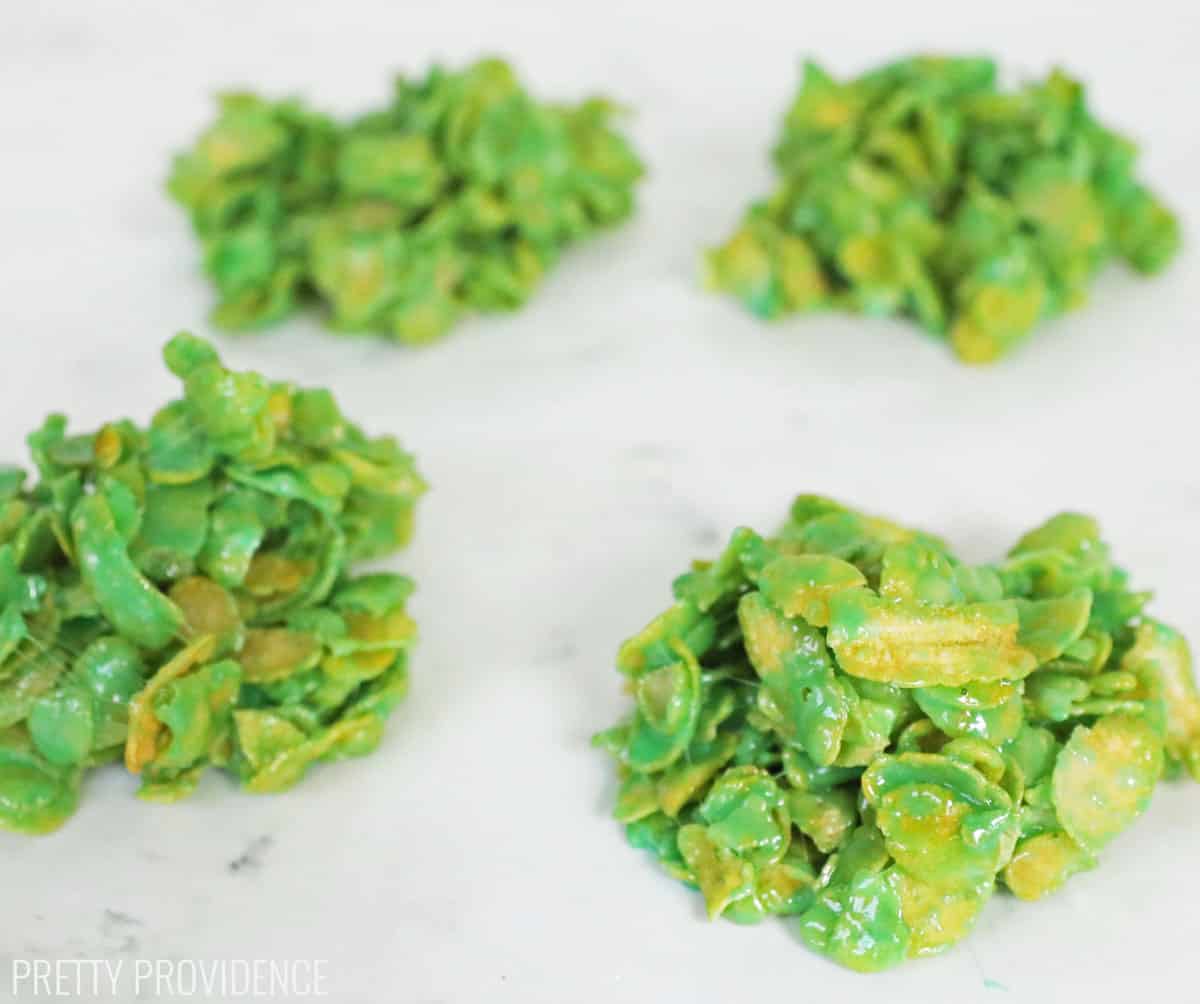
- Grease your (clean) hands with butter or cooking spray. Use your fingers to shape each spoonful into an individual wreath.
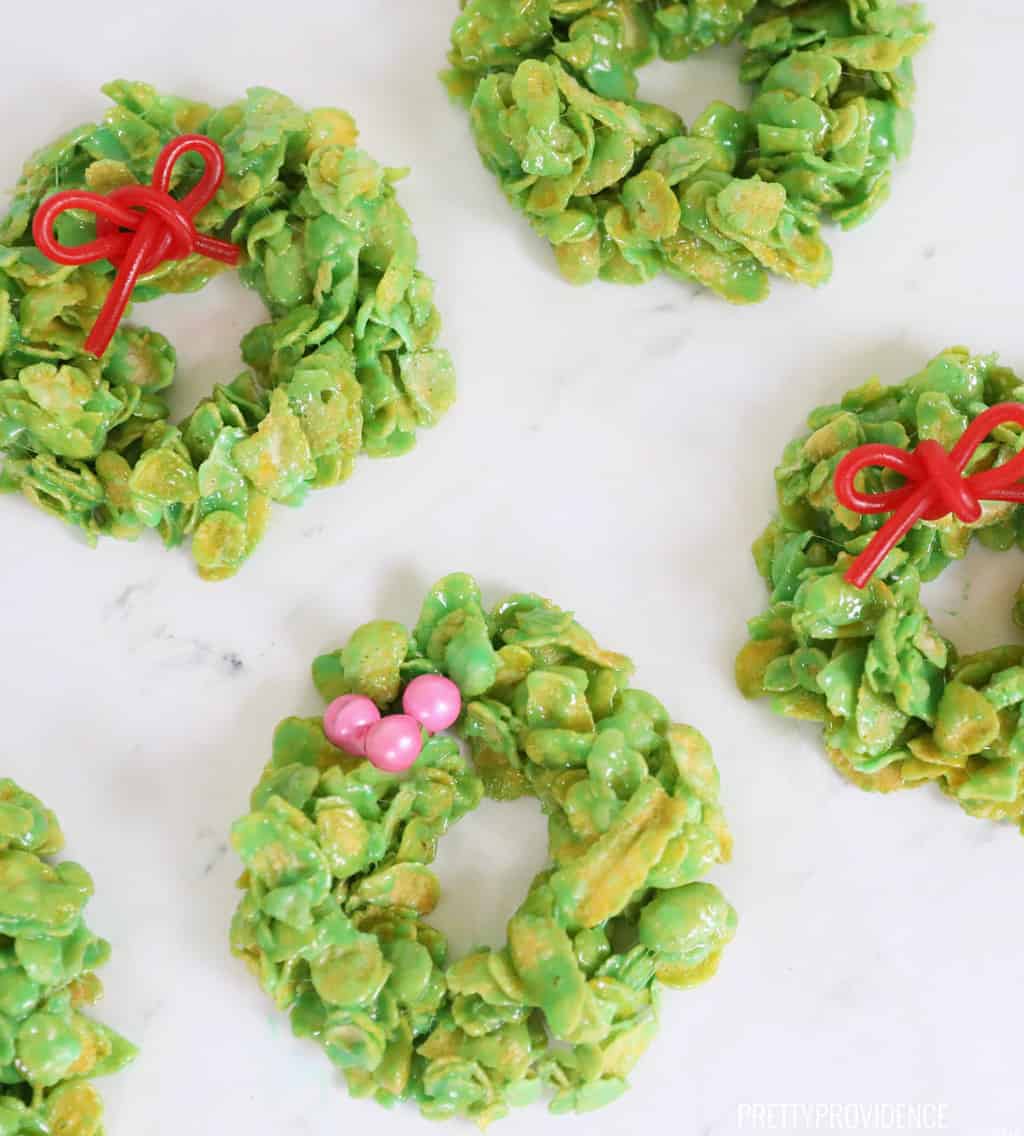
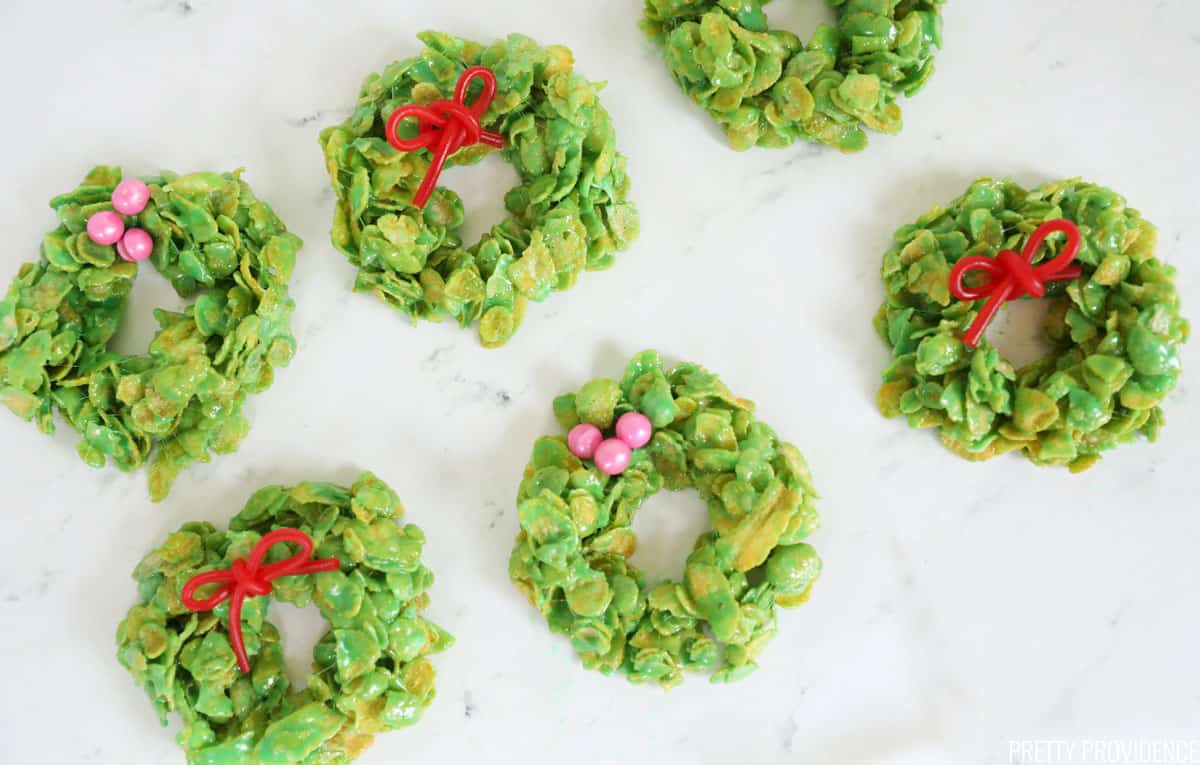
- Top each wreath with licorice bows, Sixlets or red cinnamon candies.
Tips for Success
- Keep cooking spray nearby.
- Spray a little bit of cooking spray onto your rubber spatula before you stir the marshmallow mixture into the cornflakes. This helps mixing to go more smoothly.
- Spray a little bit onto your hands before you pick up the cornflake mixture and shape it into wreaths.
How many treats does this recipe make?
One recipe makes 14-16 wreaths. We usually double this recipe if we're taking them to a party. They disappear fast!
How to Store Cornflake Wreaths
- Store wreaths in an airtight container.
- If you need to stack the wreaths, lay pieces of parchment paper in between layers so they don't stick together.
- These should be stored at room temperature in a cool, dry place.
- I do not recommend refrigerating or freezing these treats.
- They are best enjoyed within a day or two of being made.
How to make these as a family or group activity:
Once the mixture is made, one person can spoon them onto parchment paper, another person can shape them into wreaths, and another can put the candy decorations on them.
Happy Holidays! If you make these, we'd love it if you could leave a comment and review!
Christmas Cornflake Wreaths
Video
Equipment
- Wax Paper
- Cooking Spray
- Large Saucepan
Ingredients
- ⅓ cup butter
- 4 cups mini marshmallows
- 1 teaspoon green food coloring
- 6 cups corn flakes
- red cinnamon candies optional
- red pull-n-peel licorice optional
- sixlets optional
Instructions
- Measure cornflakes into a large bowl.
- Melt butter in a large saucepan over low heat. Once melted, add the marshmallows and stir continuously until completely melted.
- Stir in food coloring.
- Pour melted marshmallows into the large bowl with the corn flakes. Stir until well coated.
- Lay out a piece of parchment paper on your kitchen counter. Dollop spoonfuls of the cornflake mixture onto the parchment paper.
- Grease your (clean) hands with butter or cooking spray. Use your fingers to shape each spoonful into an individual wreath. Top each wreath with cinnamon candies, red licorice tied into bows, or sixlets.
- Allow Cornflake Wreaths to set for 20-30 minutes before removing from parchment paper.
Notes
Nutrition
This recipe was shared by Lauren from Tastes Better From Scratch. Stop by her site for some more fun holiday treat ideas like Peppermint Candy Cane Brownies, or Cupcake Ornaments!
This post was originally published in December 2013 and has been updated with new photos, a video, and more detailed information.



Natasha
These Cornflake wreaths are so festive and super delicious! I made them with my daughter and we had a wonderful time making these perfect treats!
Cheri
Didn’t think it would taste so incredible!!! Thank you for this recipe! Making it for the second time today. Merry Christmas 🎁
Jessica
You are so welcome! Merry Christmas Cheri!
Abby
Made these with my kids as gifts and they turned out so cute! We had so much fun making them too. Great recipe.
Kristen
These were such a cute holiday treat and my kids had a lot of fun helping me make them.
Pam
I made these last year and they were not only adorable, but delicious! I'll be making them again this year!
Jenna
Perfect for holiday parties or sharing with neighbors. These Marshmallow Cornflake cookies are a tasty addition to any occasion! It can also be a family activity. Highly recommended.
Jessica
So glad you loved them, thanks Jenna!
Eva
As with all marshmallow recipes, you can always add more if you don't think it covers enough or add less cereal. Love this recipe! Thank you for sharing!
Jessica
Thank you so much Eva! Merry Christmas!
Chandy
Not nearly enough marshmallow to cover cornflakes. Had to make 3 batches of marshmallow mixture to make them look green.
Sarah
I'm sorry that didn't work for you! We have always had success with this recipe.
B
My recipe didn't have enough marshmallows to coat all the cornflakes. It is a cute idea, but think rice crispies are better for this kind of project. Fun to try though!
Lynnette
This was fun to do with my grandkids. They loved getting their fingers in it and making wreaths. They didn't always look like a wreath, but they loved making them almost as much as they liked eating them!
Marie Donelly
I made these and used a silicon donut mold that I have and they came out perfectly round,I couldn’t find the round red candies so I used hot tamales and cut them in half and just used the round part for the berries. I also put some red and green sprinkles to make them a little more festive, they came out great and my grandchildren loved them.
Thanks for the recipe.
Tala Nickolet
How would I store these, I imagine can not be frozen?
Sarah
I like to put them in a large airtight container and use wax paper in between layers if you want to put them on top of each other! They are sticky but they keep well for a few days that way.