How to Cut Fabric with the Cricut Maker Rotary Blade
How to cut fabric with the Cricut Rotary Blade and why it's one of our favorite Cricut blades to use!
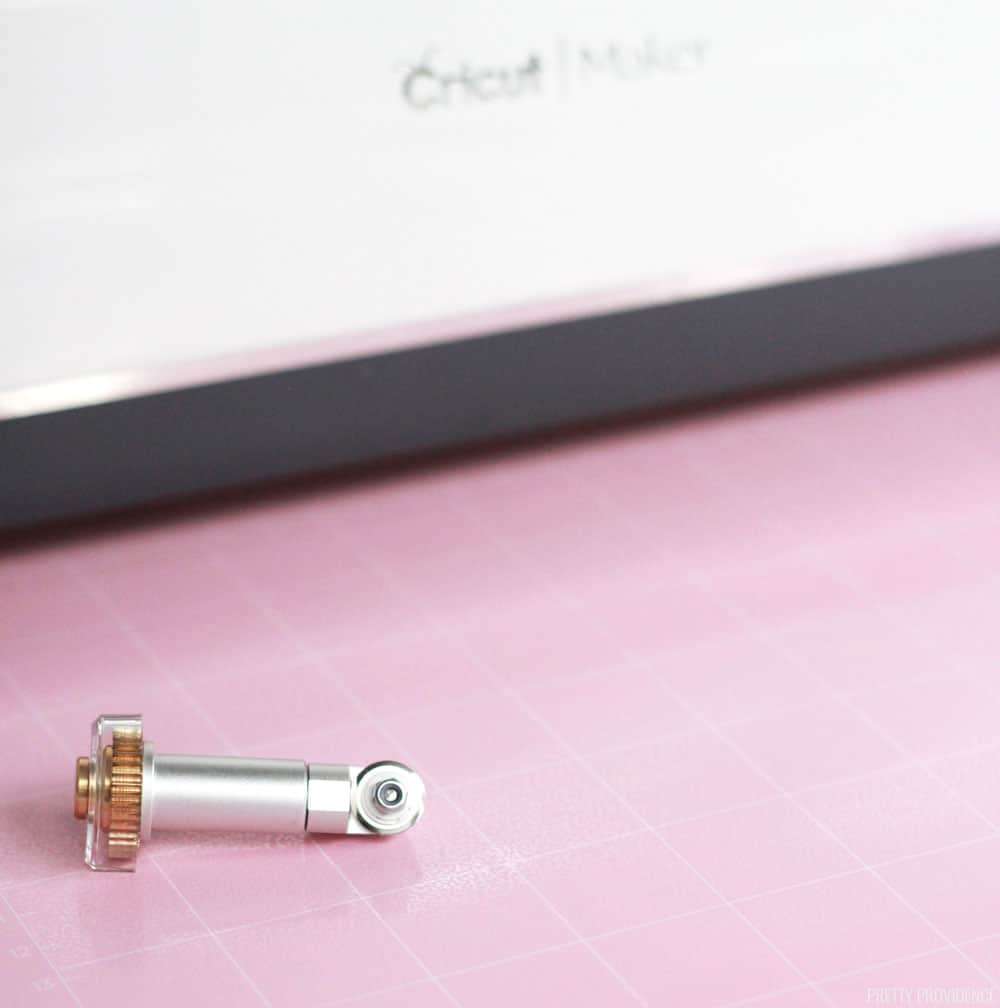
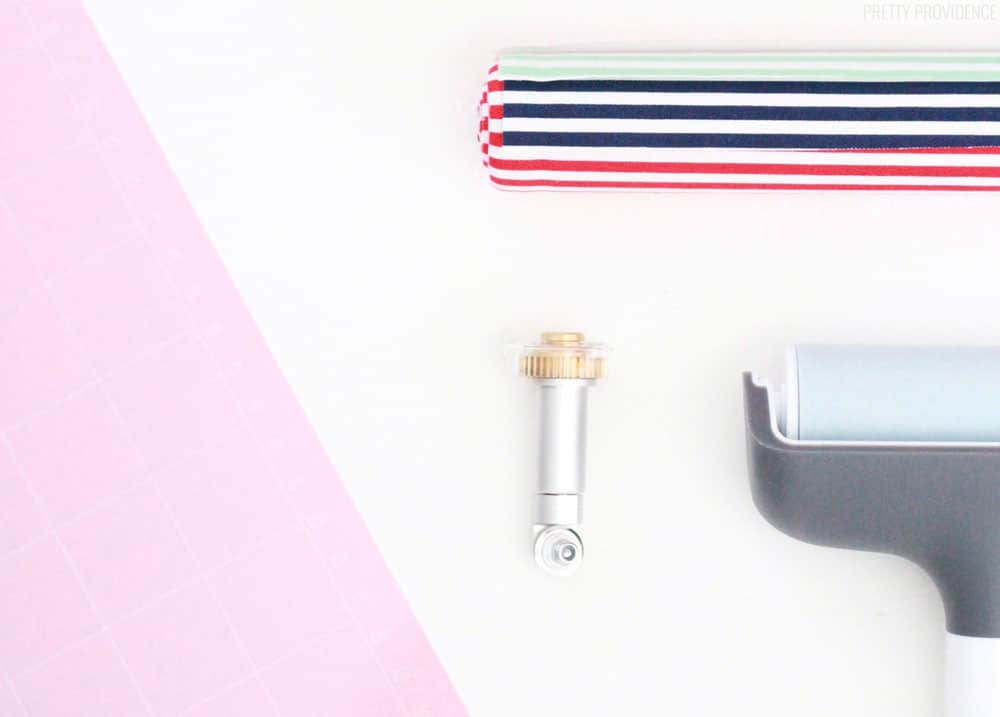
All about Cricut Rotary Blade
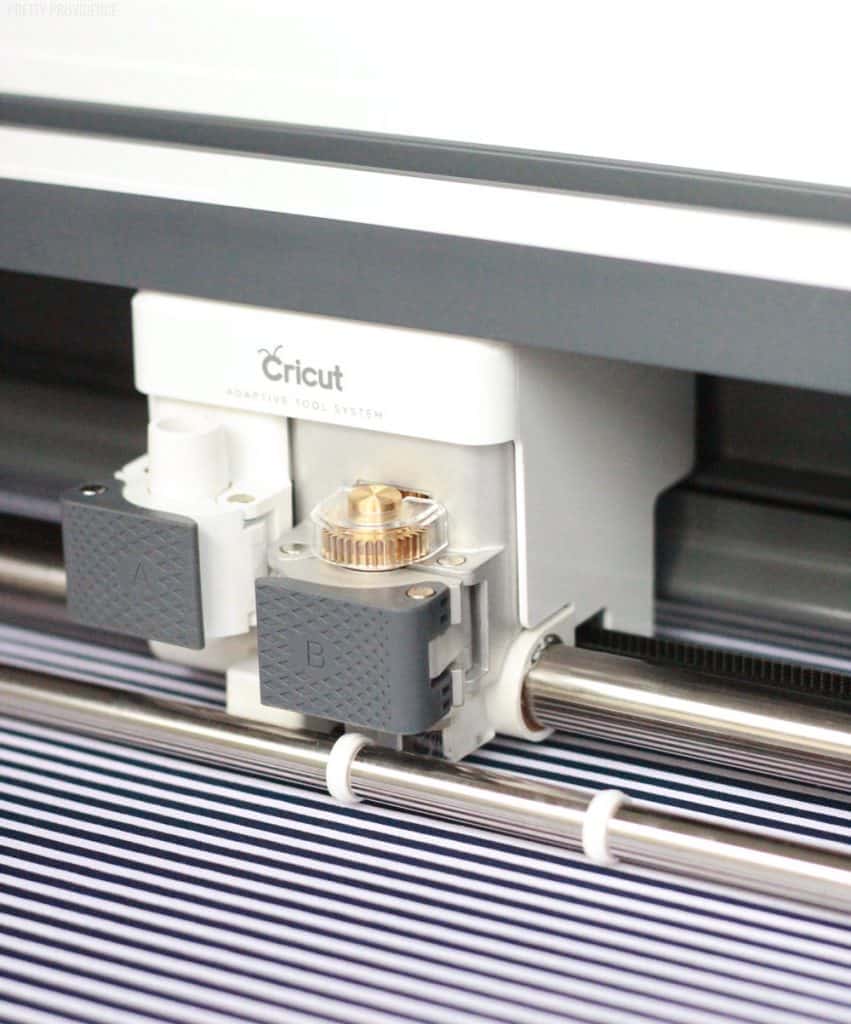
The rotary blade is one of the Cricut Maker accessories that comes in the box with every Cricut Maker. It's been really fun to use. I used it to make these DIY princess costumes, and it cut out fabric butterflies, stars and felt flowers like a champ!
The blade glides and rolls, and can turn within a quarter of an inch to cut through tons of different fabrics.
Some of the materials and fabrics the Rotary Blade can cut:
|
|
Does this get your creative juices flowing? I am dying to try making something with velvet soon!
How to Cut Fabric with a Cricut Rotary Blade
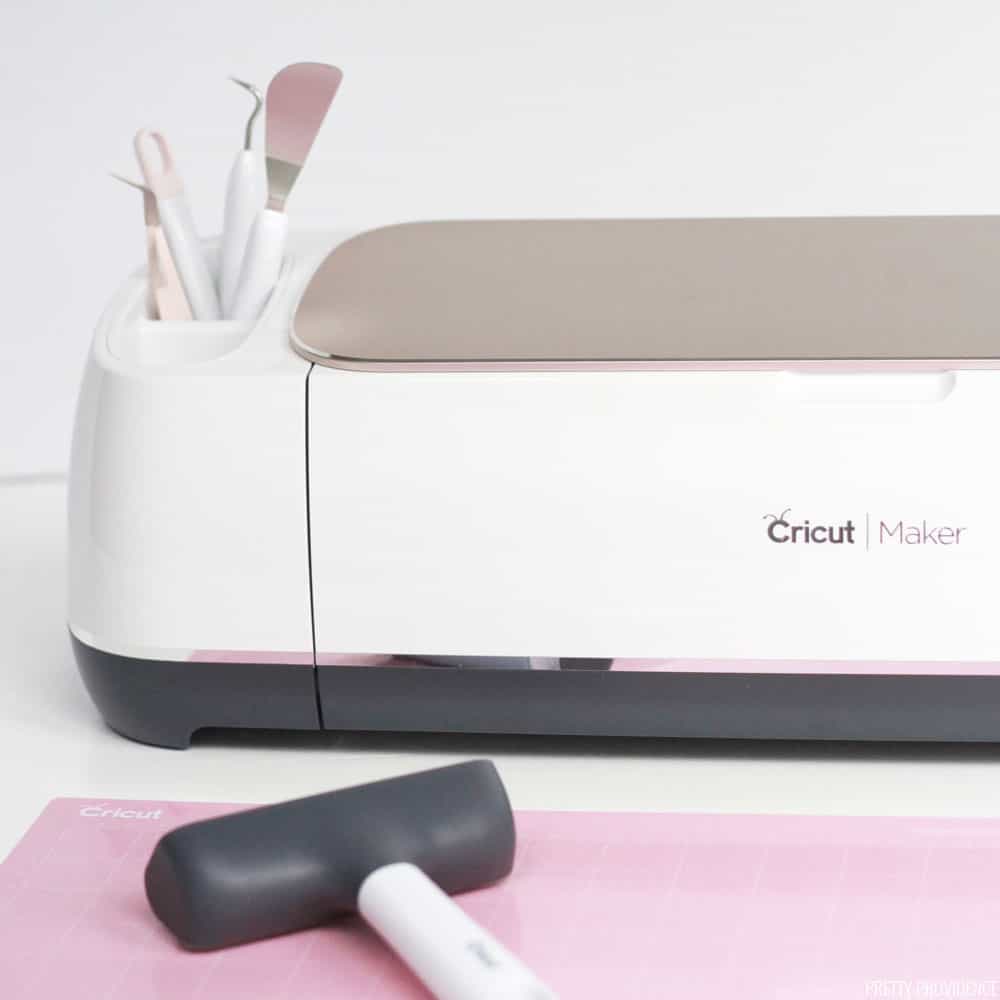
Materials needed:
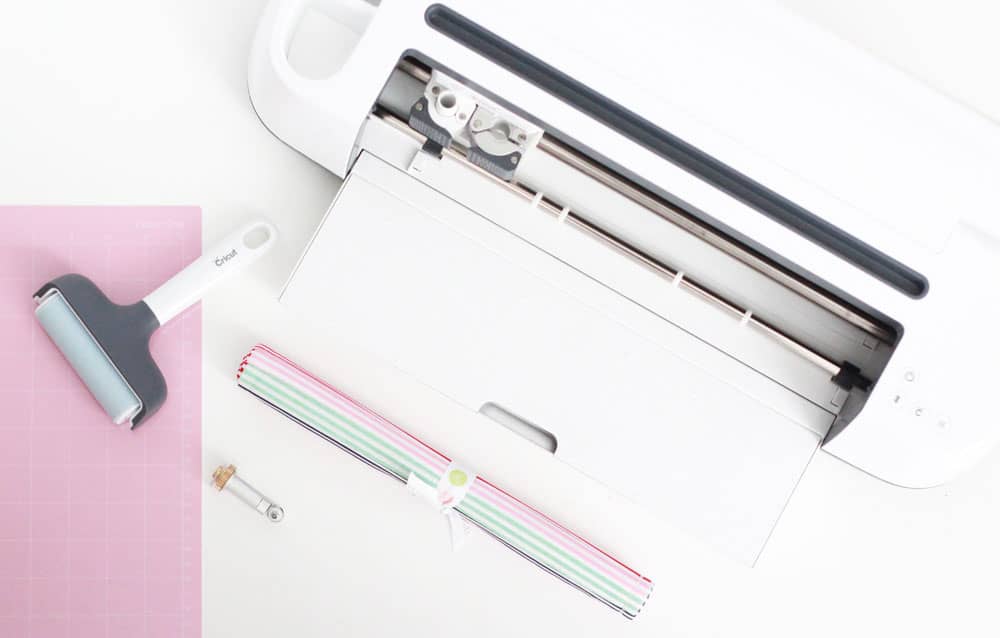
- FabricGrip™ Mat
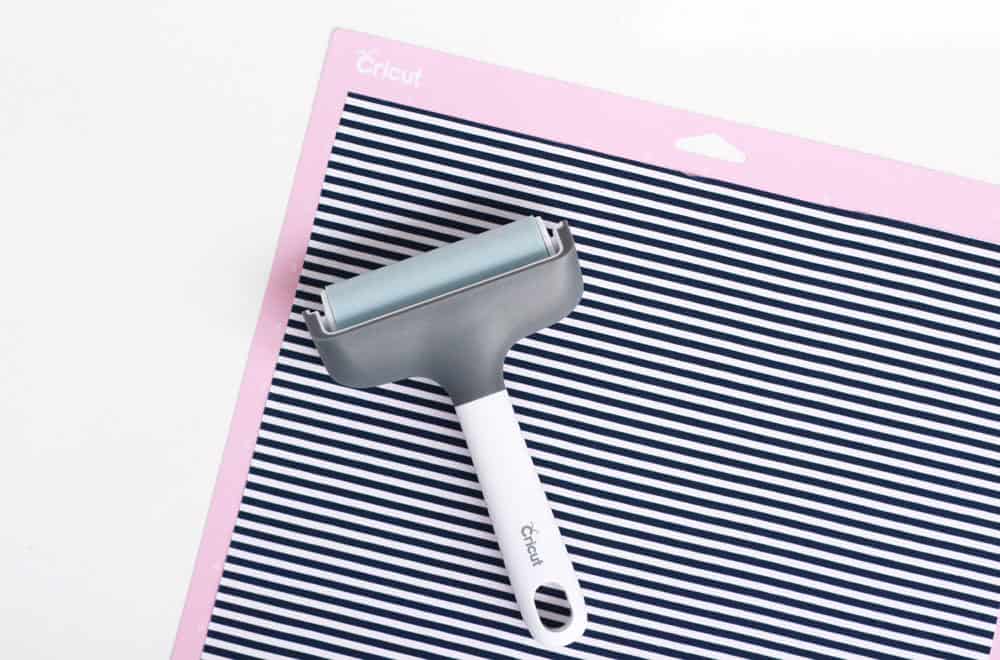
- Brayer (optional)
- Fabric
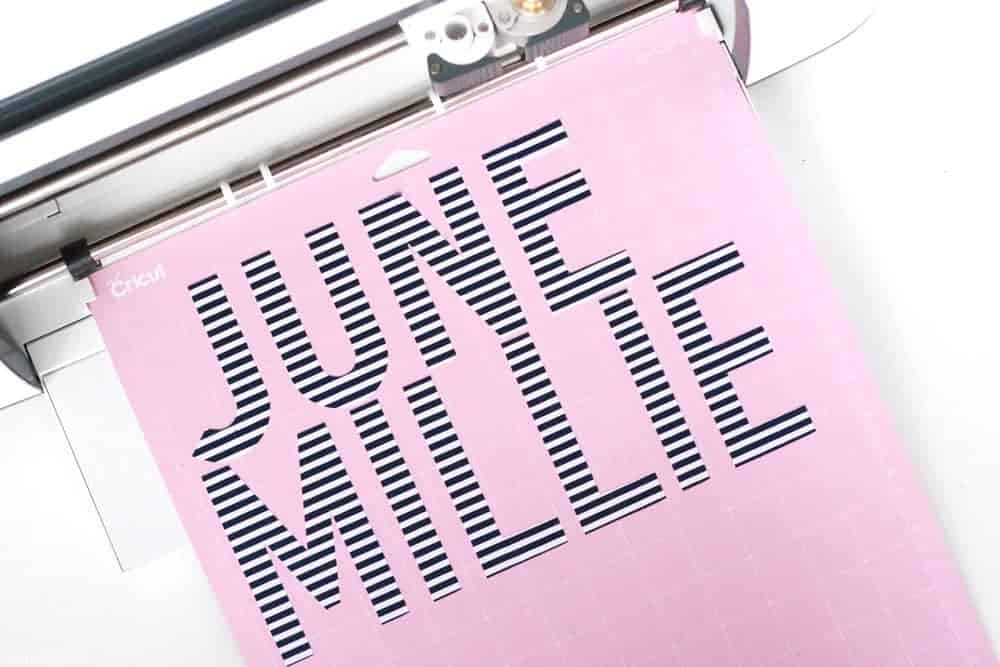
To show you how easy this is, I thought I would use some Cricut Fusible Fabric I had in my craft closet. I've been wanting to make something with this fabric for a while now. I decided to cut out the letters of my girls' names so that I can iron them onto a pillow for each of their beds.
First, place the fabric onto the FabricGrip mat, and use the brayer to smooth out any wrinkles or bubbles in the fabric.
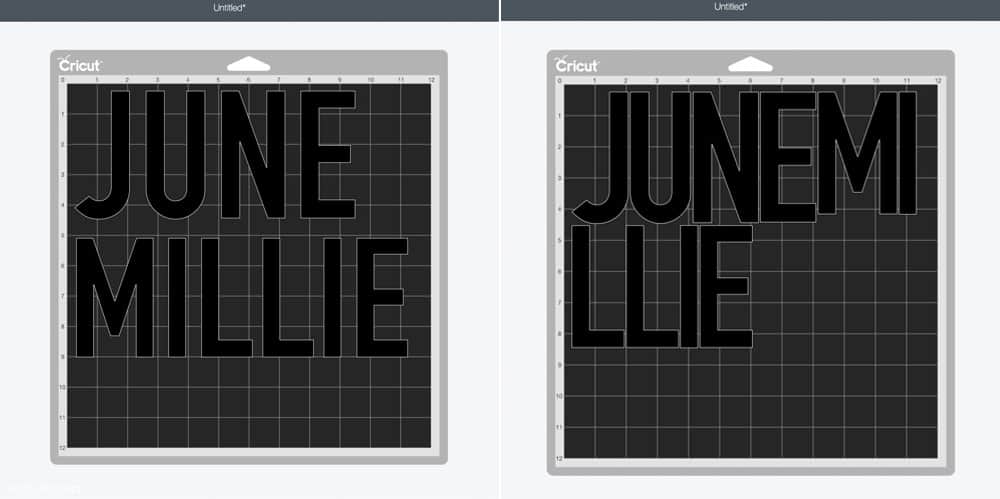
Add images or letters that you want to cut into Cricut Design Space, and when you are ready to cut, click 'Make it.'
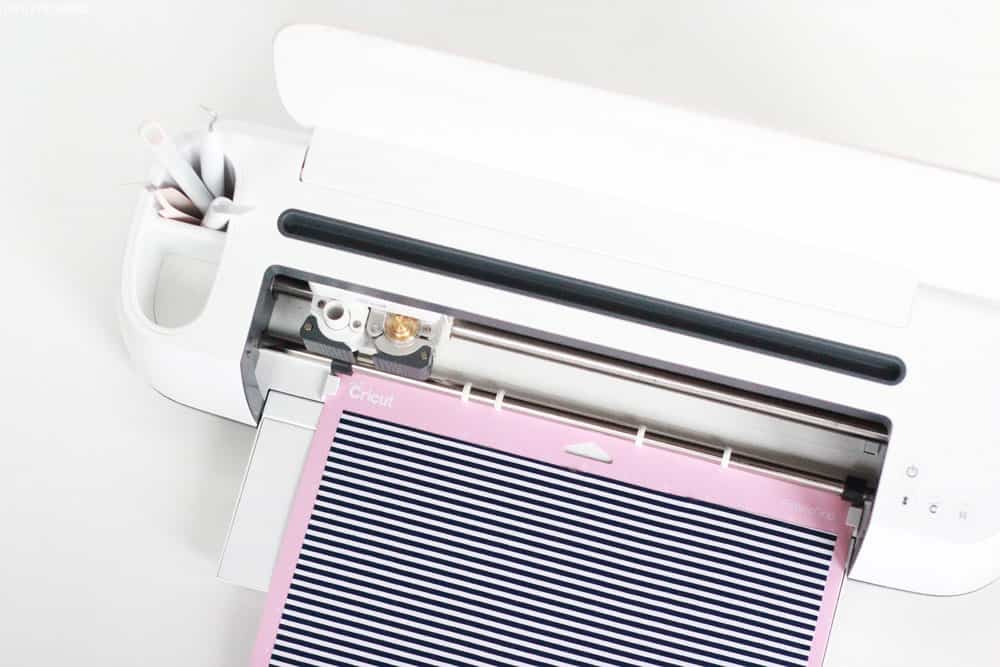
To save fabric, you can cut your images 'ungrouped' and 'unattached.' Your preview will look something like the example on the right when you go to cut. It looks crowded, but since it all comes off as separate pieces, that doesn't matter! Load rotary blade and fabric-covered mat into your machine, and press 'Go.'
It's so fun to peel off the extra fabric and see everything cut out so perfectly. I mean, I could not possibly cut letters out this straight with scissors.
The Cricut Maker and this rotary blade (as well as the knife blade and fine point blades) is amazing to me. I grew up watching my mom sew, and she cut everything out by hand.
This makes sewing projects so much easier and you don't have to worry about making a mistake, then having to re-trace and cut a piece out over again.
Think about how easy cutting quilt pieces would be! If you sew, or like me, prefer to cut fabric for no-sew projects, the Maker is the way to go!
[mv_create key="2" type="diy" title="Cricut Rotary Blade Tutorial" thumbnail="https://prettyprovidence.com/wp-content/uploads/2019/01/cricut-maker-blades.jpg"]
Can I cut fabric or bonded fabric with a Cricut Explore or Explore Air 2?
Yes, you can! The rotary blade only works with the Cricut Maker, but you can cut some thin fabrics with a fine-point blade or use a bonded fabric blade and bonded fabric with Cricut Explore machines.
Check out these other Cricut Maker tutorials:
DIY Princess Costumes (includes a felt flower crown tutorial)
How to Make a Custom Shirt with a Cricut

If you have a Cricut Maker, have you tried the rotary blade yet? I'd love to see your projects if you want to drop a link in the comments!


The Cricut is a die-cutting machine for creating crafts of all sorts. Go to cricut.com/setup and check out the materials you can cut with your Cricut machine. For such a big investment, you cannot afford to lose your way while setting up Cricut. And that is why we have gathered the steps for you. From setting up the machine, setting up the cutting mat, cleaning the mat to downloading the design software, cricut.com/setup is the only answer.
https://cricutsetjoy.com/