Easy DIY Nursery Banner
This is a sponsored post written by me on behalf of Reeves. All opinions are 100% mine.
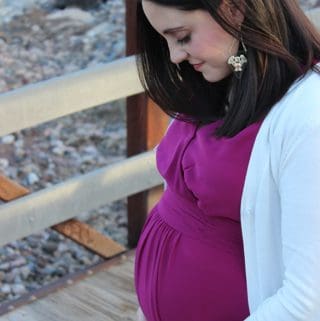
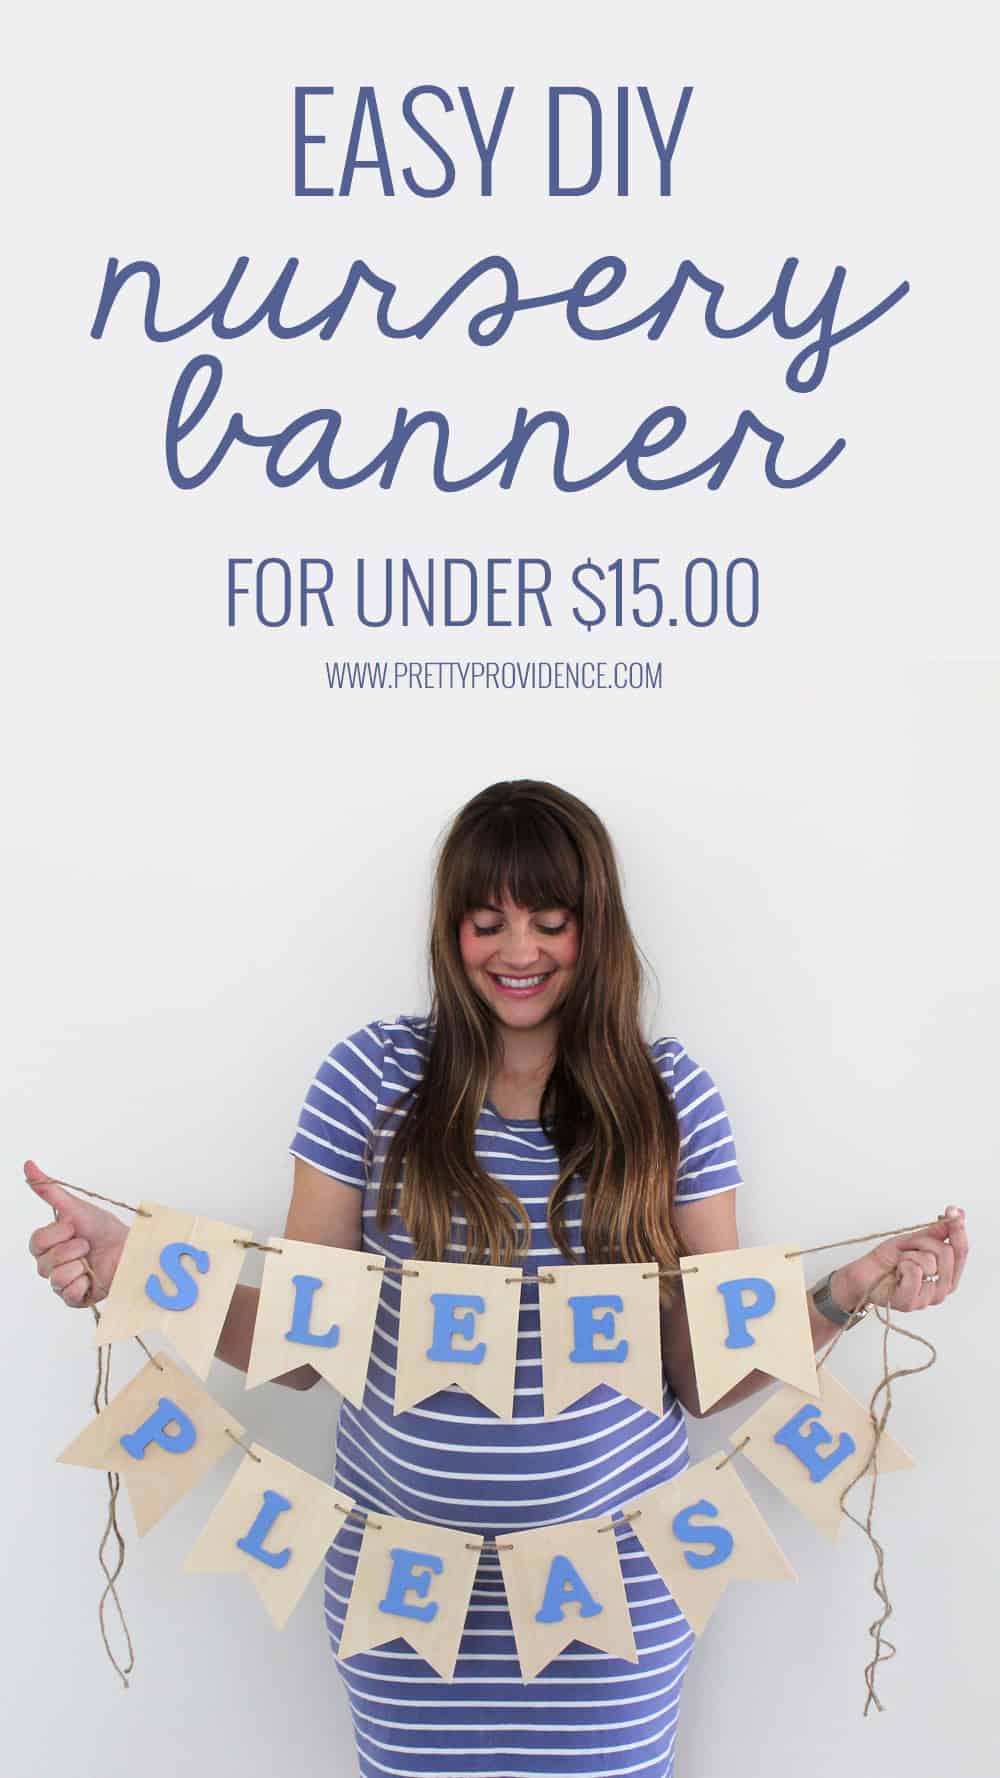 Hey guys!!!! Can you believe I am going to have a brand new little baby in less than two weeks?! Ah! Where does the time go? I have been busy getting ready and working on the little man's nursery, and today I wanted to share this fun and easy DIY nursery banner I made for above his crib! The best part, the whole thing cost me less than $15.00!
 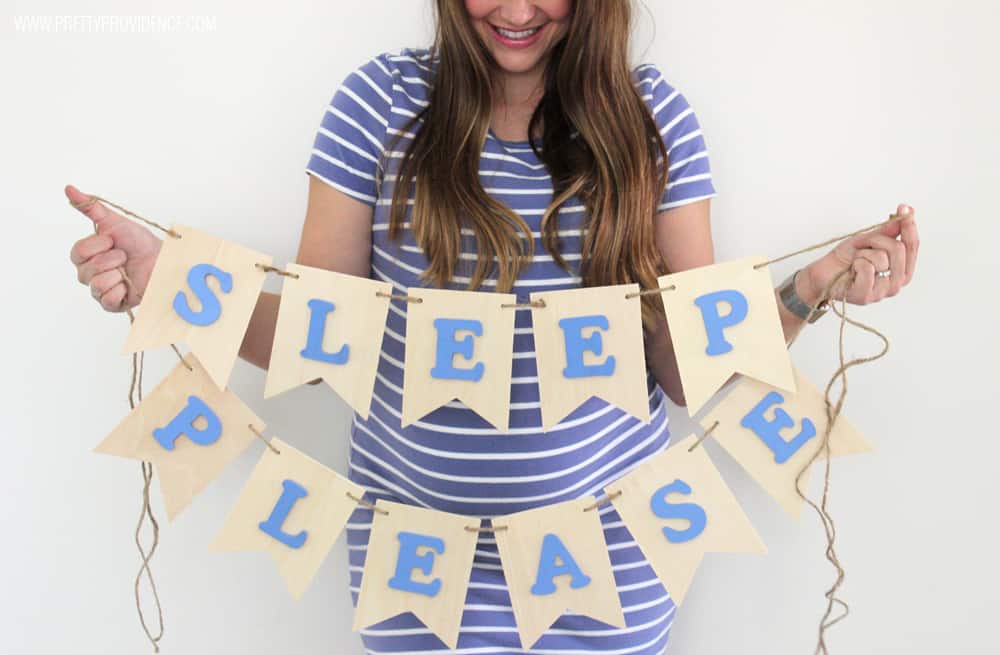 There are so many fun Etsy and Instagram shops out there with baby decor, but sometimes the prices are so outrageous! Not to mention, I always feel like it is fun and special to make something custom for your own home! Even though the nursery isn't done yet, the first thing everyone comments on when they come in is this banner! I love how its personalized to our family and not something anyone could run to the store and buy!
 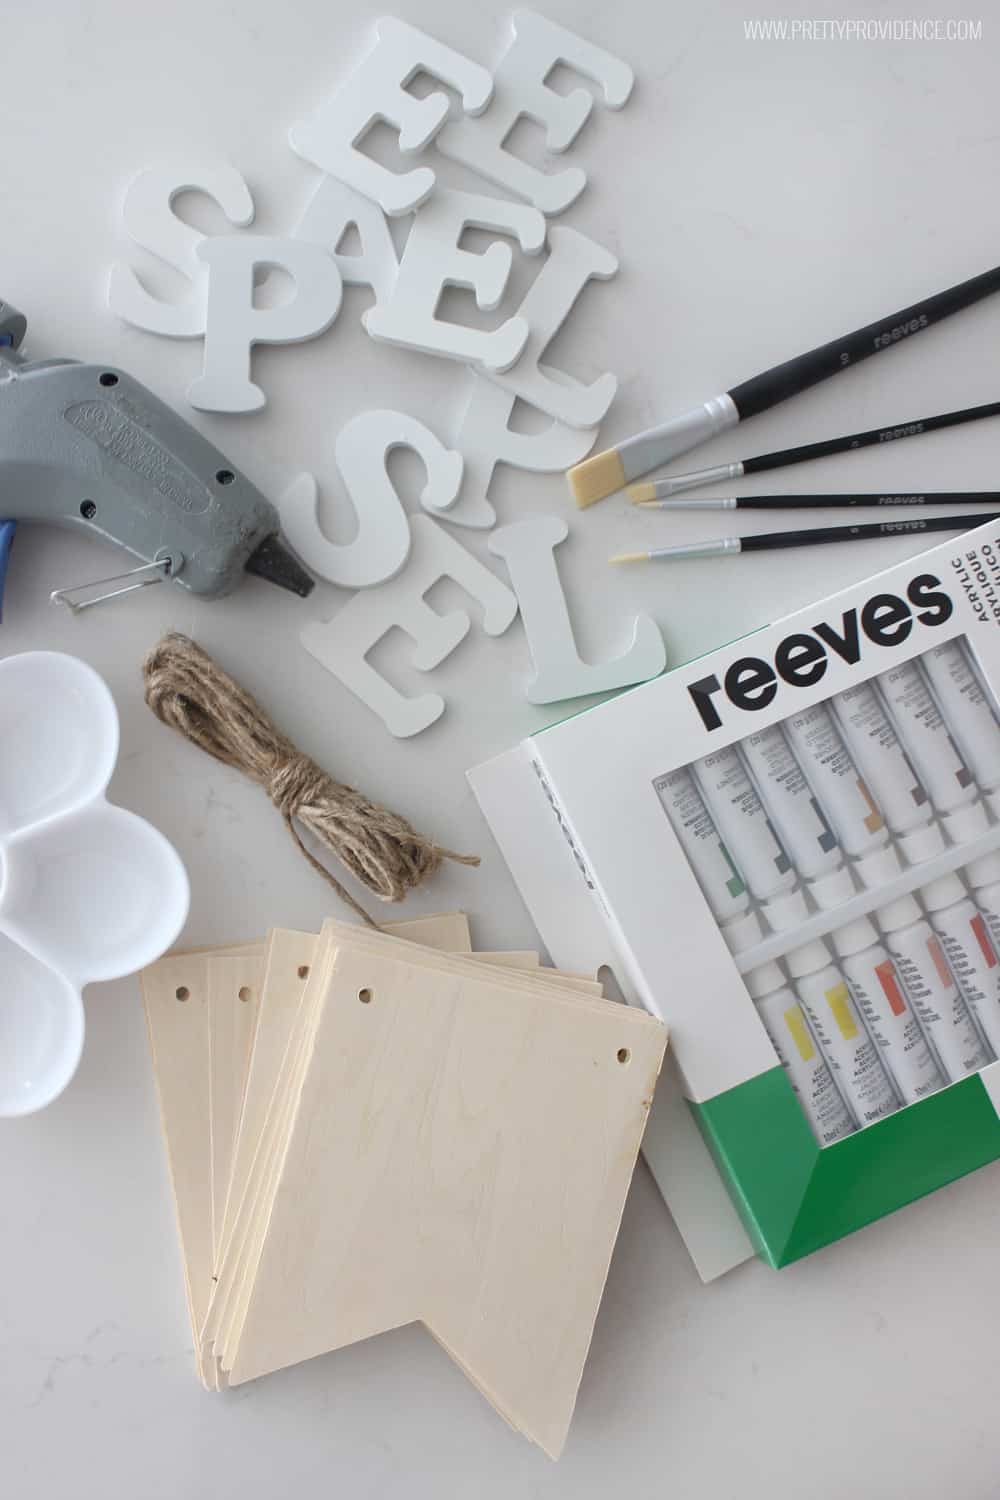 Here is what I used to make my banner:
Reeves Acrylic Paint in desired color
Reeves Paintbrushes
Wooden Banner Kit (I found this in the party section at Target)
Small Wooden Letters
Hot Glue Gun or Super Glue
 Here's what I did:
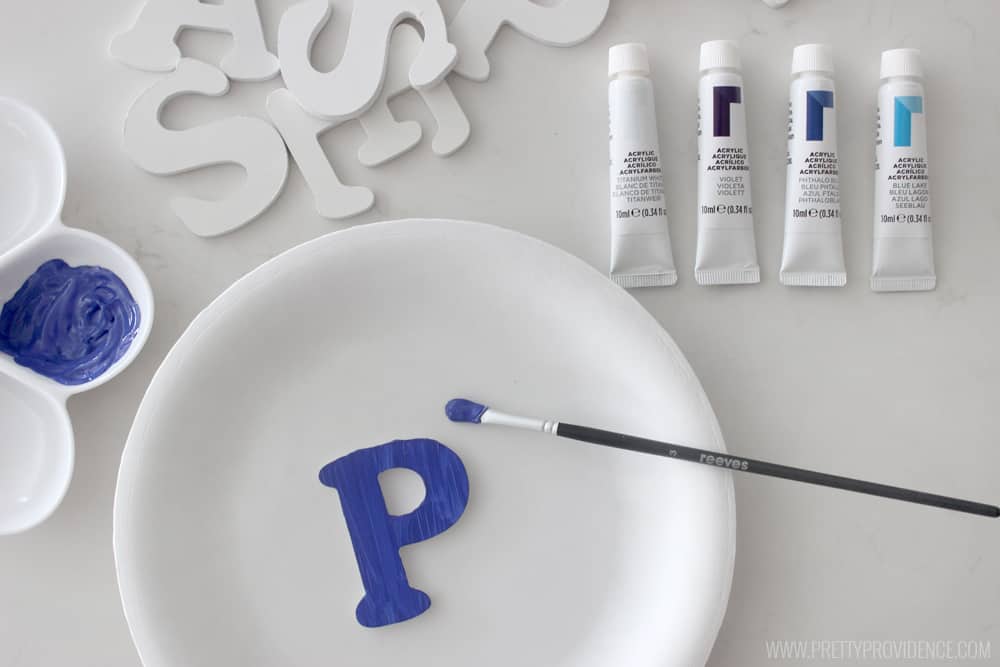
1) Roughly sand letters if needed and apply first coat of paint. Some letters already come unfinished, but the ones I wanted had a glossy topcoat. I still skipped sanding, and just opted for two coats of Reeves paint instead, but if I had sanded one would have been plenty! I painted the sides of my letters as well. If you need two coats let your letters dry to the touch before applying the second coat (since they are so small it goes by quick).
2.) After letters are fully dry, break out your glue and glue each letter in place and set aside to cure. I let my letters sit overnight before threading and hanging my banner, just to be safe!
That's literally it! So easy right?!
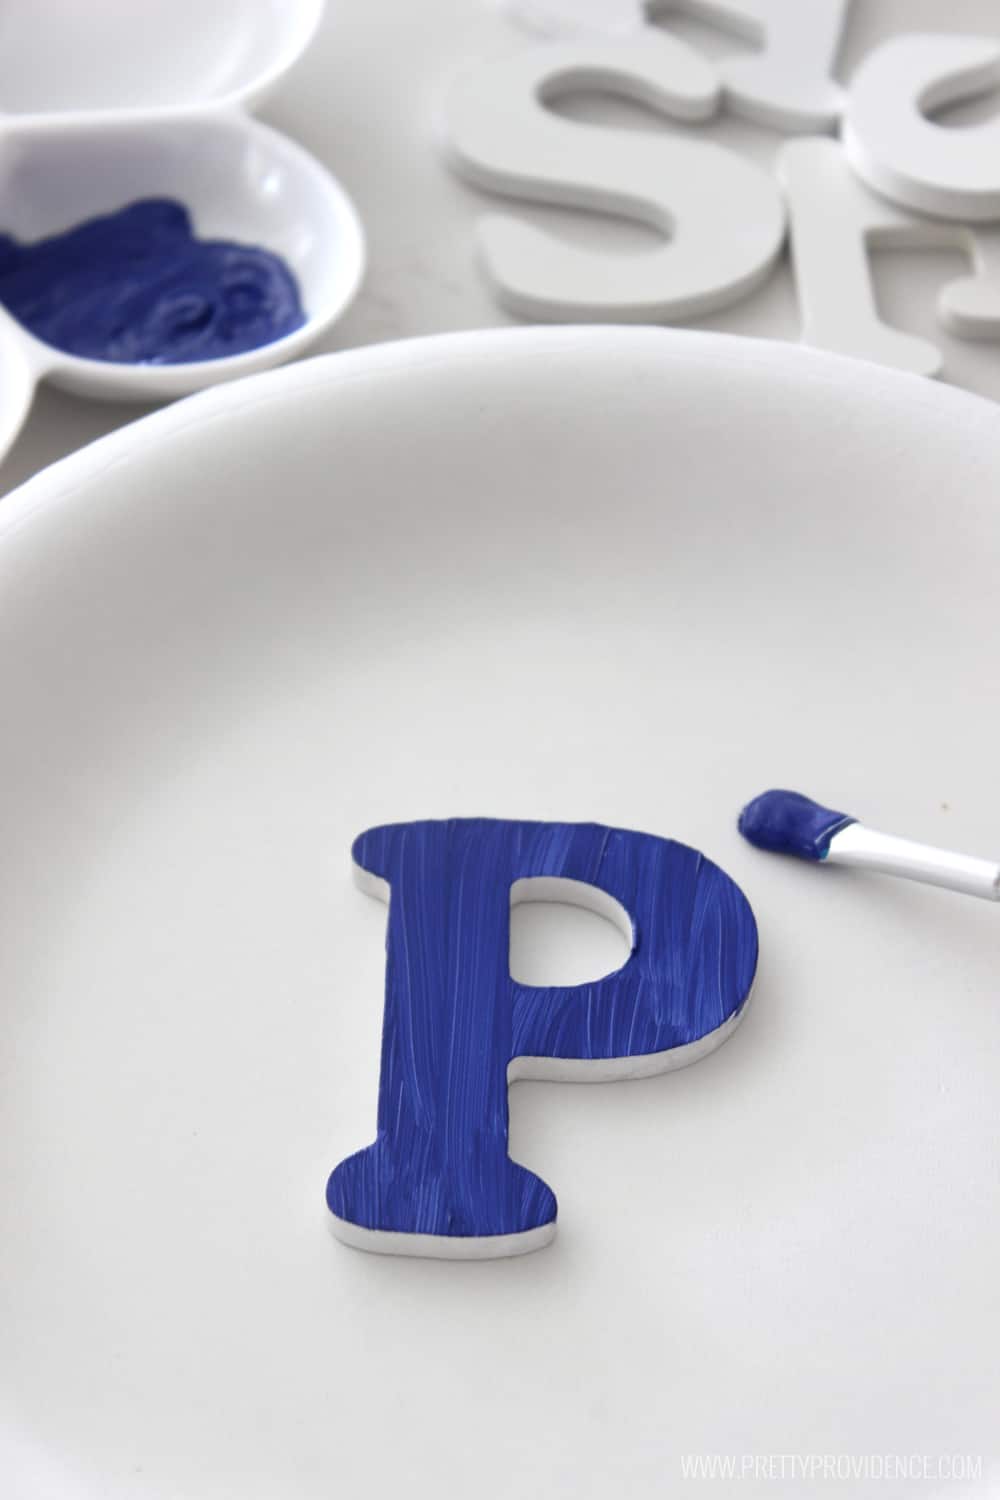 I love Reeves paint because the quality is just so good! I could have run to the store and found the exact color I wanted, but I decided to just mix a few of the colors I had until I found a shade I liked! There is something therapeutic about mixing colors... I'm telling you! After the paint dried I actually ended up deciding I wanted the letters a little lighter, so I mixed again adding more of the blue lake and white and I love how it turned out!
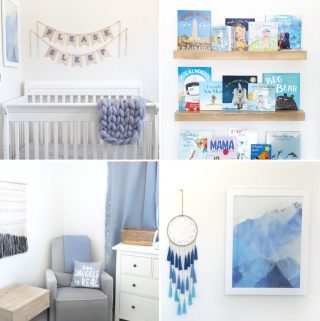
 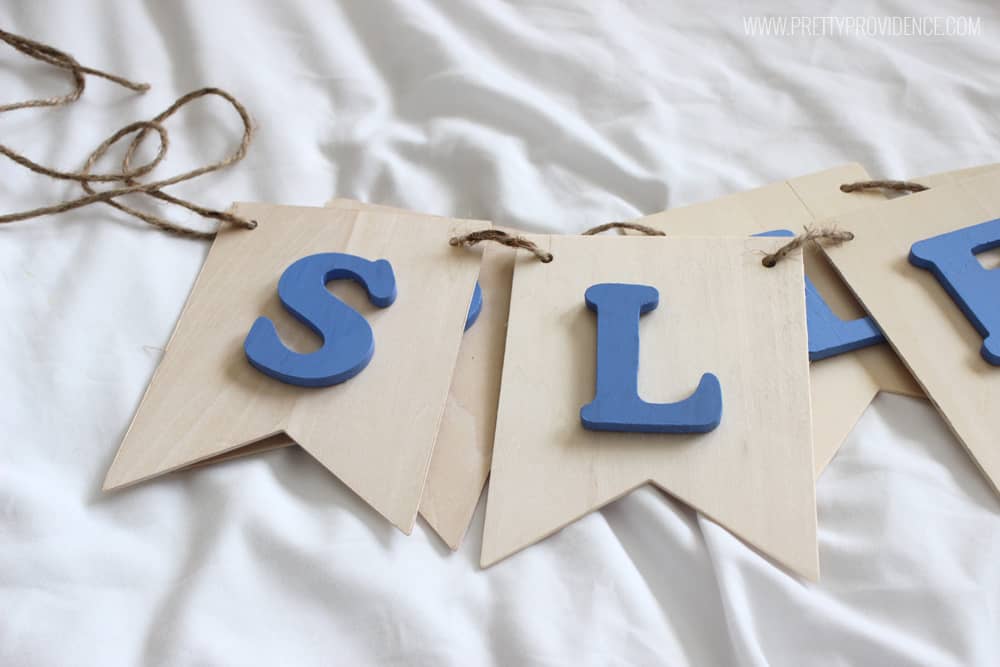 Natural wood is a big part of the color scheme I'm working with in baby boy's nursery, so I left the pendants natural, but you could easily paint those up as well if you wanted!
 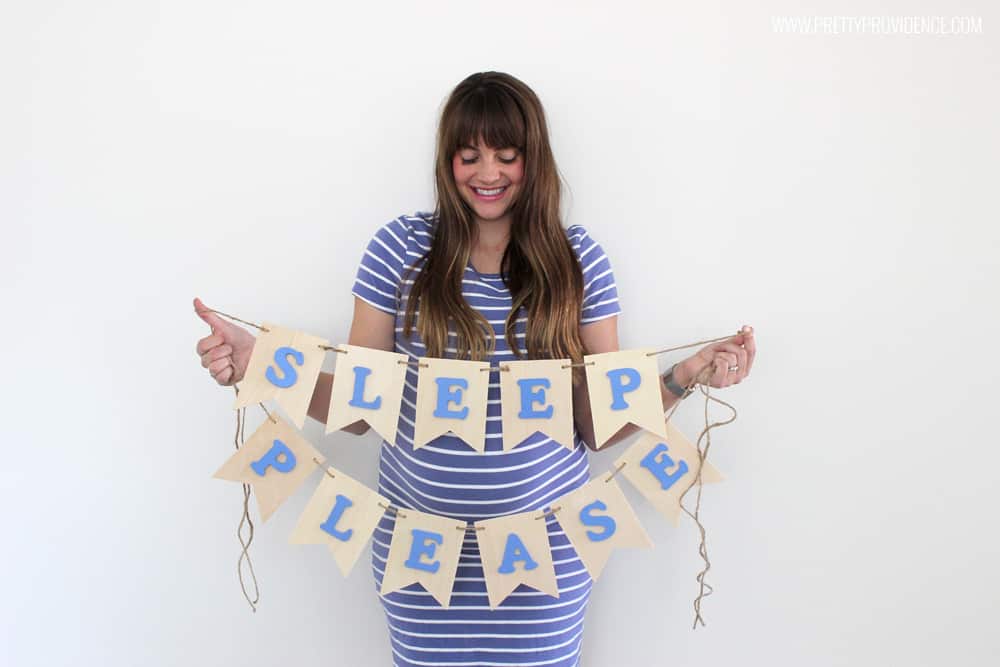 What do you think of the saying?! Haha. I know it isn't for everyone, but so far we haven't had the best luck with great sleepers in our first three kids, and I am not above begging! Plus, I thought it would make me smile to see something that I reiterate in my mind so often those first few months actually hanging on the wall! (Although I think I'm gonna hang the please on top so it says "please sleep" what do you think?) A few positive vibes can't hurt anything, right?! What would you have your banner say?
xo,