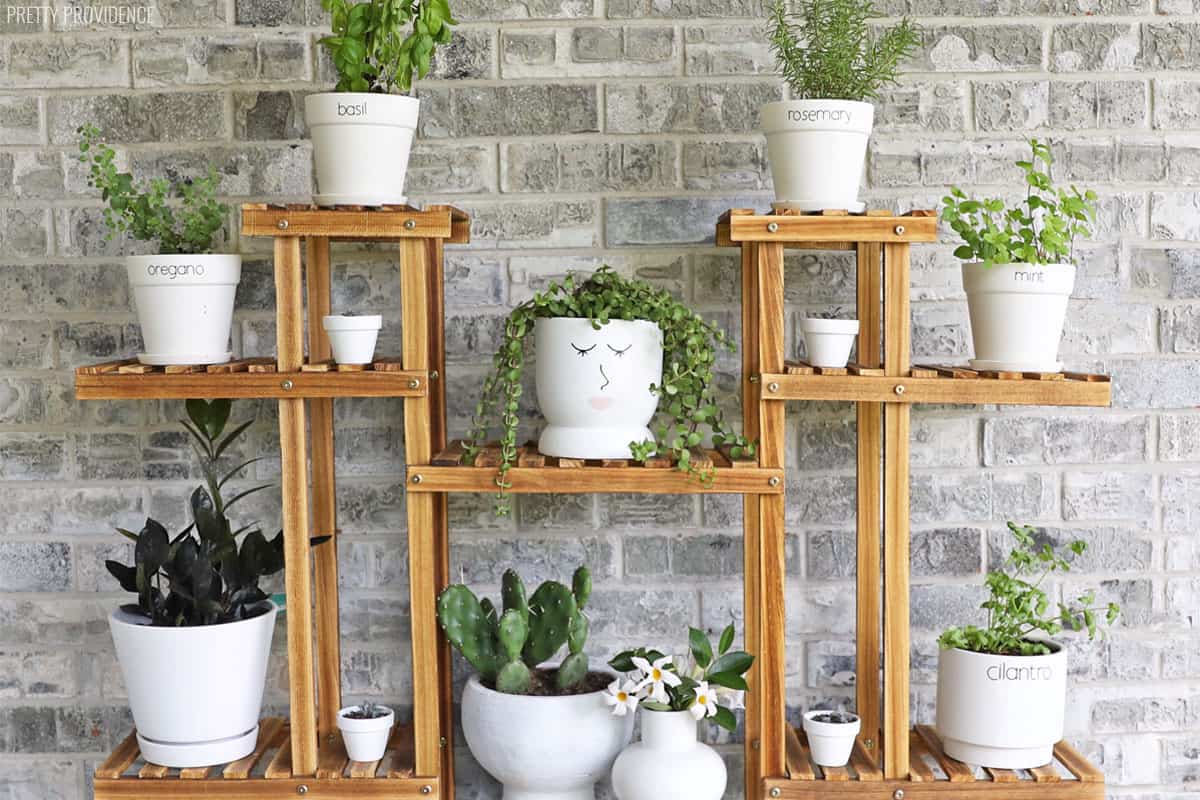
Create a fun vertical herb garden on your porch or patio, and keep track of which plants are which with vinyl plant labels!
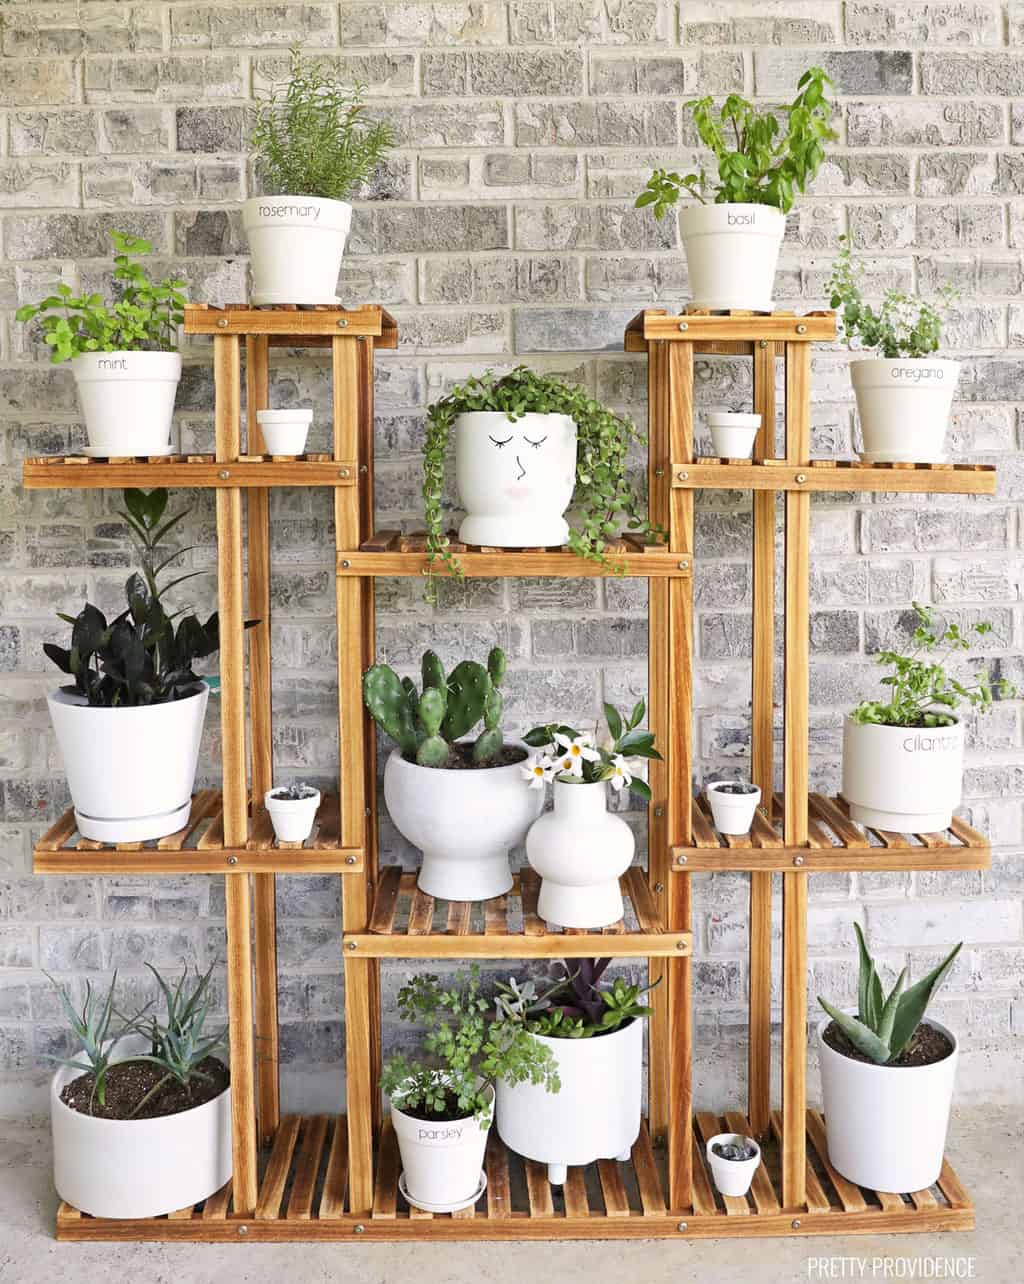
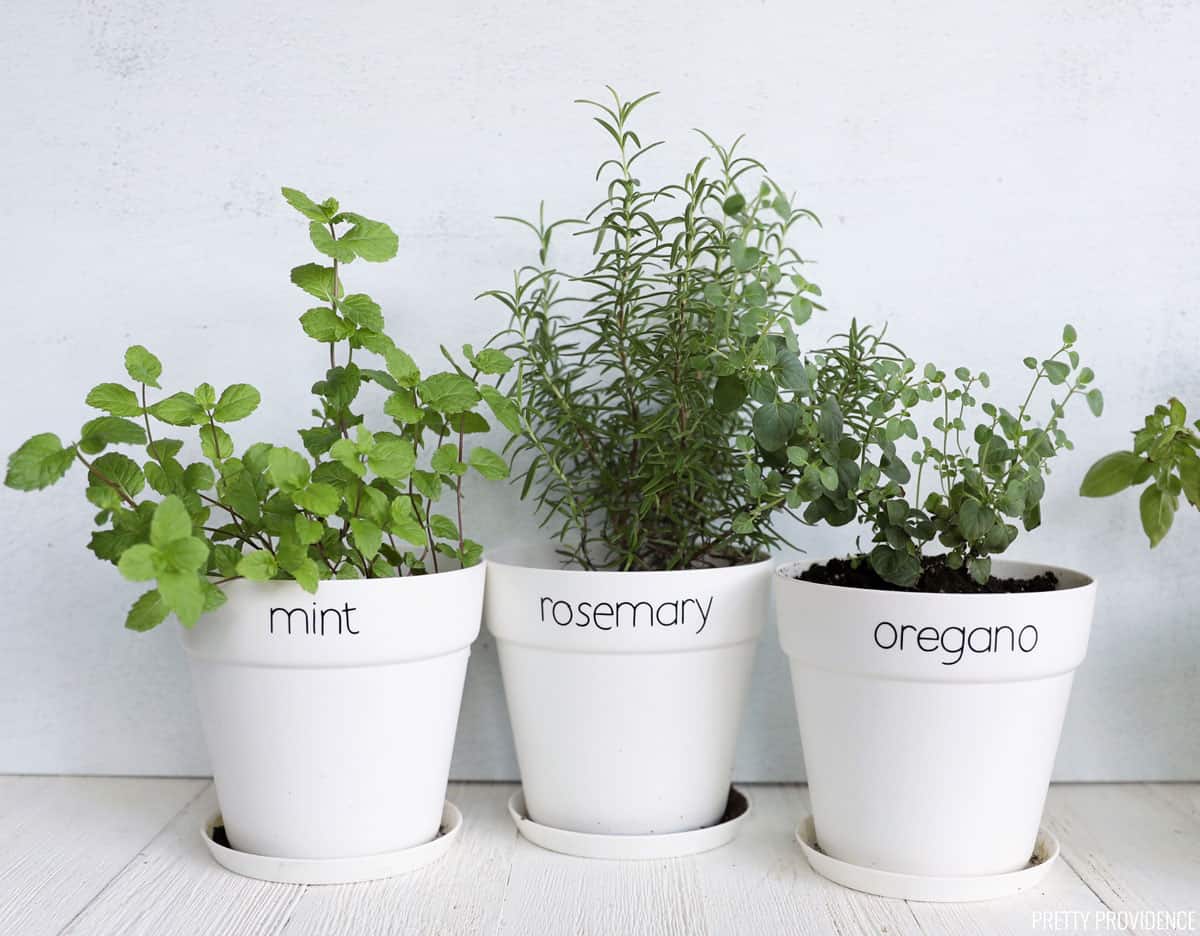
I wanted to plant a vertical herb garden for a long time, but I didn't know where to start! One of the things holding me back was just not knowing where I would keep the plants, knowing they would need a spot with just the right amount of sun and shade. I finally realized my porch was the perfect place for them. I made DIY plant labels with my Cricut Maker and outdoor vinyl. Now I am in love with how this little vertical plant wall turned out!
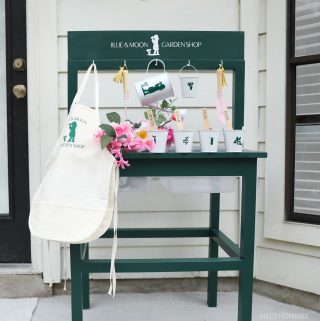
It's been really fun to use my Cricut for outdoor projects this year. I used it to make this Garden-themed Water Table also. For more DIY projects visit our DIY page!
*This post contains affiliate links.
Vertical Herb Garden
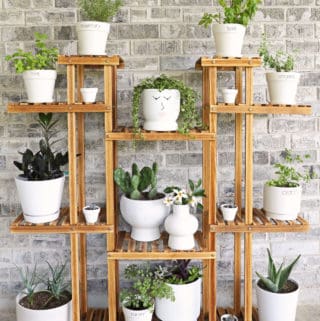
For my herb garden, I wanted something that didn't take up too much space. When I found this Plant Stand, it was love. The herbs and plants I have are fun to display here, and I can't wait to dress the shelves up for Halloween and Christmas when it's holiday time!
How To Make Planter Labels with Outdoor Vinyl
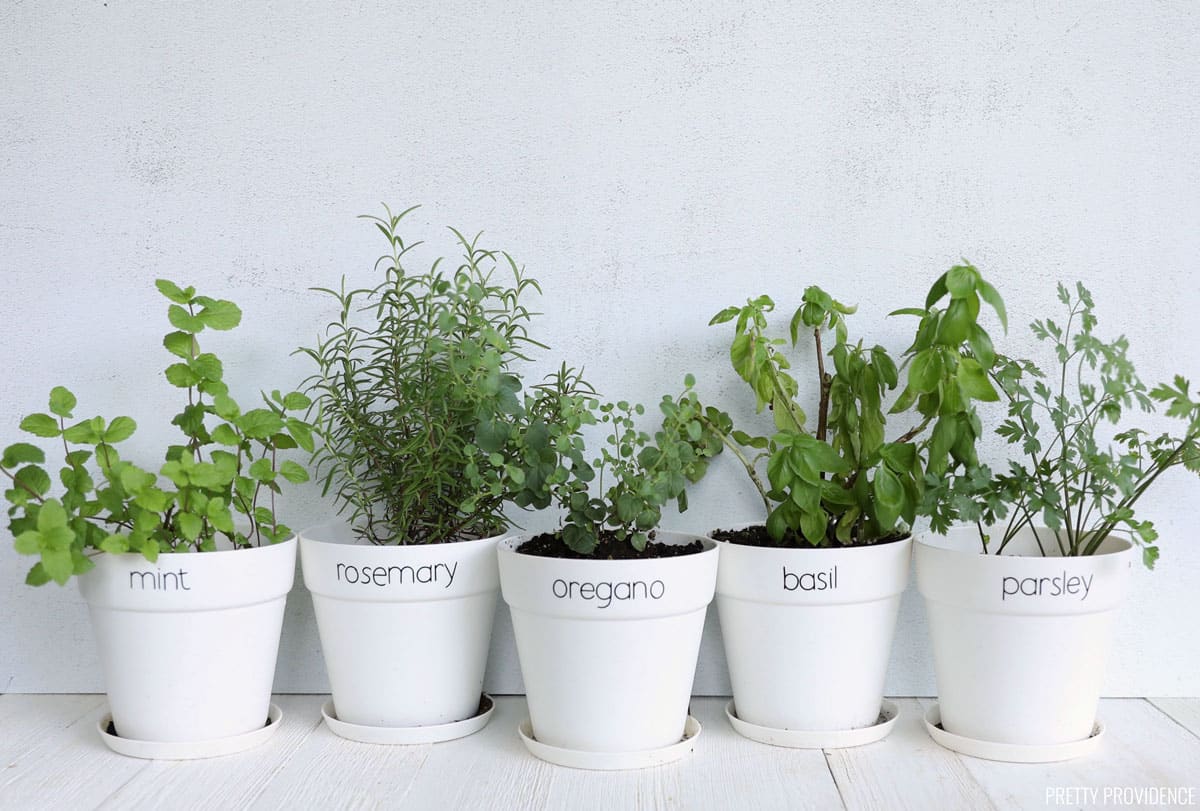
Materials Needed:
- Cricut Maker
- Standard Grip Mat
- Glossy Vinyl
- Basic Tool Set scissors and a weeding tool are a must
- Transfer Tape
- White Plastic Planters
Instructions:
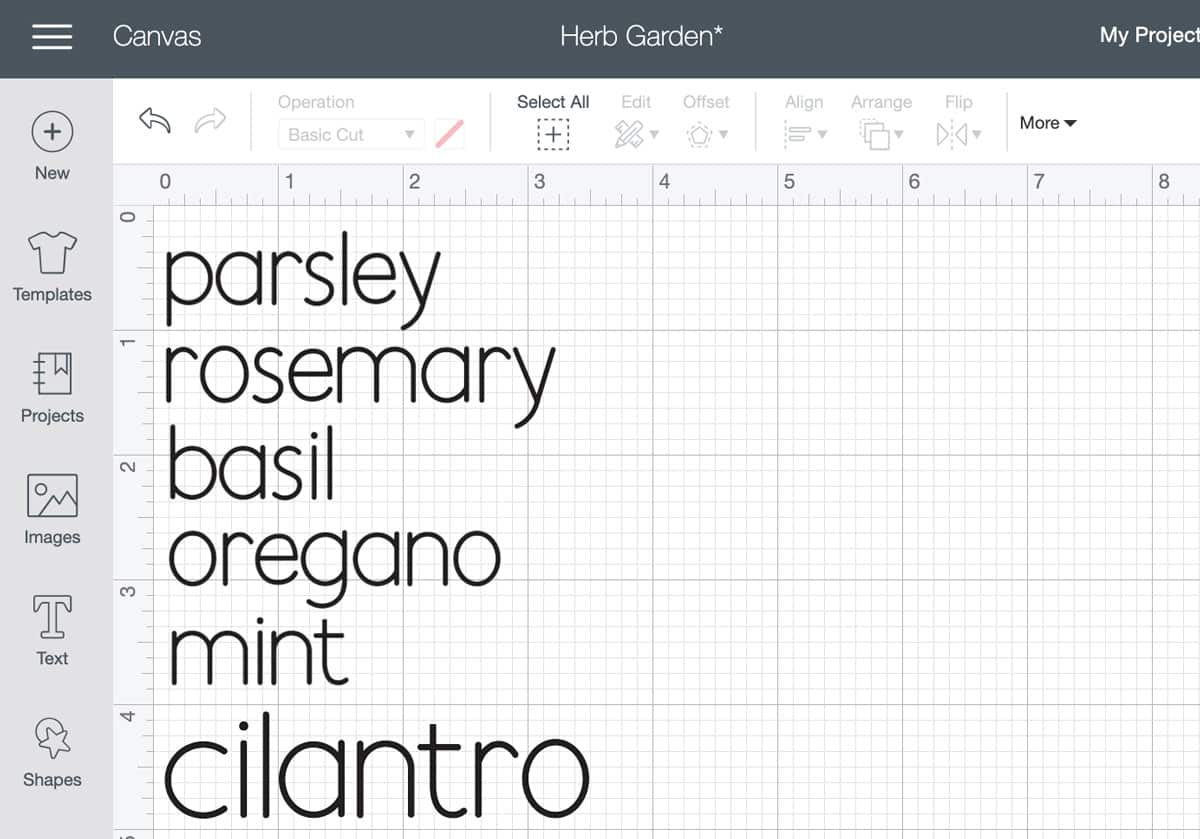
Pick a font in Design Space and create labels for the herbs or plants you want to label. Size them to fit on your pots. (For font ideas check out our favorite Cricut fonts.)
Cut a piece of outdoor vinyl and put it on on a green StandardGrip mat. Follow instructions in Cricut Design Space to cut vinyl.
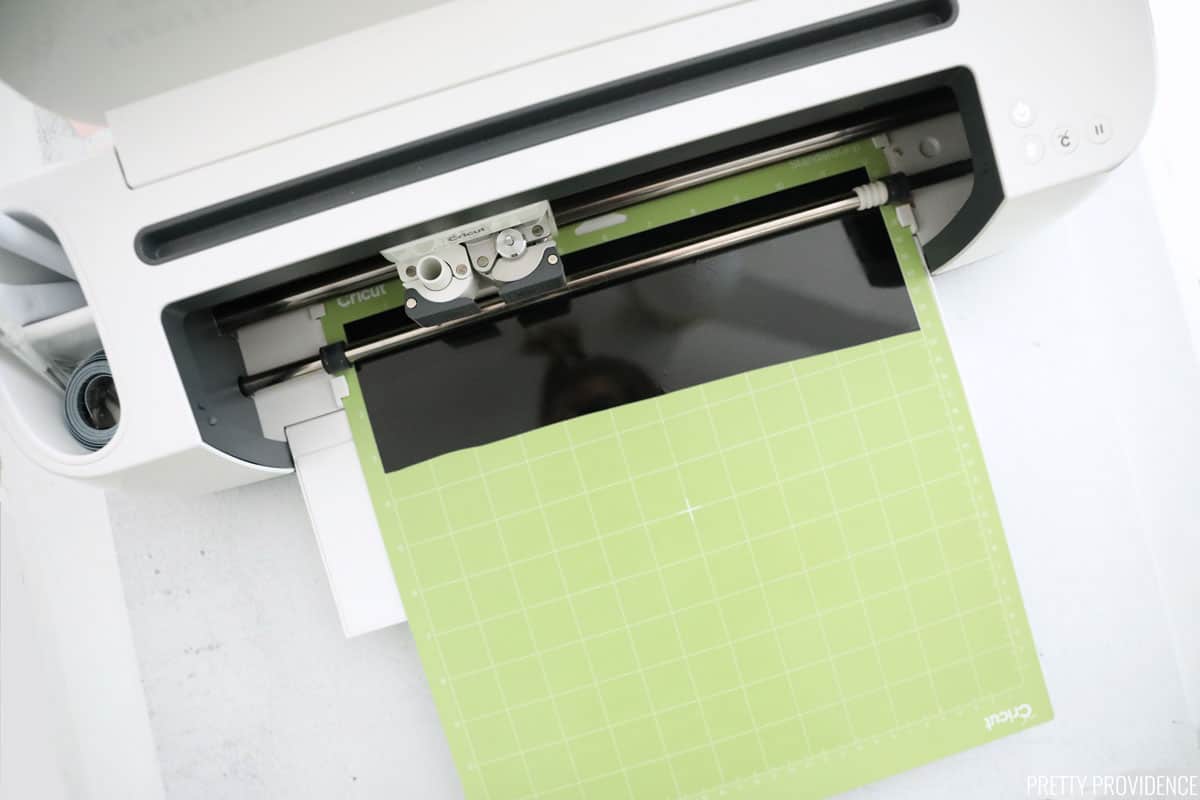
Follow directions in Cricut Design Space to cut vinyl words.
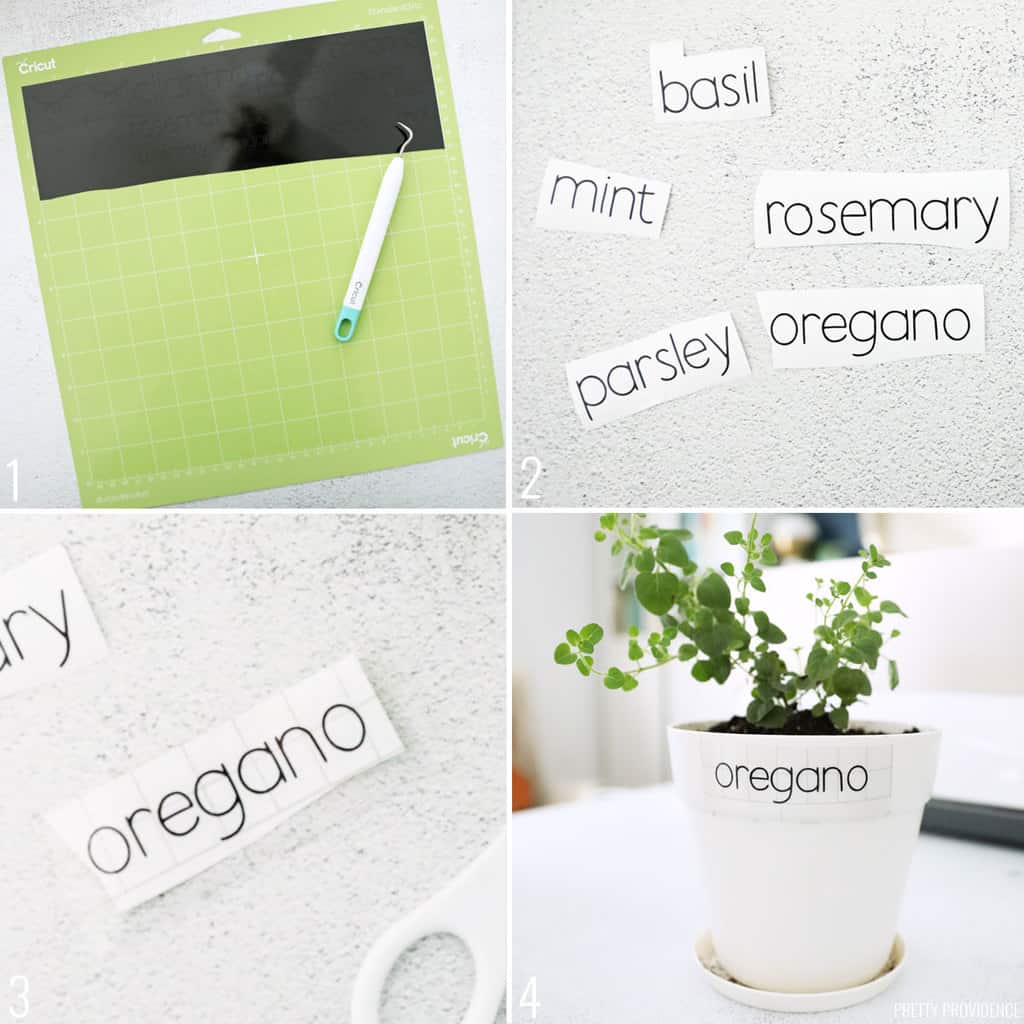
- Weed extra vinyl from sides and inside of letters.
- Cut each word out so they are separate pieces.
- Put a piece of transfer tape on a label and burnish, or rub, transfer tape.
- Use transfer tape to apply a plant label to each pot. (Read this detailed tutorial for using transfer tape.)
Repeat until all pots are labeled.
Vertical Herb Garden Tips
- Choose a sturdy plant stand and put the heaviest plants on the bottom shelf.
- Add a layer of gravel or landscape rock underneath the soil in your pots to add weight and increase drainage.
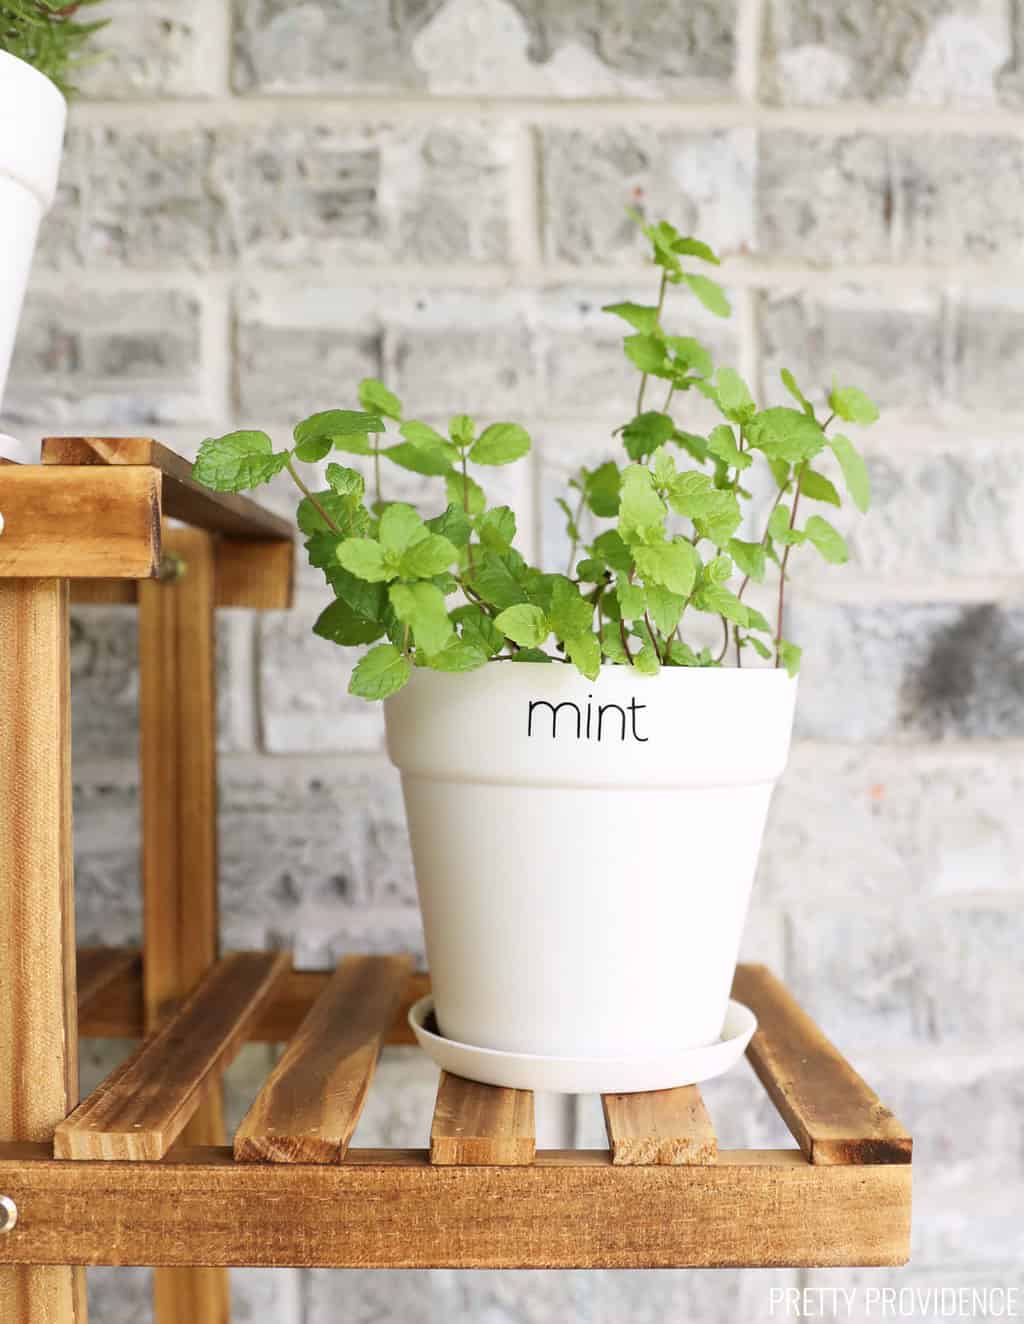
- Use a mixture of shapes and sizes but keep pot colors consistent - like all bright colors, all terra cotta, black or white.
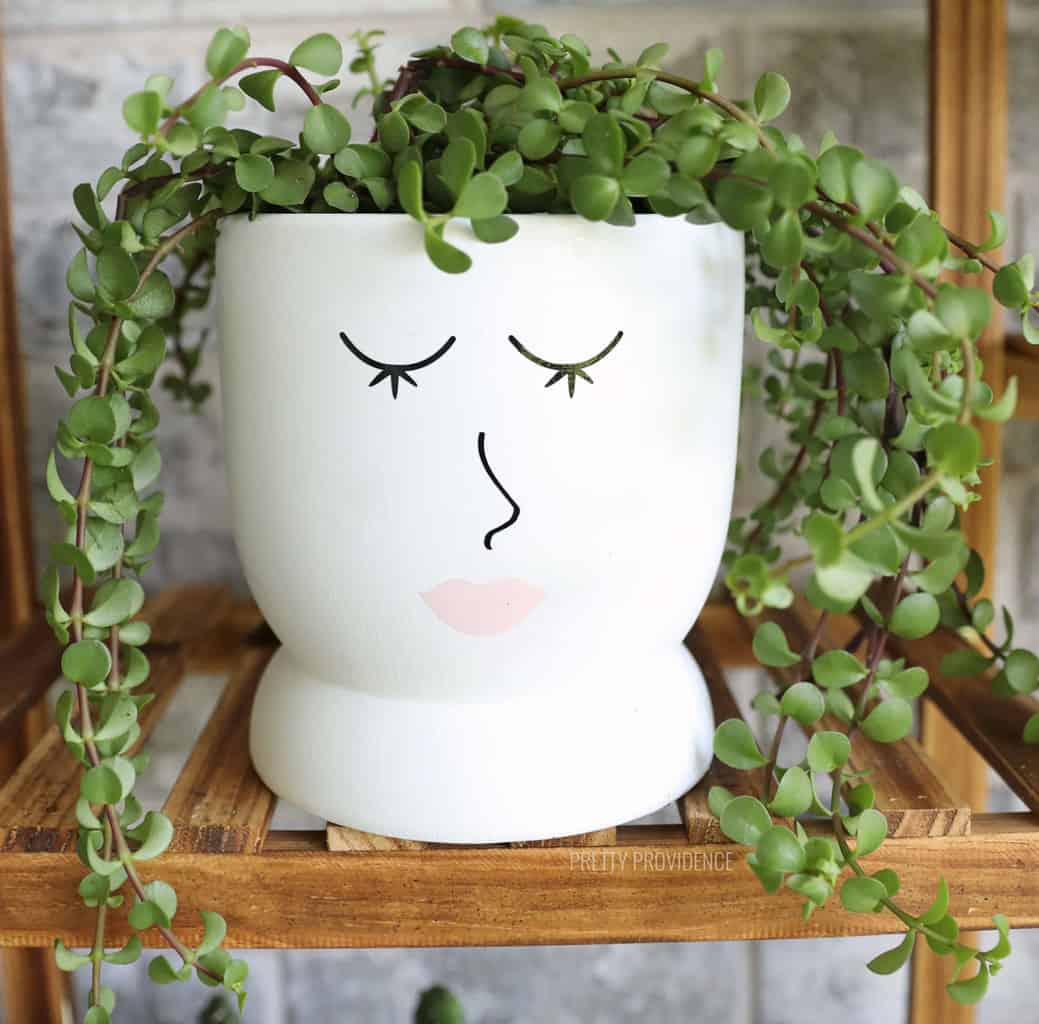
- You can also add some fun details, like a Coquette planter or some seasonal flowers.
Here are printable instructions for the vertical herb garden and plant labels. If you make this project, please leave us a comment and a positive review!
DIY Vertical Herb Garden
Materials
- Transfer Tape
- Outdoor Glossy Vinyl
- White Plastic Planters
- Herbs
- Plant Stand
Instructions
Herb Plant Labels
- Pick a font in Design Space and create labels for the herbs or plants you want to label. Size them to fit on your pots.
- Cut a piece of outdoor vinyl and put it on on a green StandardGrip mat. Follow instructions in Cricut Design Space to cut vinyl.
- Weed extra vinyl and cut each word out so they are separate pieces.
- Use transfer tape to apply a plant label to each pot. (Detailed tutorial for using transfer tape is linked in the notes section below.)
- Repeat until all pots are labeled.
Vertical Herb Garden
- Arrange potted herbs on a plant stand.
- Fill in any extra space with other plants or outdoor decorations.




Eartheasy
The vertical herb garden ideas are brilliant for adding fresh flavors to your kitchen while saving space.
Eartheasy
https://eartheasy.com/