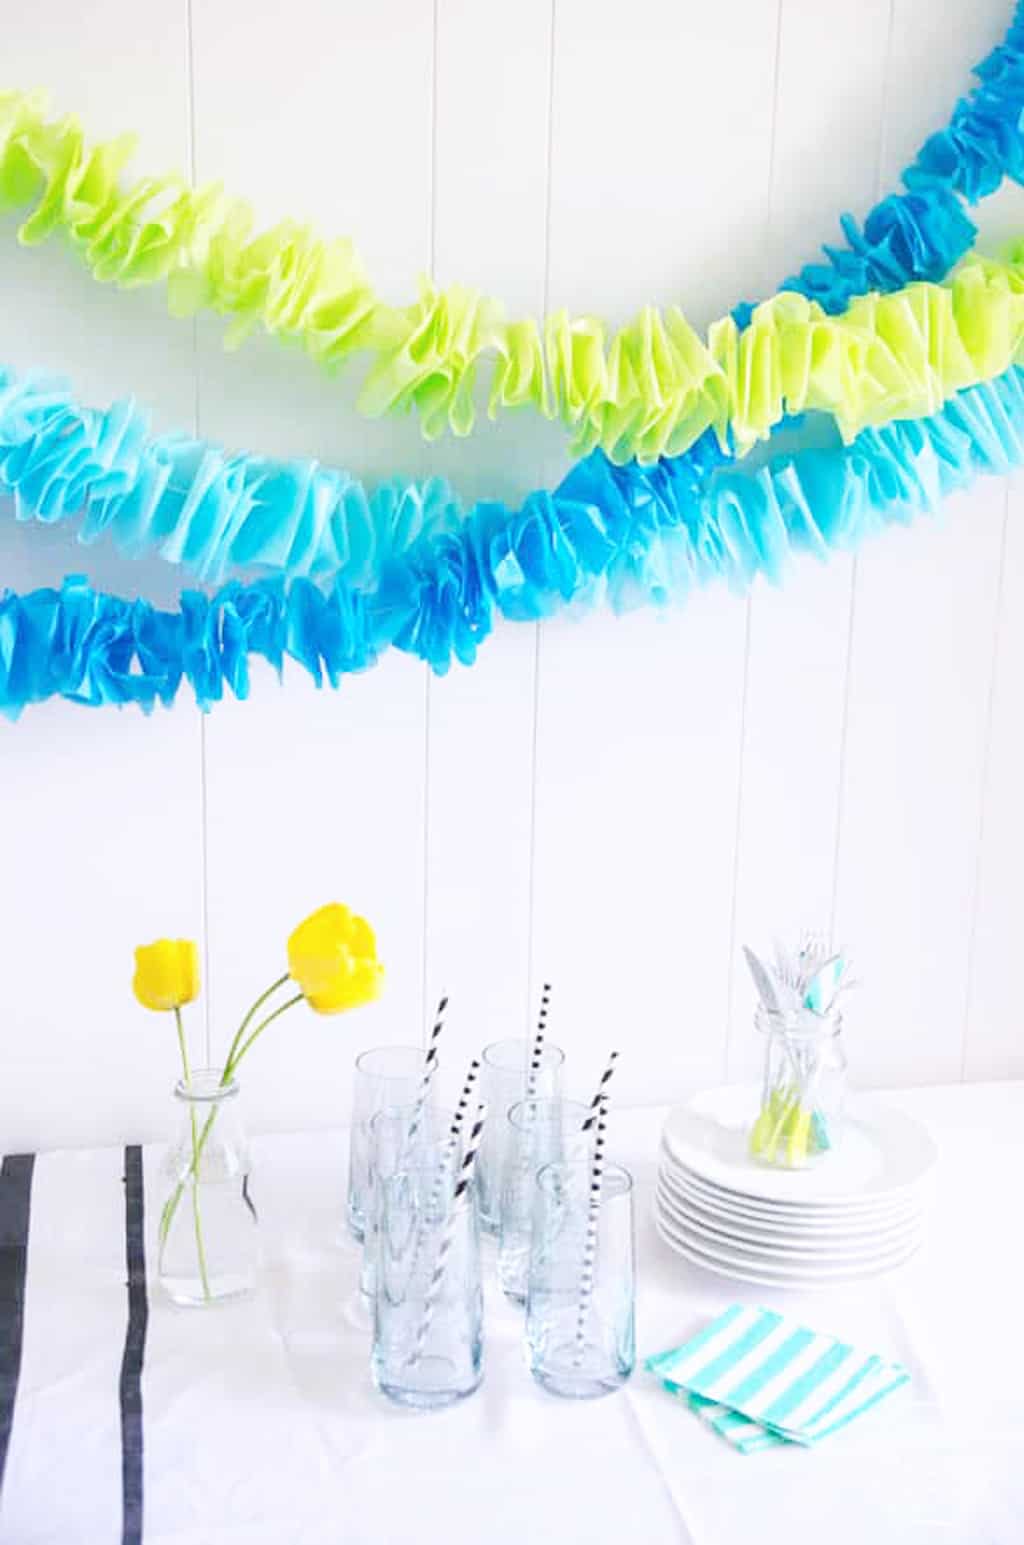
DIY Ruffled Tissue Paper Garland
Looking for an awesome DIY Garland? Tissue Paper Garlands are all the rage, and we are obsessed with this super easy and affordable ruffled tissue garland! It is the perfect addition to any party, shower or holiday decor! Just make it in whatever colors fit your occasion!

I'm Colleen from Lemon Thistle and I'm thrilled to be sharing this frugal but festive DIY Ruffled Tissue Paper Garland. If you had nothing in your stash but scissors, this garland would cost you $3, one for the string, one for the needle and one for the tissue. If you wanted to have more than one color- add a dollar for another pack of tissue. Awesome, right?
DIY Garland
Can we talk about garlands for a minute? I'm such a fan. And not just a fan for parties (although I'm a sucker for this amazing balloon garland) but to bring a bit of joy into our homes on a daily basis. I posted a copper bunting a couple weeks back and linked to all the garlands I've shared and noted where they are now... and I didn't realize how many I had!
I have at least one garland in almost every room in my house. And I love it that way! I don't think that we should save them for a special occasion all the time like this fun eyeball garland for Halloween, put one in your kids room, put one in your hallway- wherever you want to bring a bit of fun.
But back to this garland.
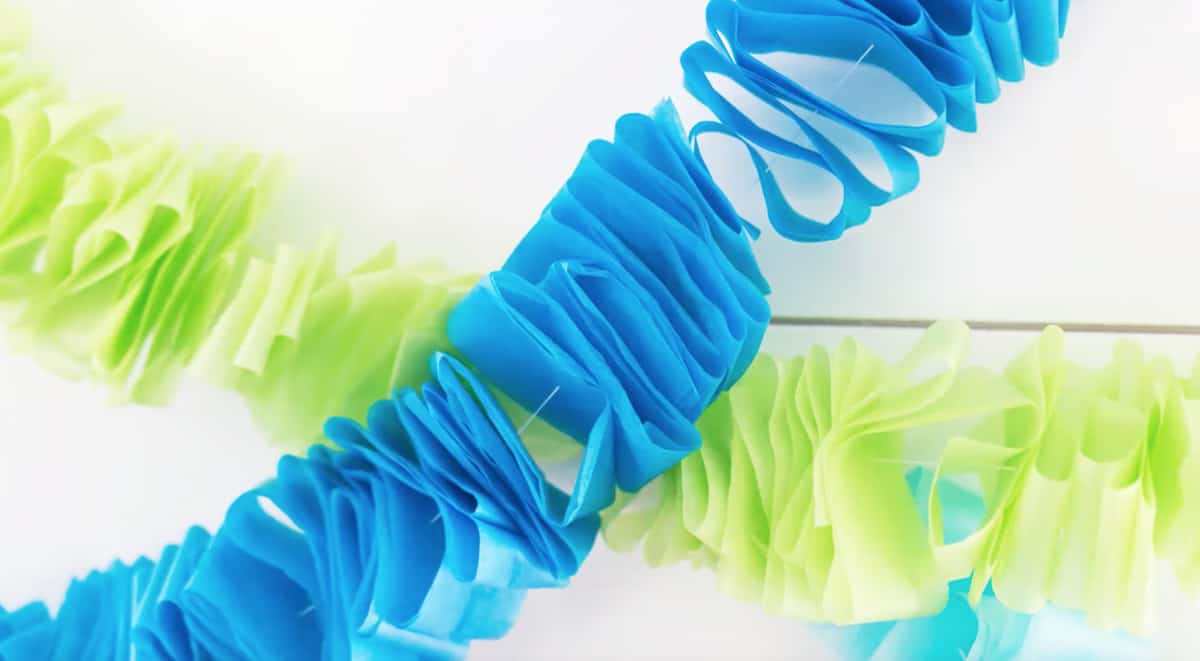
Tissue Paper Garland
I love this tissue garland. Not only is it beautiful and easy to throw together, but it is so versatile! You can use them for any party or gathering and save them to use again the next time! You ready to learn how to make your own?
*This post contains affiliate links.
Here's what you'll need to make your own:
- Tissue paper in colors of your choice - I love this multi colored pack!
- String
- Large needle (I like these ones as the eye is large)
- Scissors
- Tape to adhere to wall
How To Make a Tissue Paper Garland
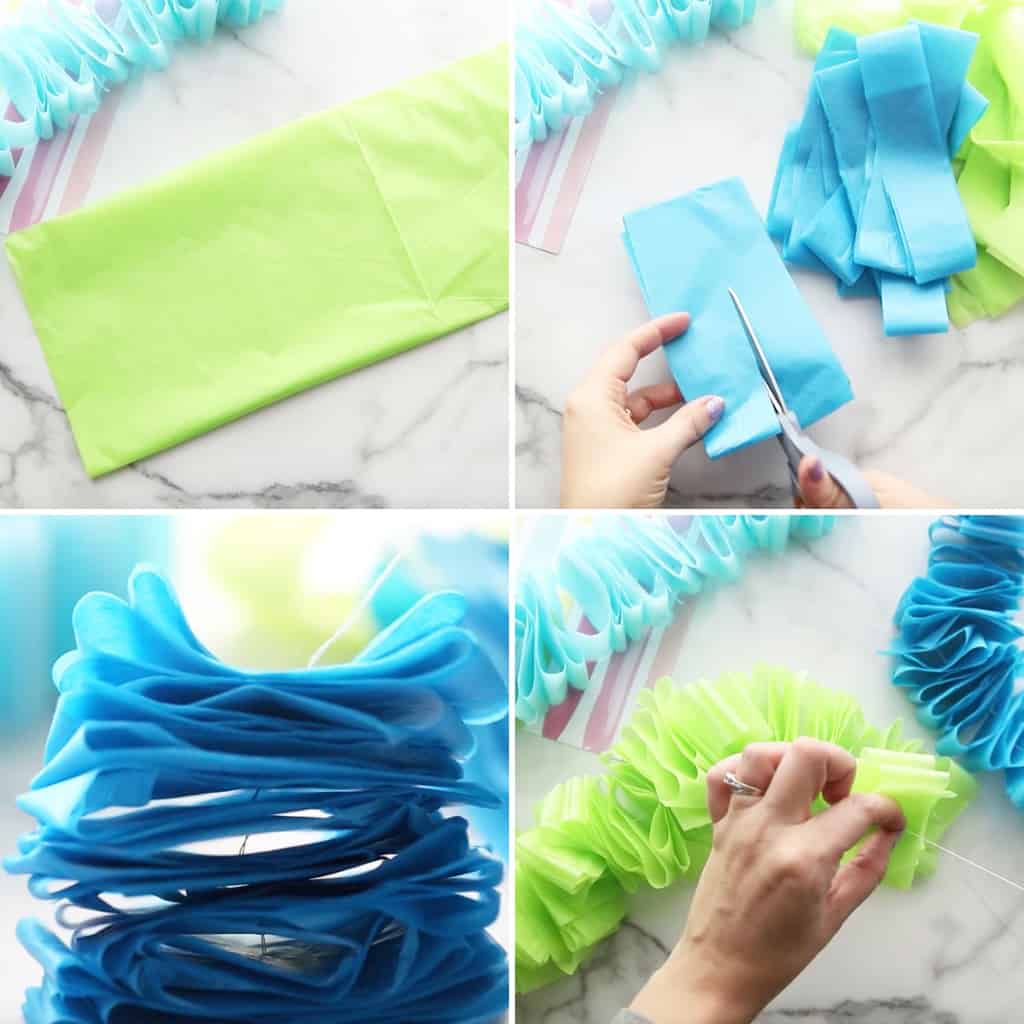
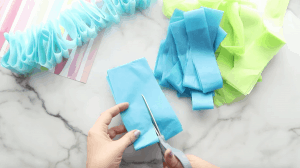
Top Left - Gather your supplies (see list above).
Top Right - Start by cutting a three or four inch strip off your tissue paper. The wider the strip, the thicker your garland will be. I used one strip from each pack of tissue paper to make the garlands. If you wanted them longer, you would need to cut more. If you want them to be narrower, cut into skinnier strips.
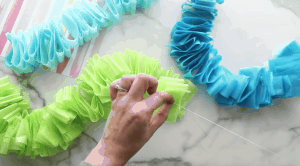
Bottom Left - Take one piece of the tissue at a time and fold it onto the needle as shown for a ruffled effect.
Bottom Right - Keep adding pieces until you are out of tissue. Then, spread out the ruffles and fluff them up.
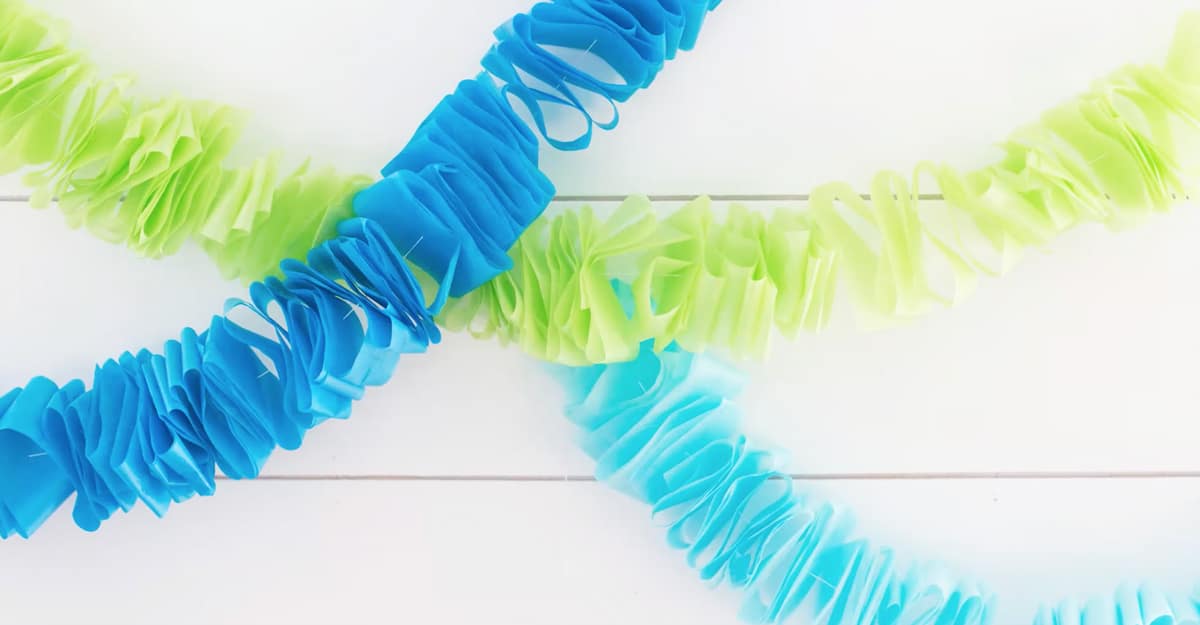
That's it! These three garlands took me about 30 minutes, so turn on Netflix and watch your favourite show (but pay attention not to poke yourself with the needle!). I love that it's so versatile, it could be used with almost any color scheme... as long as you can find the tissue!
Below is a printable card of the tutorial, as well as a step by step video for you to view!
If you make this tutorial and like them we would love for you to leave a positive comment and review, they mean so much to us!

DIY Ruffled Tissue Paper Garland
Video
Equipment
- Needle with a Large Eye
Materials
- Tissue Paper
- String
- Tape to Hang Garland
Instructions
- Start by cutting a three or four inch strip off your tissue paper. The wider the strip, the thicker your garland will be. I used one strip from each pack of tissue paper to make the garlands. If you wanted them longer, you would need to cut more. If you want them to be narrower, cut into skinnier strips.

- Take one piece of the tissue at a time and fold it onto the needle as shown for a ruffled effect. Keep adding pieces until you are out of tissue. Then, spread out the ruffles and fluff them up.

Happy crafting friends!

Thank you for making this so easy!! I am not very crafty and they came out perfect for my son's party!
One of the easiest DIY! I had so much fun! Kids helped me in making them and it turned out soooo cute and adorable!
Simple and fun! Easy to make with just tissue paper and string, it's a budget-friendly decor idea. Thanks for sharing!
I love this idea! Can you use crepe paper instead of tissue paper?
I think that would work fine!
So cute! I'm throwing a bridal shower in June for my little sister and this will be hung all around. What are your thoughts on using streamers instead of tissue paper? That's what I thought it was at first.