DIY Custom Napkins
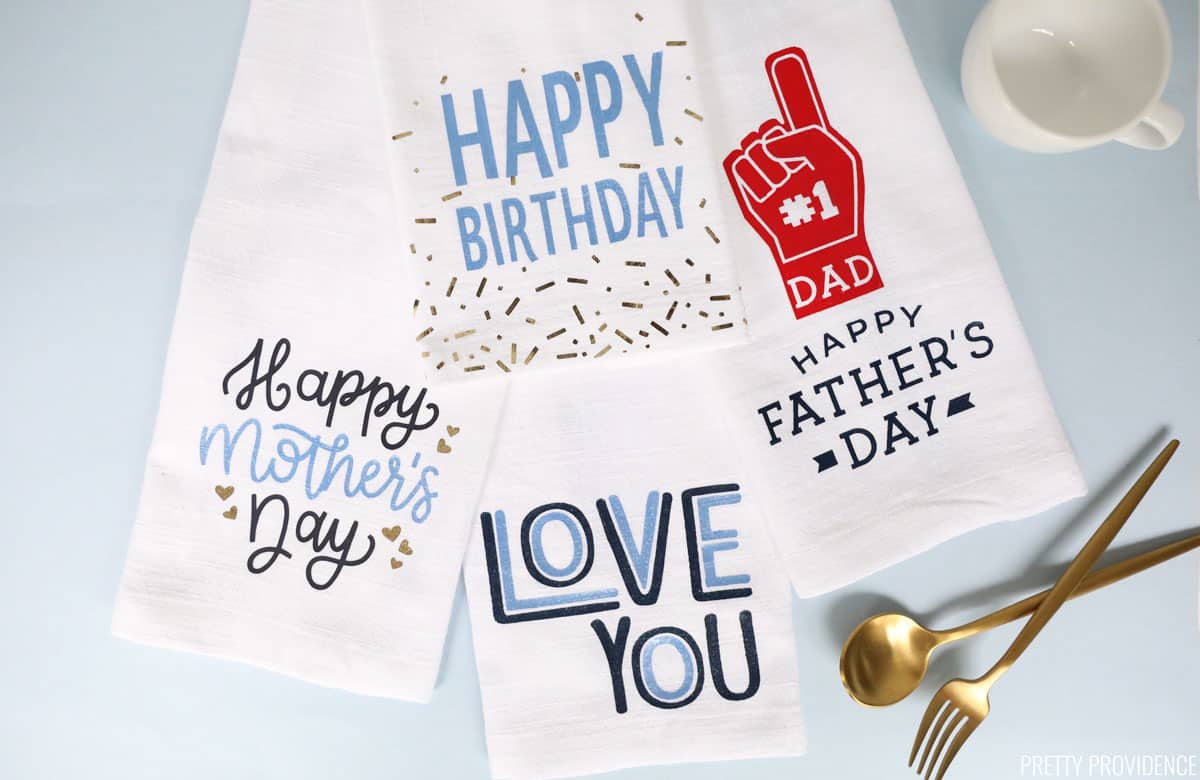
DIY custom napkins are an easy way to add that extra 'something' to a special occasion! You can make any kind of personalized napkins with our easy tutorial!
On birthdays and holidays, my kids are always really, really excited about breakfast in bed.It's a family tradition that we always have done, and our daughter makes sure that we never forget to wake her up early to help make the breakfast. One thing she is excellent at is getting out the fancy custom napkins and plates and setting up our breakfast in bed tray.
*this post contains affiliate links
Custom Cloth Napkins
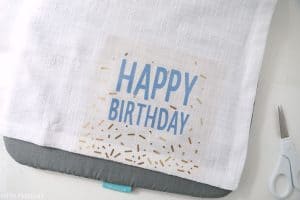
Plain white cloth napkins are beautiful on their own, but I wanted to make ours festive for each special occasion we might use them for! This is an easy project to make with Cricut and you can customize them as much as you want!
Materials Needed
- Cricut Joy
- Cricut Joy Mat
- Weeding Tool
- EasyPress Mini
- Everyday Iron-On various colors
- Cloth Napkins
How to make custom napkins with iron-on:
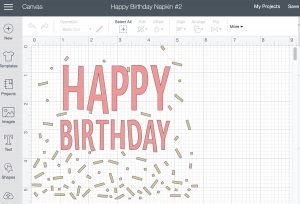
Choose designs in Cricut Design Space, or create your own. For these, I searched 'love' 'mother's day,' and so on, within the Cricut Access gallery and found all of these pre-made designs to use.
You can make any kind of personalized napkins with this tutorial. If you want to create your own design, just design it in Cricut Design Space, and follow our tutorial for how to apply the iron-on to cloth napkins.
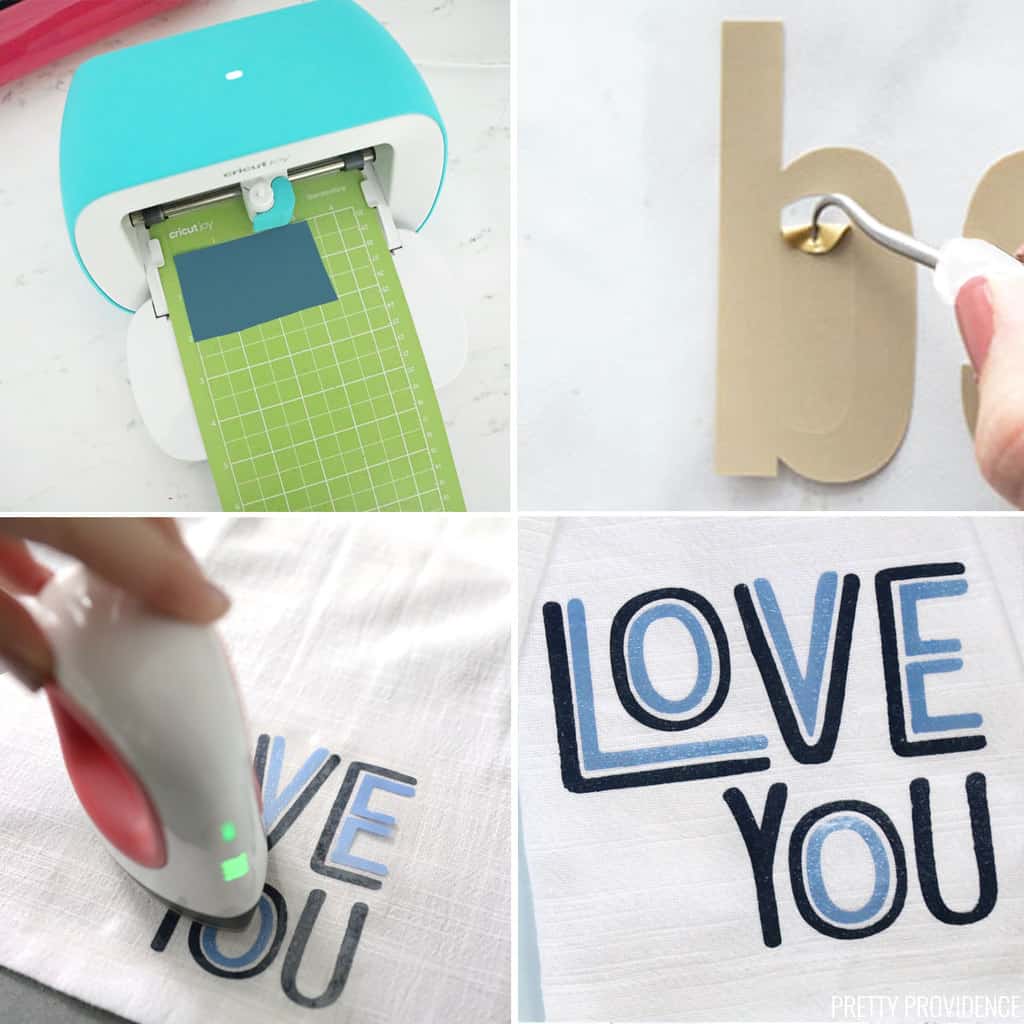
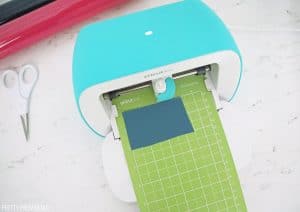
- Top left: Cut iron-on designs with the Cricut Joy.
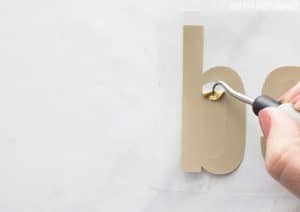
- Top right: Weed excess iron-on away from sides and in between letters.
- Bottom left: Use an EasyPress Mini or iron to apply iron-on, one layer at a time.
- Bottom right: Peel away while the iron-on sheet is warm.
Here are the full printable instructions for custom napkins:
Choose designs in Cricut Design Space, or create your own. For these, I searched 'love' 'mother's day' and so on within the Cricut Access gallery and found all of these pre-made designs to use.
- Top left: Cut iron-on designs with the Cricut Joy.
- Top right: Weed excess iron-on away from sides and in between letters.
- Bottom left: Use an EasyPress Mini or iron to apply iron-on, one layer at a time.
- Bottom right: Peel away while the iron-on sheet is warm.

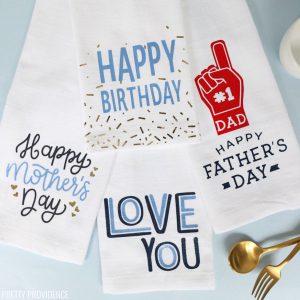
Ahh I just love how these turned out. Next, I plan to make some for Thanksgiving and Christmas. My wheels are turning!

Here are the full printable instructions for custom napkins:
DIY Custom Napkins
Equipment
- Weeding Tool
- EasyPress Mini
Materials
- Everyday Iron-On various colors
- Cloth Napkins
Instructions
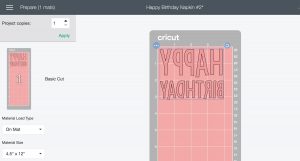
- Create or upload napkin designs in Cricut Design Space. Make sure they are sized correctly for your napkins. Select 'make it.'

- Make sure the design is mirrored for iron-on, and put iron-on onto a green cricut Joy mat.

- Follow steps in Design Space to cut iron-on and repeat the process for each color of iron-on you're cutting.

- When cutting is done, weed extra iron-on from the sides of design and in between letters.
- Use an Easypress Mini or iron to apply the iron-on to napkins.

- Repeat heat application for each color you are layering. Use a heat protective sheet if you have one to reduce the risk of messing up layers.

- Enjoy using your custom fancy napkins for special occasions!