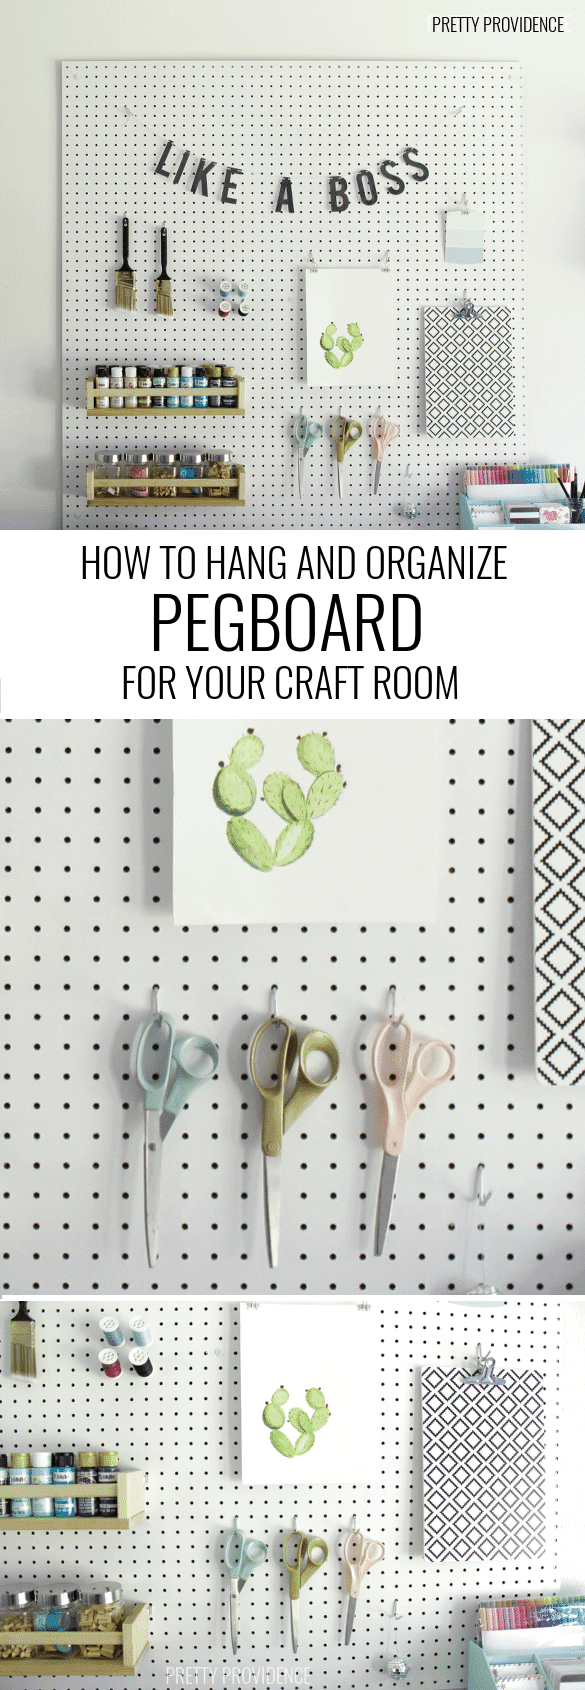
• Skip to primary navigation
  • Skip to main content
  • Skip to primary sidebar
  • Skip to footer

Pretty Providence

  • Home
    • Newest Blog Posts
  • About
  • Recipes
    • Appetizers
    • Beverages
    • Breakfast
    • Dessert
      • Cookies
    • Dinner
    • Salads
    • Side Dishes
  • DIY & Crafts
    • Cricut
    • T-Shirts
    • Crafts
    • Decor
    • DIY Projects
  • Holidays
    • Halloween
    • Thanksgiving
    • Christmas
    • New Years Eve
    • Valentine’s Day
    • St. Patrick’s Day
    • Easter
    • Mother’s Day
    • Father’s Day
    • 4th of July
  • TIPS
    • Tips
    • Organization
    • Family Life
      • Baby
      • Fun
      • Family
    • Travel
  • OCCASIONS
    • Gifts
    • Parties
  • Navigation Menu: Social Icons

    • Facebook
    • Instagram
    • Pinterest
    • YouTube

Craft Room Pegboard

Home » Home » Organization » Craft Room Pegboard

Published November 4, 2015 Last Updated June 10, 2019 / By Jessica 7 Comments

Tweet
Pin723
Share13
Email
736 Shares

I didn't realize it was this easy!! How to hang and organize pegboard for your craft room or sewing room! prettyprovidence.com

Hey y’all! As I promised in my craft room reveal, I am sharing more about the pegboard that is making my wildest organization dreams come true. I wanted to do this for a long time but for some reason I thought that it would be complicated. I could not have been more wrong! It took all of fifteen minutes to hang, and then I got the hooks and organization done pretty quickly too. The best part about this is that nothing is permanent. You can move the hooks all over depending on your needs at any given time. It’s just the best thing ever. So, if you are ready to take the life changing plunge and hang your own pegboard, here is the how-to:

Materials:
Pegboard – Home Depot (sized to your preference.) Mine was 4×8 feet but I had them cut it into two 4×4 foot pieces for me, and I hung one here. The other half is going in our garage.
Assorted pegboard hooks
Anchors, Screws
1/4″ Flat Washers
Drill
Spacers

Optional:
Paint
Spice Racks
Jars
Clipboards
Binder clips

Craft room organization that is pretty and functional!

How to hang pegboard:
Line up your pegboard on the wall where you want it and choose which holes you are going to use to hang it. (You probably need more than one person for this step!) I chose four holes about two inches in from the corner and then one in the middle. Use a pencil to mark the wall where you’re going to drill into it. Place pegboard somewhere else until ready to hang.

Drill a hole in the wall at each pencil mark. Insert anchors into the holes. Now have someone hold up the pegboard.This is the hardest step because it’s near impossible to see where the anchors are behind the pegboard. (But you can do it, I believe in you!) Slide spacers behind pegboard and hold them in place behind your designated holes, Then place washers on the front of the holes as you drill a screw through each designated hole, through the spacers and into the anchors.

You’re done! Now for the fun part. I opted give mine a coat of white paint before doing anything else, because the even though it came white, it was dingy looking. I also painted over the washers so that you don’t notice them unless you look closely.

How to organize pegboard:
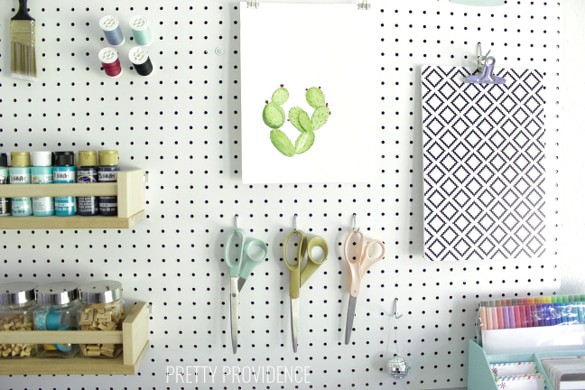
This is up to you, but you’ll need pegboard hooks and it’s probably good to get a variety pack. I also recommend keeping some mason jars or other small containers around that you can tie string around and hang from the pegboard. This is handy for holding pens or small objects.

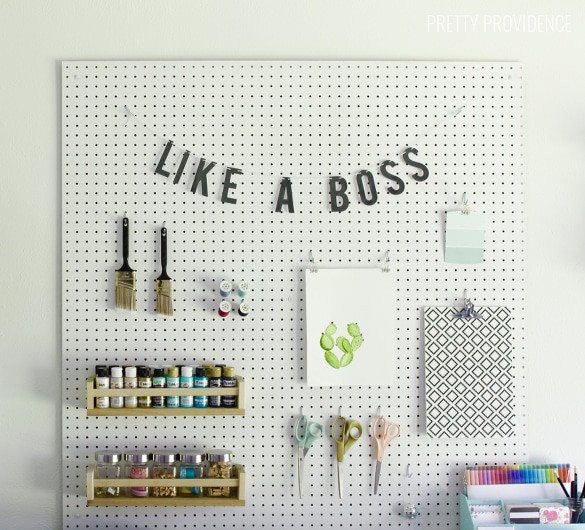
I also got a couple $4 spice racks from IKEA and attached them to some of the pegboard hardware. They hold two rows of craft paint on the top rack and five jars of small craft supplies like washi tape and push-pins on the bottom rack. I love these so much I think I might add a few more. The fact that everything is visible but still organized is SO GOOD.

Craft room organization that is pretty and functional!

Then to hang papers easily I got some pretty binder clips from Target and a cute clipboard from Hobby Lobby. Last but not least, I made myself a new “like a boss” banner with a banner kit from Target. (The ‘like a boss’ banner I had before was made out of flimsy printer paper and eventually wore out.)

Craft room organization that is pretty and functional!

So there it is. I hope you’ll try it!

sar-sig

Tweet
Pin723
Share13
Email
736 Shares

Reader Interactions

Comments

  1. Kari

    June 09, 2017 at 8:39 am

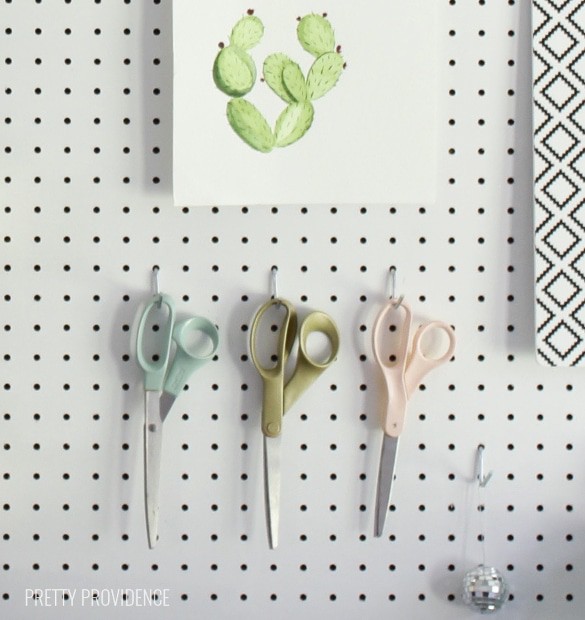
    This is so cool! Did you spray paint your scissors? Have they held up well? I want to do this, too, for my pegboard:)

    Reply
    • Sarah + Jessica

      June 09, 2017 at 10:50 am

      I did spray paint them! They have held up pretty well. It’s been a year and a half and there is some paint wearing off of the edges now but for the most part they still look good!

      Reply
  2. wendypetullo

    March 21, 2017 at 6:53 pm

    What kind of hooks did you use to attach the spice racks?

    Reply
    • Sarah + Jessica

      March 21, 2017 at 10:40 pm

      There are hooks that you can attach to things in the kit of assorted hardware that I bought at Home Depot!
      Sarah Skaggs

      Reply
      • wendypetullo

        March 22, 2017 at 5:26 pm

        Thank you …. I bought my hooks at Home Depot as well but I dont have one that is appropriate to hang that on …or I just cant figure it out =( Do you happen to know which hook you used??

      • Sarah + Jessica

        March 23, 2017 at 1:36 am

        Unfortunately I don’t. I actually had to move my craft room so my pegboard and all that stuff is packed away! I wish I could be more helpful.
        Sarah Skaggs

  3. Vivian

    February 14, 2017 at 2:47 am

    I made one like this but I built a frame on the back and put 2 eye screws on the top to hang it,so I can move it when I need to..

    Reply

Leave a Reply Cancel reply

Your email address will not be published. Required fields are marked *

Recipe Rating


Primary Sidebar

about-pretty-providence  

Hey! We're Sarah and Jessica. We're BFF's and have known each other since we were 5 years old. This blog is our place to share all of our best recipes, tips, crafts and DIY projects.

You can read more about us on our about page and find us on instagram! We love making new friends.

  • Email
  • Facebook
  • Instagram
  • Pinterest
  • TikTok
  • YouTube

Most Popular

Breakfast casserole with sausage, eggs, cheese and bell peppers on a white plate

World’s Best Breakfast Casserole

DIY desk made from two storage cube bookshelves and IKEA desk top with marble look

DIY IKEA Desk Hack

Iron-on t-shirt with Cricut collage of supplies needed, iron-on cut and weeded, and then the final shirt that says "#tired" in gold iron-on letters

How to Make a Shirt with Cricut

The Office birthday party table with decorations, food, balloons and "it is your birthday" sign

The Office Birthday Party

Teepee style blanket fort made with bedsheets and clothesline hung from a light fixture.

How To Build The Best Blanket Fort

German Pancakes just out of the oven, dusted with powdered sugar in a glass baking dish.

German Pancakes

Organization

a habit tracker with pink squares next to a rose gold pen

Free Printable Habit Tracker

collage image of four different laundry hacks to make laundry easier

The Best Laundry Hacks

art supplies organized and labeled on a white IKEA kallax shelf

School and Art Supply Organization

Weekly cleaning checklist and routine, and checklist for kids too with pictures and check boxes!

Weekly Cleaning Routine + Checklist

Laundry Care Symbols Explained

pantry organization at it's finest! great tips and tricks in this post!

Home Organization Ideas

CRICUT

Light blue Cricut Maker 3 with an assortment of colors of vinyl and iron-on vinyl fanned out under it and behind it.

The Best Iron On and Vinyl to Use with a Cricut

custom hats with cricut iron-on, baseball cap style

How to Make Custom Hats with Cricut

light blue Cricut maker 3 next to vinyl and art on shelves

Cricut Materials – Everything You Need to Know

cute first/last day of school whiteboard on a light blue background

Back to School Photoshoot Board

DIY tote bag canvas with a rainbow and the words 'I'll walk with you' in gold iron-on vinyl

Rainbow DIY Tote Bag

DIY Custom Napkins

Footer

Copyright © 2012-2019 Pretty Providence | Contact Us | Privacy Policy | Disclosures