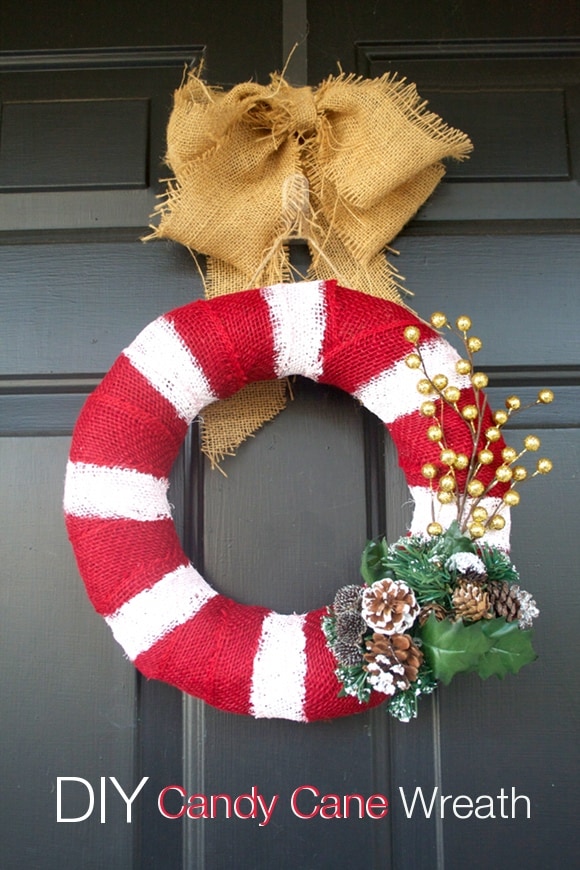
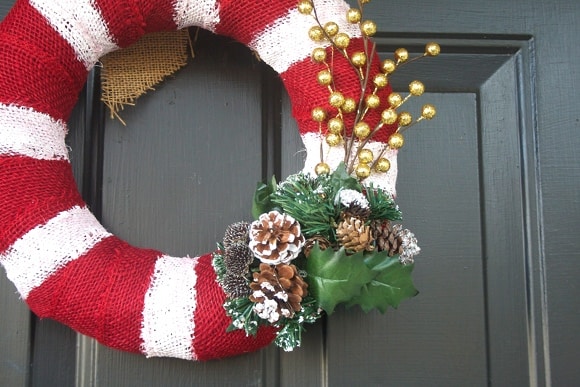
Hey there,Kelly from The Little Things here, and it's the most wonderful time of the year! Well, at least in my opinion it is. Christmas and holiday decorations are really starting to pop up all around and our house is finally starting to catch up! That's where this fun DIY comes into play. Today I'm sharing with you a super simple wreath you can whip up in no time.
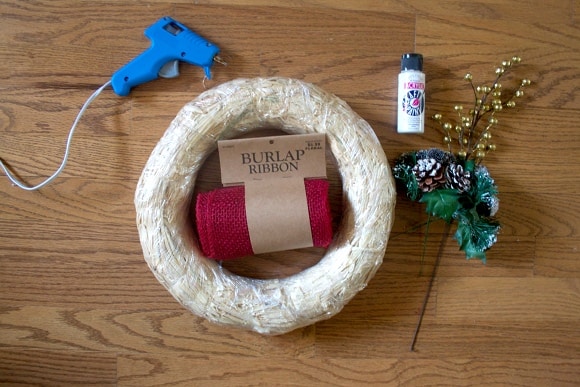
What You'll Need: Straw Wreath Form, Red Burlap Trim, White Paint, Holiday Floral Trimmings, Hot Glue, Twine/Ribbon for Hanging
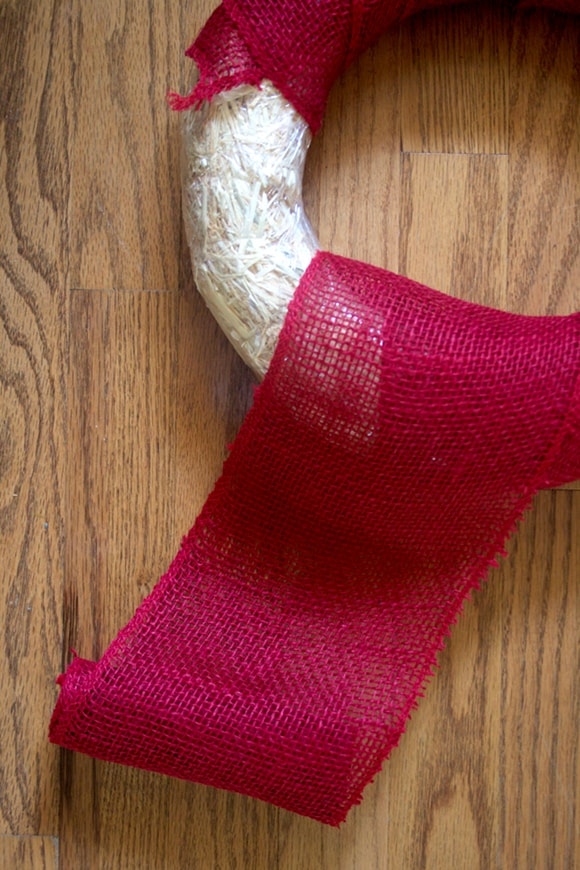
Using the hot glue to hold the trim in spots, wrap the burlap tightly around the wreath form. You can take off the plastic if you'd like but I chose to leave it on, less mess. Also, it will help when you go to paint the burlap.
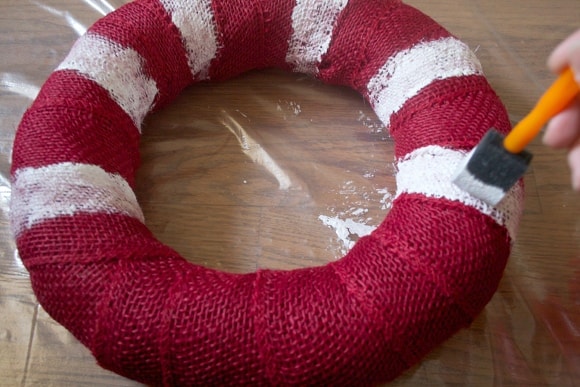
Once you've covered the wreath form, paint on your stripes with the white paint. This will take extra paint because the burlap will soak it up. The plastic wrapping, if you left it on, will prevent even more paint bleed into the straw.
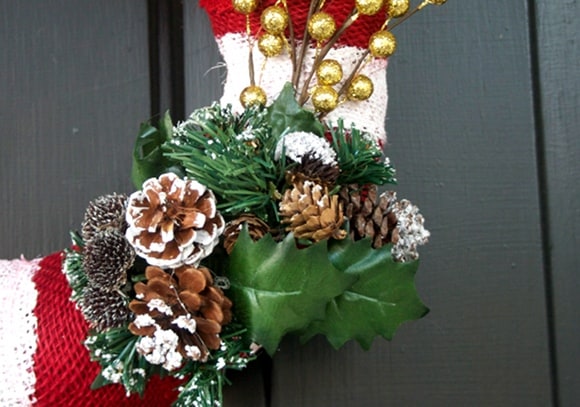
Let the paint dry and attach your trimmings to the front of the wreath. To hang, use some twine or ribbon and glue to the back.
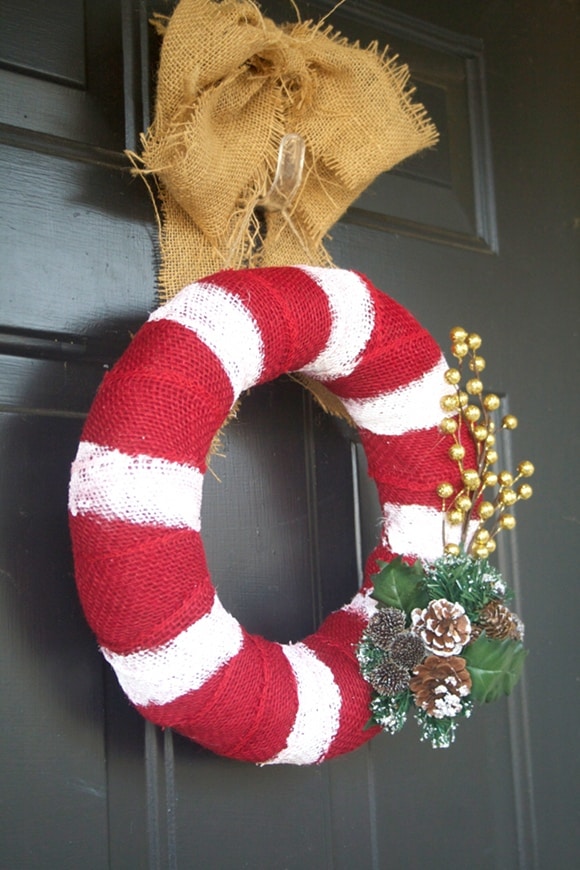
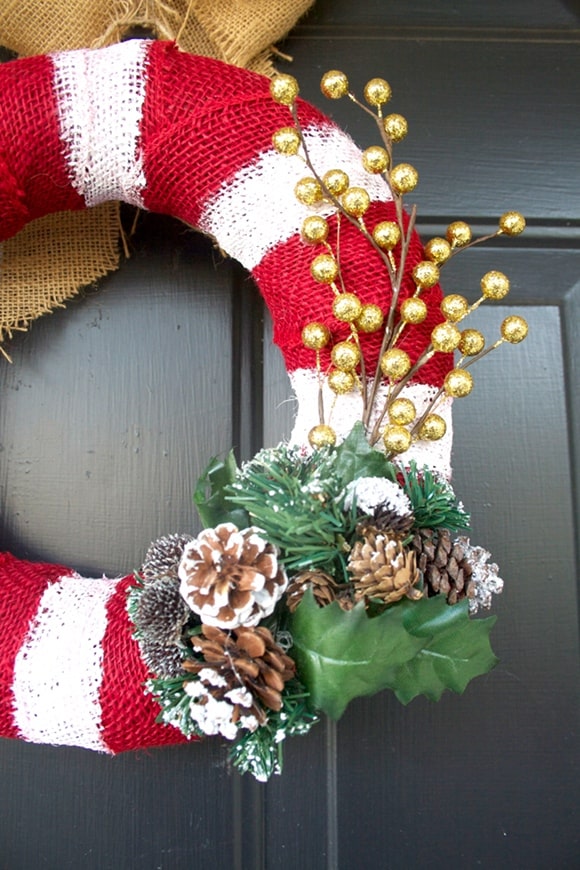
Here's to a joy-filled holiday season!!
XO, Kelly






Better From Scratch
I LOVE LOVE LOVE this! Totally inspired :-)
Kelly - The Little Things
Thanks so much! It was definitely fun to make. :)
Becky Bevan Blad
I love this! I'm not very crafty but I think I could do this. Pinned so I remember. Thanks!
Kelly - The Little Things
Thanks Becky! It really was super easy. The hardest part is waiting for the paint to dry! :)
Sydney @ Tastefully Frugal
This is so cute! And I love how easy it looks to make; even an un-crafty person like me could make one! Pinning
Kelly - The Little Things
Thanks Sydney! Definitely a easy project! :)