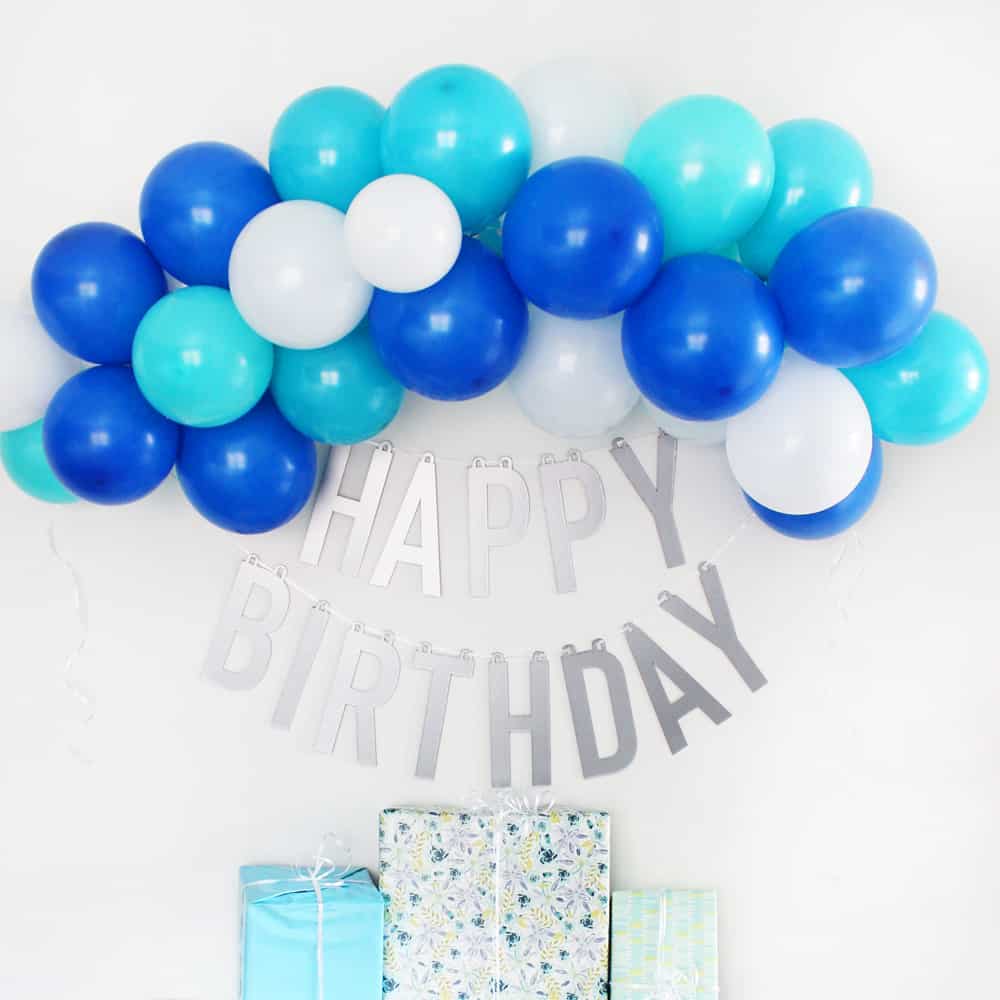
DIY Happy Birthday Banner

This DIY Happy Birthday Banner is a decoration you can use over and over again. It is so easy to make with the Cricut knife blade and chipboard!
DIY Happy Birthday Banner
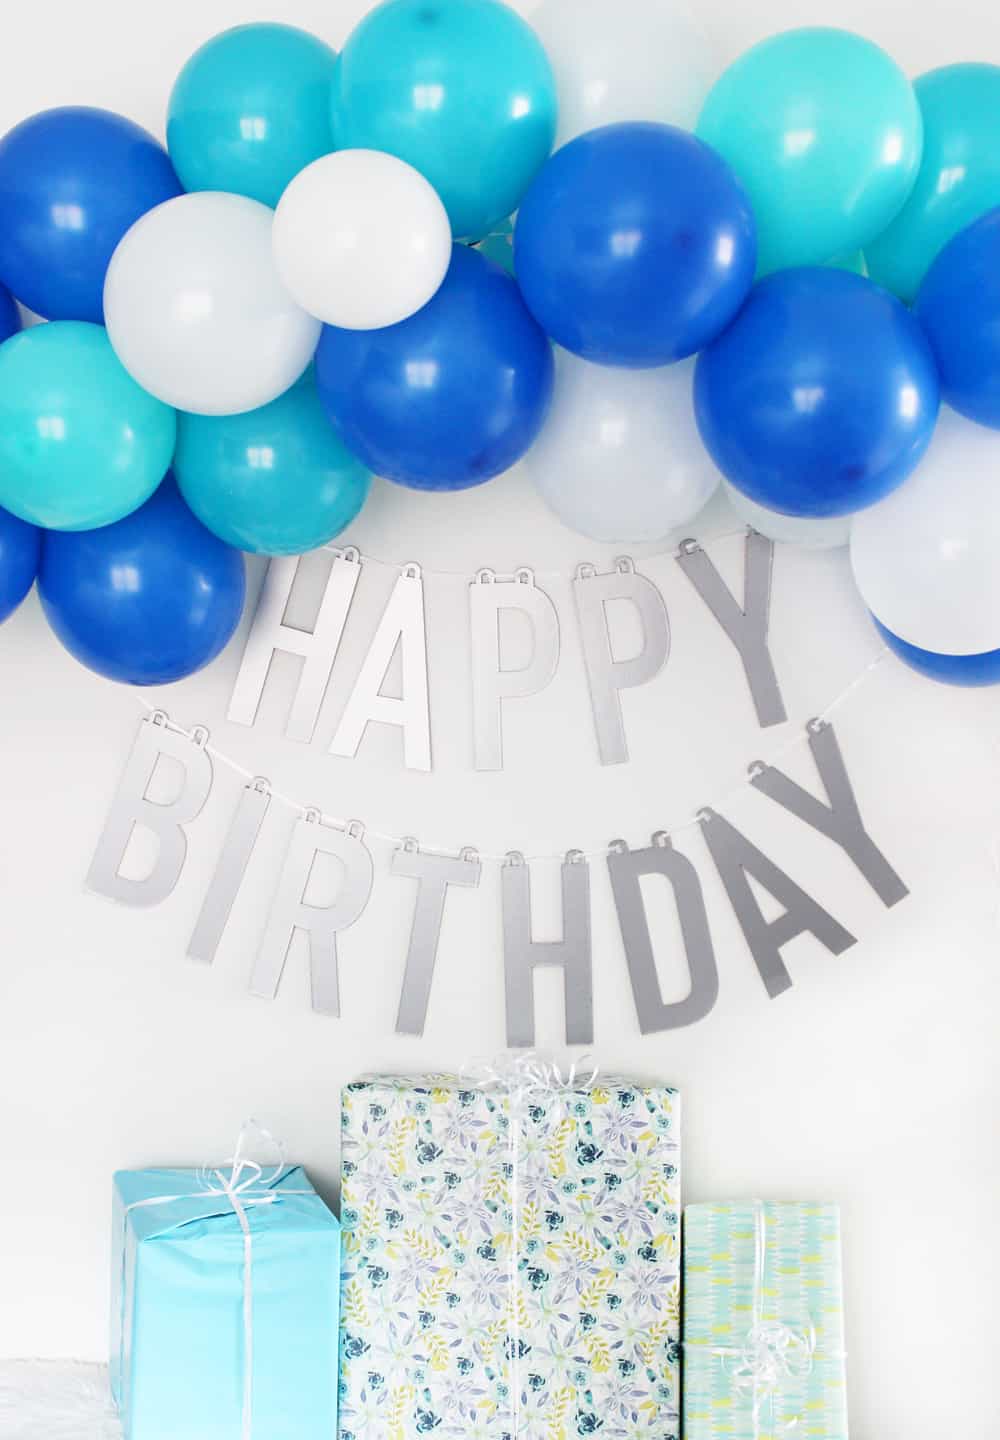
The birthday banner and balloons has definitely become one of our kids favorite traditions! With four young kids though the banner that I bought way back when bit the dust a long time ago! After replacing it a few times now, I finally decided it was time to make my own DIY happy birthday banner!
I have been loving using my Cricut Maker and I knew right away that I wanted to use my knife blade to cut a happy birthday banner out of chipboard!
If you've never used a knife blade before or have other questions about how to use it be sure to check out our Knife Blade post that will answers all the FAQ's!
*This post contains affiliate links.
How to Make a DIY Happy Birthday Banner
I already designed the file in Cricut Design Space for you, so all you need to do is open the file in design space.

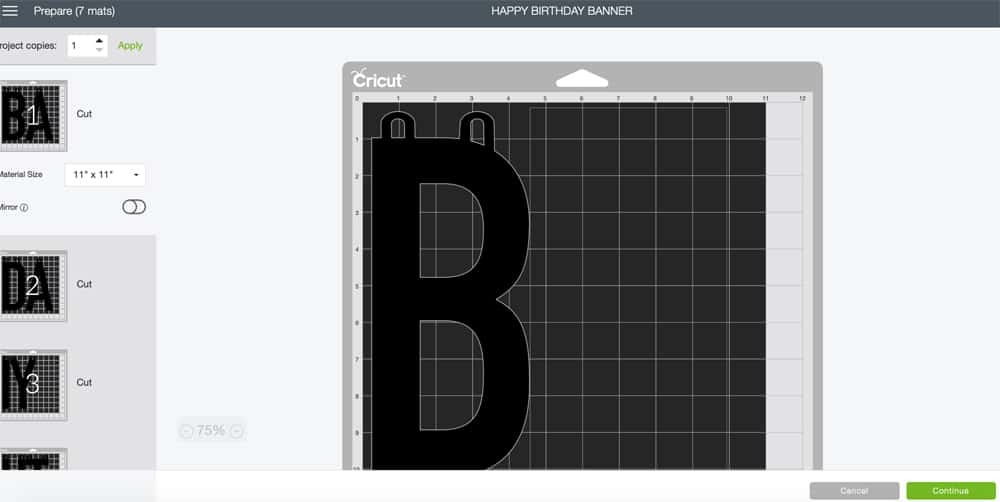
Once the file is open click "make it."
Change material size
Because chipboard is only 11 inches wide you need to change your material size to 11'' x 11''. Once you do this design space should automatically sort your cuts so that nothing goes over 11 inches on the mat!
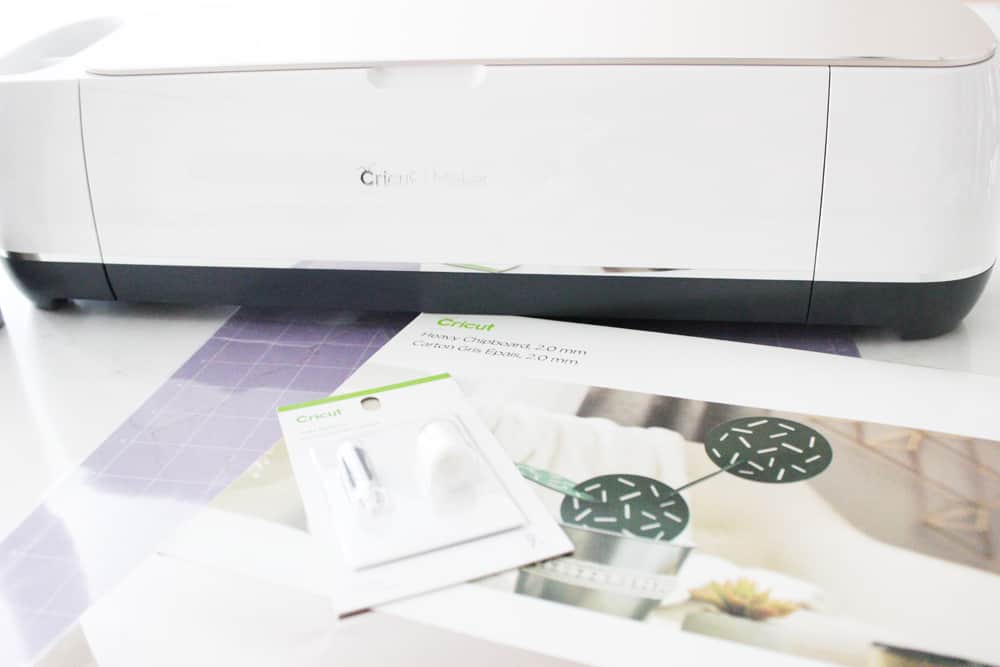
Materials Needed:
- Cricut Maker
- Knife Blade
- Strong Grip Mat
- Chipboard
- Permanent Vinyl
- Scissors
- Scraper Tool
- Masking Tape or Painters Tape
Apply Permanent Vinyl
I have found that painting chip board can be super difficult and time consuming. I decided that I wanted to cover my banner in permanent vinyl instead. I was worried about matching the letters exactly if I applied it after the chipboard was cut, so I applied the vinyl to the chipboard before I made the letter cuts. It worked like a dream!
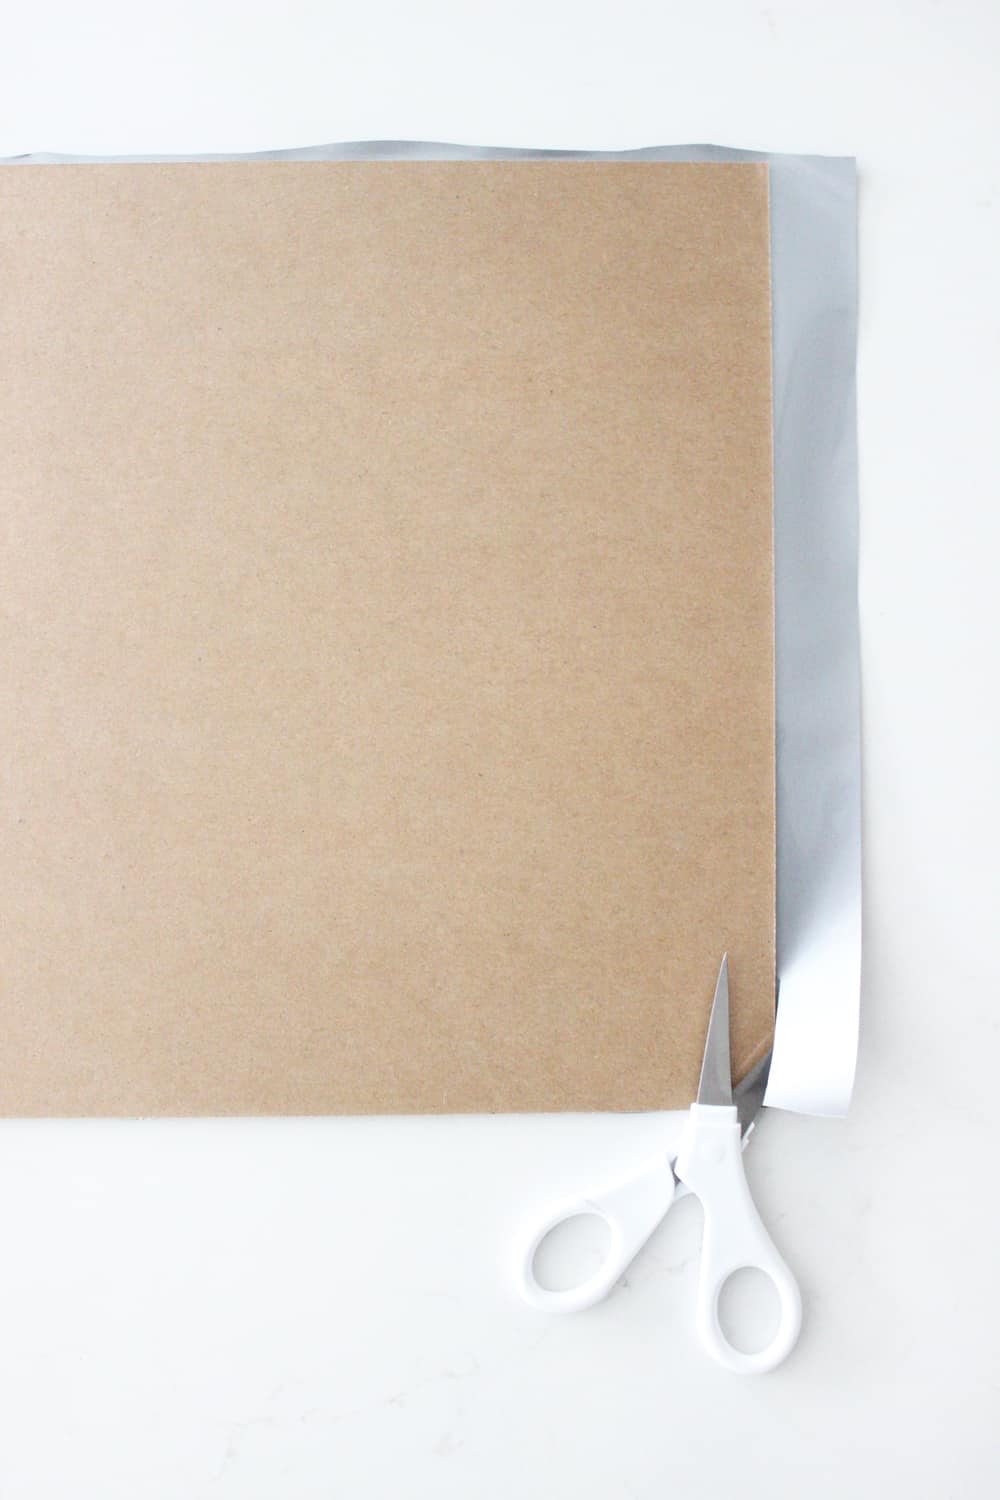
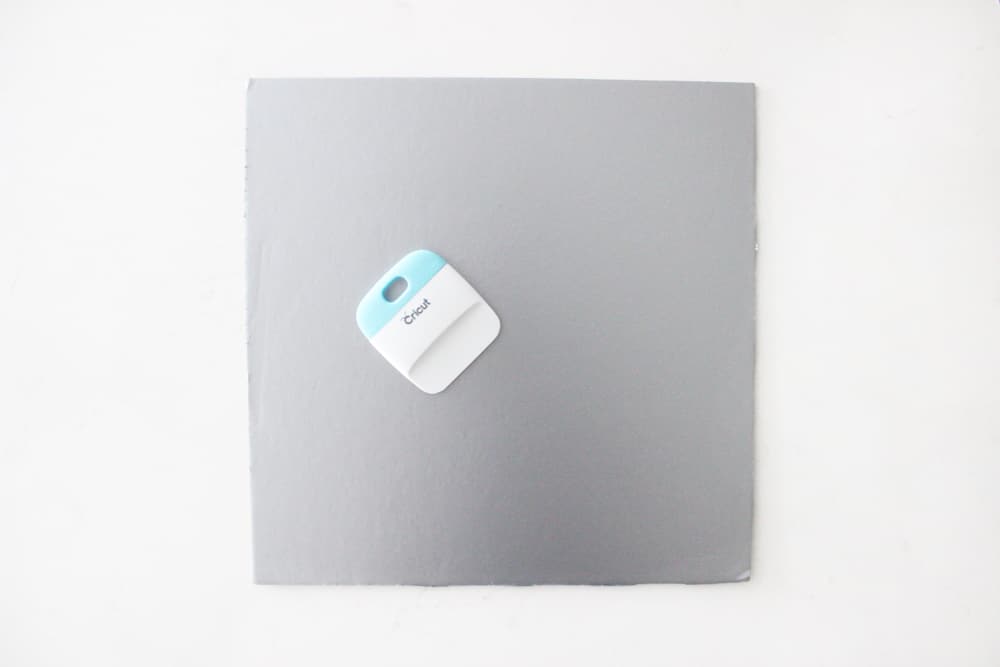
Just cover your chipboard with your vinyl, use a scraper tool to get out any bumps or bubbles. Then, trim off the excess vinyl with scissors. This part doesn't need to be perfect, since your letter cuts aren't going to reach the edges of your chipboard anyway. You just don't want the vinyl getting in the way of the machine on the sides!
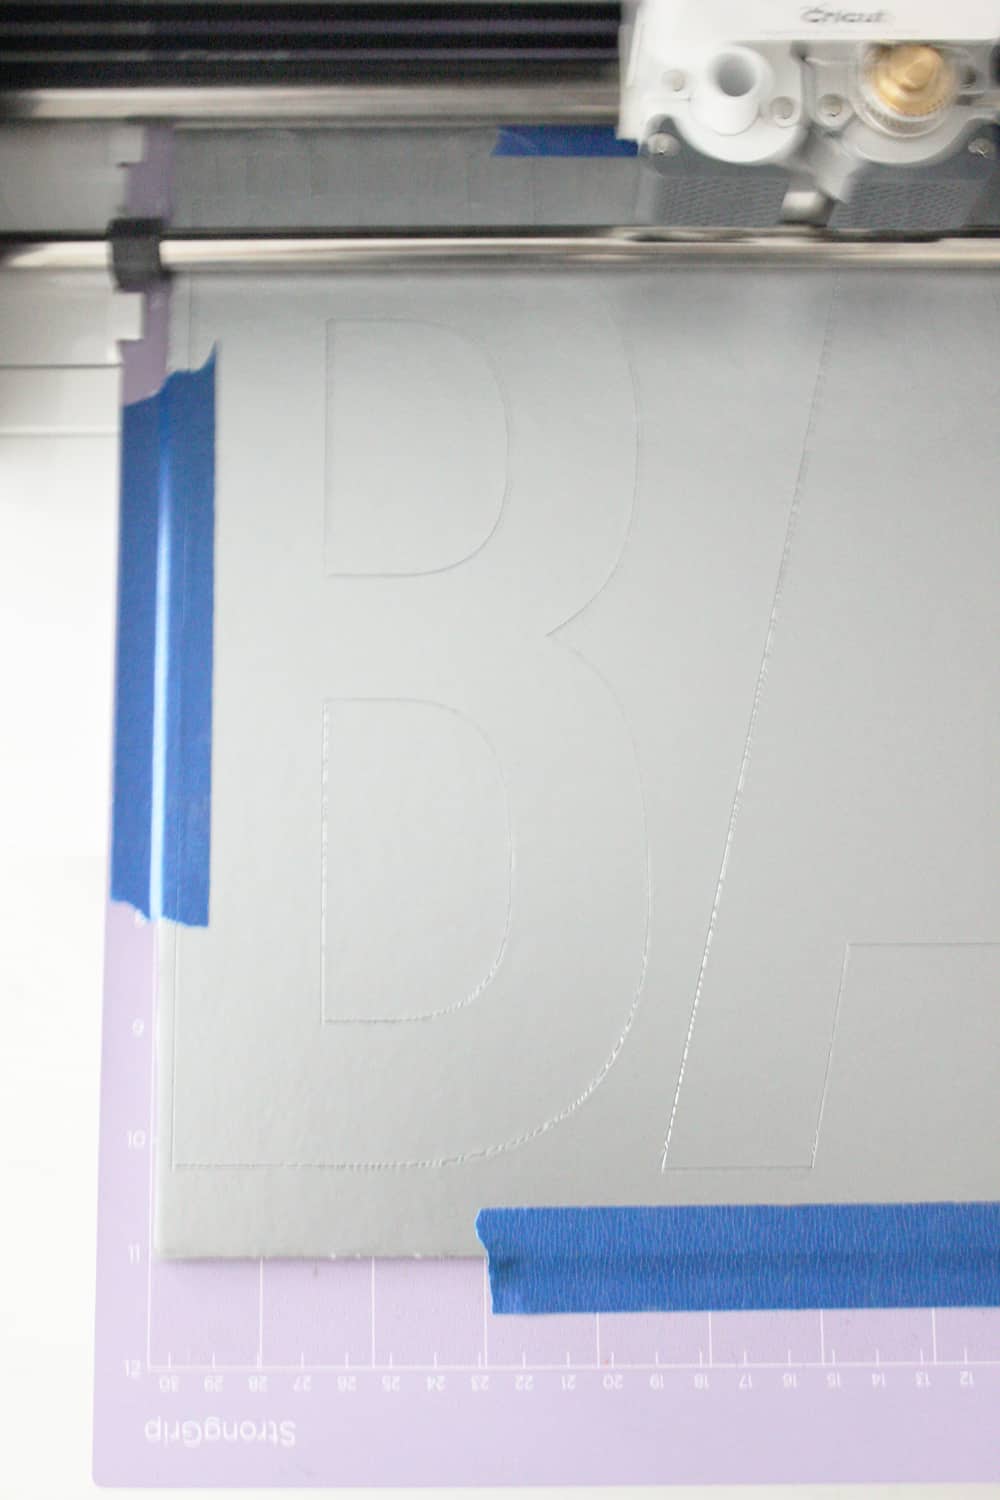
Load your machine.
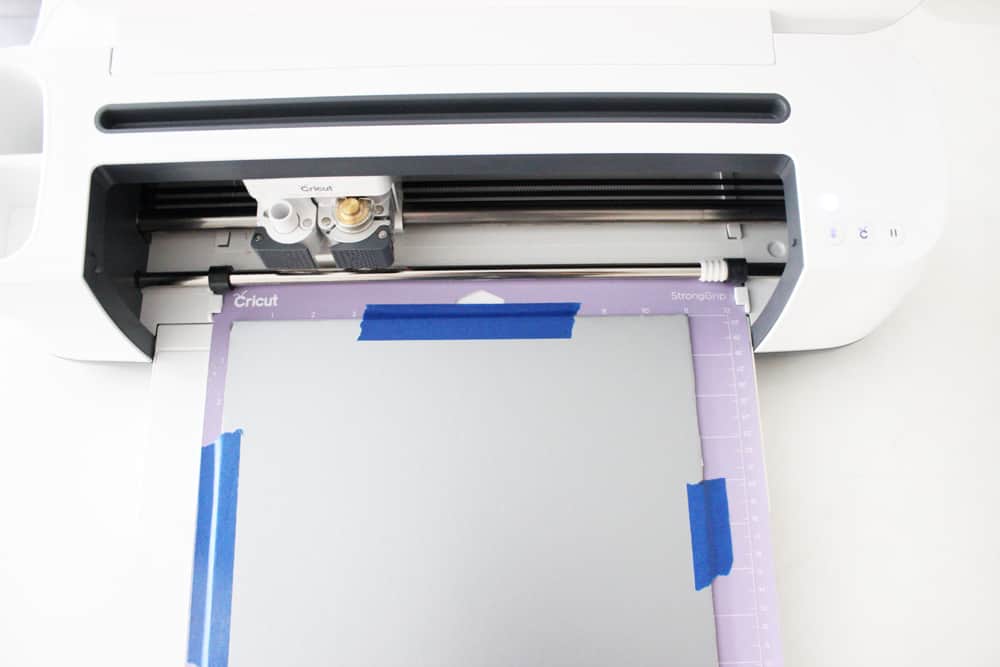
Be sure to use a strong grip mat and load your chipboard on vinyl side up. You will also want to secure your chipboard to the mat with painters tape on all four sides. This is just to be sure the board doesn't shift during cutting.
Start your cut.
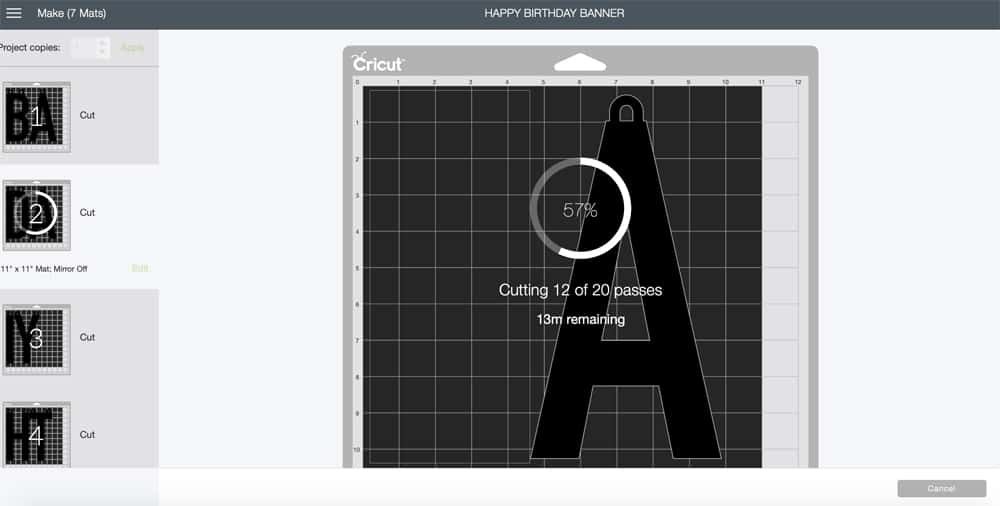
Next select your first cut and click continue! What the knife blade can do is totally amazing, but the downside is that it is definitely time consuming. Each cut took me about 20 minutes, and there are thirteen letters. So, it took a couple of hours to cut out all the letters for the sign.
While the machine is cutting you can be doing other things. Just make sure your computer sleep timer is off so that it doesn't stop your cut when you are not in the room!
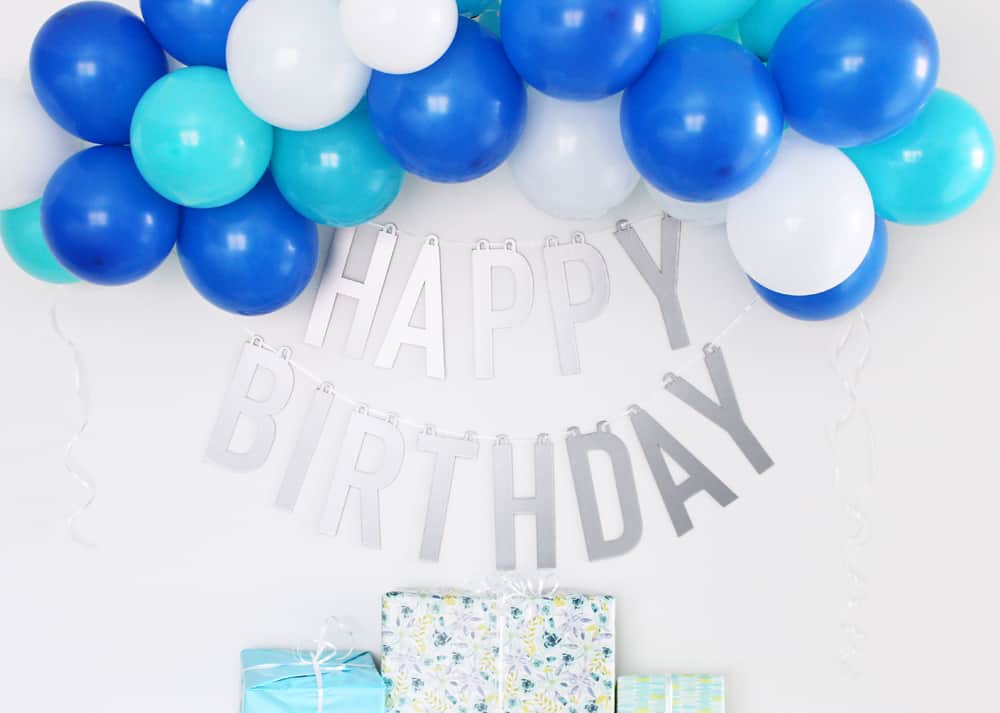
There you have it! Once all your letters are cut the only thing left to do is string your happy birthday banner together with some ribbon and get ready to party!
When it comes time to store it just fold each letter together in a stack so your ribbon doesn't get all tangled up.
I am so excited to use this happy birthday banner for years to come!
If you make this birthday banner, make sure to leave us a comment and positive review. They mean a lot to us! We'd also love if you'd share a photo and tag us on instagram @prettyprovidenceblog!

DIY Happy Birthday Banner
Equipment
- Strong Grip Mat
- Scraper Tool
- Painters Tape or Masking Tape
Materials
- Chipboard
- Permanent Vinyl
Instructions
Open Cricut Design Space
- Open the Happy Birthday Banner file Cricut Design Space.
- Once the file is open click "make it."
- Because chipboard is only 11 inches wide you need to change your material size to 11'' x 11''. Once you do this, design space should automatically sort your cuts so that nothing goes over 11 inches on the mat
Add Permanent Vinyl (optional)
- Apply a sheet of permanent vinyl to each piece of chipboard before cutting it out.
- Use a scraper tool to get out any bumps or bubbles, and then trim off the excess vinyl with scissors. This part doesn't need to be perfect, since your letter cuts aren't going to reach the edges of your chipboard anyway- you just don't want the vinyl getting in the way of the machine on the sides.
- Be sure to use a strong grip mat and load chipboard with vinyl side up.
- Secure chipboard to the mat with painters tape or masking tape on all four sides, just to be sure the board doesn't shift during cutting.
Load Machine and Cut Birthday Banner
- Next select your first cut and click continue. What the knife blade can do is totally amazing, but the downside is that it is definitely time consuming. Each can take about 20 minutes, and there are 13 letters to cut, so it takes a couple of hours to cut out all the letters for the sign.
- Once all of the letters are cut, string the happy birthday banner together with some ribbon and get ready to party!
Notes
xo,


LOVE THIS IDEA, ANY WAY YOU CAN POST THE FILE AGAIN? IT DOESNT OPEN.
I'm so sorry for the inconvenience! I just updated the link to the file, it should work now.
Love this style! Will it work well with cardstock instead of the chipboard/vinyl option?
Yes, you can totally make it with card stock, it just won't be as sturdy that way! The chipboard is really thick so it doesn't tear or get bent easily.
Hi I can't seem to open the file when clicking your link. It just takes me to Cricut Design space. Is there another way to find it in Design space? Thank you.
I HAVE to make one of these. So smart to have a banner you can use and reuse!
That is genius to apply the vinyl BEFORE cutting! I'm so doing that next time!