My handyman husband was nice enough to type this post up for me! I knew he would be able to explain things a lot more coherently than I could, haha. Without further ado...
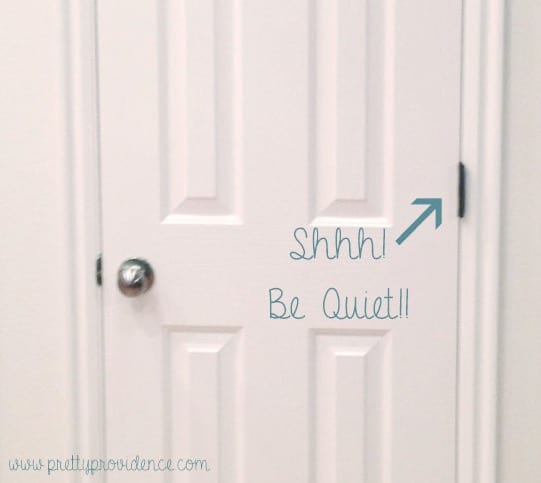
I will confess that sometimes when I get in bed after a long day full of screams and poop and finally have a chance to think about life for a minute or two, I am often overwhelmed with love for my kiddos. These feelings often end with me sneaking into their rooms and watching them sleep and sending them my love in their most peaceful state. I can also confess from experience that nothing can put an end to these moments of love like a squeaky door that wakes a midnight monster and extends the day you wanted to be long over.
For this reason and many others, I like to degrease my doors, especially the most used and troublesome ones, every so often. It's really a pretty easy job and takes 5-10 minutes per door. In my experience, this trick has silenced some pretty squeaky culprits for a year or so. I redo our worst doors about once a year, but most last much longer.
Things you will need: a hammer, a screwdriver, WD-40 or equivalent lubricant, a towel and rag that you can get dirty and greasy
First, I like to place a towel on the floor under the hinges to catch the black dust and grease that will inevitably fall from the hinges as you work.
With the door closed, take the screwdriver and fit it under the pin on the first hinge; tap the pin with a hammer until it comes loose enough to pull it out. Depending on your hinges it can take some real force with the hammer to get the pin to come loose, but once it budges it should be easy to tap out. After you get one pin out, you can either continue using the screwdriver and hammer to remove the others, or you can use the first pin in place of the screwdriver, which I prefer.
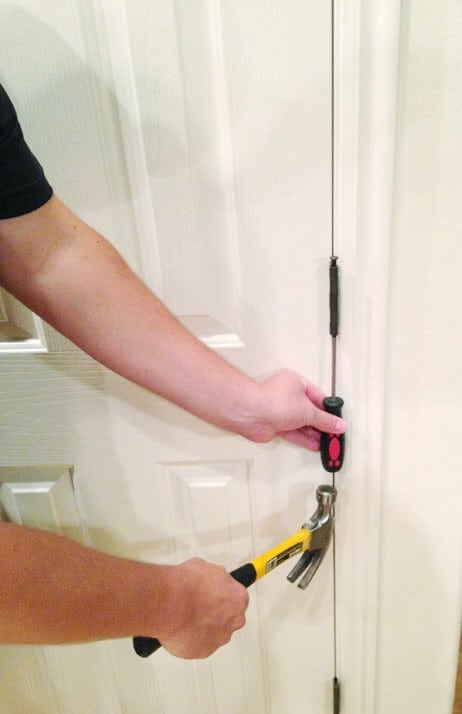
Once you have all three pins removed (three is standard, there may be more or less), you should be able to open the door and carefully remove it from the hinges and place it on the ground. Wipe down the hinges on both the door and the frame with a damp rag. Spray a different rag or paper towel with some of the lubricant and wipe it on the inside of the hinges so they are lightly greased.
Take the three pins and wash them in hot soapy water so they are clean. It's oftentimes the old worn out grease and dirt that causes the squeakiness. After they are clean and dried (they don't need to look new, just decently cleaned up), place the pins on the greased paper towel or rag and spray them down with the lubricant. Rub the grease around the pins with your fingers to make sure they are well coated.
After washing your hands you are ready to put the door back up on the hinges and reinsert the pins. Use the hammer to tap the pins all the way in and wipe down any drips or marks with a clean rag.
You are good to go and should be squeak free.
-Bryce
Seriously, it's amazing you can't hear our doors open or close AT ALL! Unless, of course, someone slams them, haha. Nothing from the hinges though. Nada, zip, zilch! It's one of those things where I didn't even realize how much the squeaking bugged me until its gone, and now it is so nice, every time I open a door I smile. -Jessica
If you liked this post, you will also love the best stain remover ever and homemade magic cleaner!


CeeJay
WD40 is an awesome product but it is not meant to be a lubricant. It is a solvent to allow bolts and seized metal to be removed. The "slip" agent in WD40 dries after use and will not lubricate. Use WD40 to remove and clean the hinge pins but then use household oil or petroleum jelly to "grease" the hinge pins. This will eliminate the need to respray again and again.
Jessica @ Pretty Providence
Thanks for the help!
Jessica @ Pretty Providence
Thanks for the help!
Katie @ Made to be a Momma
Great tip!
Whit @ a touch of yellow
Perfect! Thank you so much for this tip. My boys room makes the weirdest sounds and makes it very difficult to sneak in when necessary.
Vanessa Marquiss Barker
I had no idea! I NEED to do this on the kids' door. It's so loud whenever I check on them at night.
Jessica @ Pretty Providence
I know!! Even during naptime I've noticed they sleep better! One less noise I guess, haha!
Jenny
Awesome! Sad to say I've never done this on any door ever..I just spray more lubricant in there, but never clean it out. Now I know what to do!
Jessica @ Pretty Providence
Even though it seems like more work it honestly makes such a difference! Good luck!